Project introduction
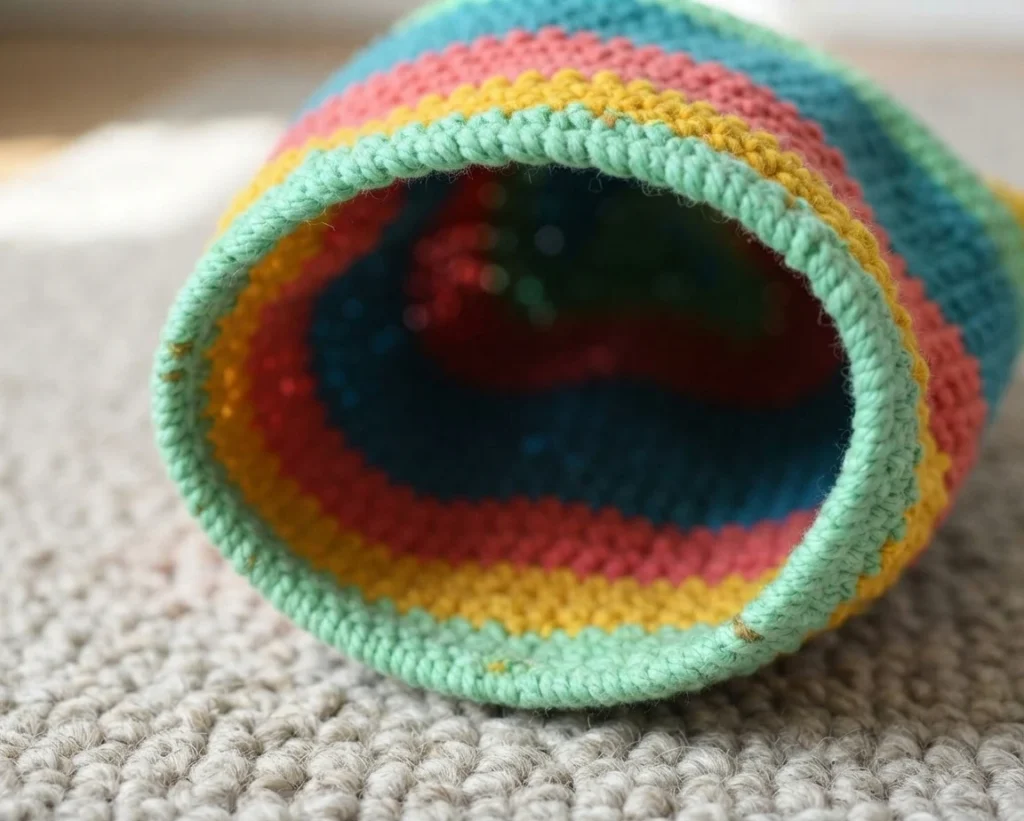
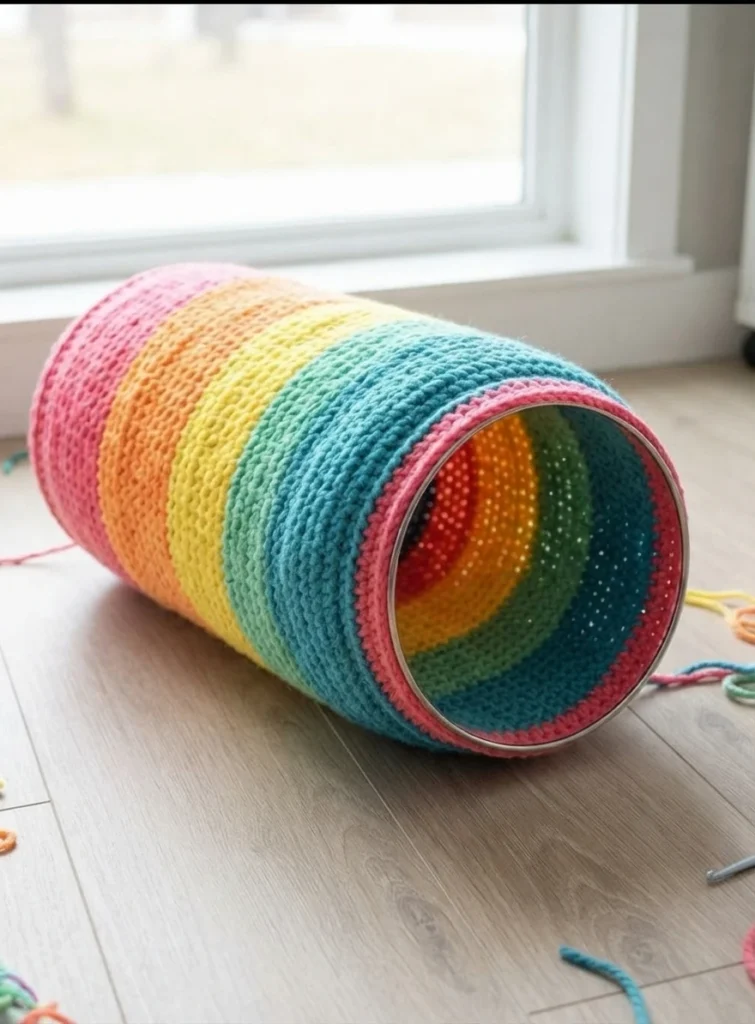
This pattern overview covers the Crochet Cat Sack Hideaway, a cozy tunnel-style hideout designed for cats, originally published by Dream a Little Bigger. It is a guide to what the project involves, not a step-by-step tutorial, so the full instructions live on the designer’s page. For the complete how-to, follow the Original designer’s pattern and instructions.
The idea came from a single cake of chunky self-striping yarn that was too small for a blanket but just right for something fun. The designer turned that impulse buy into a plush little hideaway for her three cats, proving that a modest stash can become a gift your pets will actually use. If you have chunky yarn waiting for a purpose, this project gives it one.
As it turns out, this project was a real frogger …
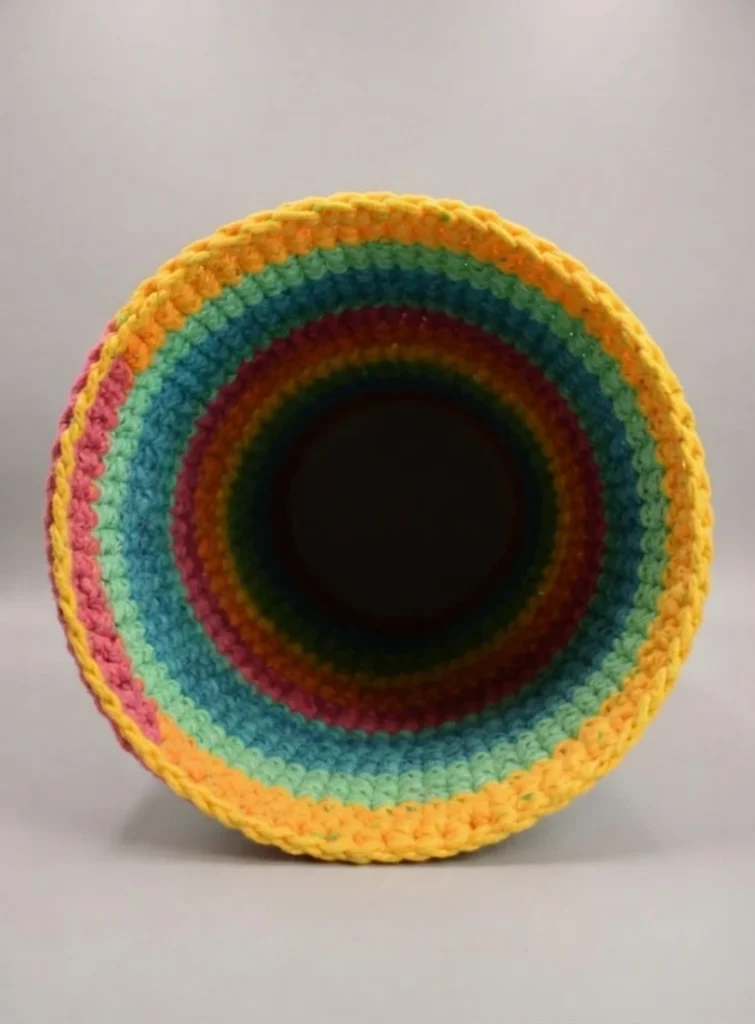
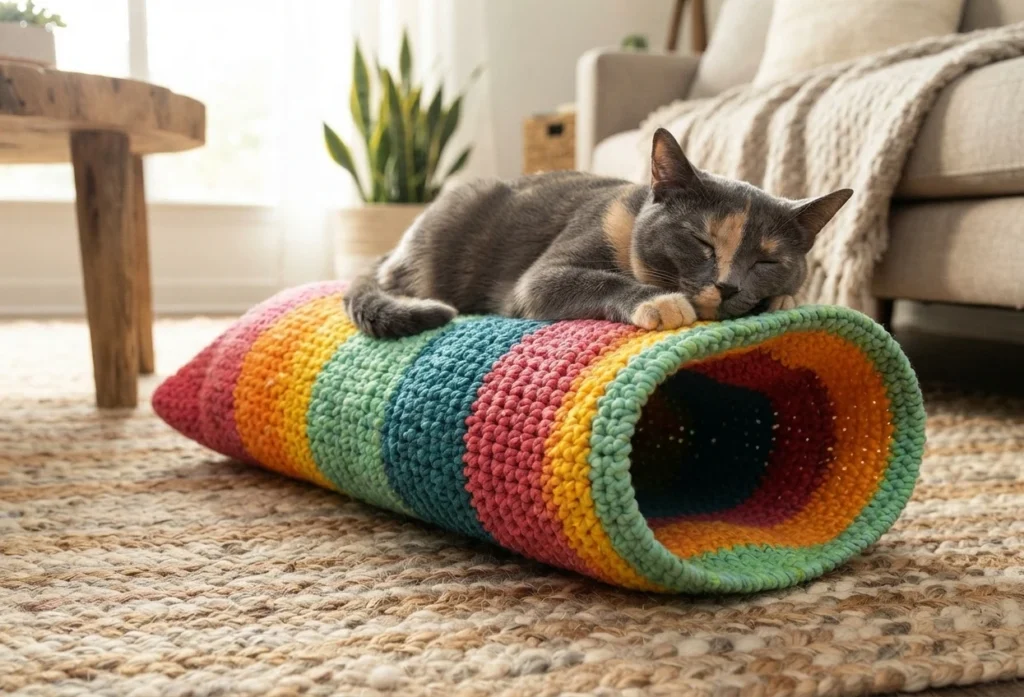
The designer restarted this project eight times, ripping the work out seven times before the construction finally clicked. That cycle is what crocheters call frogging, since you rip it, rip it out. On the final attempt, the tunnel held its shape with one end staying open for cats. Her cats still prefer lounging on top rather than inside, but she expects these smarties to figure it out.
Let’s hop on those directions and make your kitties a crochet cat sack hideaway.
The supplies for this project are refreshingly short, and everything you need is listed below. This is an overview of the project rather than a tutorial, so keep the designer’s page handy for the full instructions while you gather your materials.
- A 10-inch steel hoop, the ring that shapes the tunnel opening
- Chunky Caron Cakes yarn in a colorway like Rainbow Jelly, about one and one-third cakes for the full-length build
- A crochet hook a few sizes larger than the yarn label suggests, to keep the gauge loose and easy (hook details below)
First, Sizing Your Cat Cave…
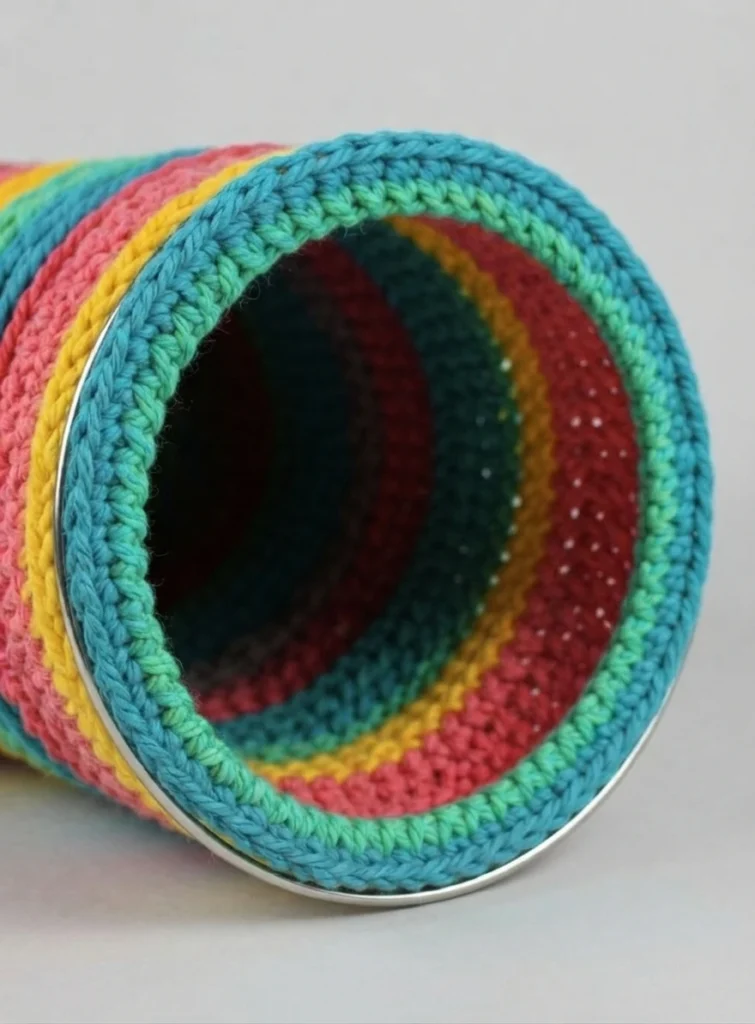
The designer tried a few hoop sizes before landing on the right one. A 12-inch ring she had on hand made the cave very large and used yarn quickly, while an 8-inch hoop could not fit her bigger cats. Since she wanted to avoid buying extra yarn, the middle size from the supplies list won out.
The smaller hoop is not a bad option on its own. A single cake of yarn makes a good-length tunnel on the 8-inch ring, and it suits a petite cat like the designer’s Marla perfectly. For households with average and larger cats, the hoop from the supplies list is the safer choice, so test the ring against your cat first.
Which Hook to Use?
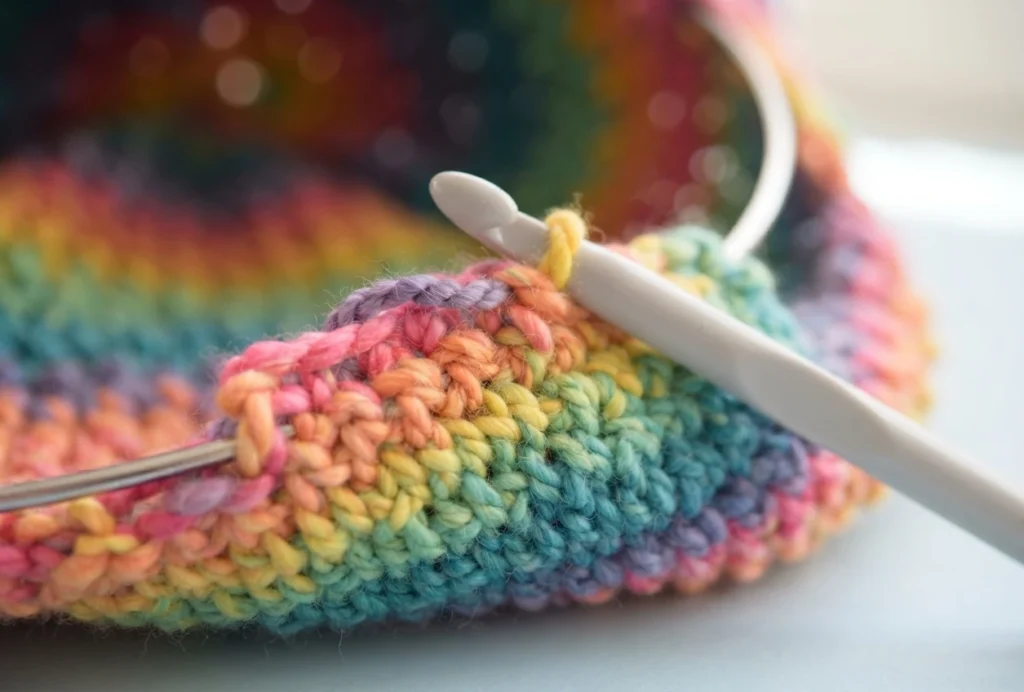
The designer works this project with a size P hook, even though the Caron Chunky Cakes label suggests a size L. With the recommended size, her stitches were too tight and working in the round grew difficult farther from the hoop. Unless your stitches run naturally loose, choose a hook a few sizes larger than the label suggests to keep a consistent, relaxed gauge.
How to Crochet Around Something…
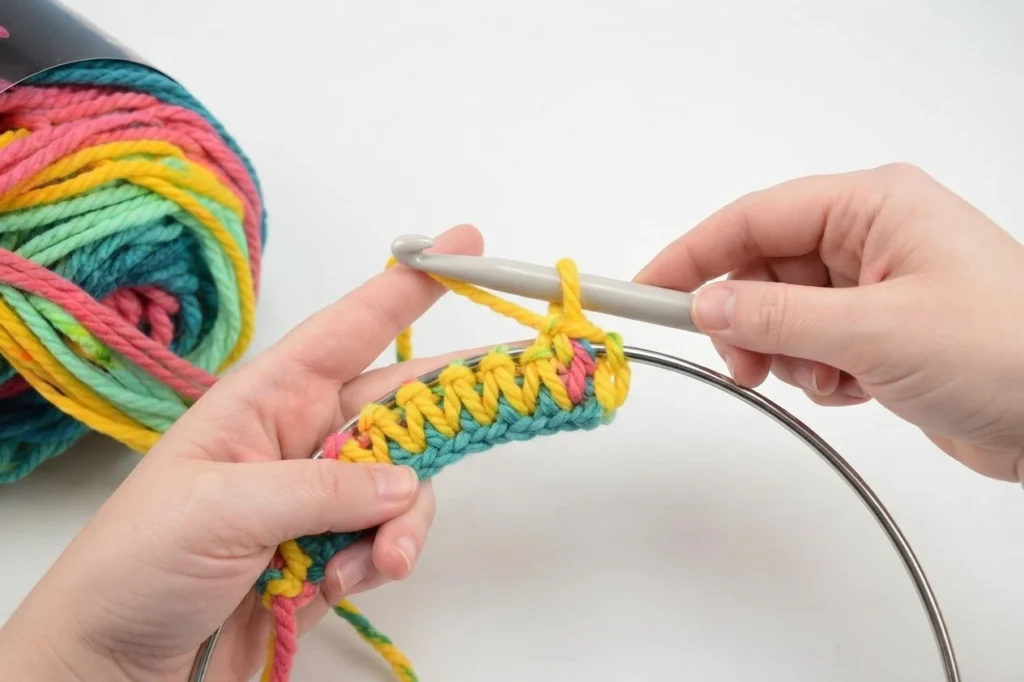
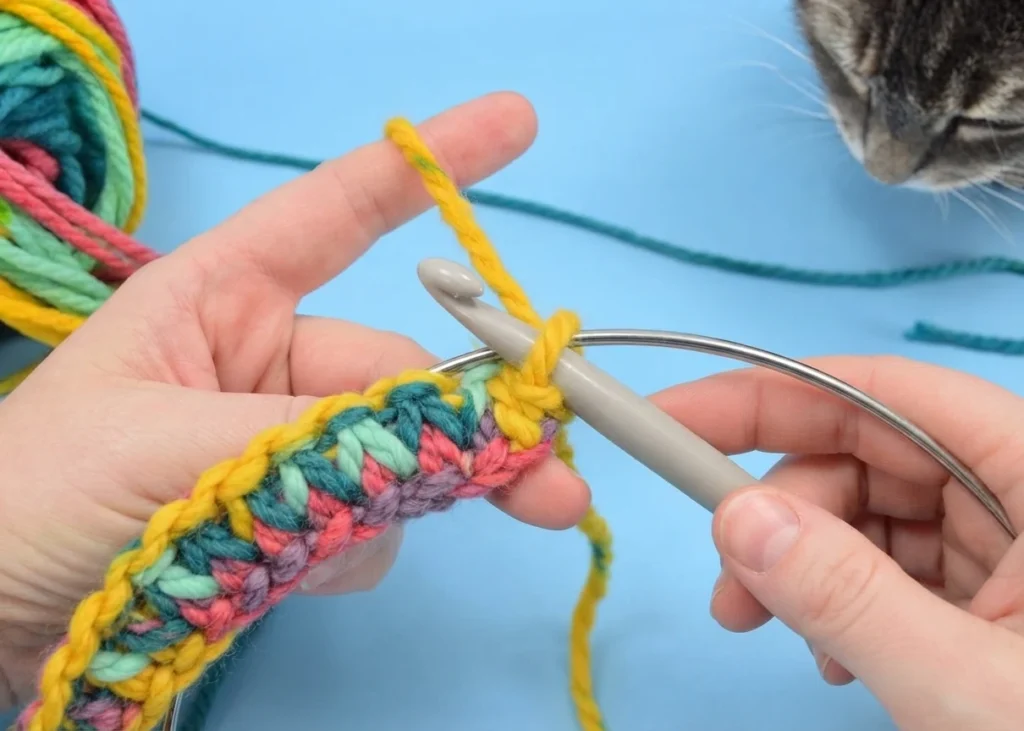
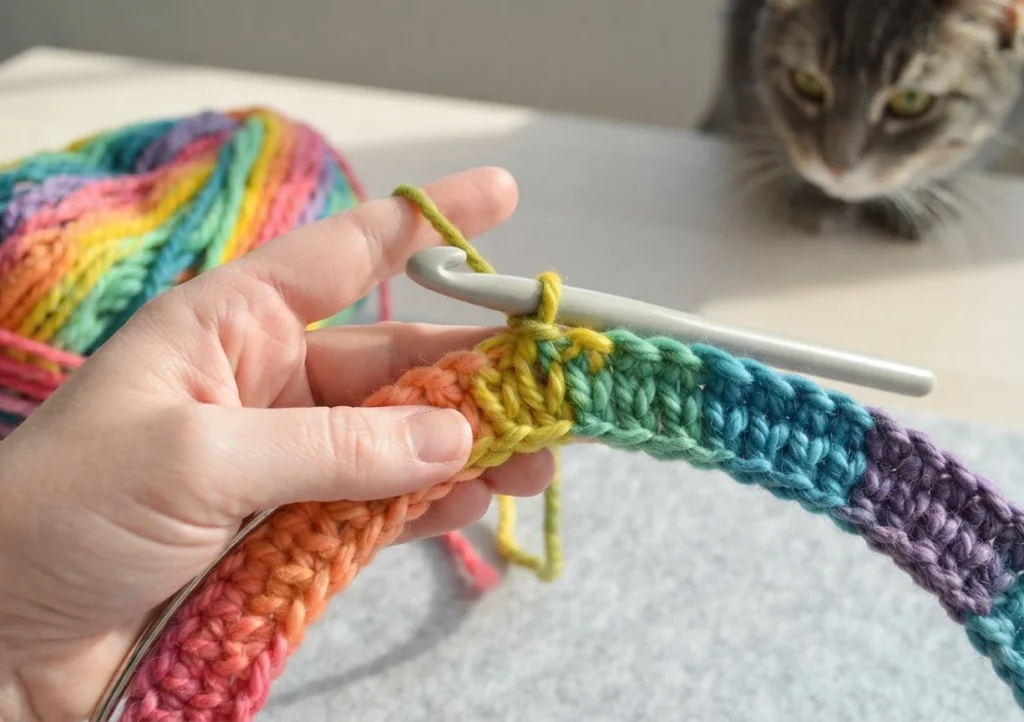
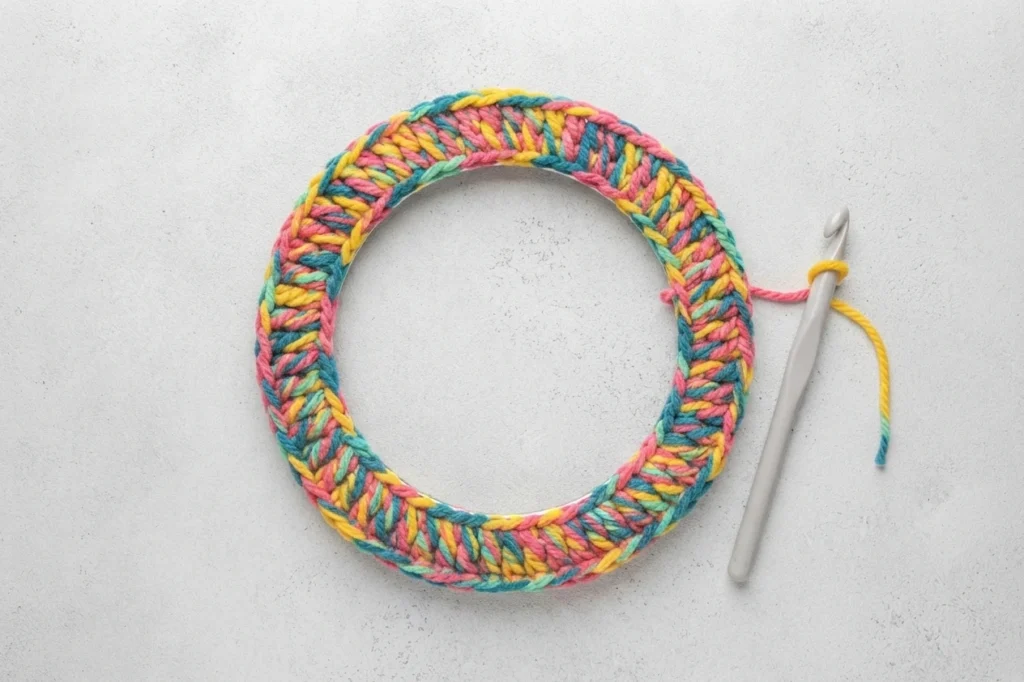
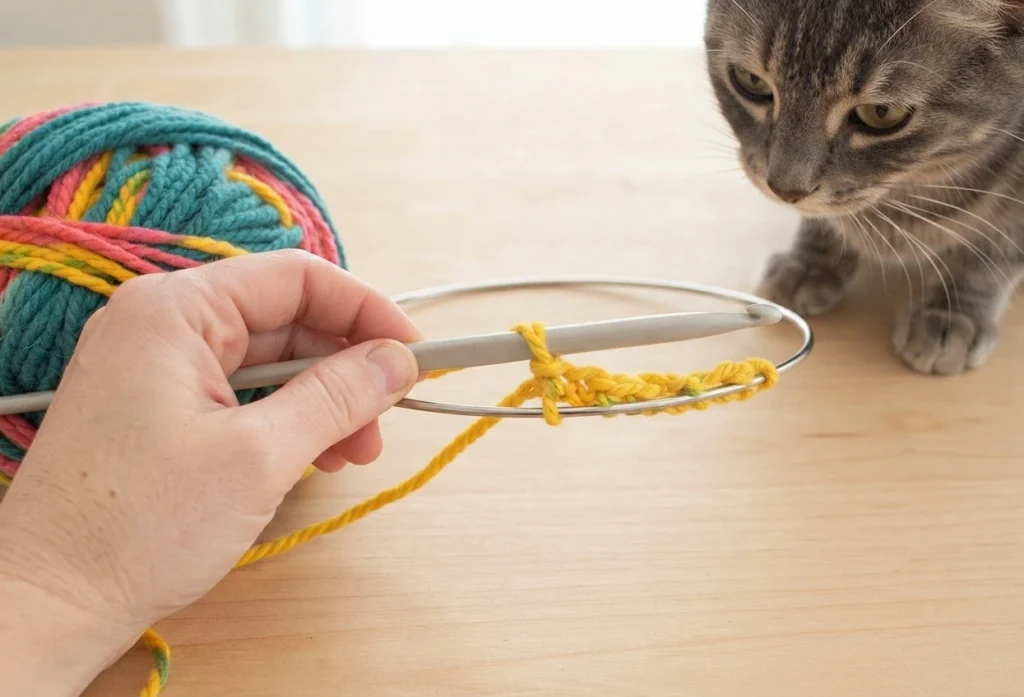
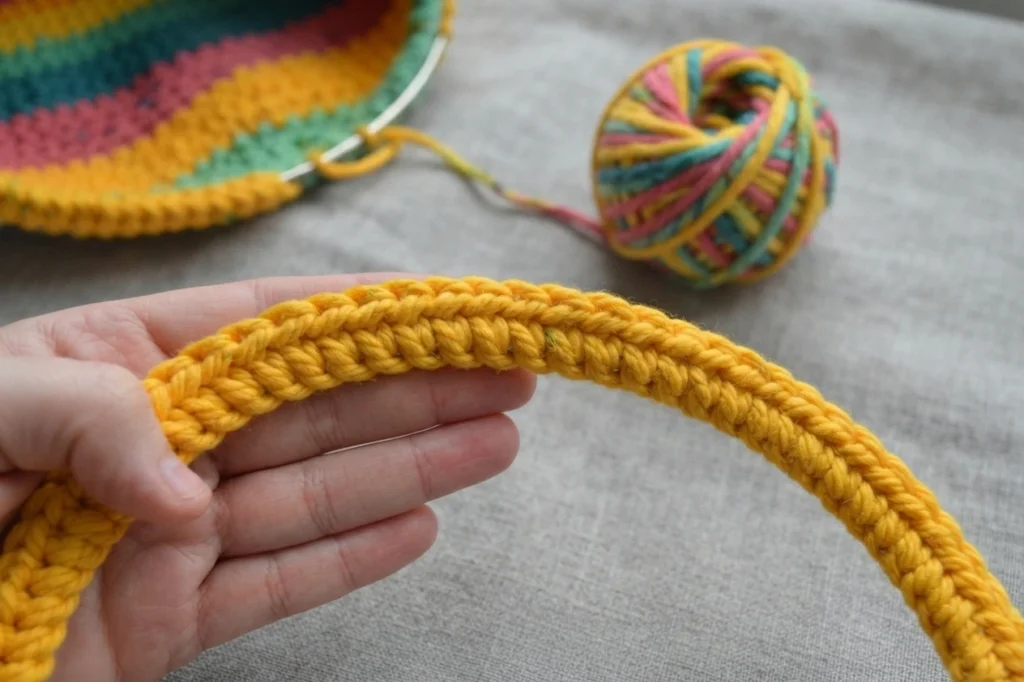
The opening starts with single crochet stitches worked directly around the steel hoop. Begin with a slip knot, keep the yarn on the outside of the ring, and bring the hook to the inside. Yarn over and pull through to form a single crochet, then repeat by slipping the hook under the hoop, yarning over, and drawing the yarn up to complete each stitch.
As you work, the stitches will twist and shift along the hoop, which is completely normal. Nudge them together so the metal does not peek through, but do not jam them in too tightly. Aim for a row of neat V shapes along the top of the ring, with the hoop showing through only here and there.
Working off of Your First Round
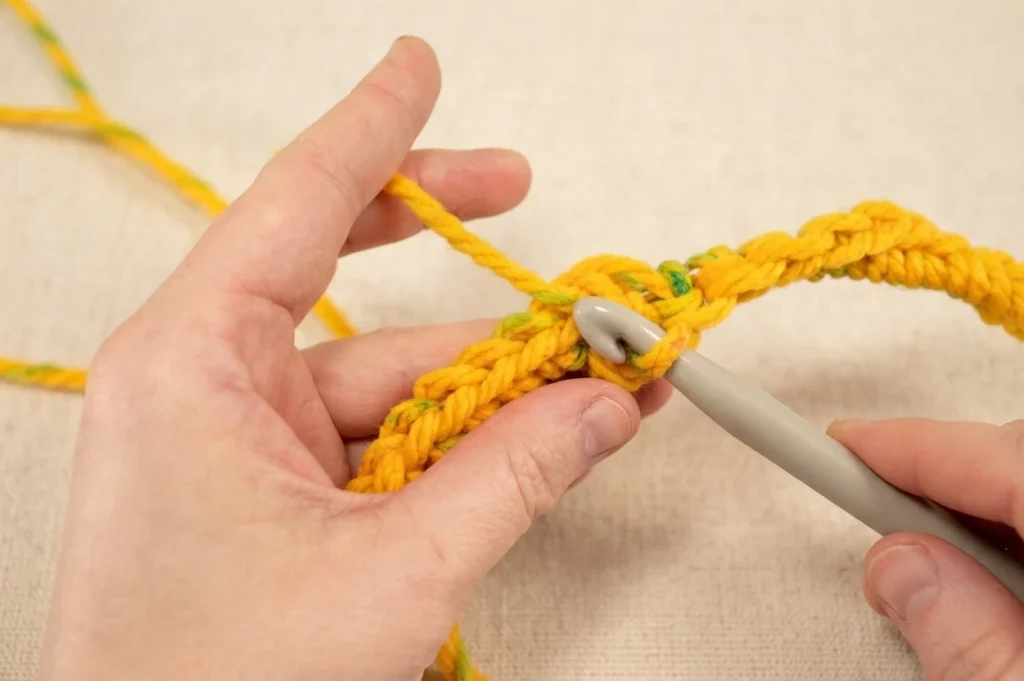
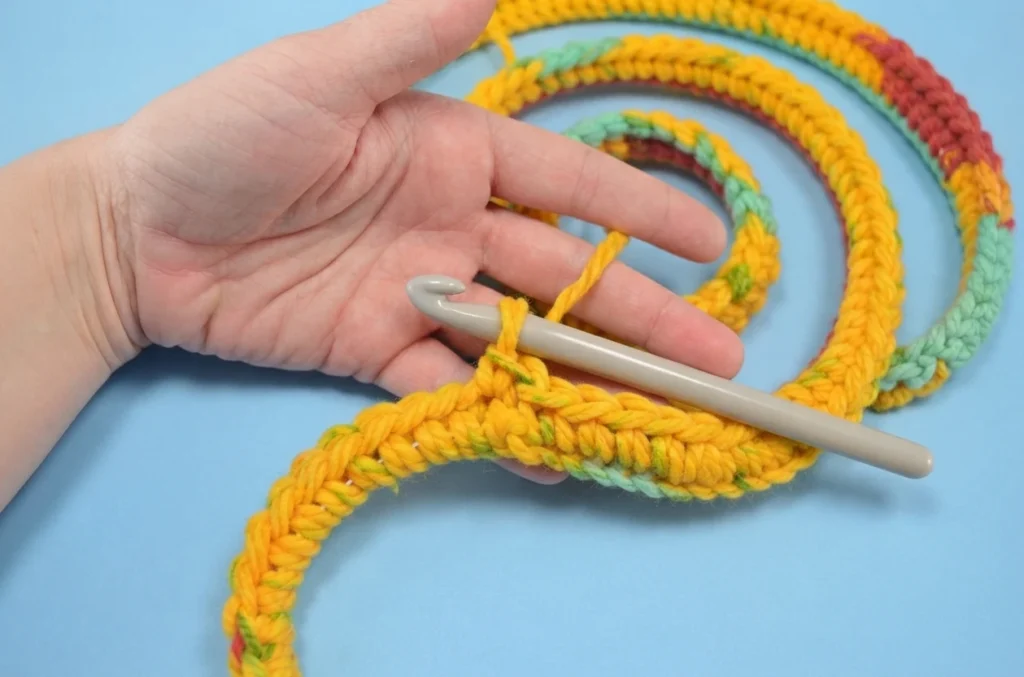
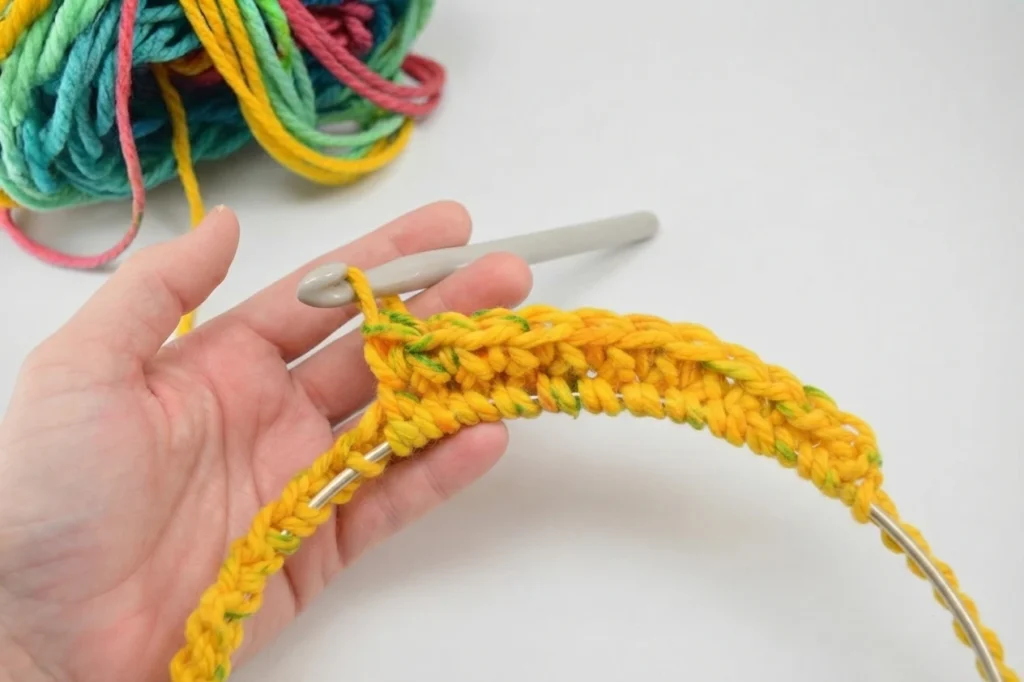
Once the hoop is covered, the tunnel grows by working single crochet stitches into the previous round in a continuous spiral. Instead of slip stitching to join each round into a circle, simply place the hook under both loops of the first stitch you made and keep going. Continue working into the V shape of each stitch, round after round, with no seam.
The reason why we’re working in the spiral rather than joining is really simple…
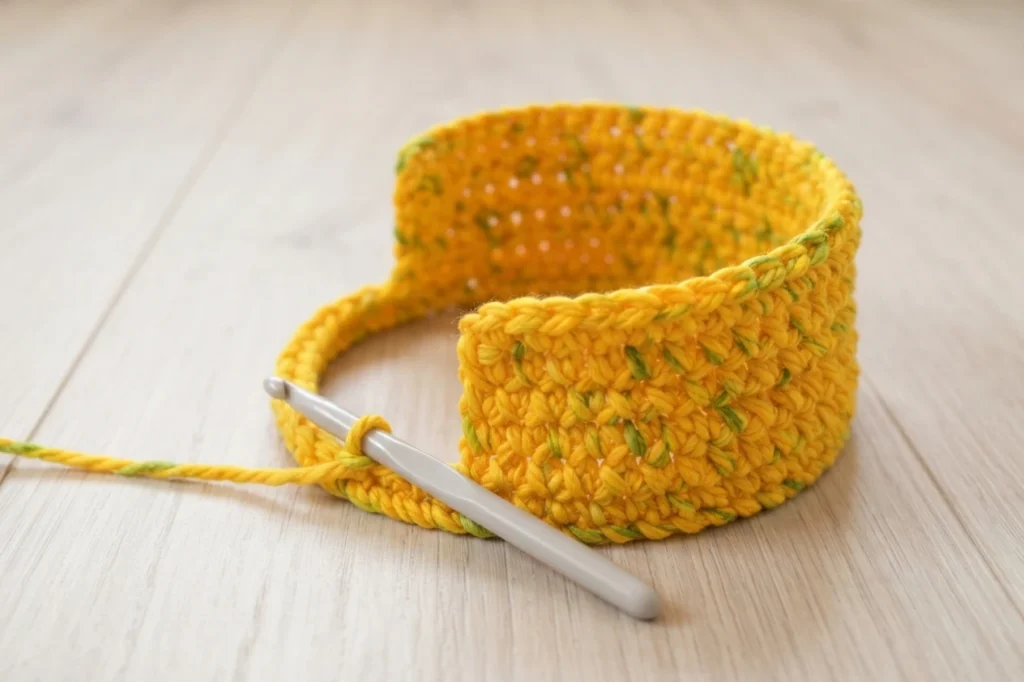
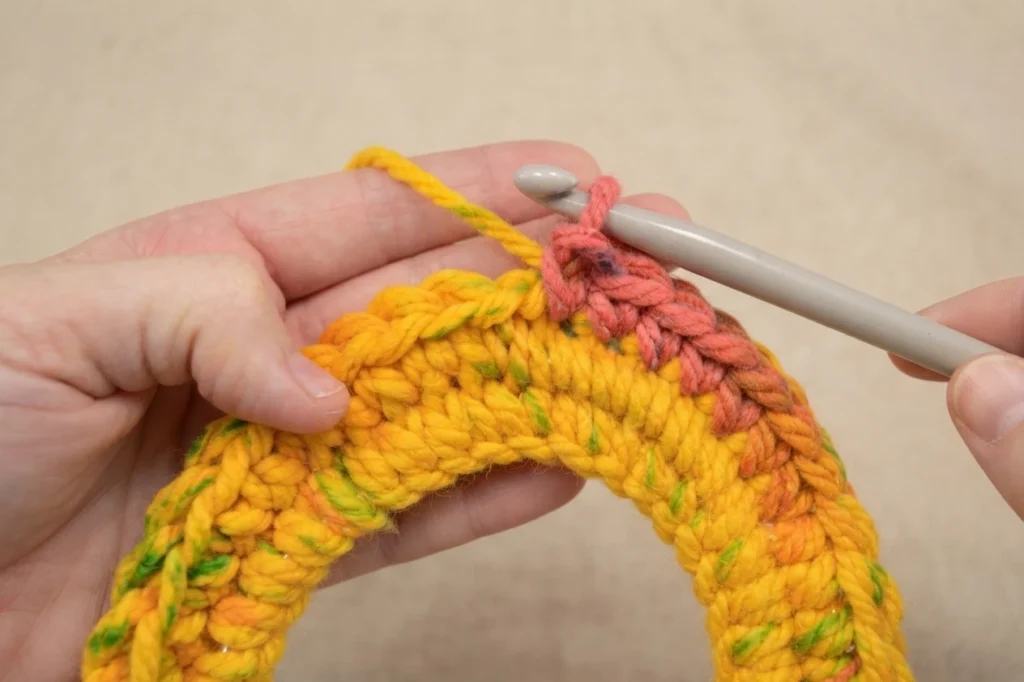
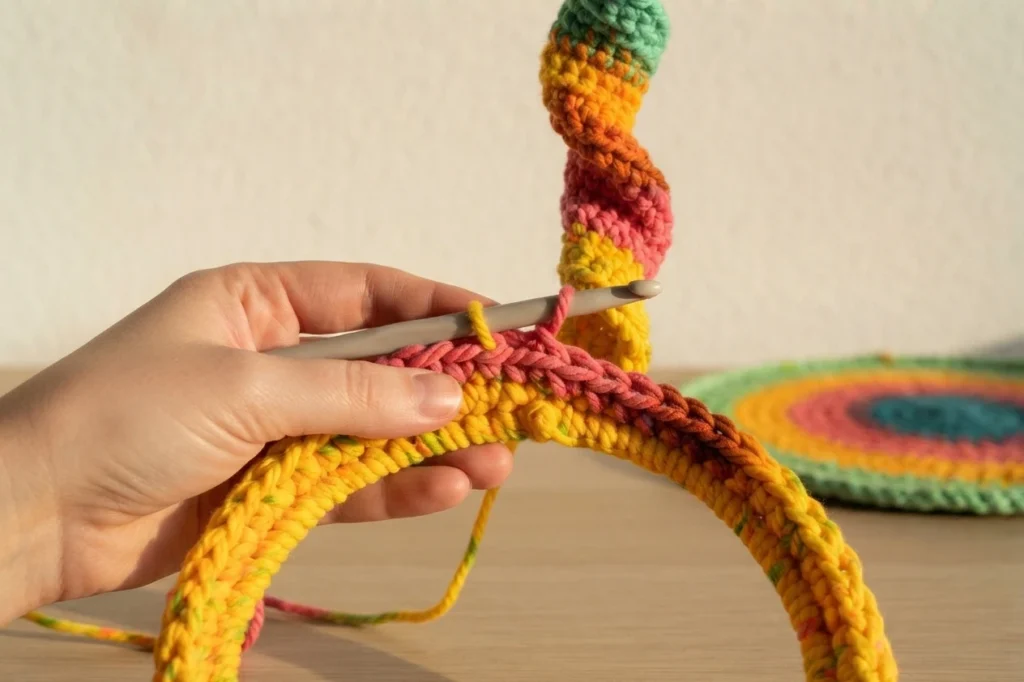
Working in a spiral is simply easier, letting the project run on autopilot with no joining to interrupt the rhythm. You just keep moving forward, placing a single crochet in each stitch you meet, and the tunnel feels like it builds itself.
The key is keeping every stitch facing the same direction. Hold the early rounds so the stitches sit on top of the hoop, like a little wall rising from the ring. That creates the even tunnel shape instead of a loose flare that wastes yarn.
Around and ’round she goes!
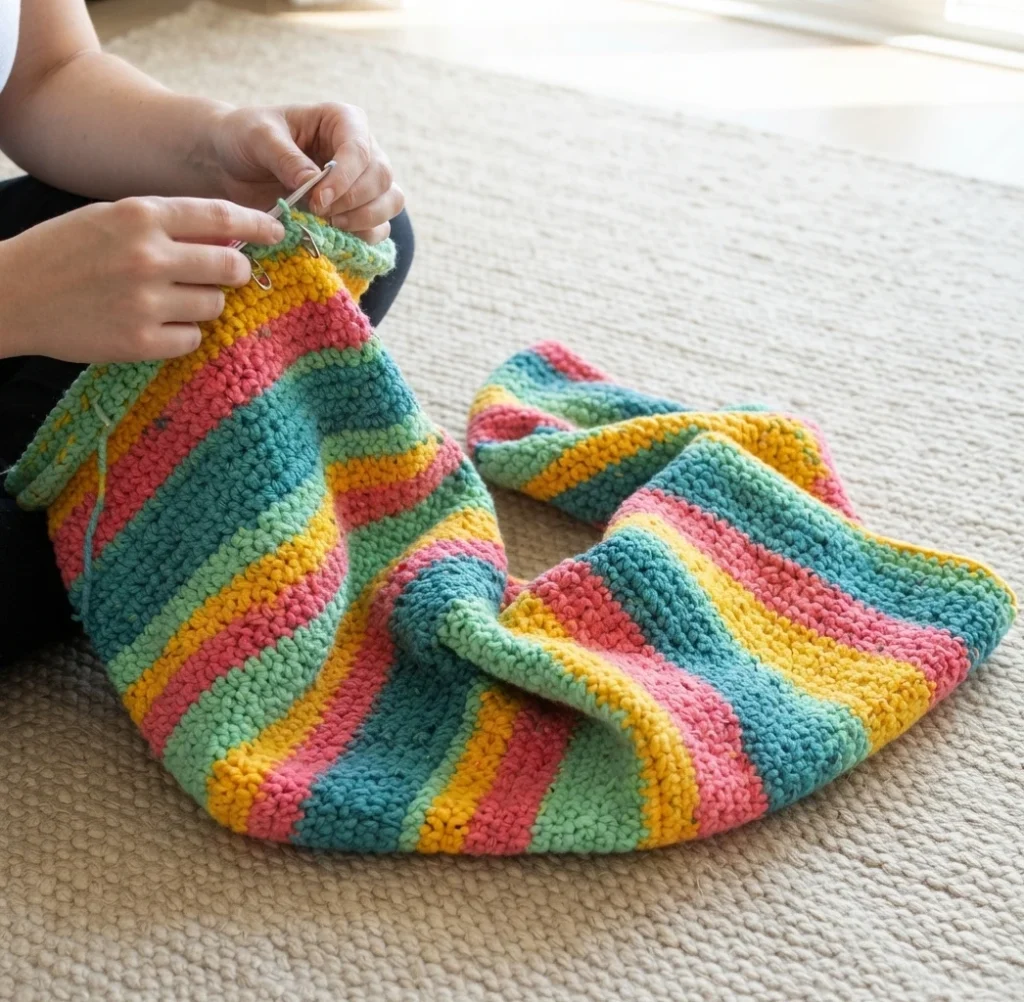
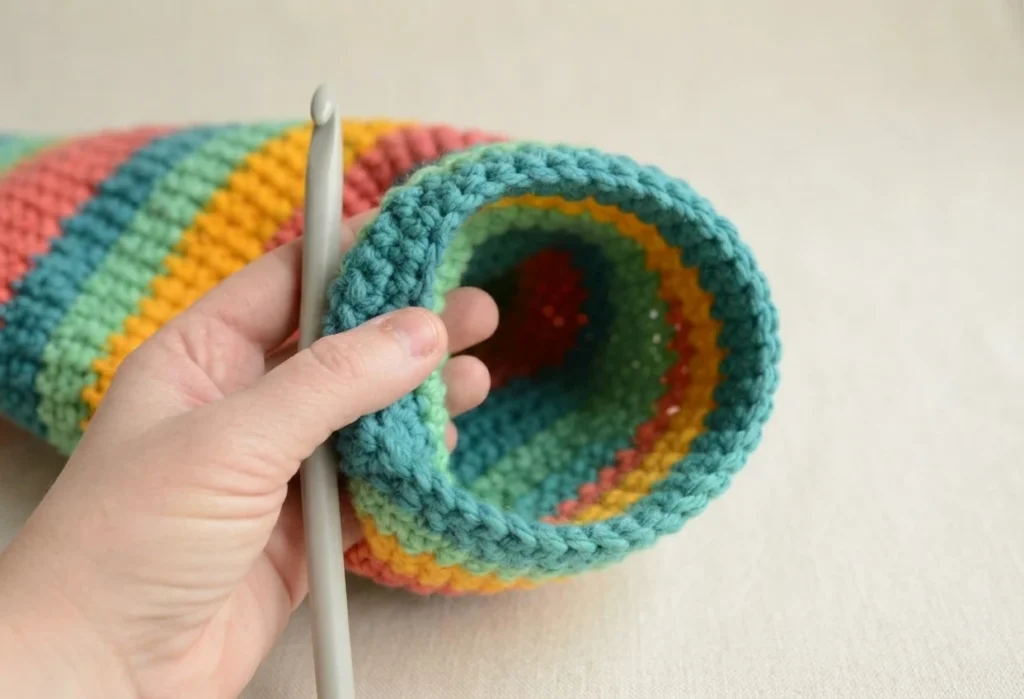
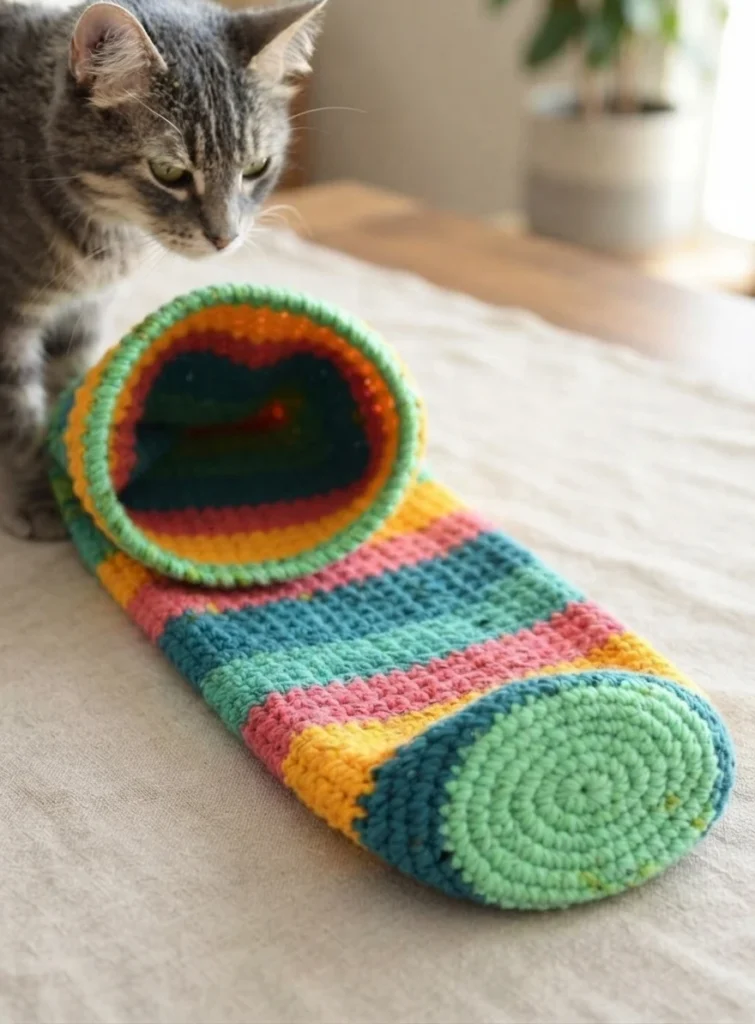
After working about six inches out from the hoop, you can relax a little and let the fabric fold as needed while you continue comfortably. Keep going until the tunnel is long enough for your cat to hide in. A full-length build on the larger hoop can take more than one cake of yarn, so plan for a second cake.
Finish with a few slip stitches to even out the spiral into a flat end, then tie off and weave in the ends. You can also close one end of the tunnel to make more of a cave. The designer left hers open, and either finish gives your cats a hideaway to explore.
As with anything new it might take some time for the kitties to show interest.
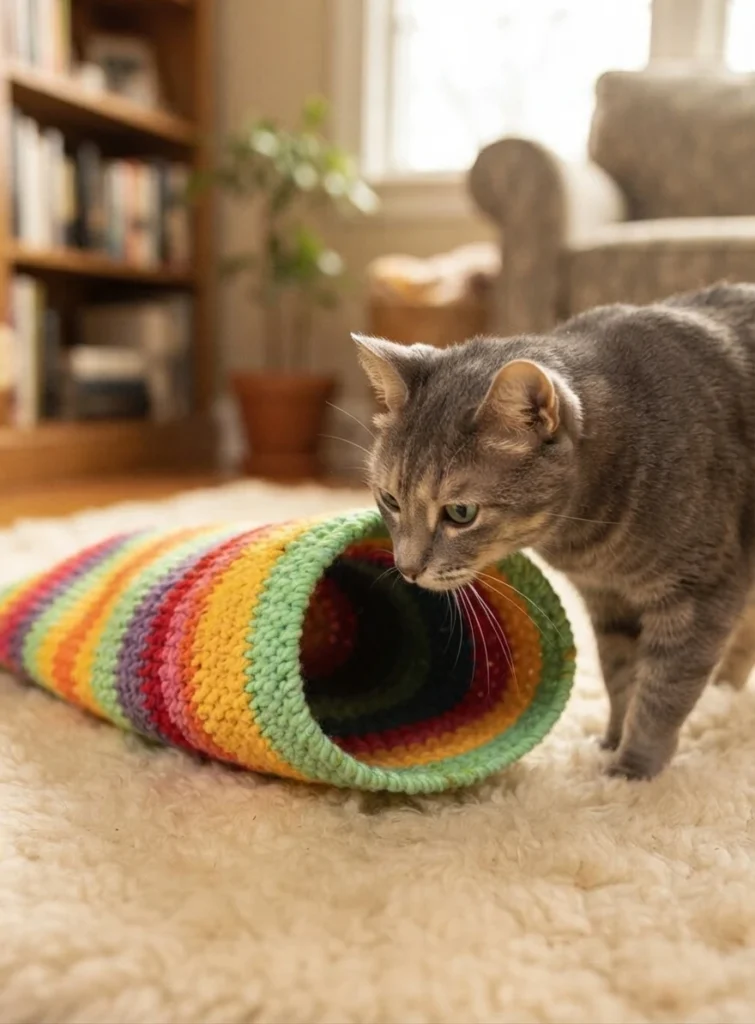
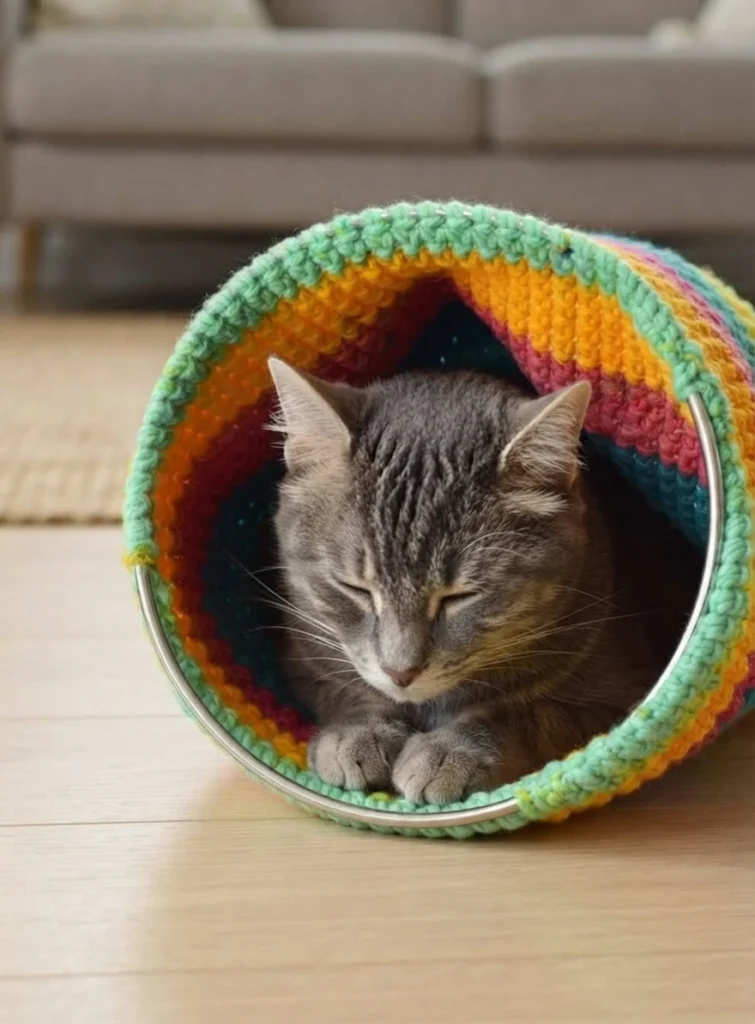
New handmade things can puzzle cats at first, so a little encouragement helps. The designer suggests a light spritz of catnip spray to signal that the hideaway was made for them. Give your kitties time to sniff and investigate, and they will likely come around.
But if kitty decides to just lay on top of their crochet cat sack hideaway at least they’re using it, right? 🙂
And if your cat claims the roof of the tunnel as a sunny perch instead of crawling inside, count it as a win. Cats use things on their own terms, and a well-loved hideaway that doubles as a napping spot is still a successful project.
Crochet Cat Cave
This cozy hideaway is made for kitties who love to tuck themselves away. With yarn from your stash you can crochet a soft sack they will adore curling up in or on. The project takes two hours and thirty minutes from the first slip knot to the final woven-in end.
Equipment
The tool list for this build is wonderfully short. Everything is worked with a single large crochet hook, and because the gauge stays loose, the hook glides easily through each stitch of the spiral. No other tools are needed.
Ingredients
The materials are just as simple. A soft, chunky cake yarn makes up the body of the tunnel, while a plain steel hoop holds the opening in shape. That is the entire materials list, so you can start as soon as both are on hand.
Construction Overview
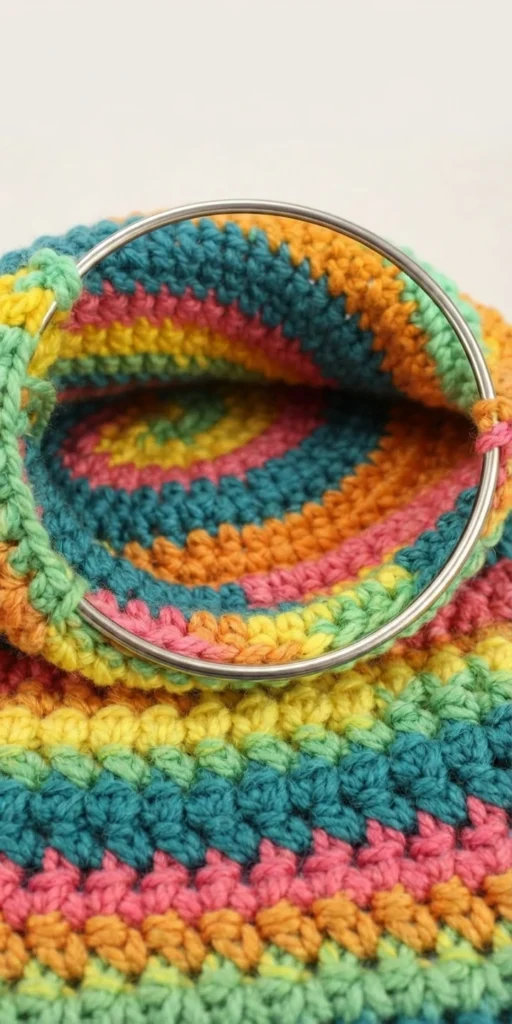
Construction starts with a slip knot and a three to four inch tail, with the yarn worked from the center of the ball around the hoop. Single crochet stitches are placed all the way around the ring, and once the first stitch is reached, the rounds continue in an unjoined spiral. The fabric simply grows without seams until it reaches the length you want.
To finish, a few slip stitches even out the end of the spiral, and then the yarn is tied off with the ends woven in. Because this is an overview rather than a tutorial, the designer’s page linked above carries the full instructions with photos.