Project introduction
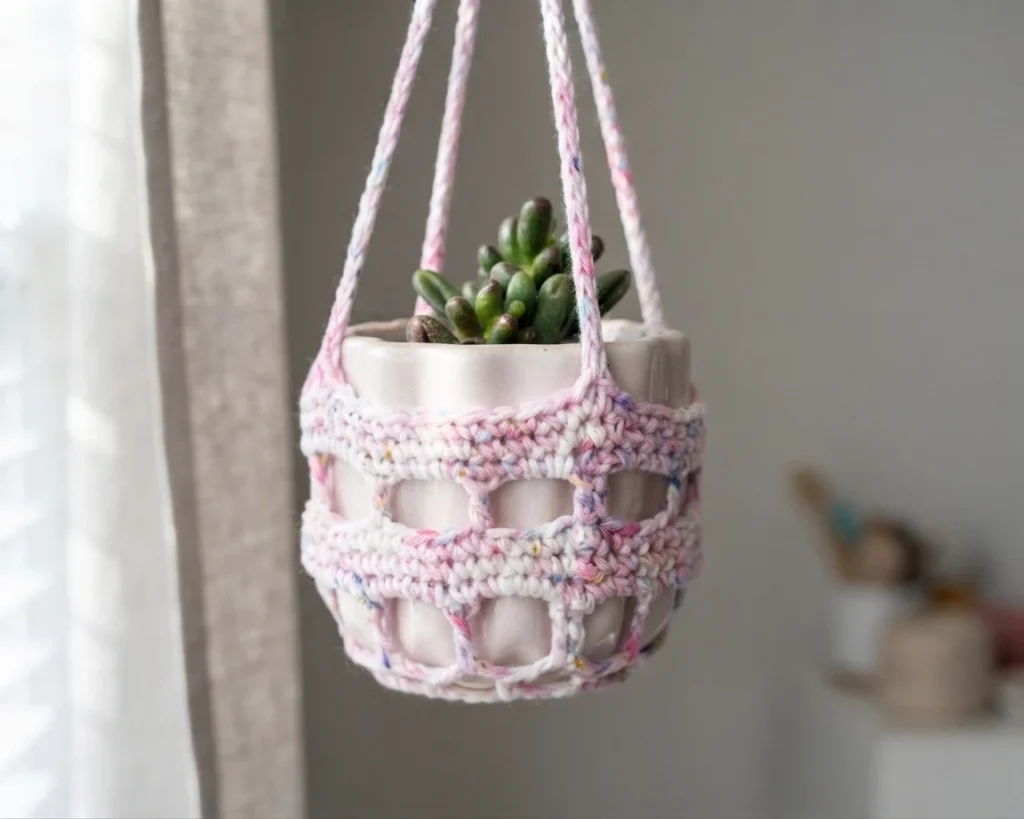
This is a pattern overview, not a full tutorial. It summarizes the source project so you can decide whether to make it. Original designer’s pattern and instructions are linked here for the full instructions. The source presents it as a free pattern, but that label does not prove every printable or PDF format is free. The designer calls it advanced beginner and suggests some prior crochet experience. It was first developed during a collaboration with Darn Good Yarn using recycled fiber, then later made in cotton and nylon.
Table of Contents
This overview follows the source order: project introduction, pattern specifics, stitch abbreviations, notes, pattern overview, and tips. The source page pairs its written pattern with an original video and includes prompts to save or share the pattern. Use the sections below to review materials and construction before opening the full instructions.
- Project introduction
- Pattern specifics
- Stitch abbreviations
- Notes
- Pattern overview
- Tips & Tricks
Pattern Specifics
The source lists the finished fit, gauge, hook, tools, and yarn details in one place. Use this table as a concise checklist before you begin, and compare your own gauge to the listed gauge so the finished size stays close to the source project.
| Item | Source detail |
|---|---|
| Finished fit | Fits a 4” diameter planter |
| Gauge | 1” = 5 SC sts |
| Hook size | 4.5mm crochet hook |
| Other tools | Tapestry needle, scissors |
| Yarn weight | Medium (4) worsted weight |
| Yarn used | Darn Good Yarn Worsted Weight Silk |
Stitch Abbreviations
The pattern uses standard US crochet abbreviations. Keep this short glossary nearby while reading the original instructions, especially if you are still building confidence with stitch names. The abbreviations below use their exact technical meanings, so they should match the source pattern.
- st = stitch
- sl st = slip stitch
- SC = single crochet
- DC = double crochet
Notes
Your yarn choice, hook size, and tension can change the finished sizing, so check your gauge before starting. The source warns that skipping a gauge comparison may affect sizing. Fiber choice also affects how the holder fits the pot and how long the hangers hang, and the designer recommends a yarn with minimal stretch for best results.
Ch 1 or 2 at the start of a round does not count as a stitch unless the pattern says otherwise. The project is worked in the round, with each round joined to the beginning by a slip stitch unless the pattern says otherwise.
Pattern Overview
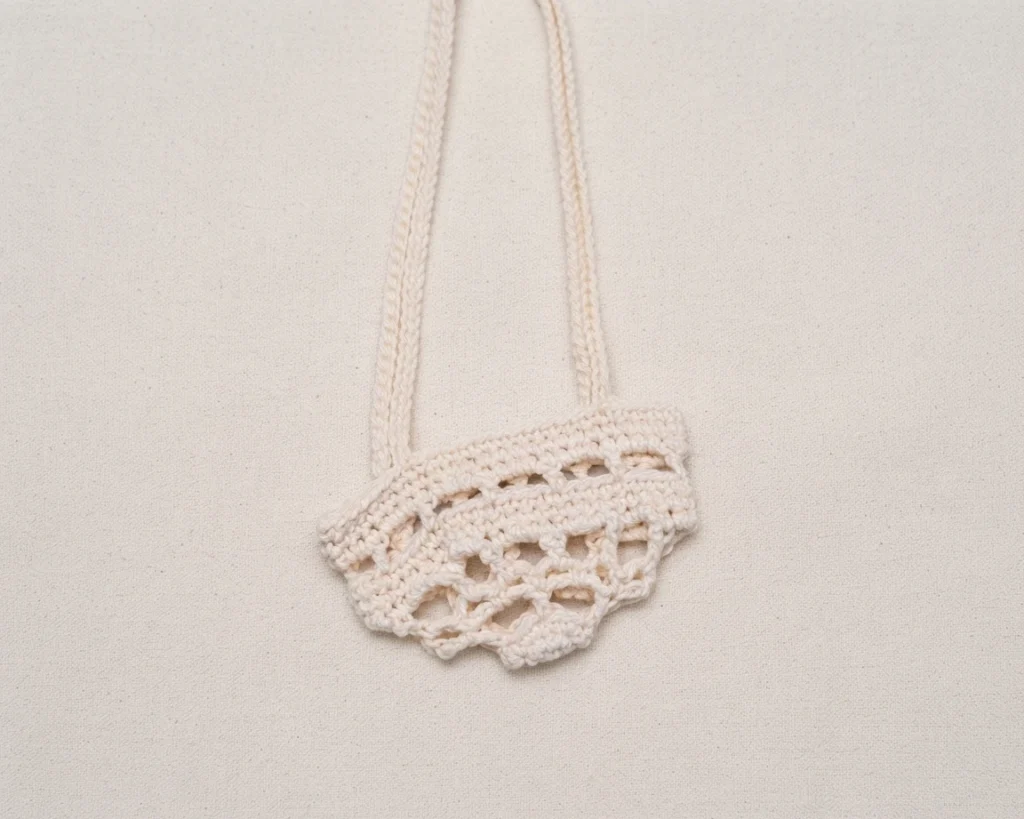
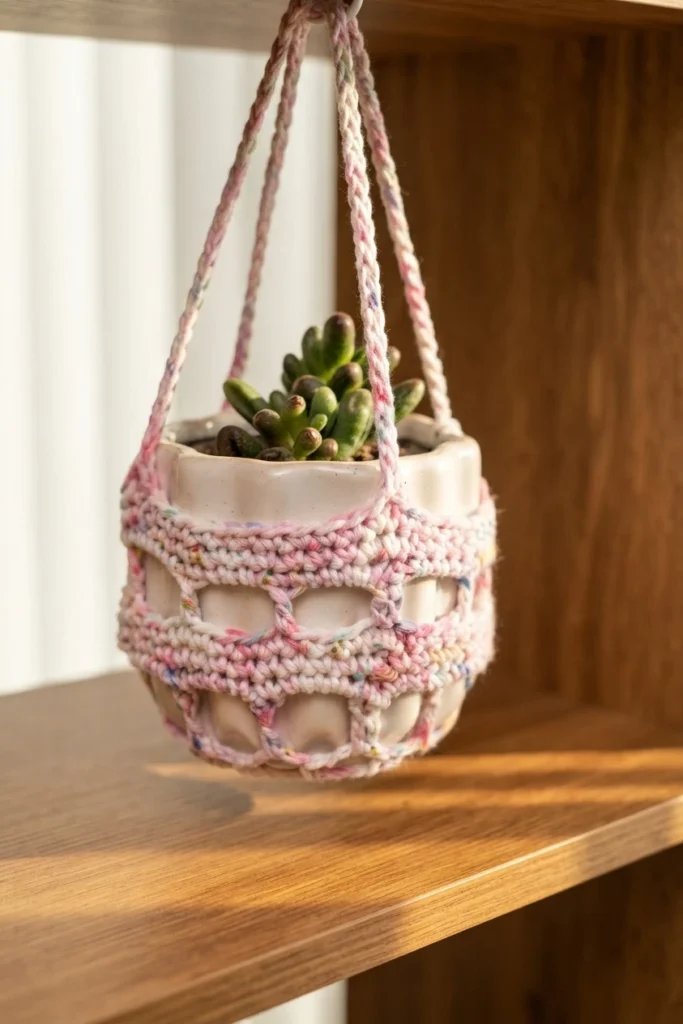
The construction begins with a magic ring, then builds the base through joined rounds. Early rounds establish a small circular foundation, while later rounds expand the fabric into the cup that will hold the planter. Because the source gives the full row-by-row pattern, this overview focuses on the overall shape rather than repeating each round.
The sides use a mix of solid stitches and open chain spaces. This combination creates a light, airy fabric with decorative openings while keeping enough structure to support a small pot. The pattern continues upward in the round, joining each round before moving to the next, until the holder reaches the intended height.
The final section forms the hanging cords. Long chains are worked, turned, and joined so the cords connect securely around the holder. After the cords are complete, the yarn is fastened off and the ends are woven in. This is an overview only; it does not replace the designer’s full instructions.
Tips & Tricks
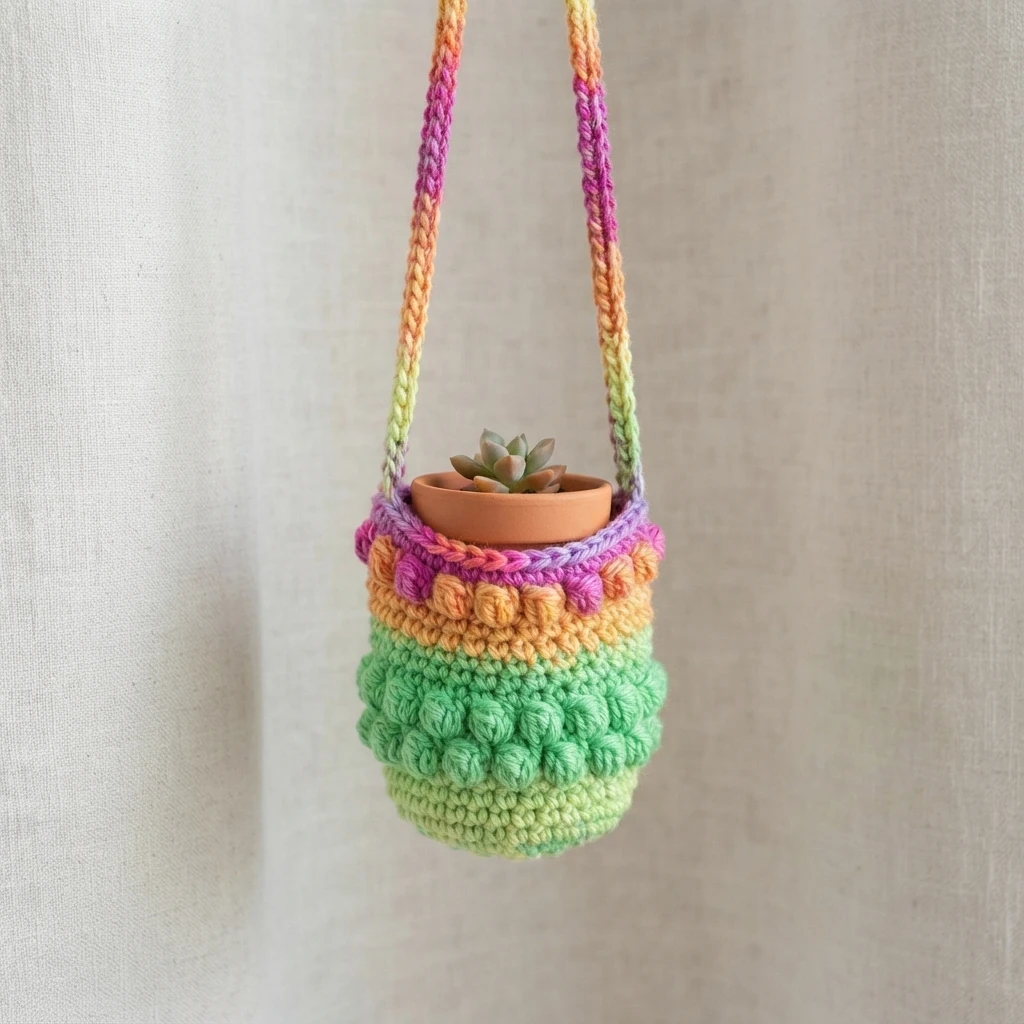
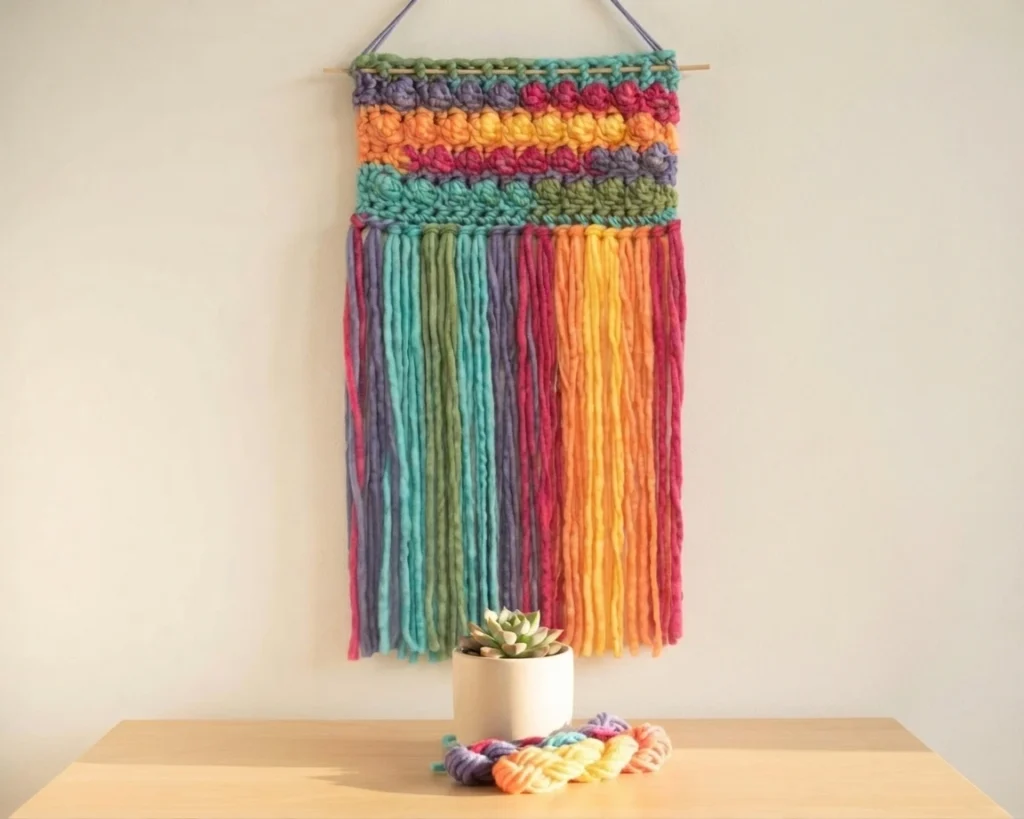
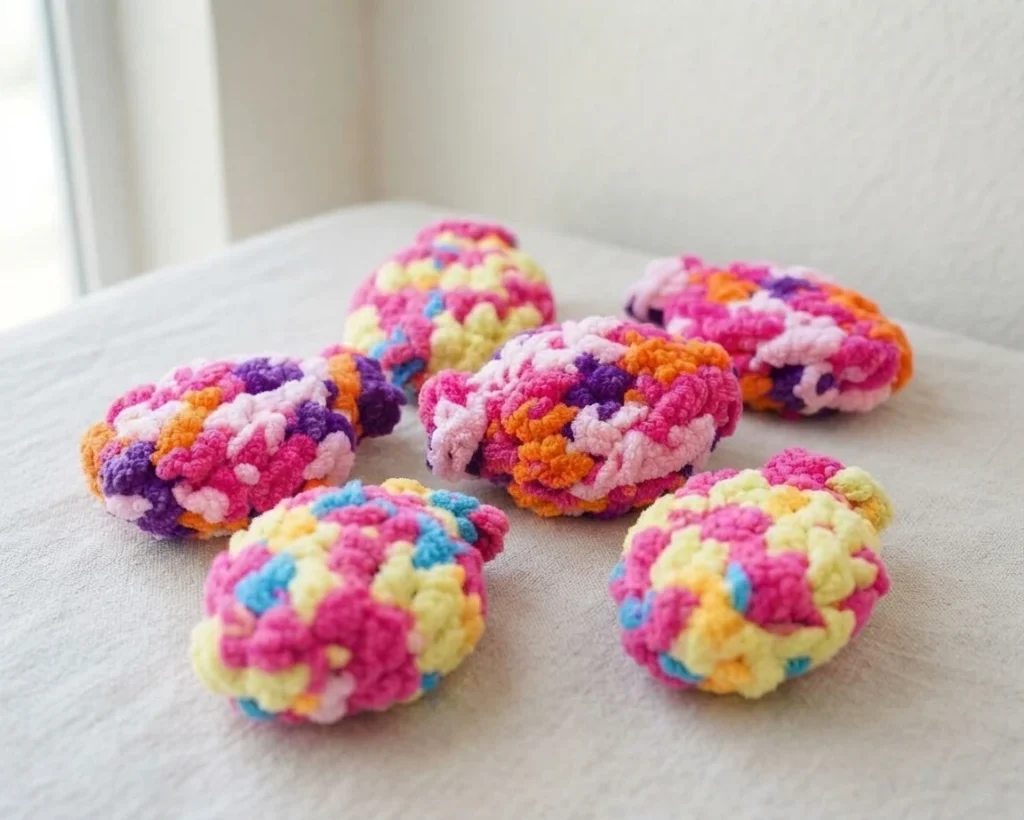
Check the hanger against your pot periodically while you work, rather than waiting until the end. Small differences in yarn, hook, or tension can change the fit, so catching a mismatch early saves rework. Choose a fiber with minimal stretch when possible; the source specifically suggests cotton as an example that helps the holder keep its shape with use.
Related reading on this site: Crochet Plant Holder: Pattern Overview and Zeena the Small Crochet Witch Doll: Pattern Overview.