Project introduction
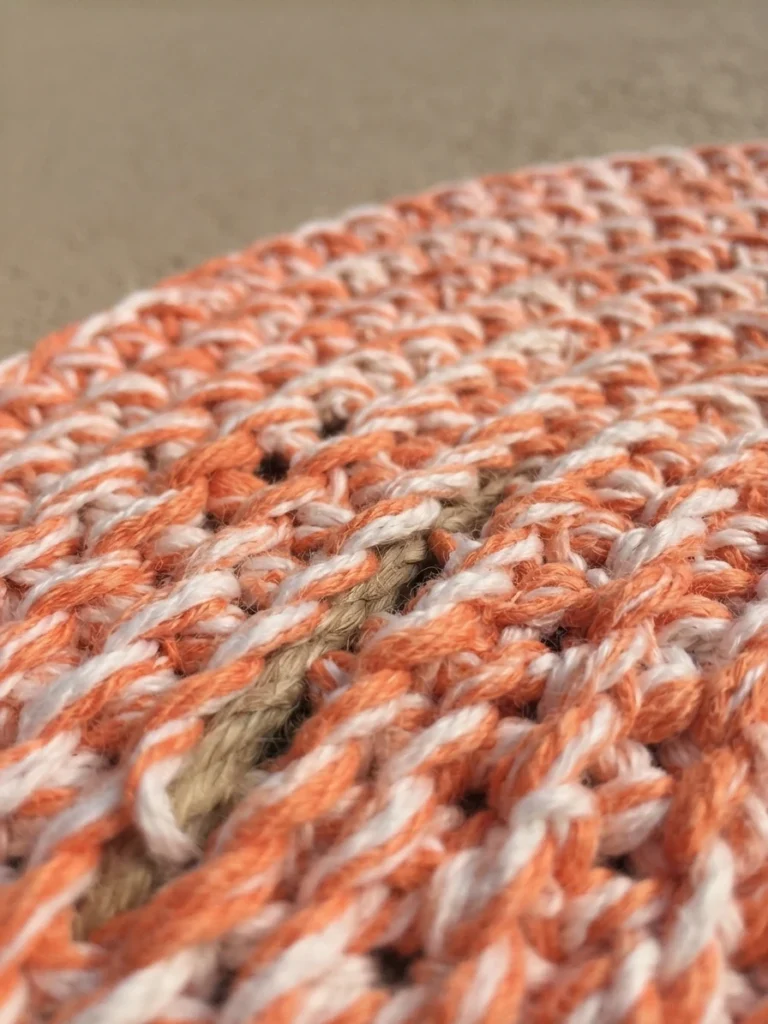
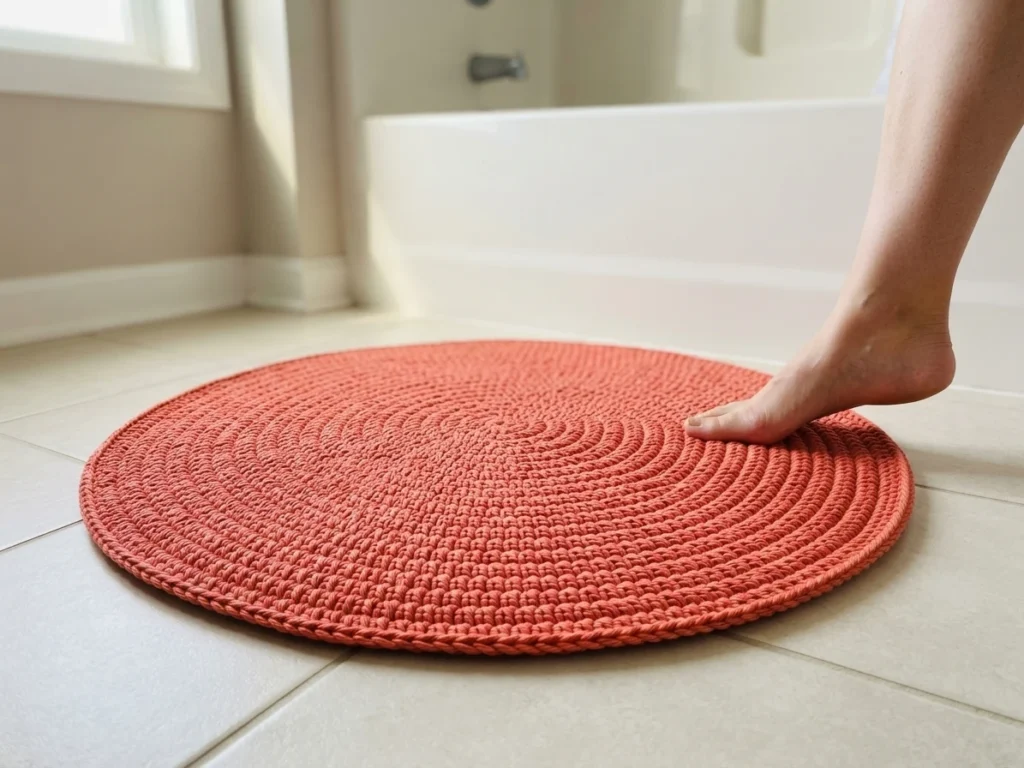
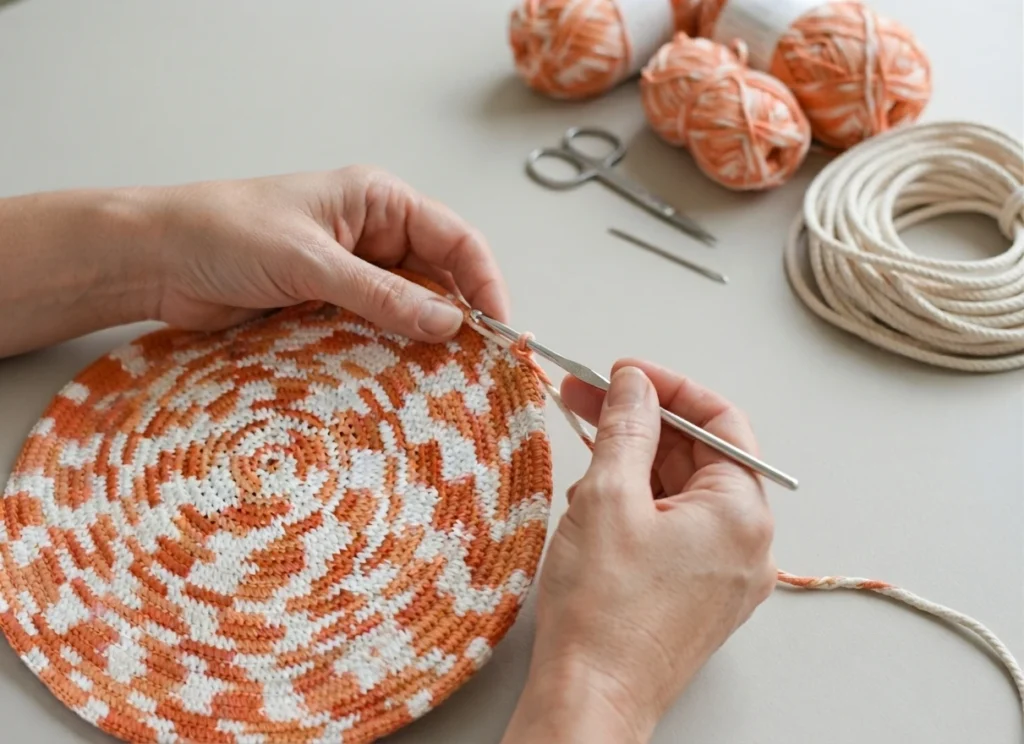
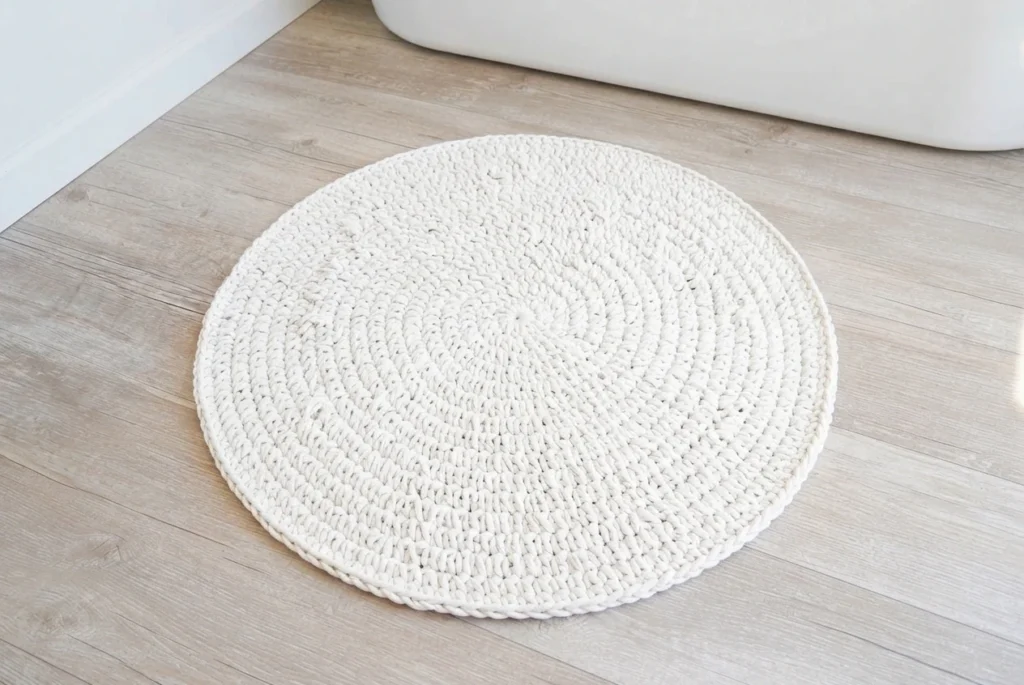
This is a pattern overview, not a full tutorial, of a clever crochet bath mat that turns leftover yarn and an inexpensive clothesline rope into a sturdy, absorbent rug. The design comes from Jessica of Mama In A Stitch, who works single crochet around the rope in a technique similar to tapestry crochet. Because the rope supplies the structure, the mat builds quickly and holds its shape on a bathroom floor. See the Original designer’s pattern and instructions for the full method and video tutorial.
The sample was made in 100% cotton yarn, chosen because cotton absorbs water well when stepping out of the bath or shower. Any worsted weight #4 yarn works, but cotton is the practical pick for this use. The designer used three small skeins totaling about 300 yards, and the finished mat measured 21 inches round. There was rope left over, so purchasing two or three ropes would let you crochet a larger mat.
Comfort with single crochet is all you need to try this project. A video tutorial is available on the designer’s page for visual guidance. Color choice is entirely personal: bright shades give the mat a playful look, while neutrals blend quietly with existing decor. Because this is an overview rather than a step by step tutorial, the guidance here describes the construction in general terms only.
Using up scraps is part of the appeal, since the design was created specifically to consume leftover yarn while the rope keeps every round tidy. Switching colors as skeins run out produces a striped, scrappy look without extra planning. If you prefer a single color mat, choose one shade of worsted weight yarn instead.
Supplies checklist (from the source):
- 1 clothesline rope, 3/16th inch by 100 ft
- Worsted weight #4 yarn, preferably cotton, about 300 yards (three small skeins in the sample)
- Scissors
- Tapestry needle for weaving in ends
How To Make the Crocheted Rope Bath Mat
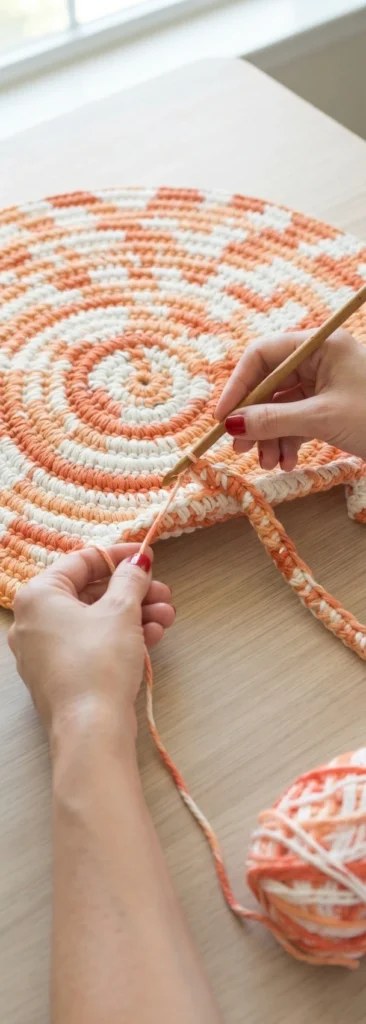
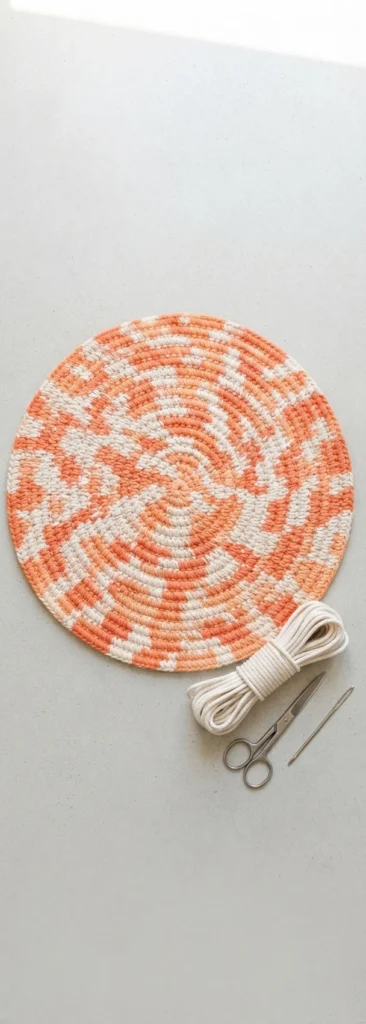
Work begins at the center, with single crochet stitches made around the rope, just as in tapestry crochet. From there, you keep working in rounds, placing each new stitch into a stitch of the previous round. For the first round, place two stitches into every stitch, which increases the count enough for the round mat to lie flat instead of cupping.
After that opening round, increases are added only every so often, with no fixed pattern to memorize. The practical rule is simple: when the mat starts to curl, increase more frequently. Because the source presents this as flexible guidance rather than written rounds, the overview stops here; the designer’s page linked in the introduction carries the complete instructions and video walkthrough.
Related reading: Ghost Gift Buddy Crochet Pattern by Yarn Society: Pattern Overview.