Project introduction
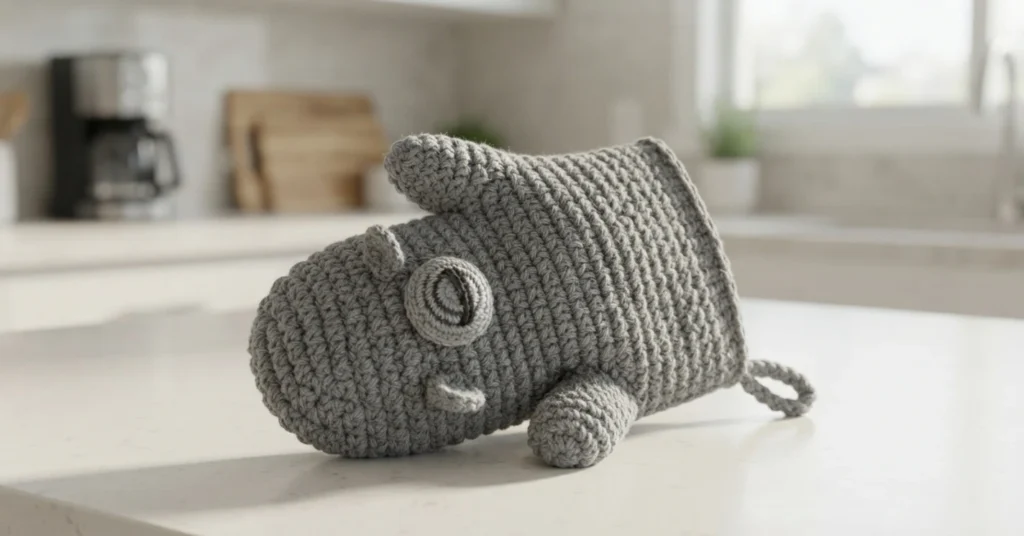
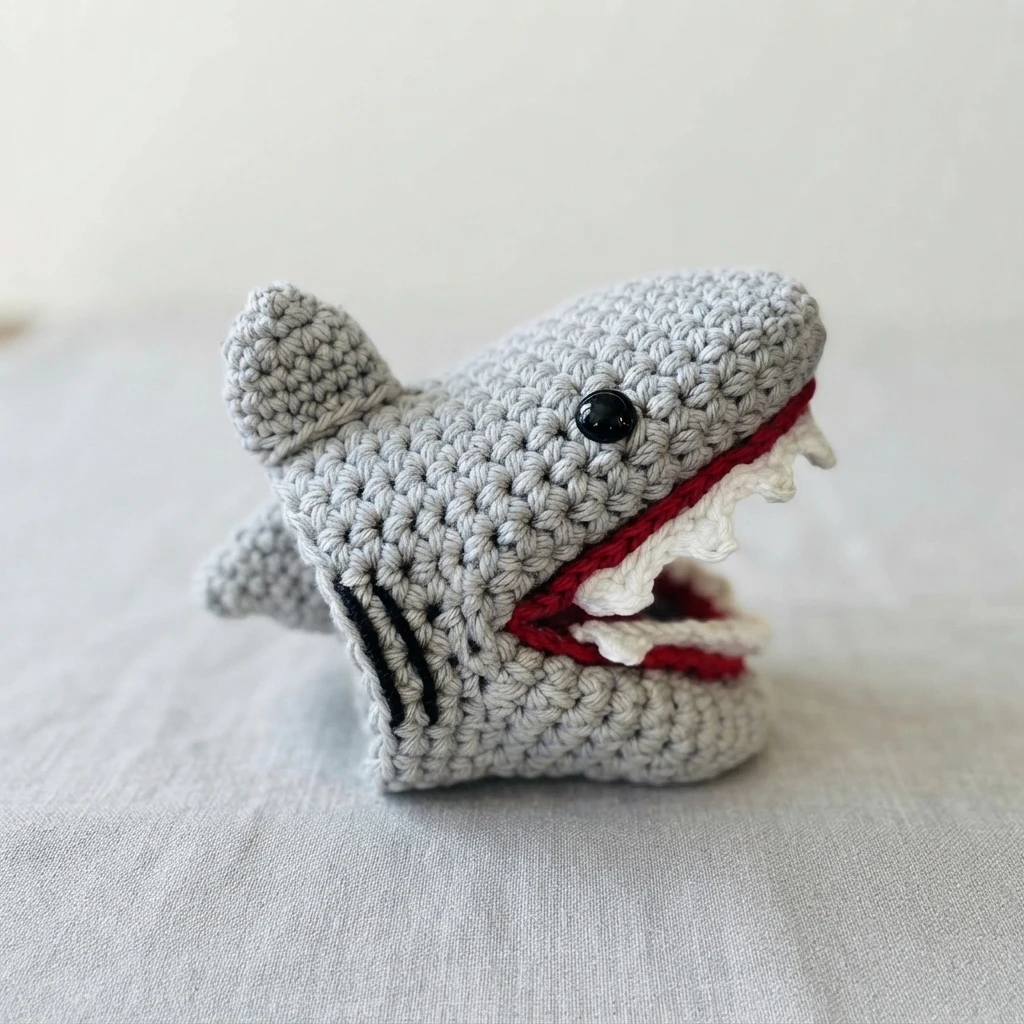
This is a pattern overview, not a step by step tutorial. Shaped like a shark head with a wide open mouth, the Shark Mini Oven Mitt is designed to grip hot dishes, pans, and plates. Quick to make and easy to customize, it brings quirky, practical fun to baking sessions, Shark Week, holidays, and craft fair tables. Find the full instructions here: Original designer’s pattern and instructions.
It suits a seasoned crocheter looking for a fast, satisfying make. Below you will find the materials checklist, skill notes, sizing, a construction summary, and care tips to help you plan.
What is a mini oven mitt?
A mini oven mitt is a small, heat resistant mitt that protects the fingers and part of the palm when handling hot kitchen items. More compact than a full sized mitt, it suits quick tasks: sliding a cookie sheet from the oven, grabbing a hot plate or mug from the microwave, or lifting a pot lid or pan handle. It stores easily and stays within quick reach.
Why You’ll Love the Shark Mini Oven Mitt
This mitt is a small kitchen accessory with personality, sized for grabbing cookie sheets, pulling mini casseroles from the oven, or handling hot handles and microwave bowls. The shark shape fits the hand like a puppet. Use classic shark colors or bold brights and pastels, then give it to ocean lovers, Shark Week fans, or anyone who enjoys whimsy in the kitchen. It works up fast, ideal for last minute gifts and stash busting.
Yarn and Color Ideas
Classic colors are light gray, white, black, and red for the mouth. Alternatives include bright pink for a girly shark, navy blue with white teeth for a deep sea vibe, and rainbow stripes for a pride themed mitt. Pastels suit baby showers; red and green say Christmas, orange and black say Halloween, and icy blues bring a winter twist.
What Makes This a Great Crochet Gift?
Small enough to finish quickly and quirky enough to stand out, this mitt is a strong handmade gift for birthdays, baby showers, housewarming parties, or Christmas. Pair it with a baking mix and spatula, a batch of cookies or a mini pie, or a themed gift basket.
Skill Level Breakdown
The designer rates this project as easy, though not beginner level. Basic stitches and simple shaping keep most of it approachable, but one portion of the base and the teeth use a more advanced technique. Be comfortable working in the round, using single crochet and slip stitch, attaching applique style pieces like fins and teeth, and adding simple embroidery for gills and eyes.
About the Design
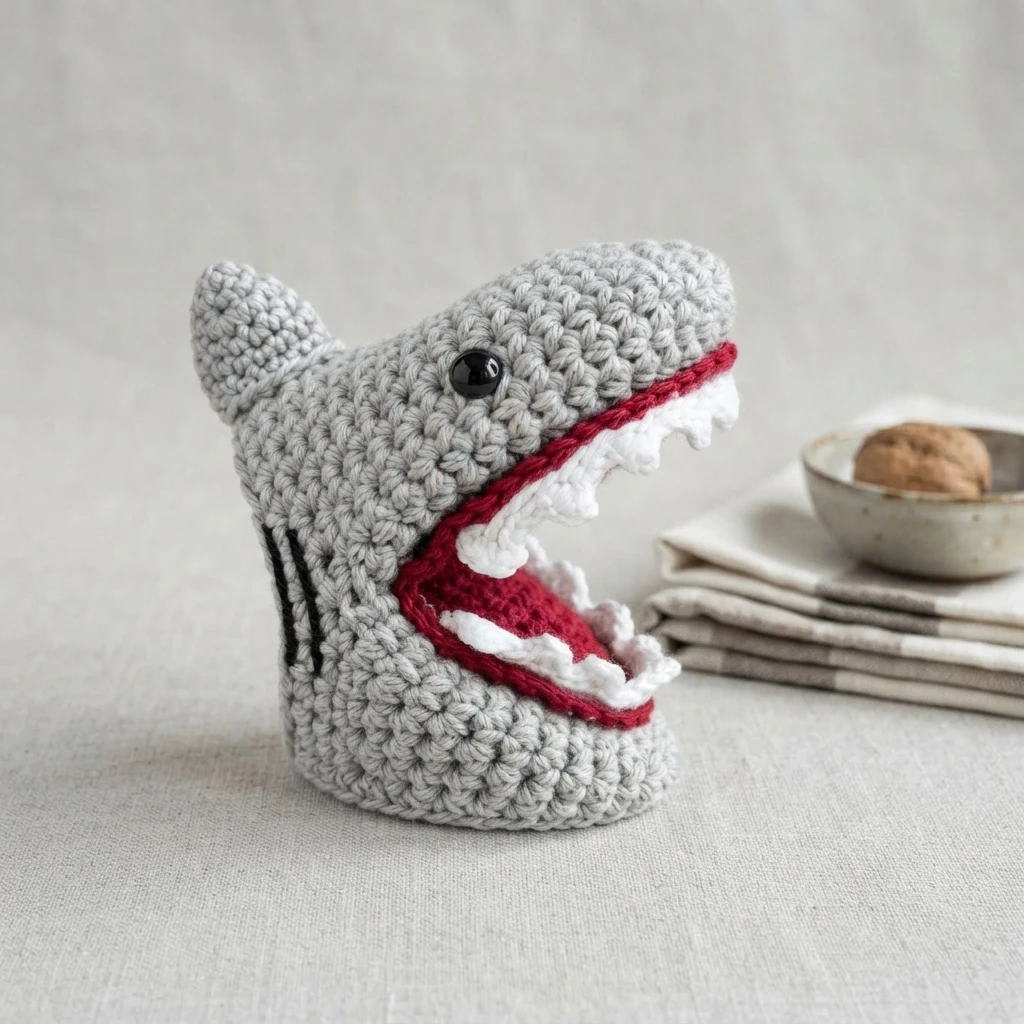
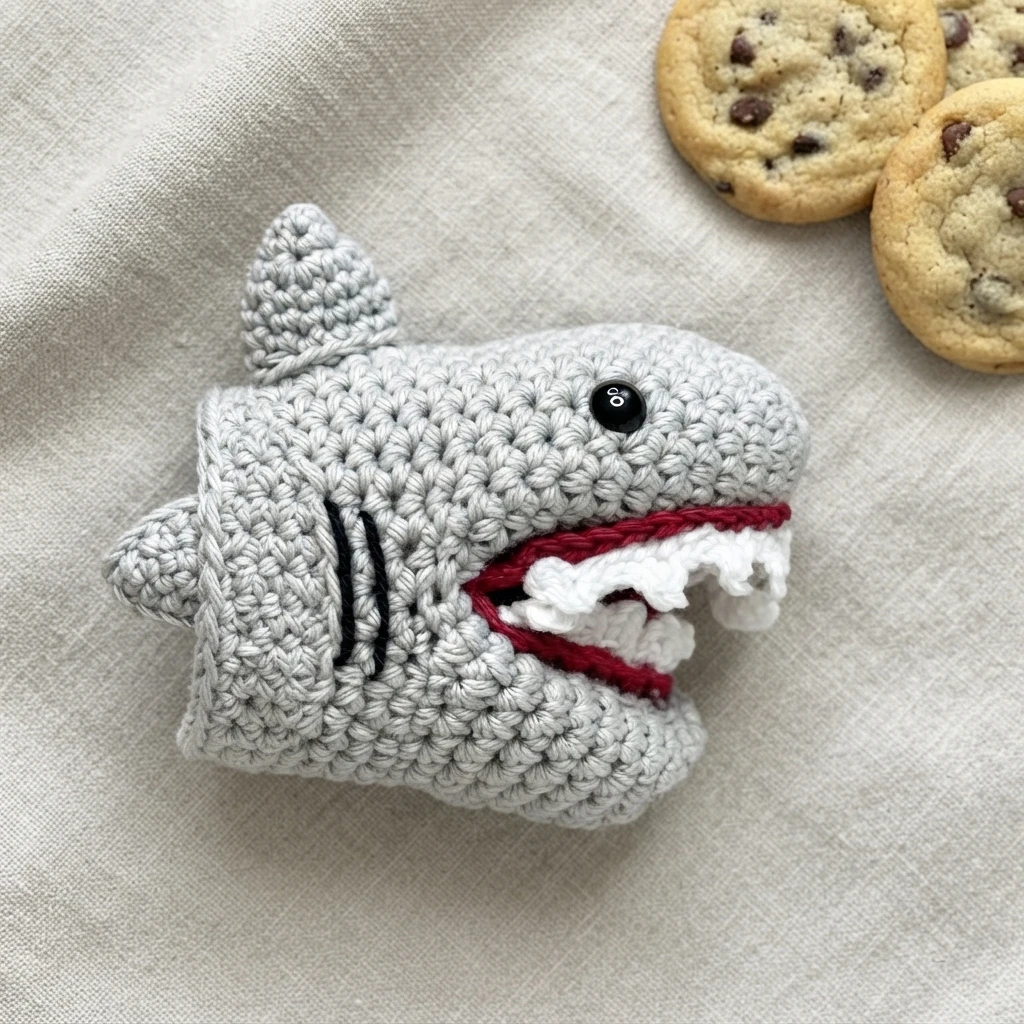
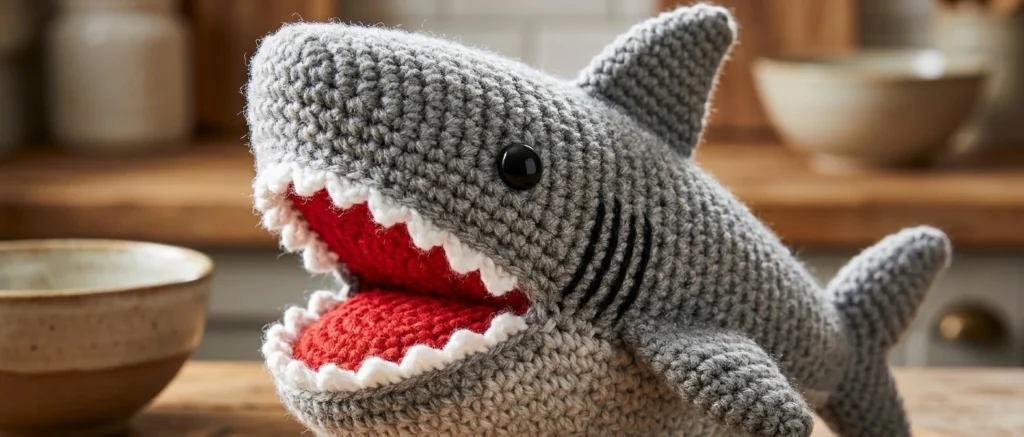
Crocheted in the round, the mitt looks like a little shark head with a fin, gills, button eyes, and a row of teeth, fitting snugly on the hand for a comfortable grip. The open mouth is the gripping area, and the thick stitchwork offers a little heat resistance. The source suggests adding clear silicone to the mouth for extra grip and heat protection.
Care and Washing Tips
Wash it in a mesh laundry bag on a gentle cycle, or hand wash it, then lay it flat to dry. When gifting one, include these care instructions for the recipient.
How to Get the Shark Crochet Mini Oven Mitt Pattern Overview
The sections below summarize the pattern contents and supplies, so you can plan before opening the instructions.
If you enjoy small novelty makes, you may also like Mad Wizard Mini Amigurumi: Pattern Overview or Patrón gratis: Mini taza cactus II (con bracito 🌵): Pattern Overview.
Crochet Shark Mini Oven Mitt Pattern Overview
Read the free pattern instructions on the designer’s site, or buy the ad-free PDF with tutorial photos from the designer’s shops on Etsy or Ravelry. The free web version and paid printable are separate options.
About the Materials
The sample used I Love This Cotton, a 100 percent cotton worsted weight yarn. Substitutes include Knit Picks Dishie, Paintbox Cotton Aran, and Lily Sugar ’n Cream. The designer recommends sticking with 100 percent cotton.
The Crochet Pattern Overview
Below is everything you need to make the Shark Crochet Oven Mitt, with the stitch guide, sizing, notes, and construction summary.
Materials
You will need:
- 100% cotton worsted weight (#4) yarn: gray 3 oz/155 yds, red 1 oz/52 yds, white 1/2 oz/26 yds, black scraps
- J/9 (6.00 mm) crochet hook
- H/8 (5.00 mm) crochet hook
- Yarn needle
- Scissors
- Optional: 1/2 inch black shank buttons
Gauge
Gauge: 6 stitches by 7 rows equals 2 inches. Not critical for this project.
Finished Measurements
Finished size: 4 inches wide by 5.25 inches long.
Stitch Guide
- arnd = around
- ch = chain
- dec = single crochet decrease
- sc = single crochet
- sl st(s) = slip stitch(es)
Skill Level
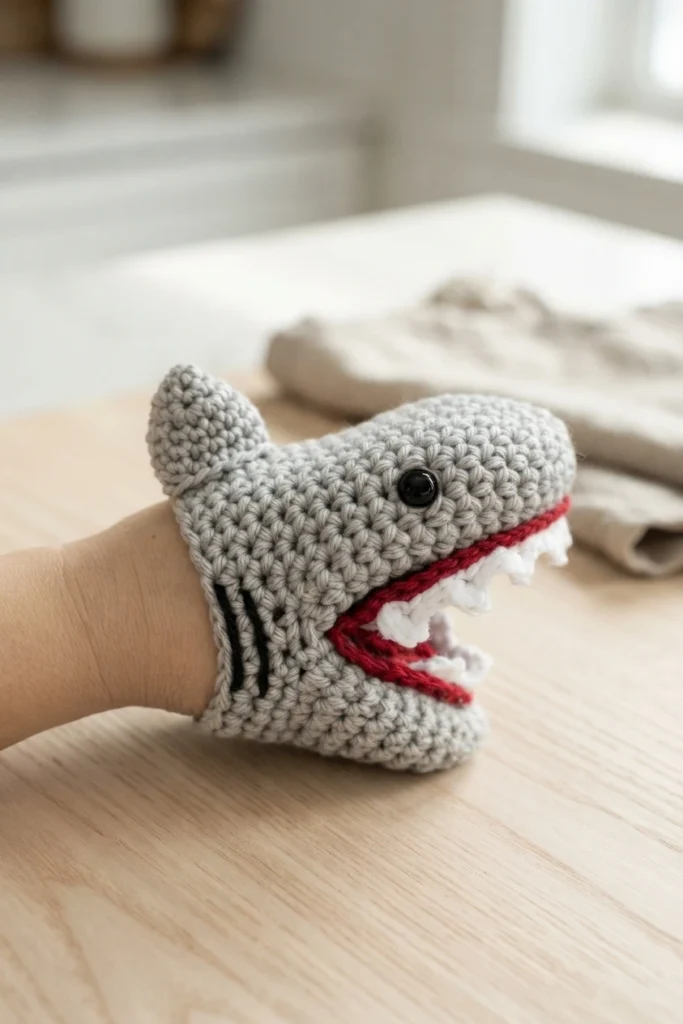
Skill level: Easy. The pattern is written in U.S. crochet terms.
Notes
Plastic can melt on contact with hot dishes, so stitched eyes and nostrils may be safer, especially for gifts. You can add a warning label if you use plastic pieces.
Use 100 percent cotton, since acrylics can melt when too hot. Beginning chains do not count as stitches; instructions between asterisks are repeated. Base: two strands held together. Accents: a single strand.
Construction Overview
The project has two stages: a double strand gray base worked with the J hook, and single strand accent pieces worked with the H hook. The base starts from a magic ring and grows into a rounded form, then a bottom jaw opening is shaped into the work so the mitt can open and close around hot dishes. Later rounds join around the outside of both jaws while skipping the center where they meet, creating the shark’s wide open mouth.
The red mouth is worked flat in rows with a defined fold line so it nests inside the base. White upper and lower teeth are pointed edging strips, and the gray dorsal fin is worked in the round from its own magic ring. This overview skips round by round counts, so open the original designer pattern linked above when you are ready to hook. Use this summary to plan colors, gather supplies, and picture the finished shark.
Finishing
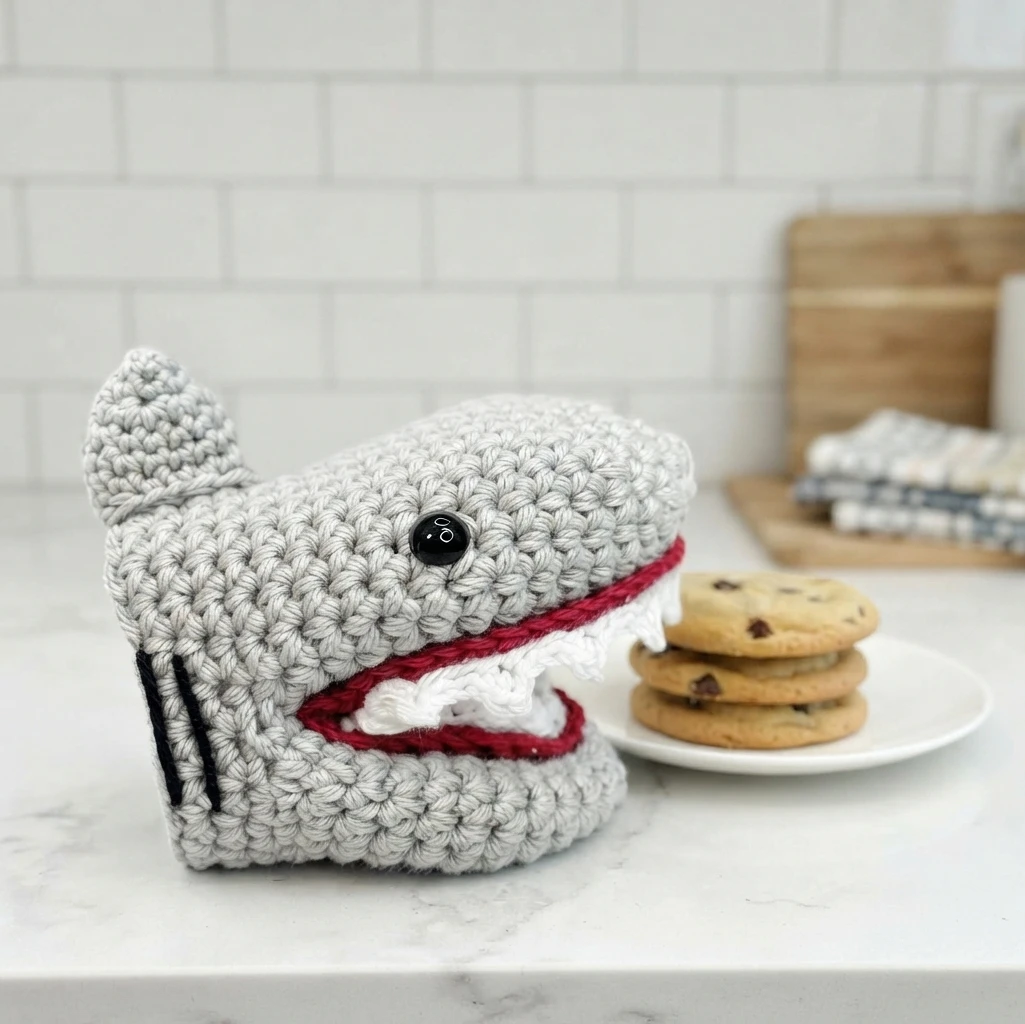
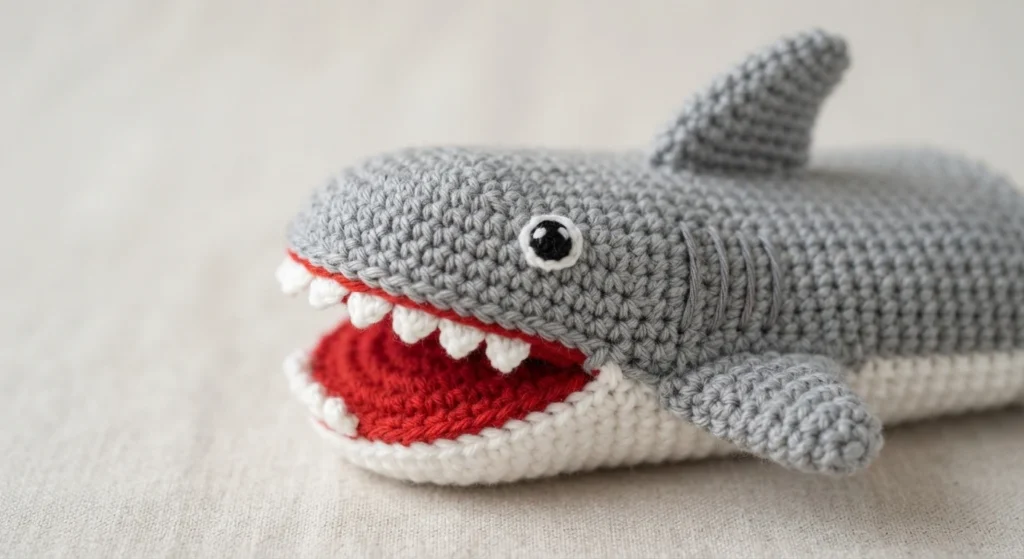
Tuck the mouth piece into the center of the base with its back loop only edge folded into the base, the longer side along the upper jaw and the shorter along the bottom jaw.
Attach the teeth around the mouth edge, front teeth first. Center the dorsal fin on top, add button or stitched eyes with approximately 9 stitches between them, stitch the gills onto the sides, and hide all loose strings.