Project introduction
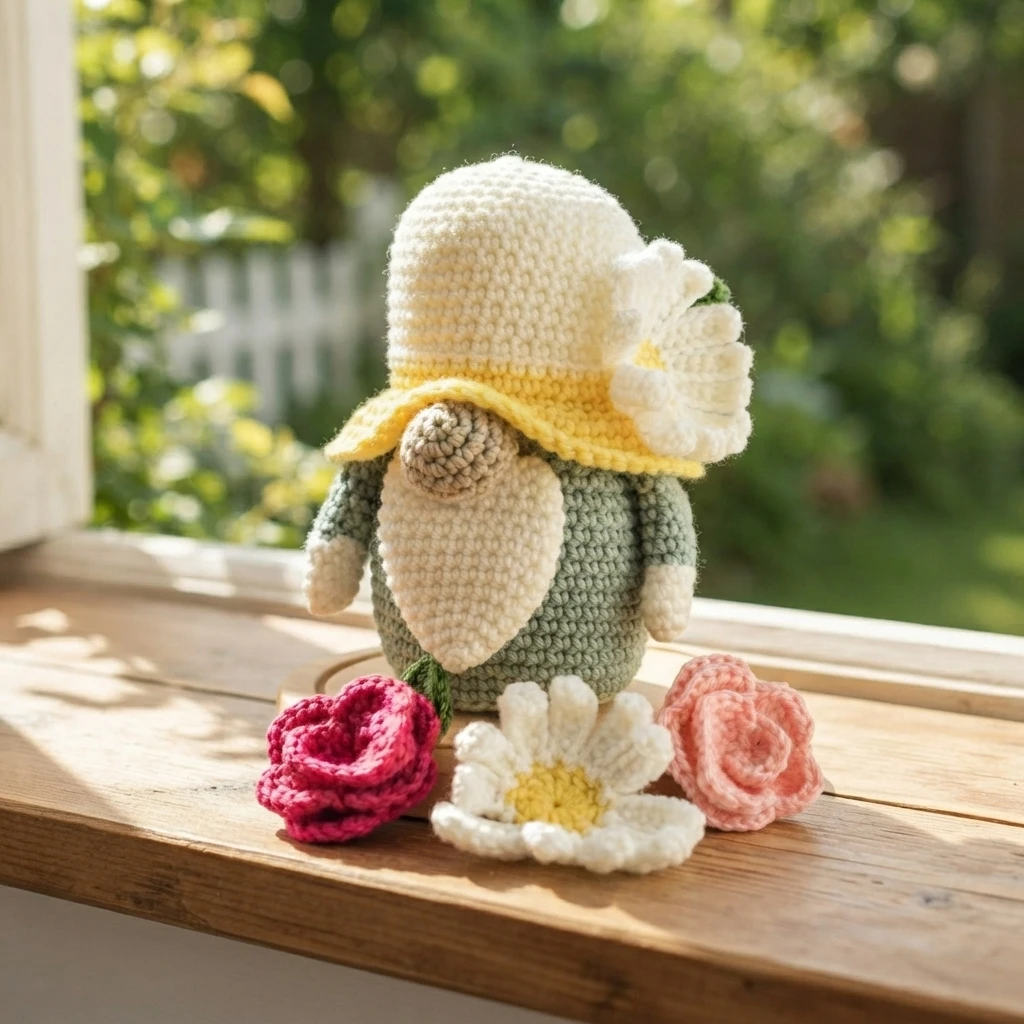
This is a pattern overview, not a full tutorial: a friendly look at the Daisy Flower Gnome, the first flower design in the Passionate Crafter gnome collection. This spring daisy gnome brings a garden feel to your shelf and also makes a thoughtful handmade gift for Mother’s Day.
The original pattern page walks through stitches, yarn choices, written guidance and photo tutorials. For every detail, follow the Original designer’s pattern and instructions link. The free web version is available on the designer’s page, while the printable PDF is a paid option.
Crochet spring flower garden gnomes collection
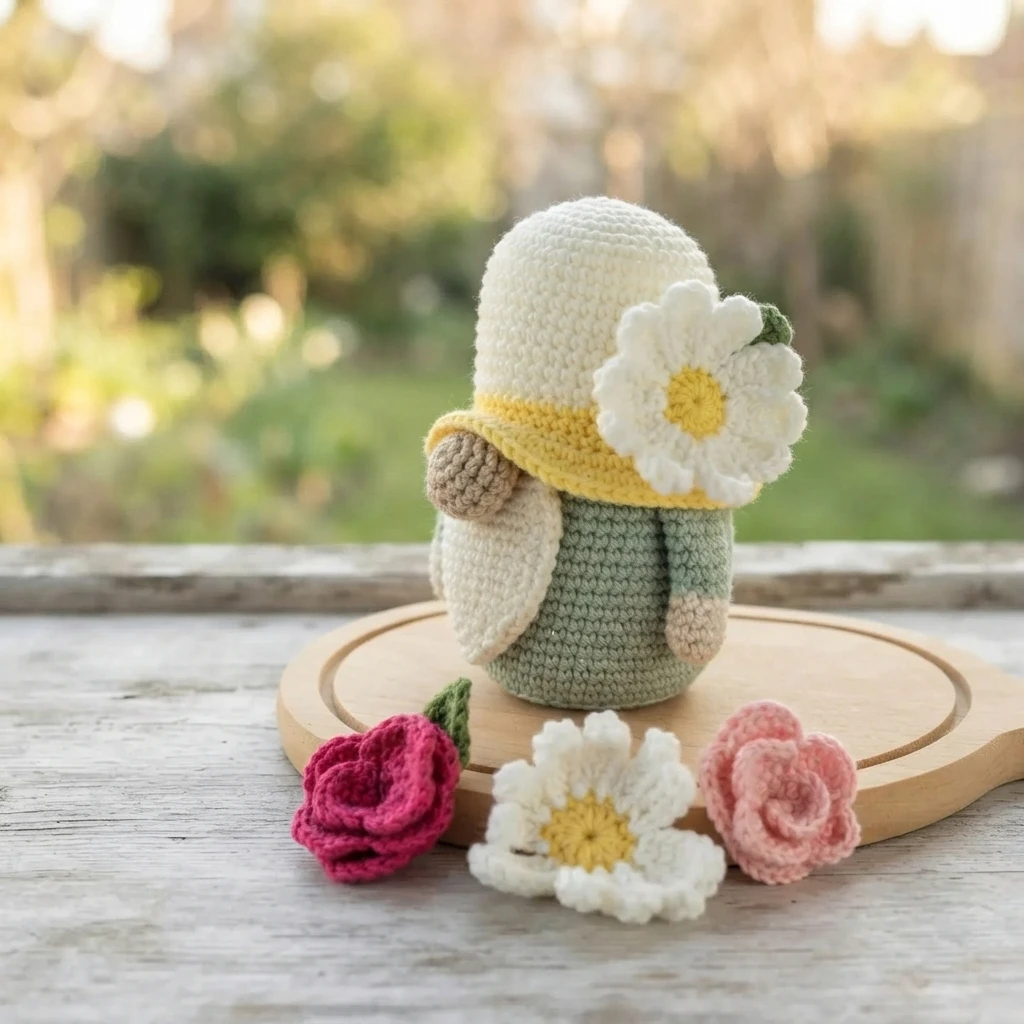
The daisy gnome belongs to a spring flower collection created for year round decorating rather than a single holiday. The designer planned four flower gnomes in total, with the daisy as the first release. Alongside it, the collection includes rose, sunflower and snowdrop flower gnome patterns. These spring gnomes are described as a little smaller than the designer’s earlier gnomes, which makes them sweet companions for windowsills, desks and tiered trays through every season.
How to customize your Daisy flower spring gnome?
Small changes give this gnome a fresh personality. You can swap the yarn colors to match your decor, or trade the classic beard for braids to create a she gnome. The designer also suggests adding extra flowers or more leaves for a fuller garden look. Earlier gnome patterns, such as the Valentine’s Day and St Patrick’s Day designs, offer more inspiration if you enjoy mixing and matching seasonal details.
Premium ad-free PDF Pattern Overview
The designer’s page carries the free crochet pattern for the daisy flower gnome. If you prefer working from paper instead of a screen, a premium ad-free PDF is also offered through the designer’s Ravelry shop. The printable version is a paid format, while the web version remains free to read. Choose whichever format suits your crafting habits, and keep the pattern handy for spring making.
Don’t have time to make it now? Save it now, crochet it later.
Short on time? Pin this project to a Pinterest board for later, or save it to your Ravelry queue so it is easy to find. When you are ready to start, the ad-free PDF is available for purchase if you prefer a tidy printable.
Materials
Gather everything before you begin so your gnome comes together smoothly. The source lists the following supplies with exact quantities, and the cardboard insert is optional rather than required.
- Worsted weight yarn: Yarn Bee Soft and Sleek solids, 100% acrylic (5.0 oz/142 g, 232 yds/212 m) in light mint 30-40 gr, light yellow 10 gr, white 20 gr, plus a small amount of beige for the nose
- Crochet hook: 3.5mm (US size E)
- Poly fiber fill for stuffing
- Tapestry needle
- A piece of cardboard for the base (optional)
Finished size
The finished gnome measures 16cm. Treat this as a guide, since individual tension can shift the final result a little. Measuring as you go helps you judge proportions for display.
Stitch Abbreviation
The pattern uses US crochet terms. Keep this key nearby while you work through the construction described below.
- SC: single crochet
- DC: double crochet
- SS: slip stitch
- CH: chain
- Rep: repeat
- Dec: decrease
- inc: increase
- MR: magic ring
- HDC: half double crochet
- Stitches between ** are repeated the indicated times
- FO: fasten off
- BLO: back loop only
Pattern notes
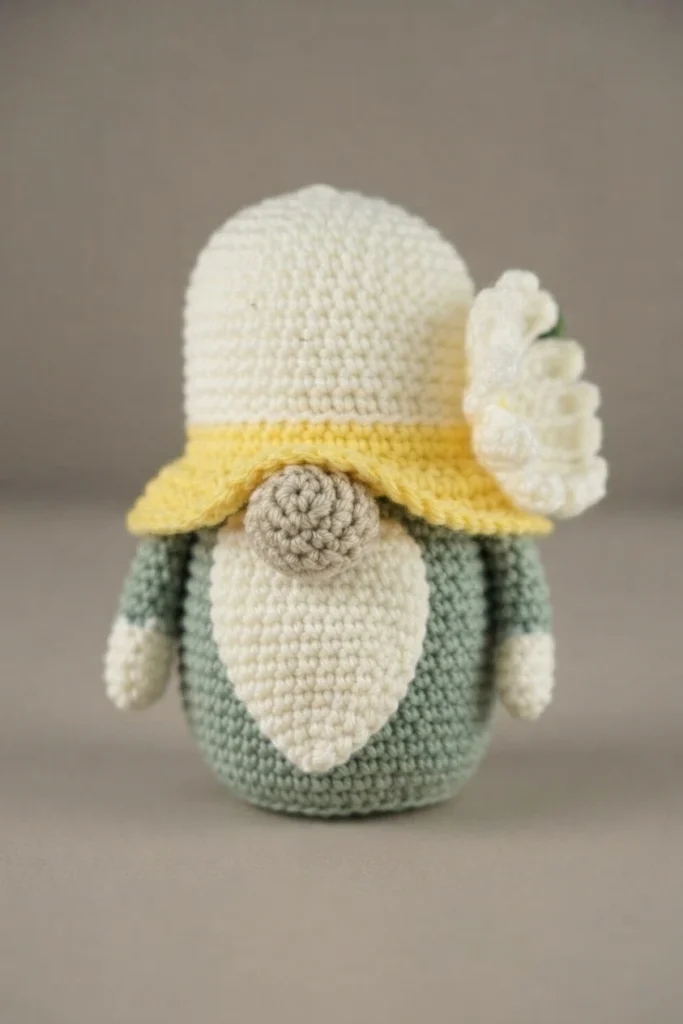
The design is worked in one piece, starting at the base and building upward toward the hat, in continuous rounds that are not joined. Changing yarn weight will change the gnome’s overall size, so match the suggested worsted weight for a result like the sample. If you crochet loosely, try a smaller hook to keep stitches tight and hide the stuffing. Stuff the body firmly so it holds its shape, but avoid overfilling.
Tip: if your stitches look loose, switch to a smaller hook so the fiber fill stays hidden and the fabric looks neat.
Spring gnome’s hat
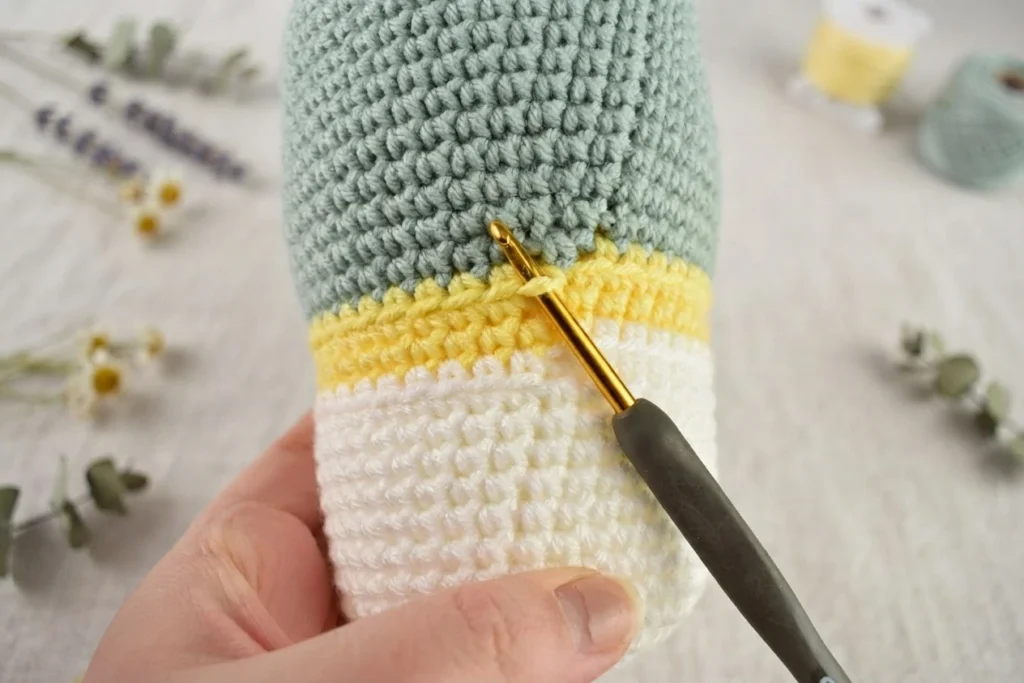
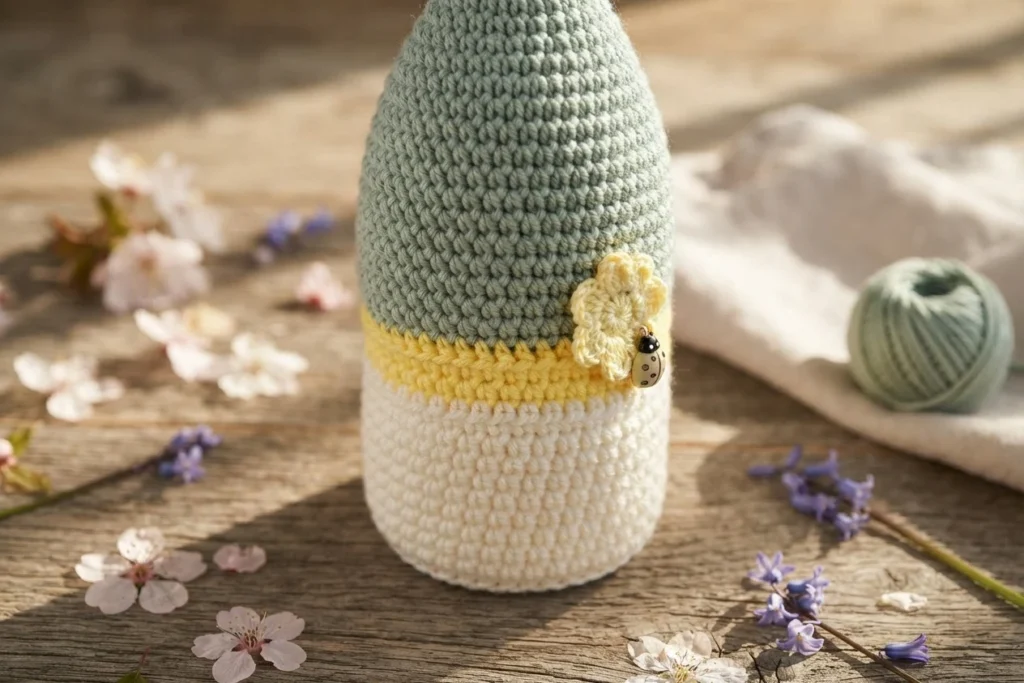
The hat grows directly from the body: you insert the hook into any front loop of round 26, pull up a loop, and work outward in rounds of single crochet with occasional increases. A couple of plain rounds follow before you fasten off. Because it is anchored to the body itself, the hat sits naturally without extra seaming.
Beard
Worked in white yarn, the beard starts with a magic ring and builds outward through increase rounds. After reaching its full width, it continues in plain rounds to add length, then a decrease round shapes the lower edge before fastening off. The result is a soft, rounded beard that frames the gnome’s face.
Daisy gnome’s hands
The hands begin in white yarn with a magic ring, increase once, then continue in plain single crochet rounds. Midway through, the color changes to light mint, and the remaining rounds are worked evenly before fastening off. The two tone finish echoes the gnome’s body colors.
Daisy Gnome’s Nose
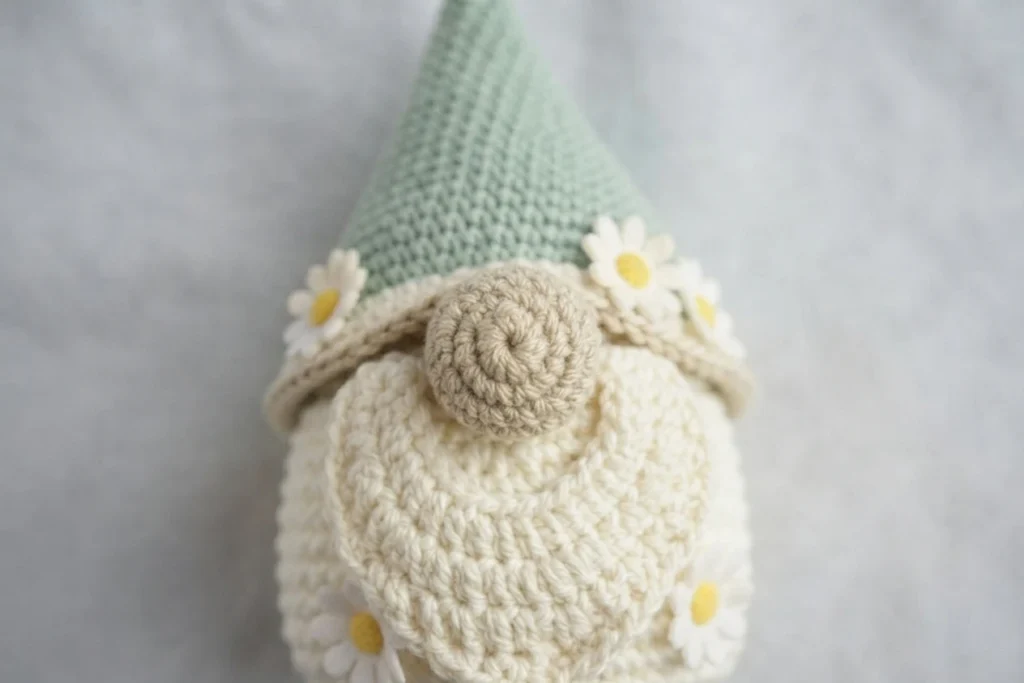
The nose is worked in beige, starting from a magic ring with two increase rounds. Two rounds are then worked evenly to round out the shape, followed by a decrease round that gently tapers it. This small piece adds the classic gnome charm front and center.
Crochet Daisy applique Pattern Overview

The daisy applique starts in yellow with a magic ring of double crochet, joined with a slip stitch. Switching to white, you work a petal round that repeats a chain and stitch sequence twelve times, forming twelve petals. This cheerful flower is the signature accent of the design.
How to sew your crochet gnome together?
Assembly order matters. Sew the beard on first, positioning it right below the brim of the hat. Next, place the nose on top of the beard in the upper center and stitch it down. Attach a hand to each side, leaving 4 stitches between the beard and each hand. Finally, sew the daisy applique onto the hat; the sample uses one flower, though you may add more. Take your time with placement, since small shifts change the gnome’s expression.
If you enjoy this style, you may also like the Crochet Cat Gnome: Pattern Overview and the Crochet Christmas Elf Gnome: Pattern Overview for more seasonal companions.
Did you make this pattern?
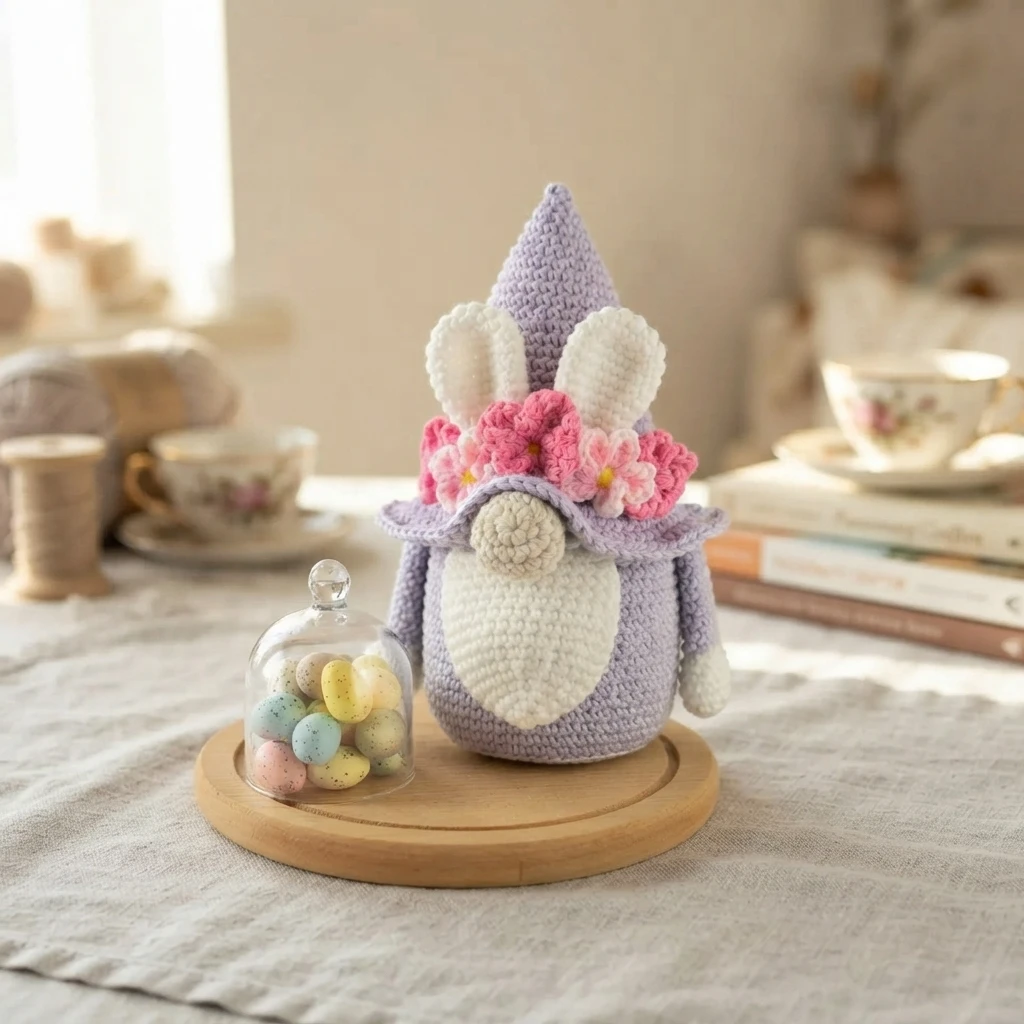
We would love to see your finished gnome. Mention @passionatecrafterr or tag your photos with #passionatecrafterr so the designer can find your creation, and feel free to leave a comment sharing how yours turned out.