Project introduction
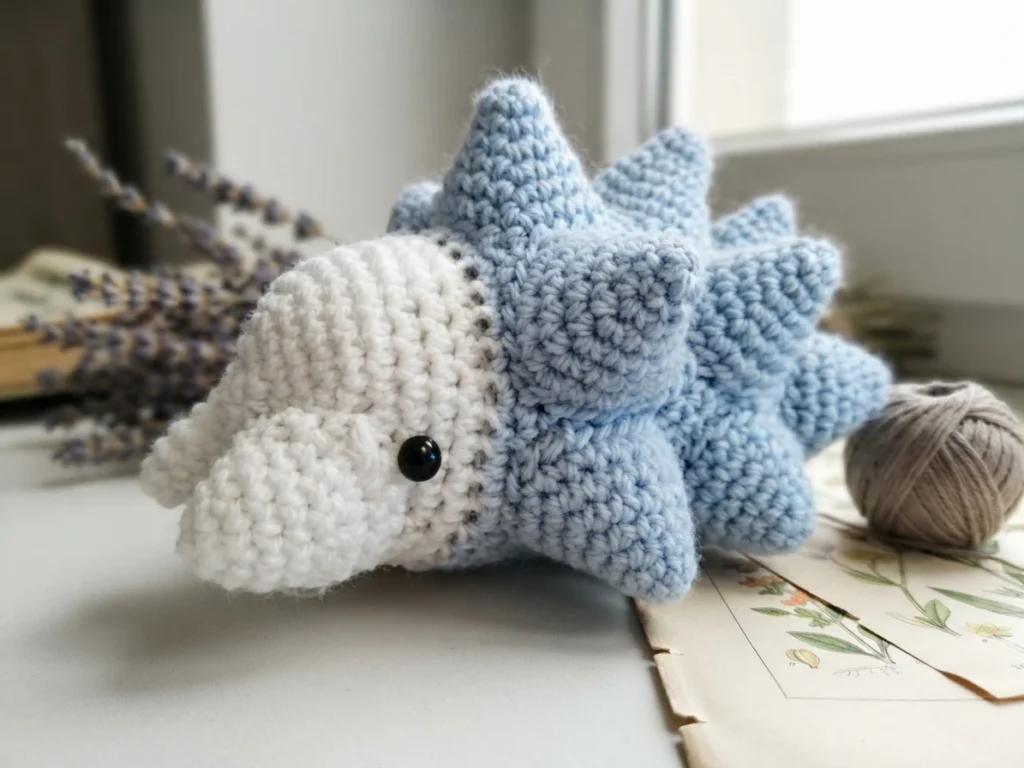
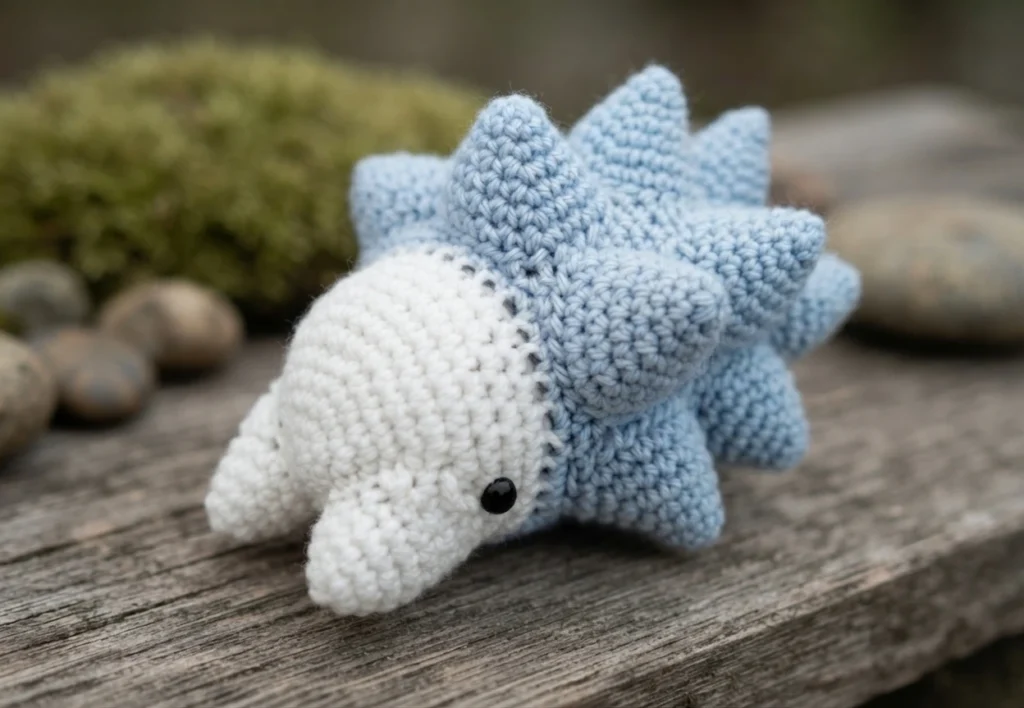
Meet Snom, the winter amigurumi project that closed out RinaMogrynaArt’s 2023 pattern collection. This charming little creature was designed as a seasonal make, created partly to use up yarn from the designer’s stash. Snom stands apart from typical amigurumi because it is built from many separate pieces, including a full set of decorative spikes, yet the designer describes the build as simple enough for any patient maker. It makes a sweet winter decoration for the home.
Please note that this article is a pattern overview, not a complete step-by-step tutorial. You will find the full row-by-row instructions, with every round, color change and piece placement, on the designer’s own website through the link provided below. What follows here is a practical summary of the supplies, finished size, stitch knowledge and construction approach, so you can decide whether this project suits your hook, your yarn and your patience.
Pattern Overview
Gather the full supply list before you begin. The project calls for a small set of familiar amigurumi tools, and the designer strongly recommends sewing pins for the assembly stage, since Snom’s many separate pieces need careful placement to look symmetrical.
- 2.5mm crochet hook (any hook size and matching yarn weight will give a smaller or larger Snom)
- White and light blue yarn, preferably DK weight
- Tapestry needle
- Scissors
- Stuffing
- Safety eyes or black embroidery thread
- Sewing pins, highly recommended for assembly
- Stitch marker to track the start of each round
Worked in DK yarn with the 2.5mm hook, the finished Snom measures about 10cm tall and 15-20cm long. The designer notes that any hook and yarn combination will work, simply producing a smaller or larger creature. When choosing yarn, go down a hook size from the ball band recommendation so the stitches stay tight, keeping the stuffing from showing through between them.
The original pattern is written in US crochet terminology and worked in continuous spirals. You should already be comfortable with the magic ring, single crochet, increases and decreases, with the invisible decrease preferred, plus working into the front loops only. If those five techniques feel familiar, the stitching itself will be straightforward, and the real challenge lies in the color changes and the patient assembly.
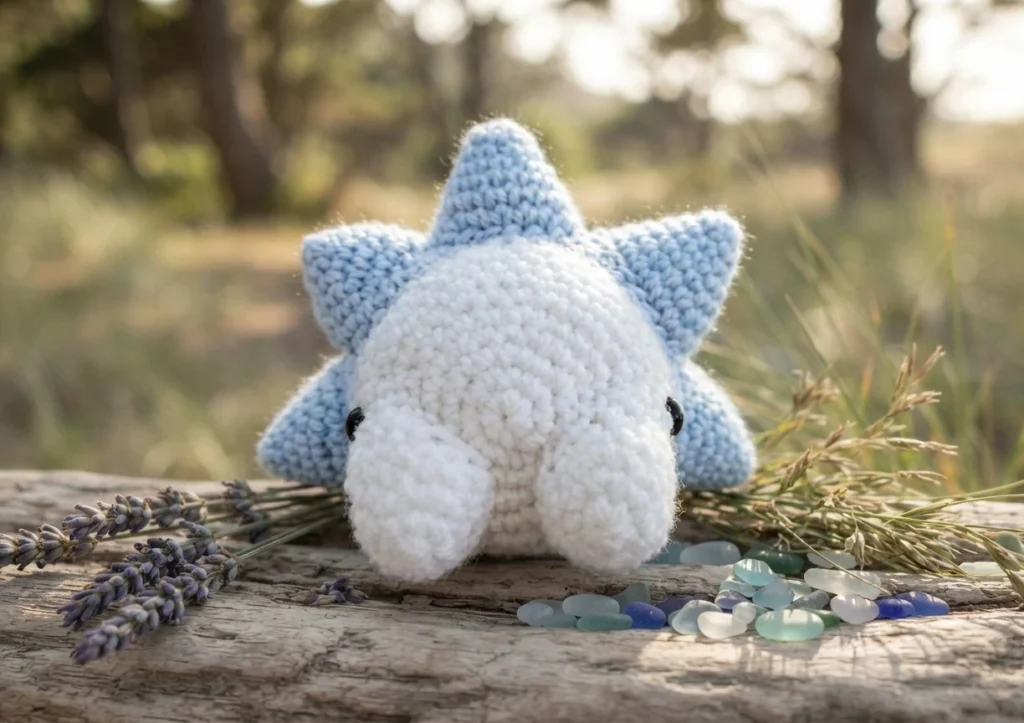
The body is the largest piece and the heart of the project. It starts in white, then changes to light blue from round 12 onward, keeping a white belly for character accuracy. The designer notes you may simply continue in blue if you prefer, or widen the white section by a stitch or two on each side. Stuffing is added gradually as the body grows, and safety eyes go in between rounds 9 and 10 if you choose them. A series of decrease rounds then closes the body.
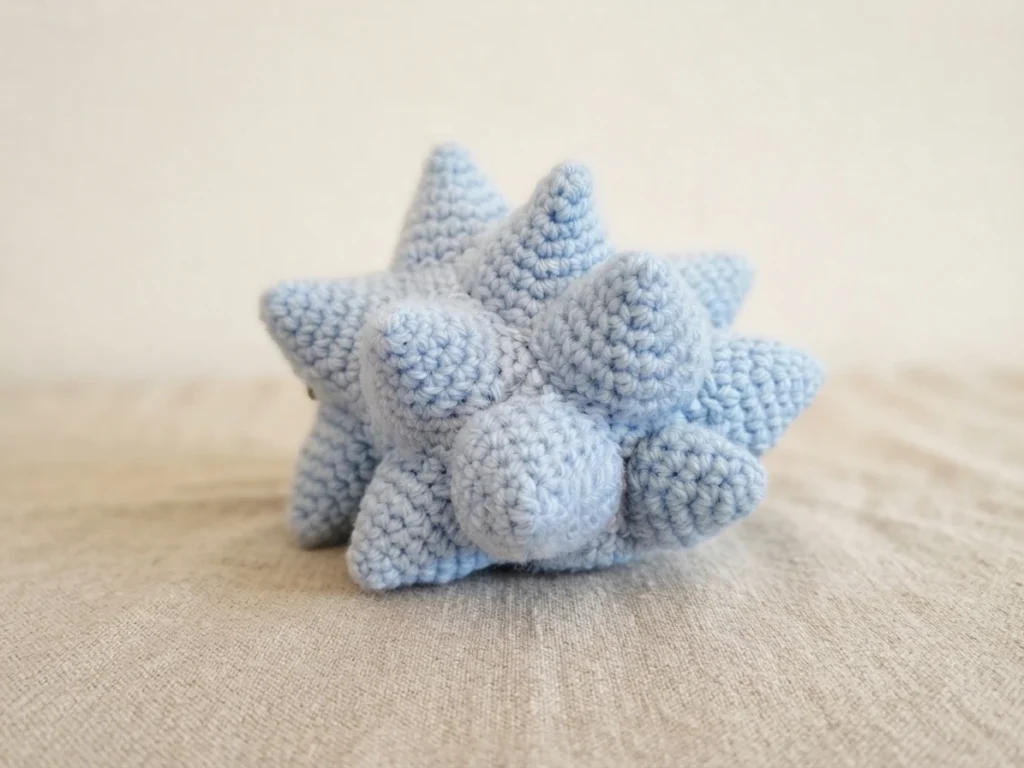
Beyond the body, Snom is built from several smaller parts, each worked and stuffed separately. You will make two white nose pieces that start in rounds and finish in rows, nine large blue spikes, four small blue spikes and one blue tail. Because every part is small and self-contained, this project suits makers who enjoy portable pieces, and it is an excellent way to use up leftover white and light blue yarn.
Assembly is where patience pays off, and the designer is emphatic about pinning every piece before sewing. The spikes go on in three rows: five big spikes in the first, three big spikes with two small ones outside in the next, and one big spike between two small spikes in the last. Sew on the tail next. The nose pieces sit on the sides of the face with a 1-2 stitch gap at the front and 2-3 rows of stitches before the blue section. Embroider eyes if you skipped safety eyes.
The designer’s strongest advice is simple: pin every piece before you sew. She learned the hard way that unpinned spikes end up asymmetrical and must be removed and sewn again, so taking time to pin each row will make the whole assembly easier.
The designer welcomes you to share photos of your finished Snom online and to sell amigurumi made from the pattern, asking only that you credit the creator of the pattern, and asks that the pattern itself not be redistributed. For the complete instructions with every round, color change and placement detail, visit the Original designer’s pattern and instructions on the designer’s website.