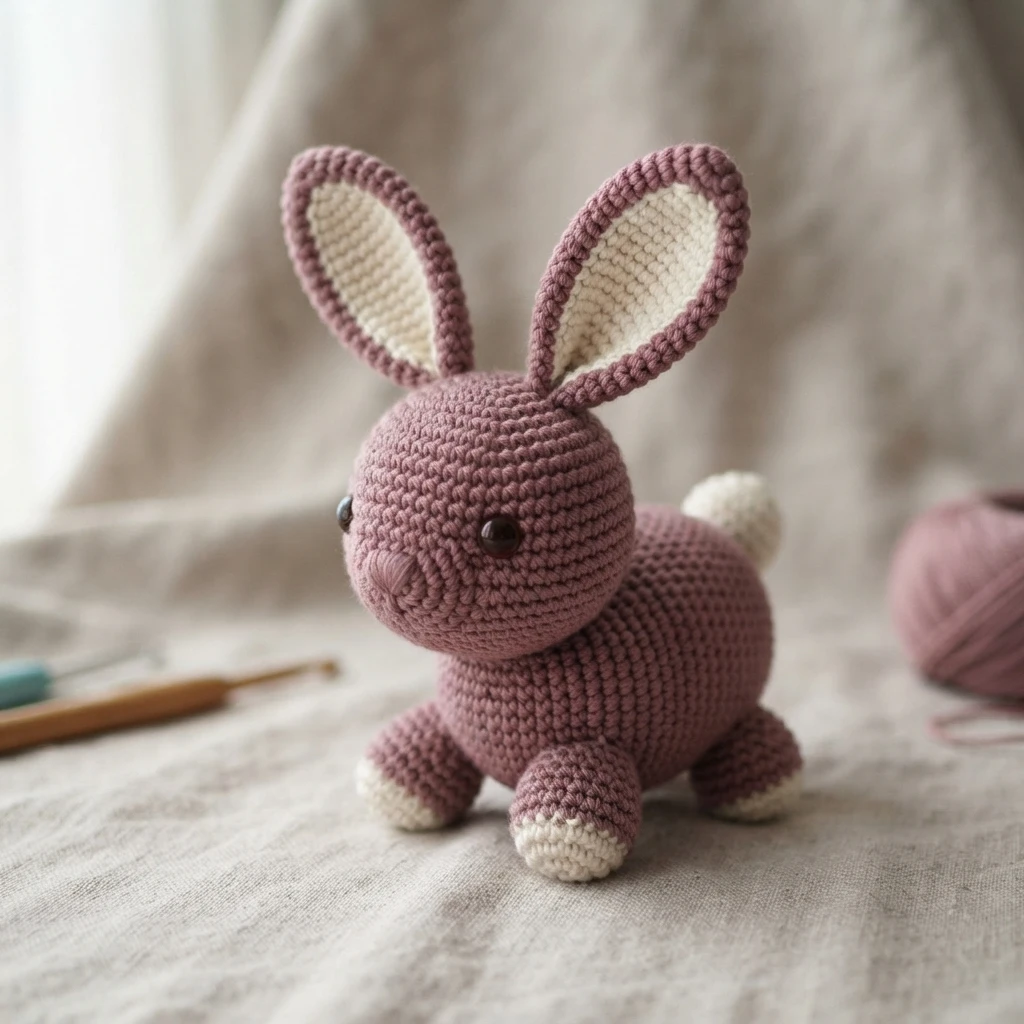
Project introduction
This article is a pattern overview, not a full tutorial, for the Floppy Ear Bunny from Spin a Yarn Crochet. Created on a whim around the lunar new year, the year of the rabbit, the sample used Honey Bunny yarn from Hobbii that the designer already had on hand. It also suits spring making, with soft, simple shapes at its centre.
Follow the Original designer’s pattern and instructions for the complete pattern. The web version of the bunny pattern is free, and the project works up quickly because it uses Super Bulky weight yarn. Triangle ears and whiskers could turn it into a kitty instead, while the crocheted carrots shown in some photos have a separate free pattern of their own.
The Details
The finished bunny measures approximately 15cm/6″ long. It is worked in separate pieces, the head, body, ears, legs, and tail, which are stitched together during assembly. All pieces are constructed in continuous rounds except the ears, which are made as two flat panels crocheted together, and the head is worked around a starting chain, giving it a distinct start.
Access has two distinct formats to keep separate. The bunny pattern is free to read on the designer website, while a downloadable and printable, formatted and ad-free PDF version can be purchased for those who prefer it. The source also notes that the pattern can be found on Ravelry and on Ribblr, offering readers additional places to locate the same design.
Materials
Use this complete checklist from the source before you begin, with the sample yarn colours and quantities kept exactly as listed. The project pairs a 5mm hook with bulky yarn, 14mm safety eyes for the face, and size 5 black crochet thread for stitched details, plus basic stuffing and a tapestry needle for closing and assembly work.
- 5mm crochet hook
- Hobbii Honey Bunny in Lilac (#63), 50g
- Hobbii Honey Bunny in White (#01), 10g
- 14mm safety eyes
- Black crochet thread, size 5
- Stuffing
- Tapestry needle
Terms and Stitches
All terms follow US crochet terminology, and the pattern relies mainly on single crochet shaping. Read through the abbreviations first, especially increase, decrease, and the three stitch decrease used for shaping, so the construction summaries in the following sections are easy to follow when you open the full designer instructions for the actual stitch work.
- Ch: Chain
- MR: Magic Ring
- Slst: Slip stitch
- Sc: Single Crochet
- Inc: Increase. Work a regular sc increase
- Dec: Decrease. Work a regular sc decrease
- Sc3tog: Single crochet three stitches together
Body (make 1)
The body is made as one piece in the main colour, beginning with stitches worked into a magic ring and continuing in continuous rounds. It grows to its widest point, stays at that width for several middle rounds, then decreases gradually to a small finish. After tying off, it is stuffed and closed using the long tail and a tapestry needle, then set aside for assembly.
Head (make 1)
The head is made as one piece, but it starts differently, around a starting chain rather than in a magic ring. Working around the chain creates an oval foundation before the head widens in rounds and later narrows toward closing. Safety eyes go between rows 4 and 5, a nose is stitched between the eyes with black thread, then the head is stuffed and closed.
Legs (make 4)
Make four legs the same way, each starting with single crochet stitches in a magic ring, increasing slightly in the second round, and then holding the same count for the remaining rounds. Each small leg is stuffed and tied off with a long tail left for stitching, then set aside until front and back positions are assigned during assembly.
Tail (make 1)
Make one tail, beginning with single crochet stitches in a magic ring. It increases slightly in the second round and decreases again in the third, making it the smallest rounded piece. Stuff it, tie off with a long tail left for stitching, and set it aside for attachment at the back of the body during final assembly.
Ears (make 4 panels - 2 in main colour, 2 in contrasting colour)
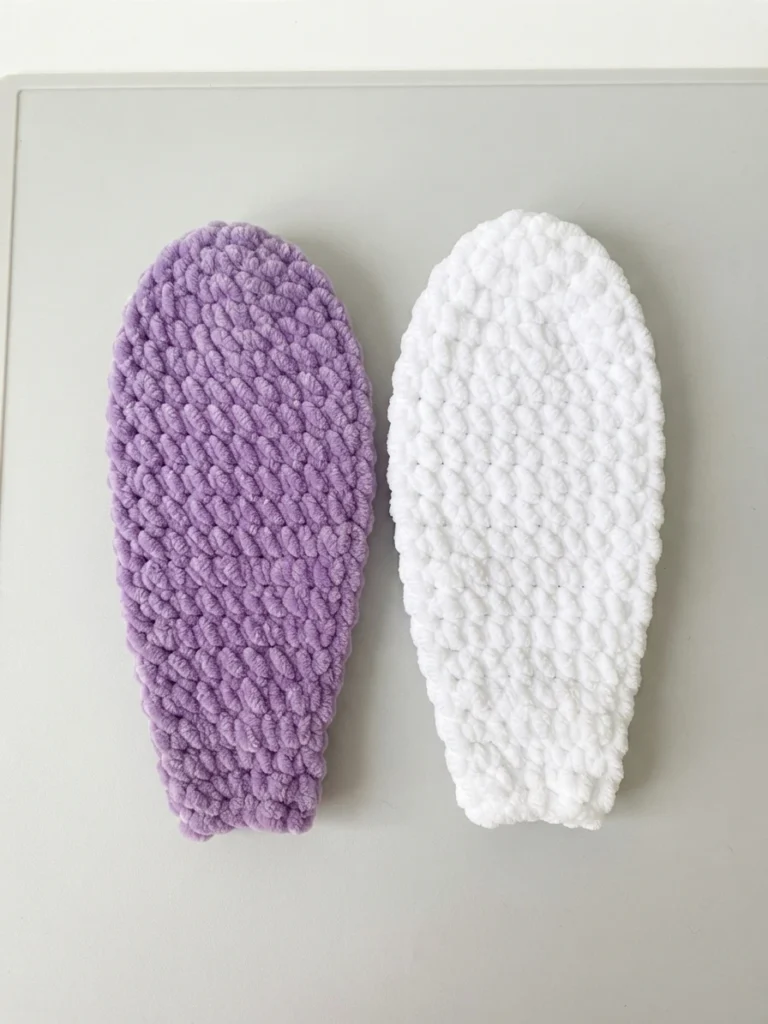
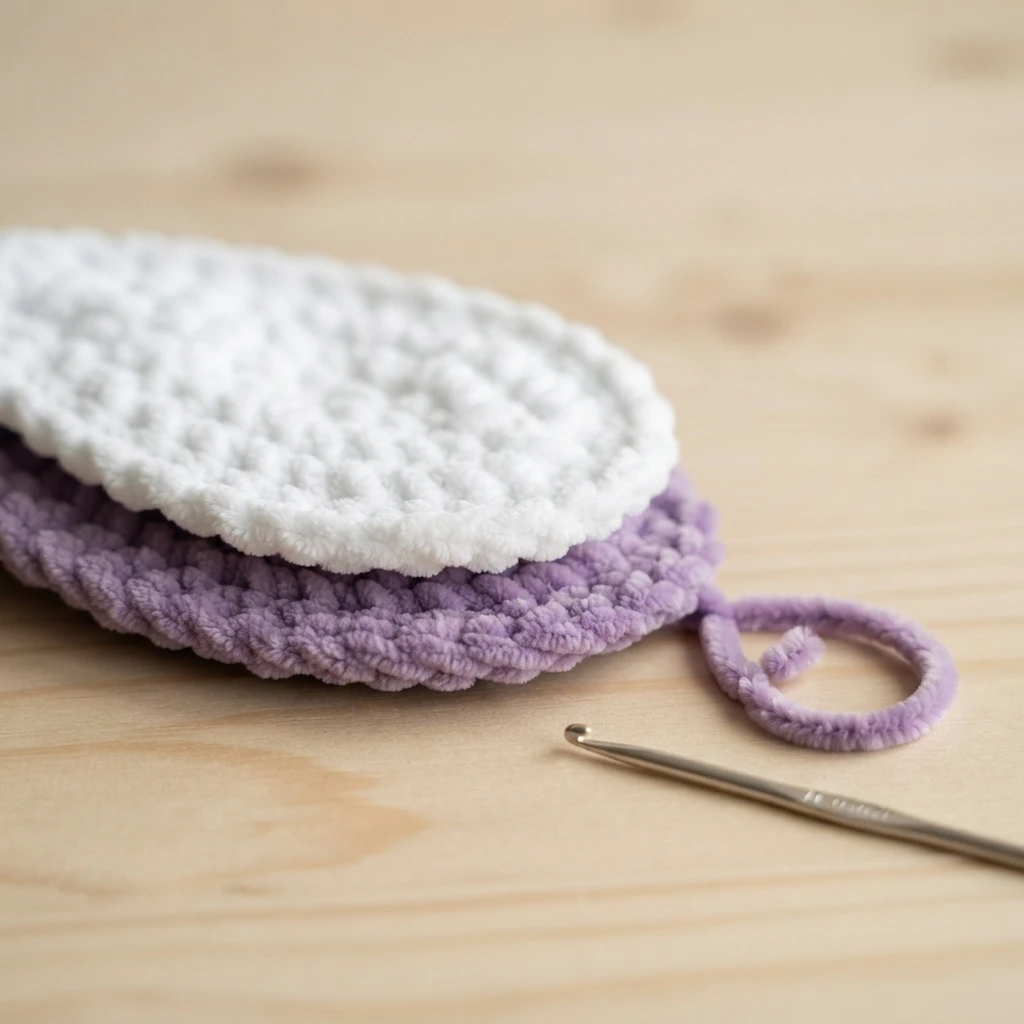
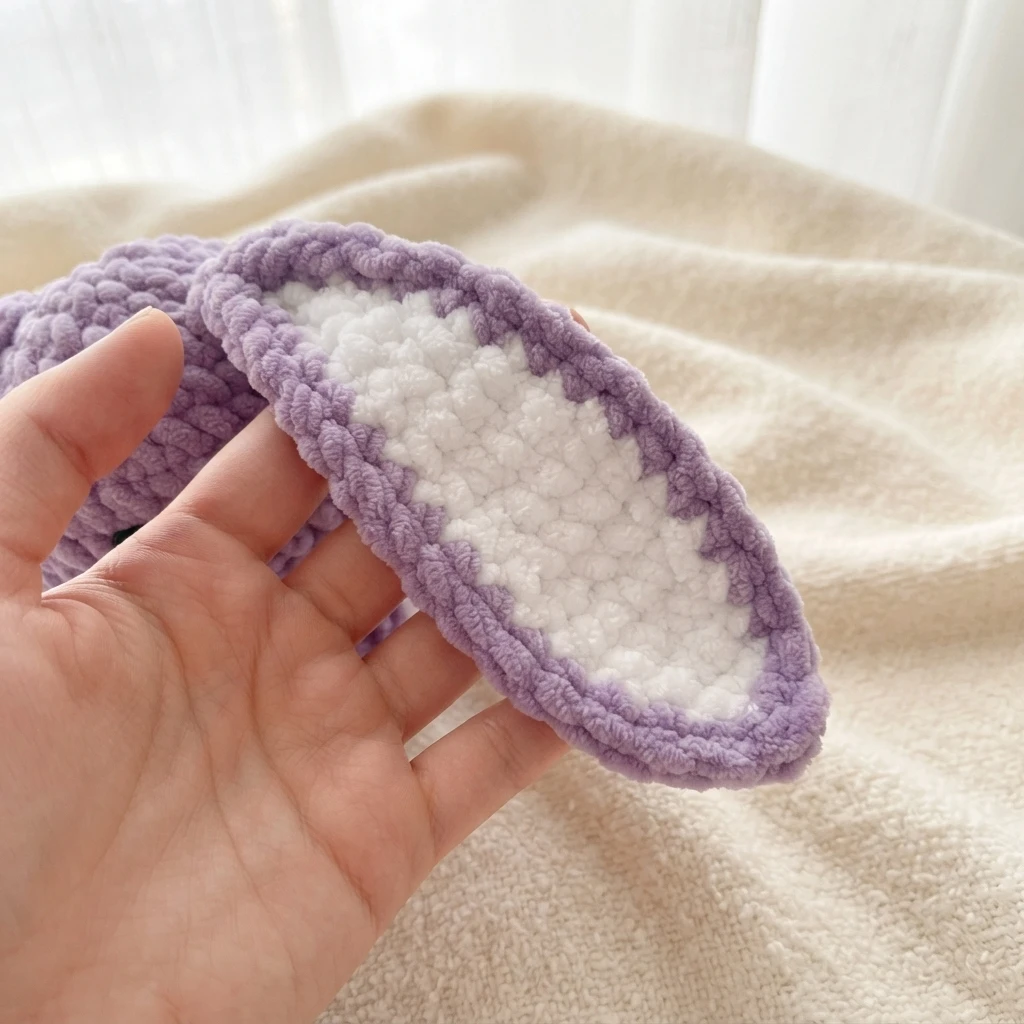
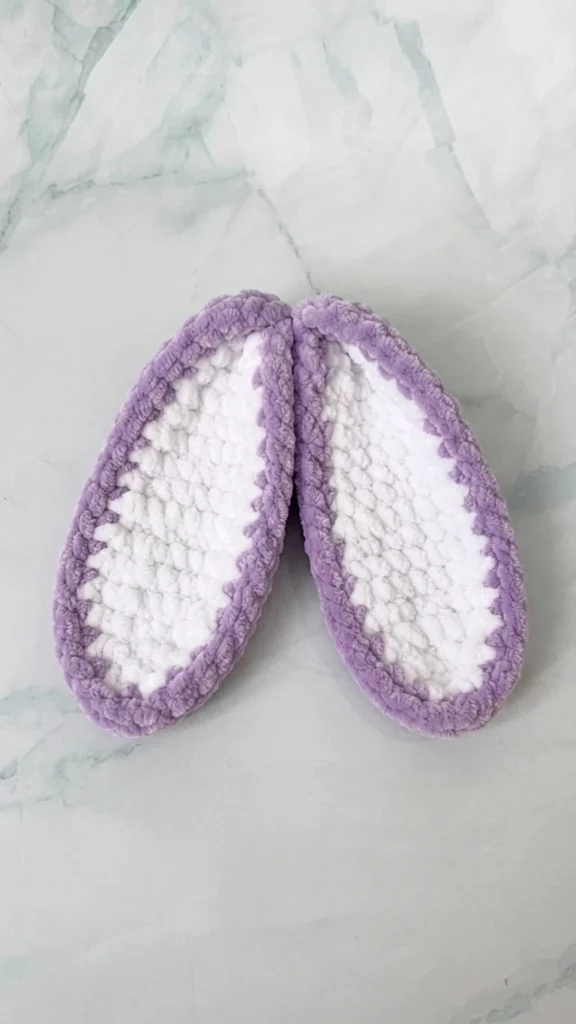
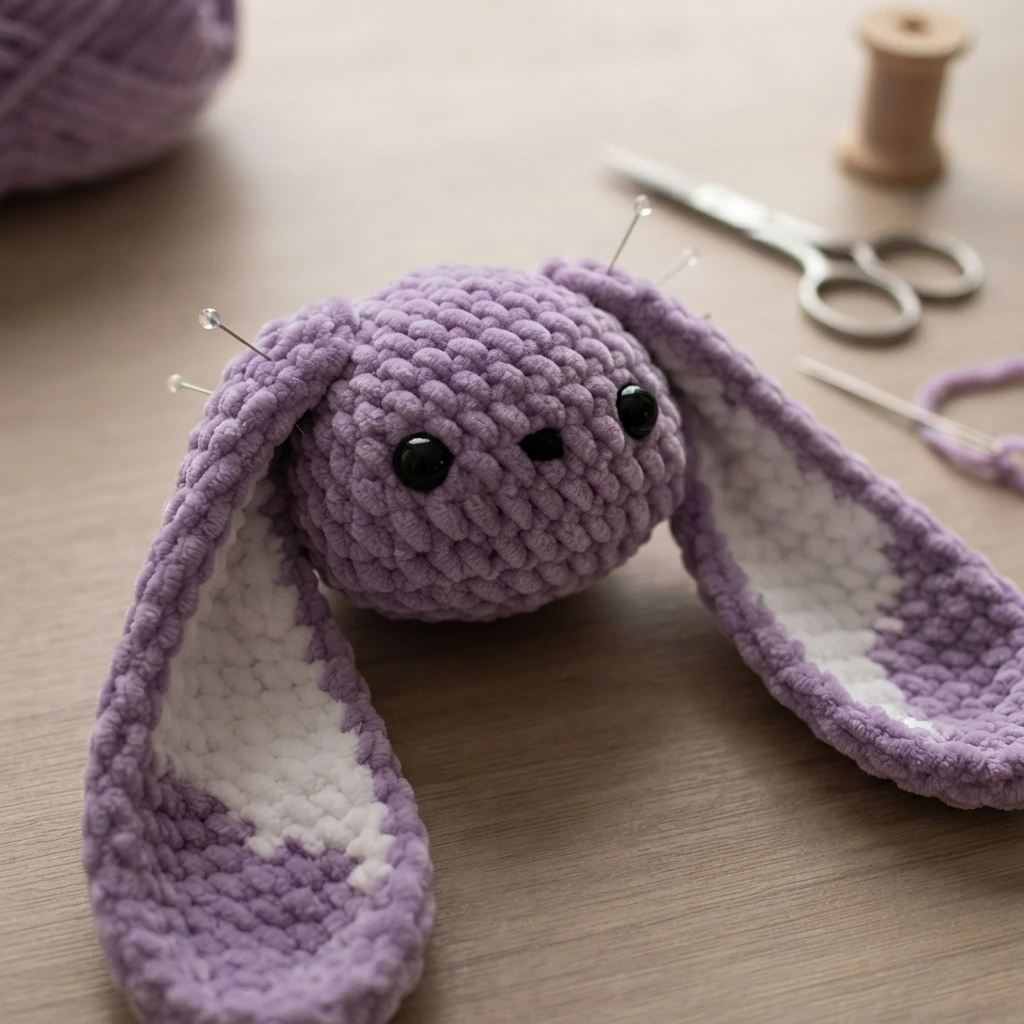
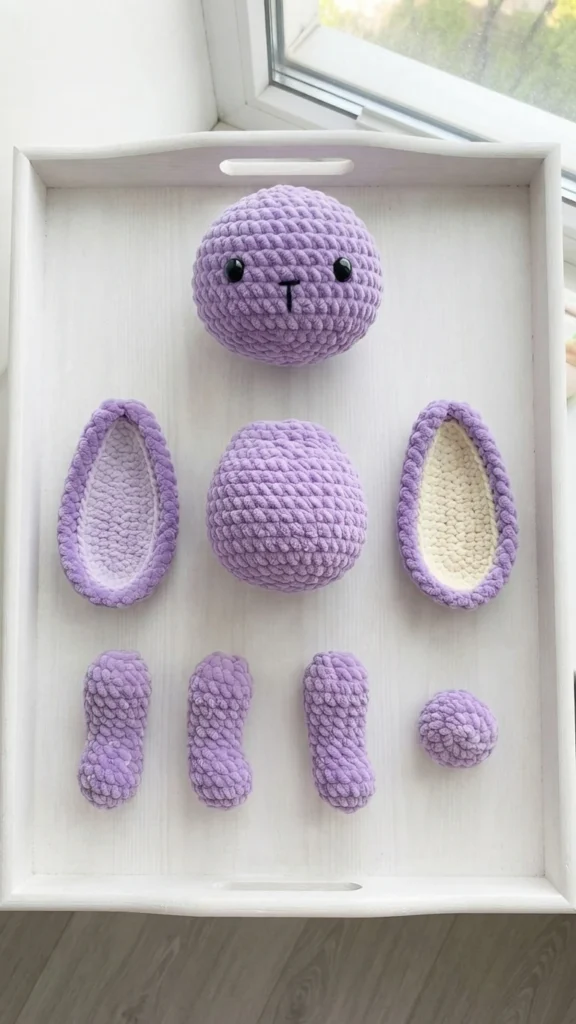
Make four ear panels in total, two in the main colour and two in a contrasting colour. Unlike the other pieces, the panels are worked flat in rows, widening in stages and narrowing at the tip. The final row finishes each panel with a single stitch. Pair one panel of each colour, join them by single crocheting around the edge in the main colour, and repeat for the second ear before weaving in ends.
Assembly
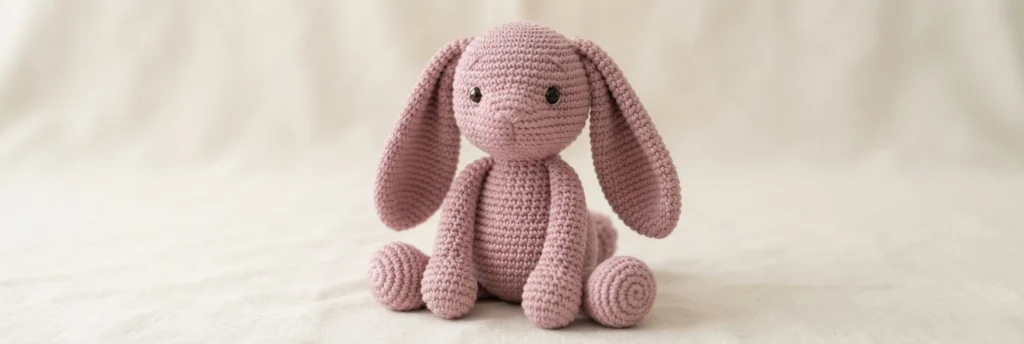
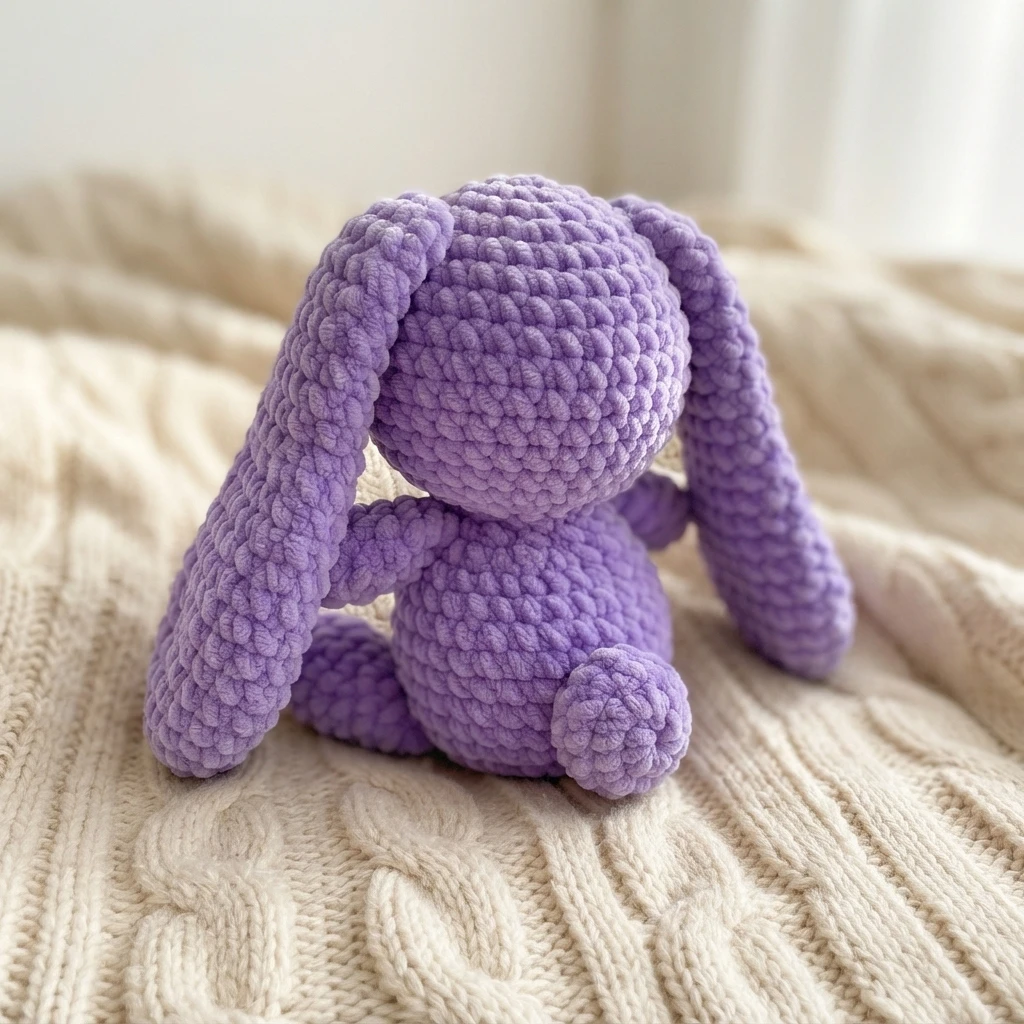
Stitch the ears to the top of the head at either side of round 9. Attach two legs at the front of the body and two at the back, using the spacing given in the full instructions, then stitch the head to the body so it rests on the front legs at a slight upward angle. Stitch the tail to the back to finish.
Related reading: Easy Easter Bunny Worry Worm Crochet Pattern: Overview: Pattern Overview