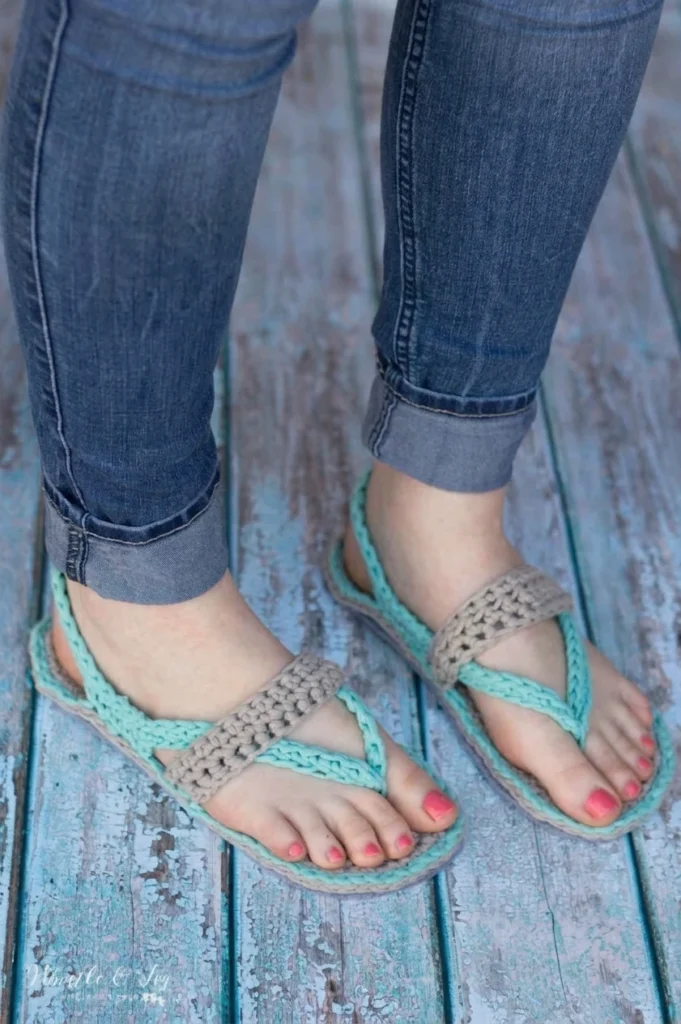
Project introduction
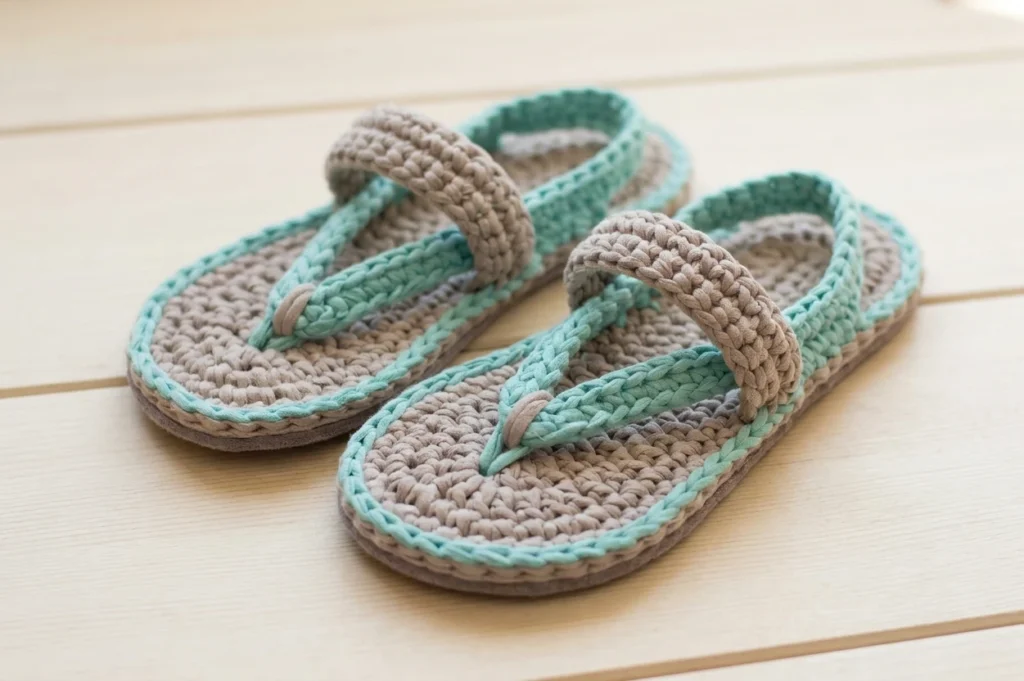
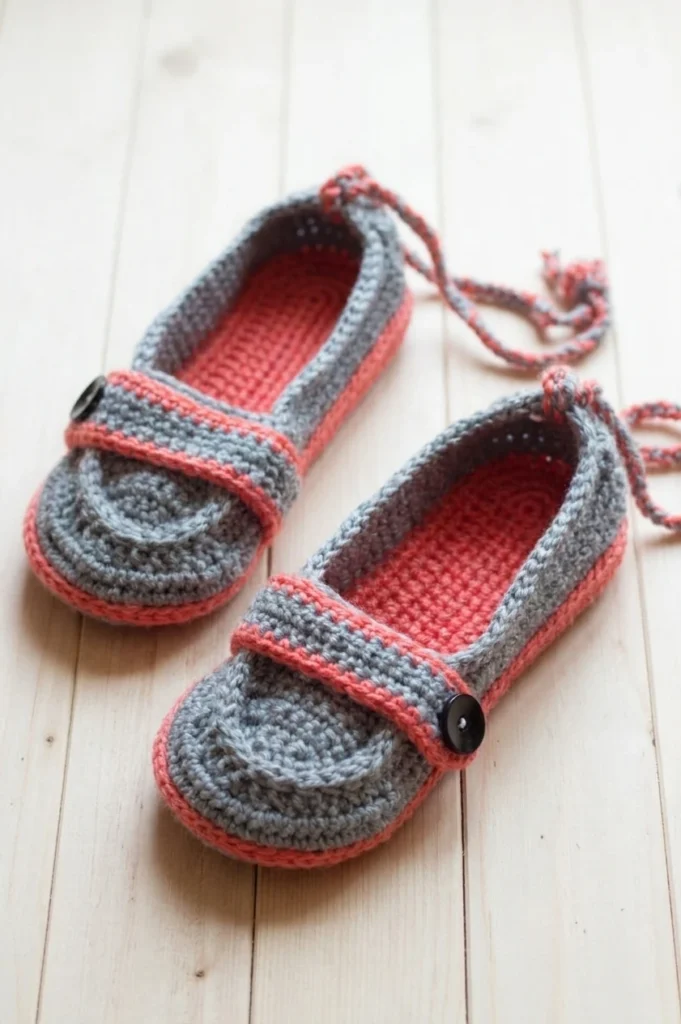
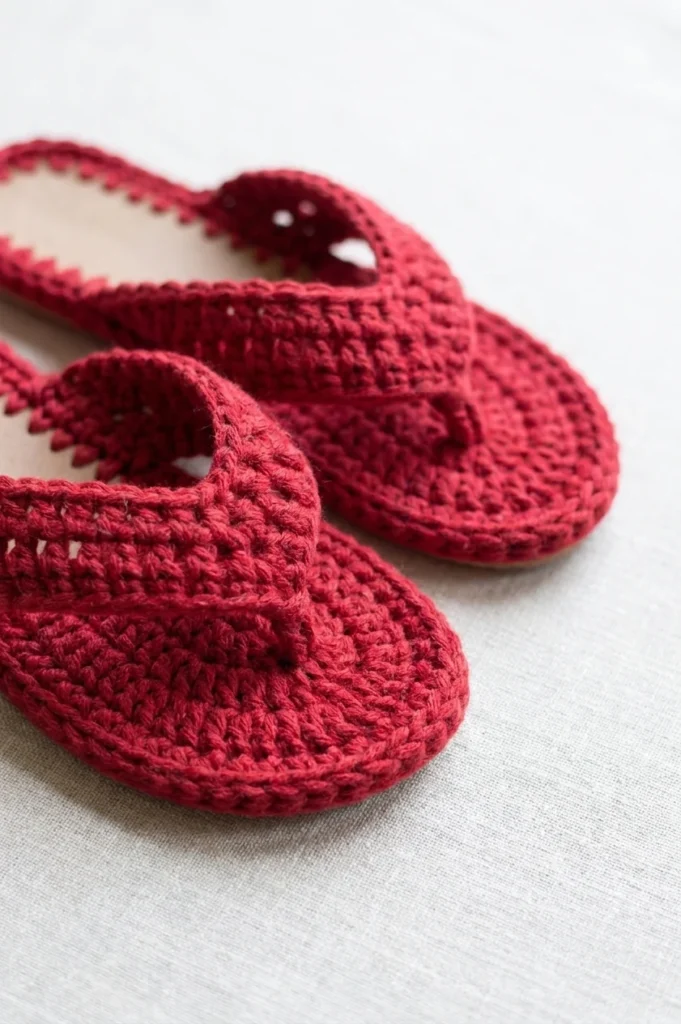
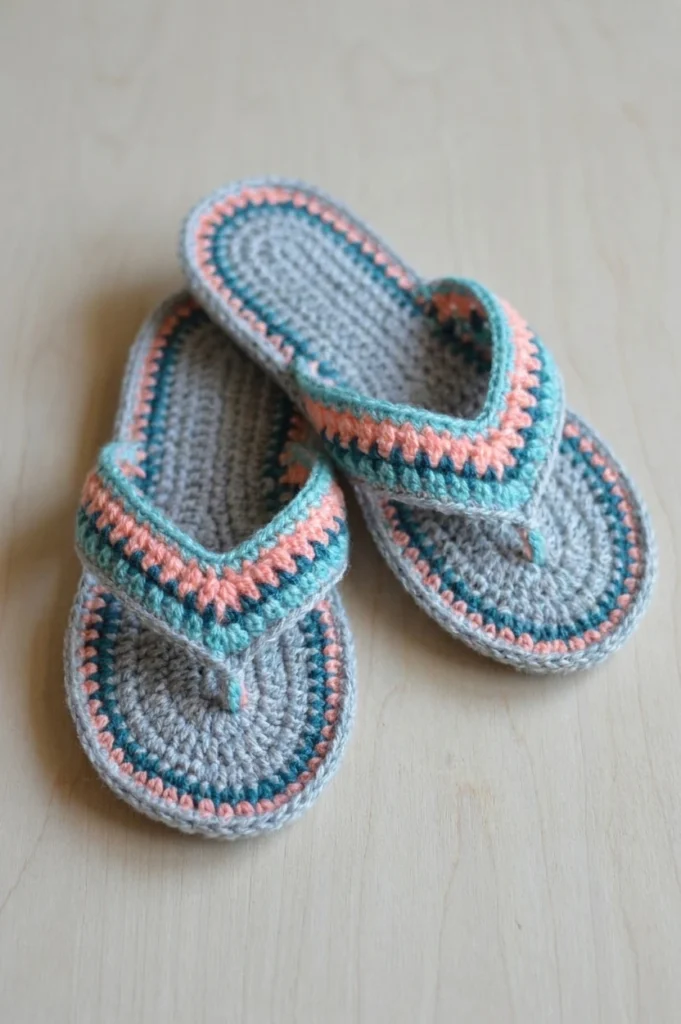
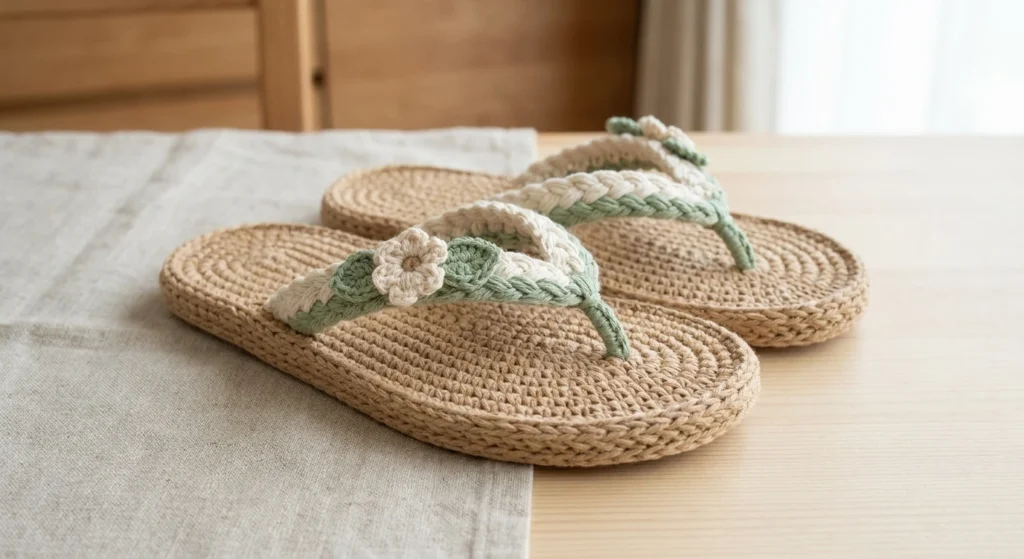
This article is a pattern overview, not a full tutorial, for women’s crochet flip-flops from Whistle and Ivy. The design grew from the designer’s popular baby flip-flops and an earlier women’s version worked in a #6 bulky yarn. That first version was comfortable, yet the soles felt a bit floppy and the yarn stretched out after wear over time.
For the redesign, the designer chose Bernat Home Dec, described in the source as a t-shirt yarn with a ton of stretch that suits slippers and shoes well. The updated flip-flops are described as very comfortable, with thick felt added to the sole for extra structure. That combination of stretchy yarn and a firmer sole is the central idea behind this version.
The designer strongly recommends not substituting the yarn for this project. The pattern counts rely heavily on the elasticity of Bernat Home Dec, and many other yarns will not stretch in the same way. If a different yarn is used, the counts on the body may need adjusting so the finished flip-flops do not end up too tight. Start from the Original designer’s pattern and instructions for the complete pattern.
WOMEN’S CROCHET FLIP-FLOPS - CROCHET Pattern Overview
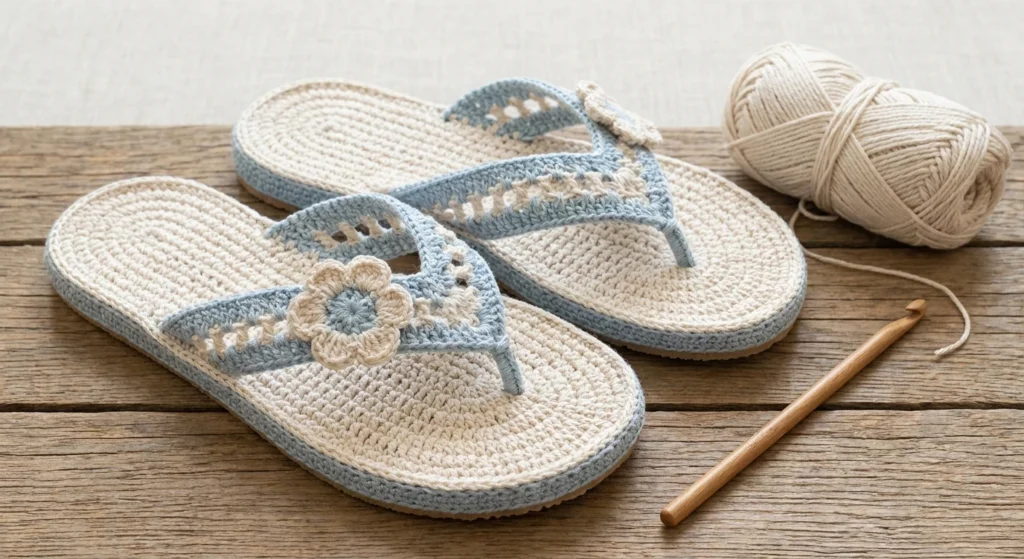
The pattern uses US crochet terms, and the stitch list is short and familiar for this kind of footwear project. Knowing these abbreviations before you begin will help you read the sole, body and strap sections with confidence, follow each round in order, and check your work against the designer’s instructions on the original page.
- Ch: chain
- Sc: single crochet
- Dc: Double Crochet
- Hdc: Half Double Crochet
- Sl st: Slip Stitch
- St: stitch
The stated gauge is 9 sc = 3 inches, worked in the gauge pattern. Because this design depends so much on stretch and fit around the foot, checking gauge is a practical first step rather than an optional extra. A swatch helps you see how the yarn behaves in your hands before you commit to the sole.
Ready to make your crochet flip flops?
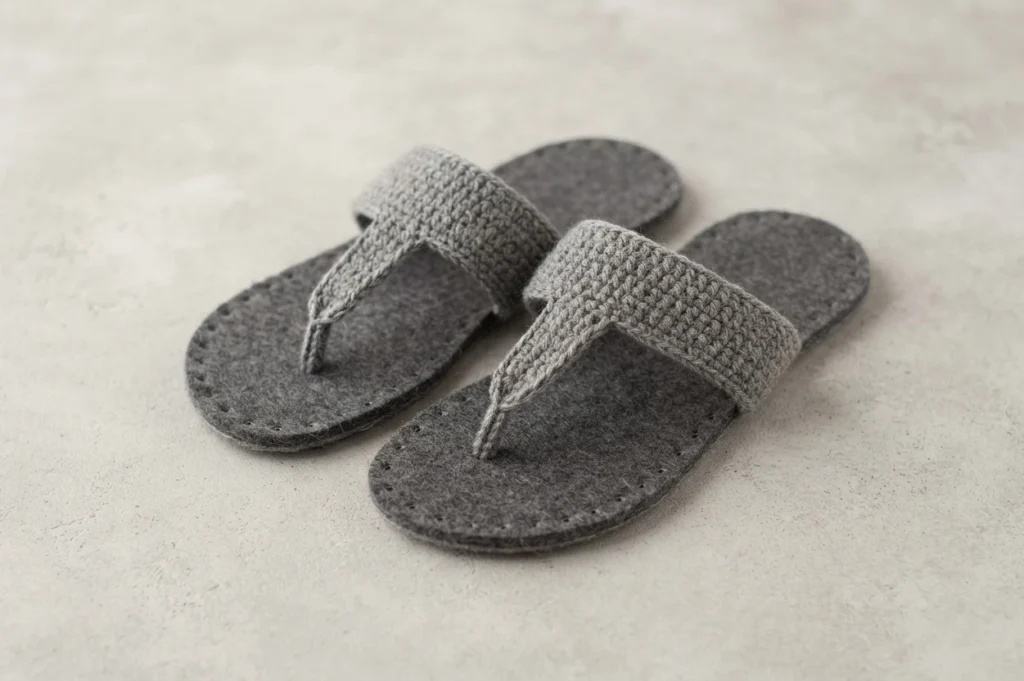
Access is clearly split by format in the source. The written pattern presented in text is free and includes US women shoe size 8. A separate downloadable PDF includes sizes 6 - 9 and is offered through the designer’s shops for easy crocheting on the go or for printing, without ads or comments. A free web version does not mean the PDF is also free.
The free size 8 version is described as approximately 10 inches, and readers are asked to work a gauge swatch before starting. The project builds a left sole and a right sole, then adds a felt layer, a body that forms the heel and thong areas, and a separate strap piece. Each part has a distinct role in fit and comfort.
Before you start, gather the source-supported supplies in one place so assembly can proceed smoothly once the crocheted pieces are complete and ready to join together for finishing.
- Bernat Home Dec yarn in a first color and a second color
- Felt for the soles
- Permanent marker for tracing the sole outline
- Leather punch for holes near the edge of the felt
- Plastic yarn needle for sewing the felt sole in place
- Sharp darning needle only for poking a hole when attaching the toe piece and for weaving in ends as directed
- Optional hot glue to help secure the final knot, as mentioned in the source
In overview, the sole is worked in the round to form an oval shape, with later shaping that differs for the left and right shoes. The crocheted sole then becomes a template for cutting the felt. The body is joined around the sole and uses chained sections to create a snug heel and a snug thong, taking advantage of the yarn stretch. The strap is worked separately in rows.
Construction
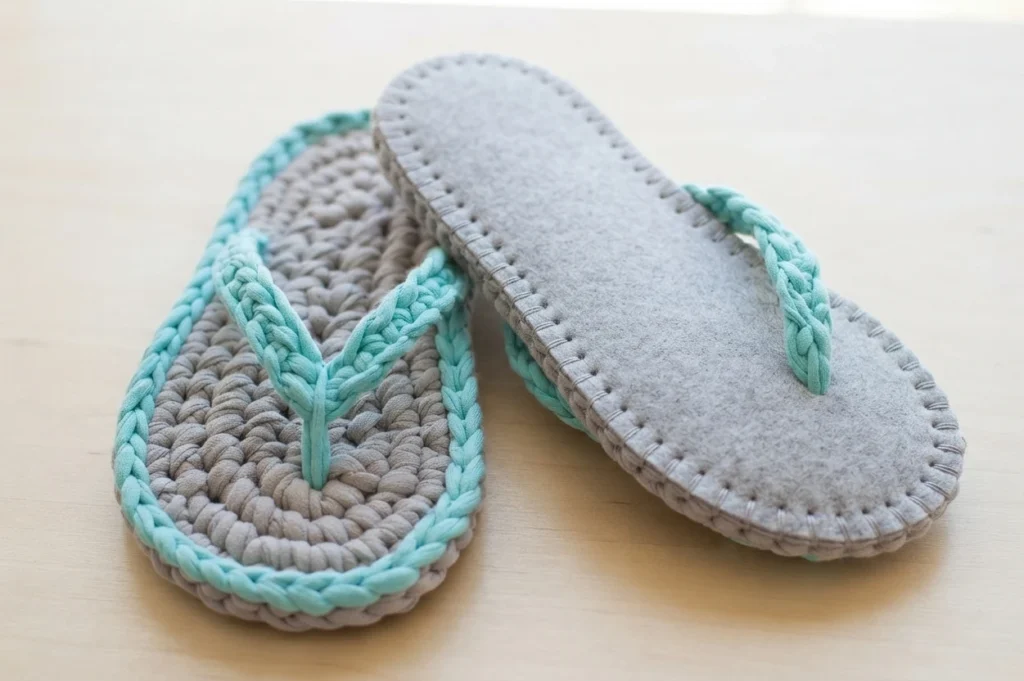
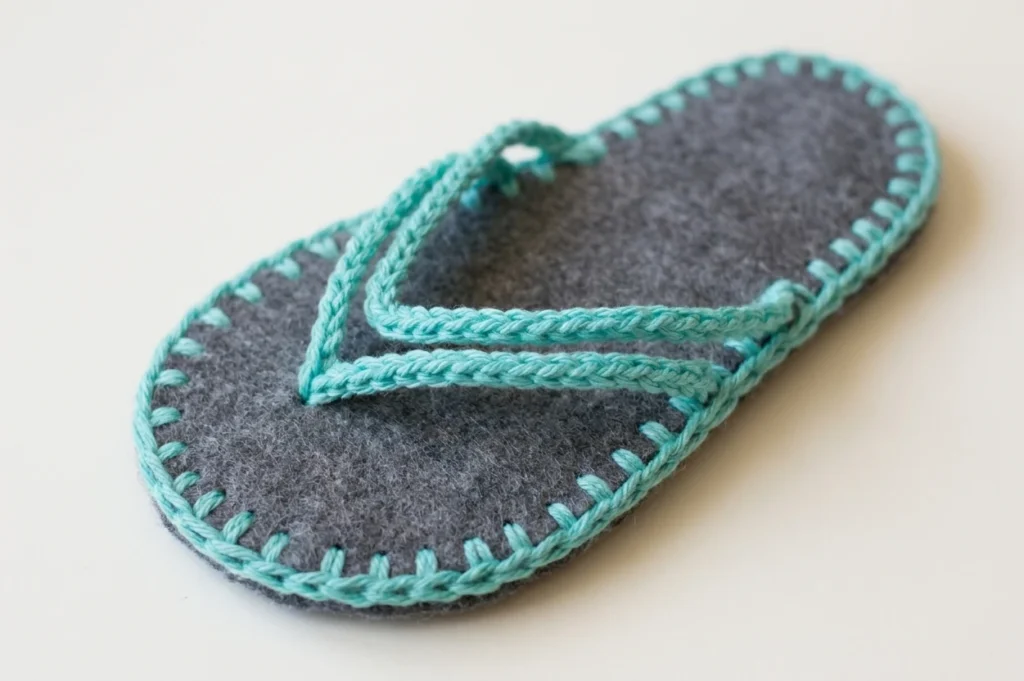
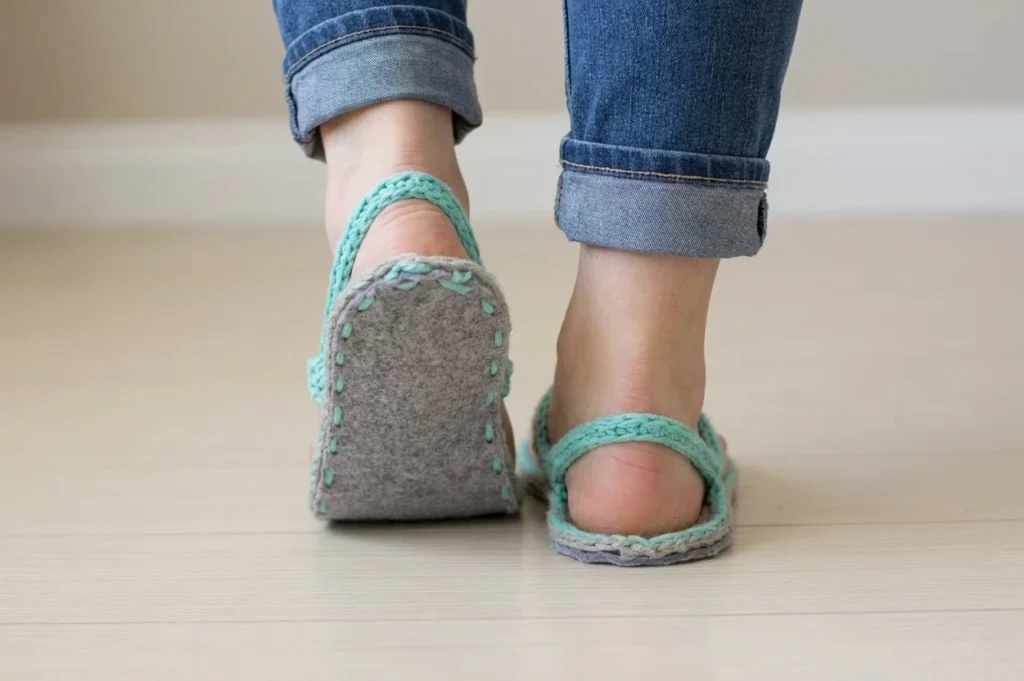
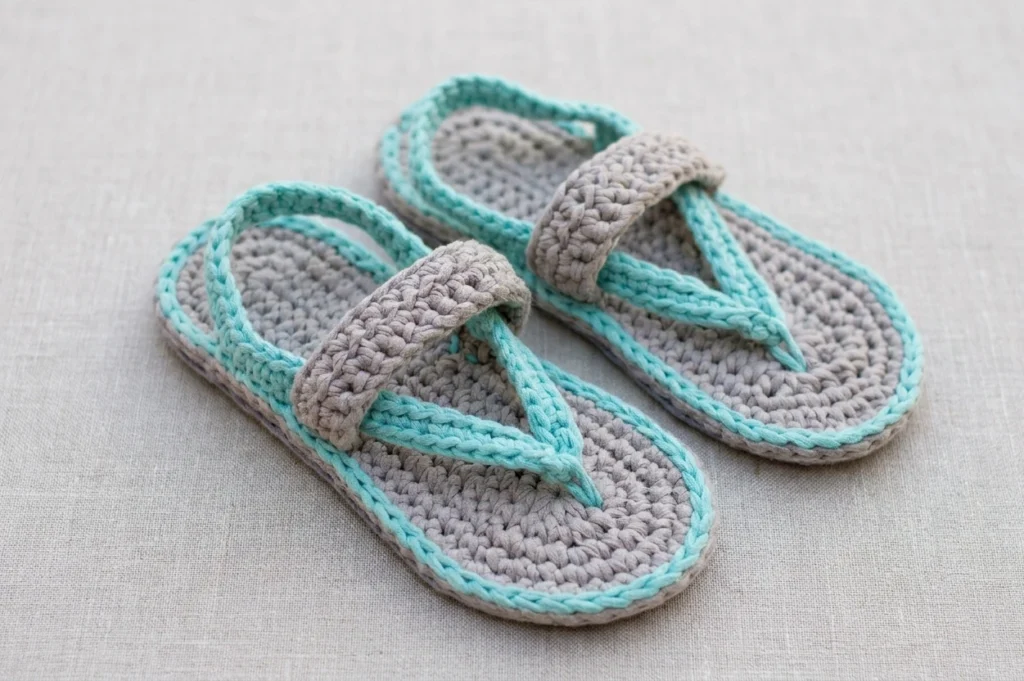
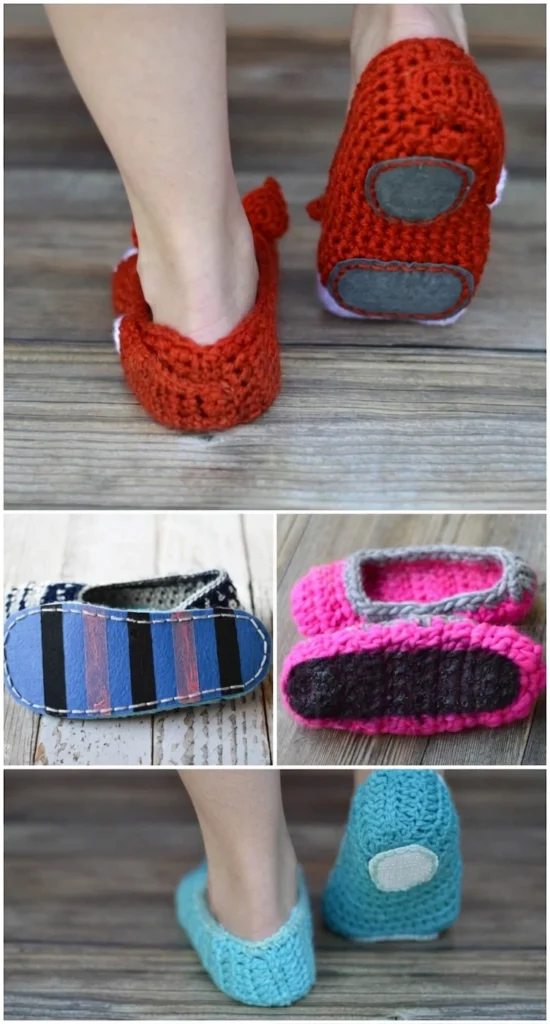
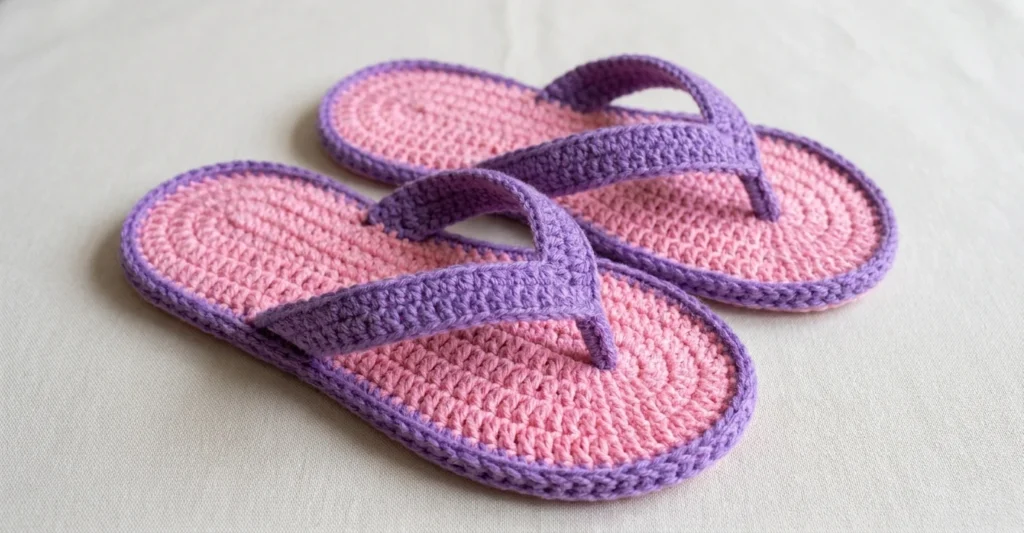
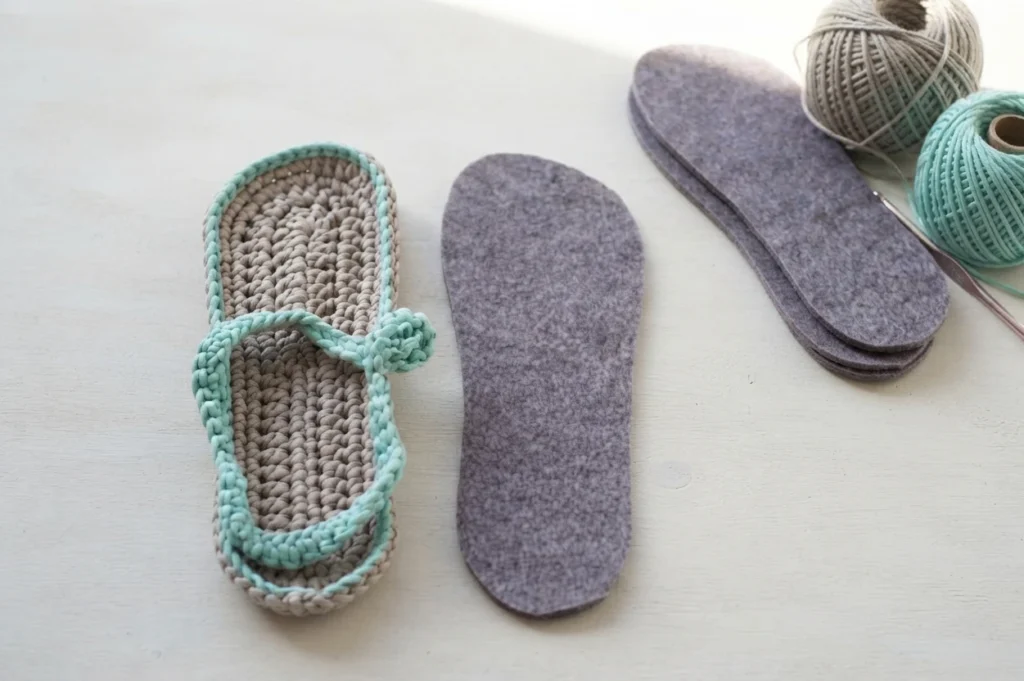
Assembly begins with the felt layer. Using a crocheted sole as a guide, the outline is lightly marked, the felt is folded so two soles can be cut at once, and holes are punched near the edge about 1/4 inch apart. The felt sole is sewn to the crocheted shoe with a plastic yarn needle, starting near the heel and working in and out through those punched holes.
The source stresses the choice of needle for this step. A plastic yarn needle is required for sewing the felt, because the sharp tip of a regular darning needle can pass through the fabric yarn and create a mess. As sewing moves around each side, the flap on that side is secured in place, then the remaining side is secured at the opposite point.
To finish, the toe piece is sewn in place using the middle double crochet of the 7 stitches at the toe from Round 1 as a reference point, with placement differing for the left and right shoes. The attachment is repeated until secure, finished with a small sturdy knot on the back, and the designer also suggests making the finished flip-flops non-slip before regular wear and enjoyment.