Project introduction
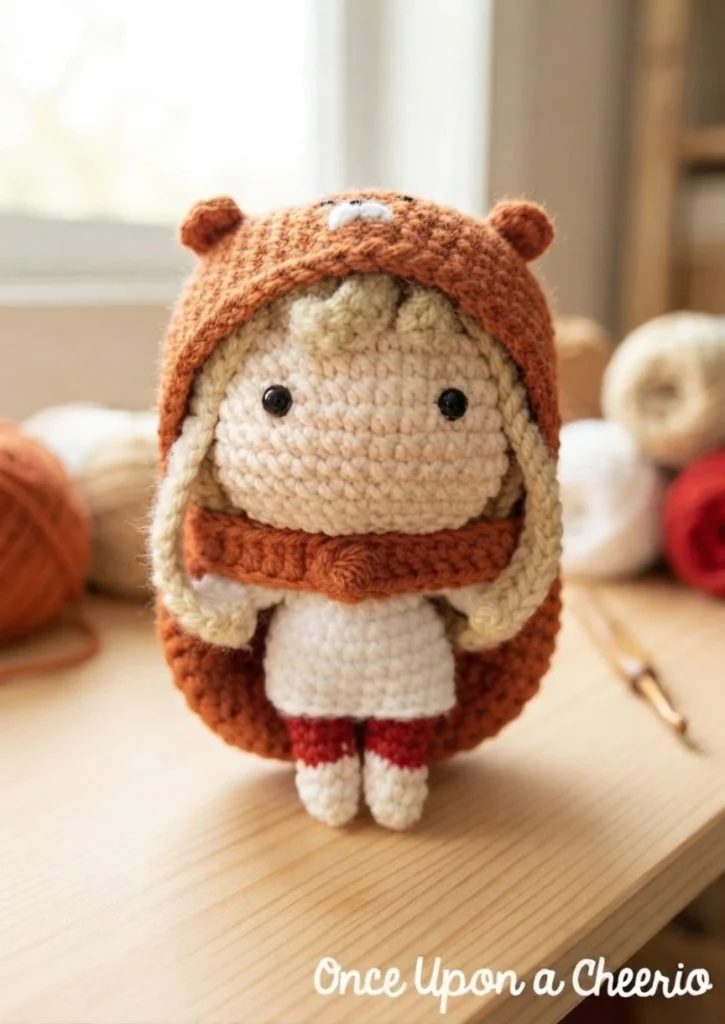
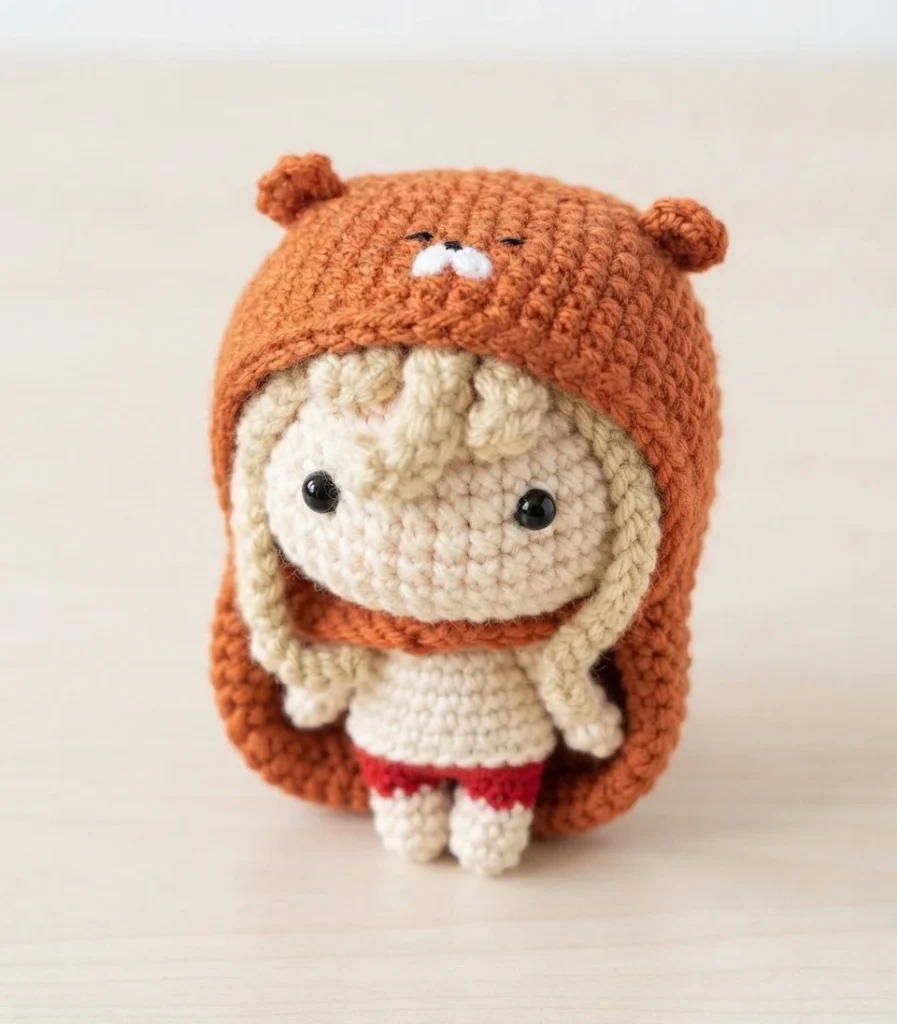
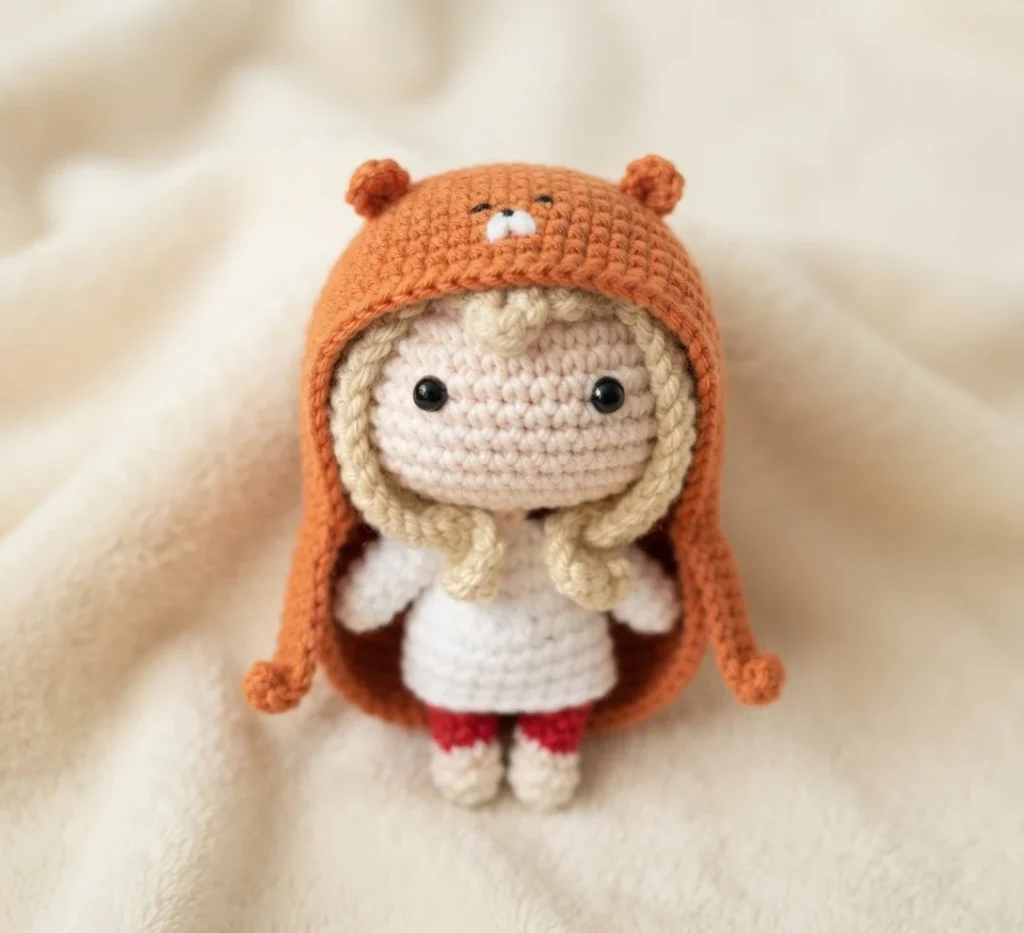
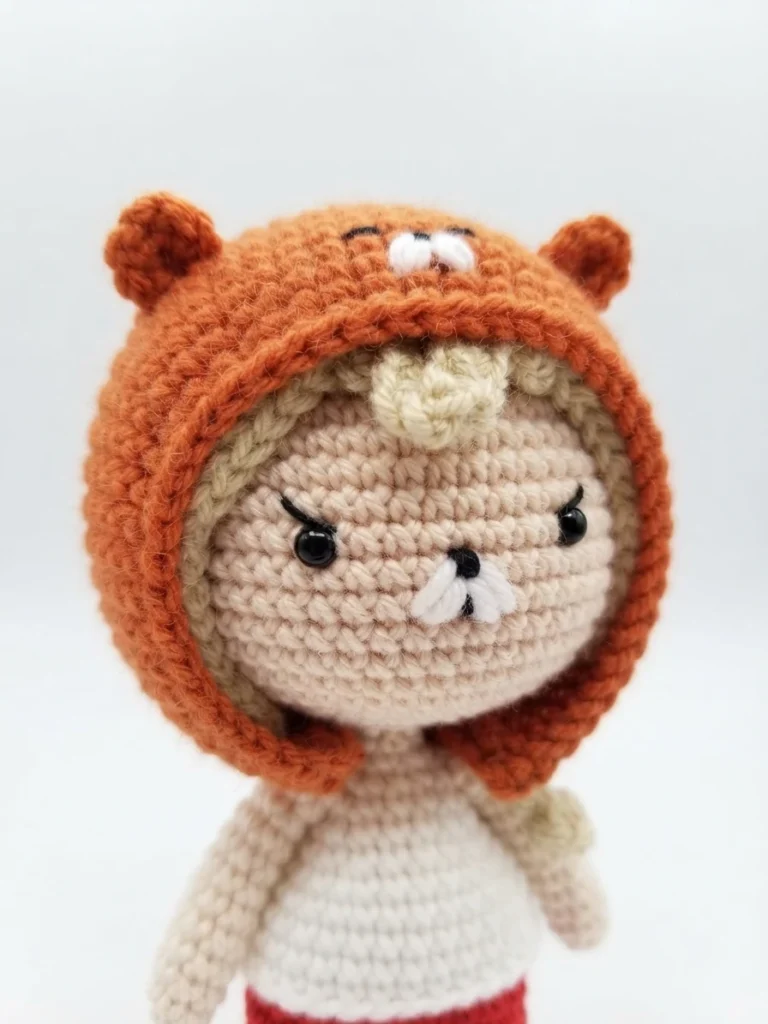
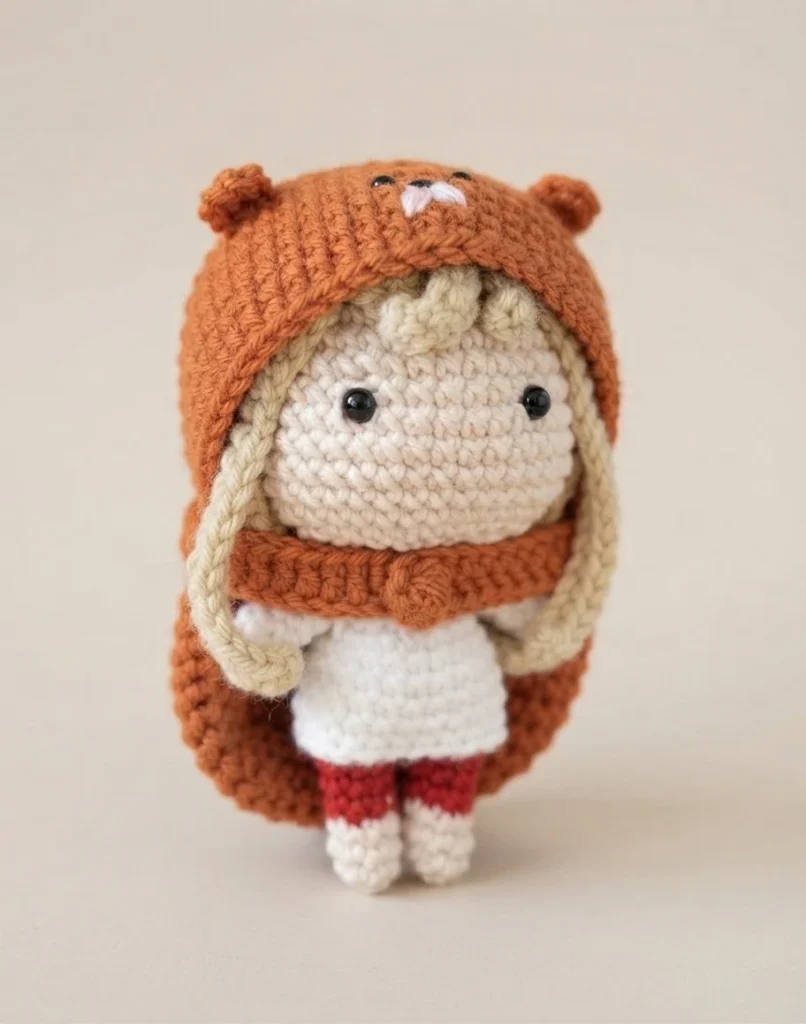
This article is a pattern overview, not a full tutorial, for a small fan made doll inspired by Himouto! Umaru-chan. It summarises how the pieces are built and where to find the complete wording, so you can judge the project before you start. The doll appears in her relaxed home style, with long hair, a simple outfit, and her signature hamster hoodie.
In the anime, Umaru is a sixteen year old who seems polished, capable, and admired at school. At home with her older brother, she becomes a tiny hood wearing version of herself who prefers games, snacks, soda, and late nights to study or housework. Juli Anne of Once Upon a Cheerio found that contrast cute and relatable, and created this little amigurumi for fun.
For the authoritative instructions, use the Original designer’s pattern and instructions on Once Upon a Cheerio, where the project is presented as a free crochet pattern. This overview does not replace that page. Related character projects include the following pattern overviews.
What You Need / Materials
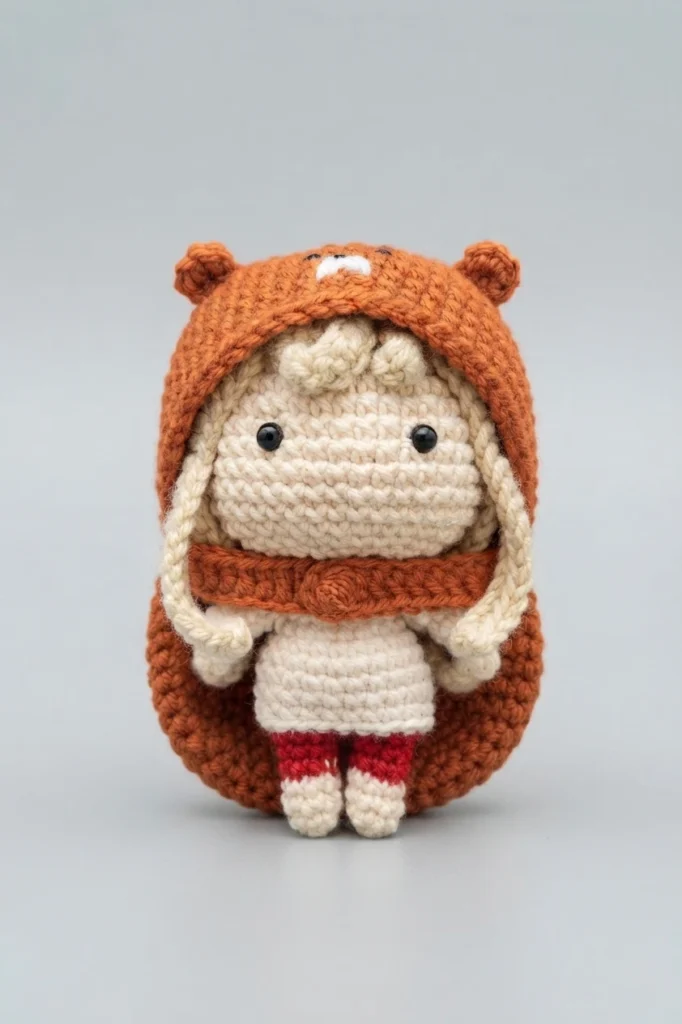
Gather everything first, because the doll changes colour often and several small parts share the same hook. The sample uses worsted weight yarn in five main colours. The brand details below identify only what the designer used for her sample, while the colour roles help you understand the placement of each shade.
| Colour | Role in the doll | Sample yarn named by the designer |
|---|---|---|
| Peach | Skin for the head, arms, legs, and neck | Chamomile, from the Lily Sugar N Cream Scents range |
| Heather | Hairpiece and long strands | Heather shade, from the Impeccable range by Loops and Threads |
| White | Sleeves, body area, and shirt | White shade, from that same Impeccable range |
| Red | Lower part of each leg | Autumn Red, from the Caron Simply Soft range |
| Pumpkin | Hamster hoodie and its ears | Pumpkin shade, from the Impeccable range by Loops and Threads |
- A 3.0 mm crochet hook, used throughout the project for the doll and clothing pieces.
- One pair of 6.0 mm safety eyes, added to the head during construction.
- Polyester stuffing of your choice, added firmly as the relevant pieces close.
- A yarn needle for joining and finishing, plus stitch markers to track rounds.
- Scissors for cutting yarn, plus white and black yarn for the embroidered hoodie face.
Stitches & Abbreviations
The pattern is written in US terminology and relies mainly on single crochet shaping. The designer works single crochet with the yarn under method, which is also explained in the pattern notes. This table restates each abbreviation in a practical form, with a short note on how the term functions in the project.
| Abbreviation | Meaning | Project note |
|---|---|---|
| st or sts | Stitch or stitches | Used when referring to loops already made |
| ch | Chain | Used for joining bridges and hair strands |
| slst | Slip stitch | Used to attach strands to the hair base |
| sc | Single crochet | Worked here with the yarn under method |
| sc inc | Single crochet increase | Two single crochet stitches placed into a single stitch |
| sc dec | Single crochet decrease | Two stitches combined through one single crochet decrease |
| hdc | Half double crochet | Used along the longer strands at the back |
| dc | Double crochet | Used when forming the two hoodie straps |
| BLO | Back loops only | Leaves front loops available for a later piece |
| FLO | Front loops only | Used as the starting point for the shirt |
Pattern Notes
Juli Anne used yarn under single crochet to make the fabric feel tighter and look more evenly aligned. She also used a half colour changing approach for cleaner lines where one row changes to another colour. For the hairpiece, she treated the underside as the visible outside, which lets the strand curls fall naturally toward the face.
Finishing matters throughout this small doll. Pieces are completed with an invisible fasten off before ends are woven in, giving joins and edges a neater appearance. Before starting the colourwork or hair, read the designer notes on the original page carefully, because those small choices affect the surface, the colour edges, and the direction of the curls.
Head
The head begins in peach yarn from a magic circle and grows through steady increases into a rounded shape, followed by a section of even rounds and then decreases. The 6.0 mm safety eyes sit between rows 10 and 11, about 7 stitches apart. Stuffing is added as the opening narrows, and a back loops only round near the base helps form the next stage.
After the final rounds, the designer pushes rows 20 through 23 inside the head. That simple step creates a tunnel and an opening at the bottom, ready to receive the neck later. Keep this feature in mind while stuffing, because the head is not closed as a plain ball. Its base is deliberately shaped for the later body join.
Arms
Each arm is a small, narrow piece that starts in peach yarn from a magic ring. The colour then changes to white for rounds 2 through 5, suggesting a sleeve, before the piece is cut and fastened off. Make the arms before assembling the body, because they are not sewn on at the very end. They are incorporated while the body is being worked.
Legs and Body
The body begins as two separate legs. Each leg starts in peach from a magic ring, then changes to red for rounds 5 through 7. The first leg is fastened off, while the second remains connected and finishes with a Ch 2 bridge. That bridge joins the legs, after which the combined piece continues upward and changes to white for the main body section.
During round 13, the arms are joined into the body, with parts of that round worked in back loops only so the front loops remain free for the shirt. Decreases then narrow the piece, stuffing is added, and the colour returns to peach for rounds 16 through 20 to form the neck. A long tail is left for threading through the head opening and sewing repeatedly until the head feels secure.
Shirt
The shirt is worked directly onto the body rather than made as a completely separate garment. In white yarn, it joins into the front loops left from round 13, with the doll legs facing away from you. Several even rounds create the shirt body, and the edge is finished with an invisible fasten off. This method gives the outfit a built in look without a bulky seam.
Hairpiece / Wig
The hairpiece starts in heather yarn as a small cap. It begins with a magic circle and expands through increase rounds, reaching the base size from which all the strands are attached. Remember the pattern note about using the underside as the outside. That orientation is important once the side, fringe, and back strands begin to curl around the face and shoulders.
Left Side
Two strands form the left side of the hair. One is based on a chain of 16 and the other on a chain of 22, giving the side of the face a shorter piece followed by a longer fall. Each strand is worked back along its chain in single crochet and secured to the base round with a slip stitch, creating a layered frame.
Fringe
The fringe uses three much shorter strands across the front. Their chains measure 6, 8, and 6, so the centre strand sits slightly longer than its neighbours. Each one is worked back in single crochet before being slip stitched to the base. One strand shares a base stitch with the previous strand, which keeps the short front section close and compact above the face.
Right Side
The right side balances the left, but the order is reversed. A longer strand based on a chain of 22 comes first, followed by a shorter strand based on a chain of 16. Both are worked back in single crochet and slip stitched into the base round. Together with the left side, they give the wig a fairly symmetrical frame before the fuller back is added.
Back
Strands 8 through 16 fill the back of the wig. These repeated strands are based on chains of 22 and are worked back in half double crochet, which gives them a slightly different presence from the single crochet side strands. When they are complete, a long strand is left for sewing the hairpiece onto the head. The designer also mentions heavy duty glue as an alternative fixing method.
Hamster Hoodie
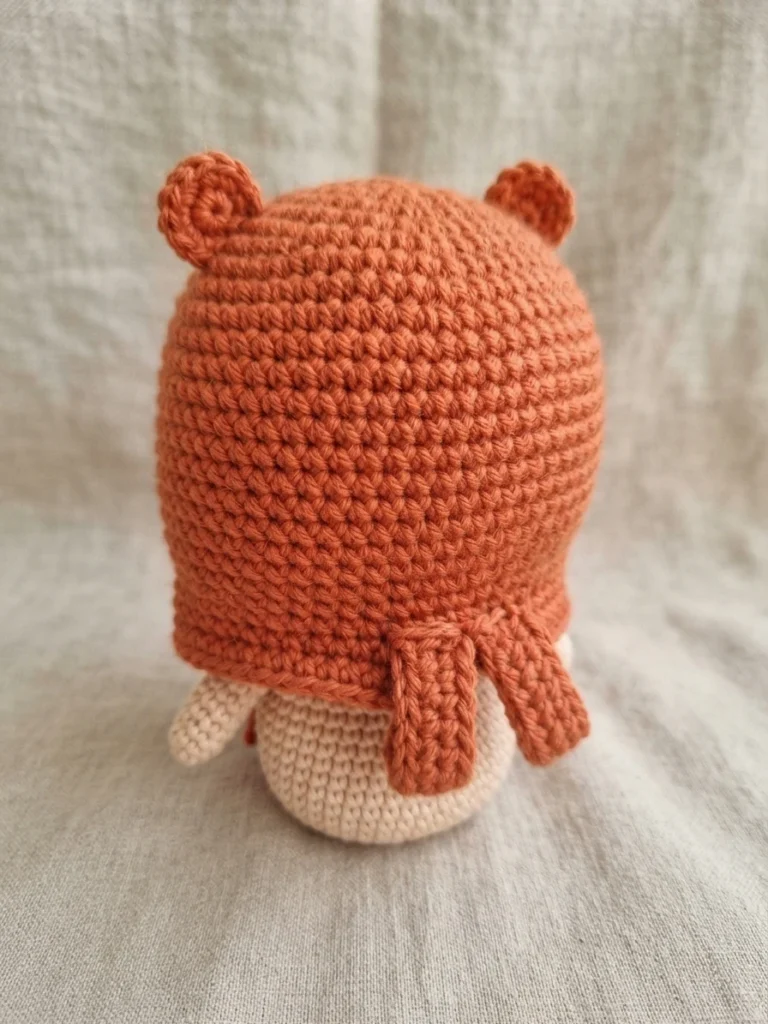
The pumpkin hoodie is the largest accessory piece. It starts from a magic ring and expands through increase rounds into a roomy hood shape, followed by even rounds. Flat rows then form the front opening area. A later round works along the edges of those rows and around the hood to bring the shape together, before a decrease round and an even round refine the fit.
The final round creates two straps, one based on a chain of 11 and the other on a chain of 14. Each strap is worked in double crochet along its chain and connected back to the hood edge. The piece ends with an invisible fasten off, which keeps the finishing point discreet. These straps help define the open front of Umaru home style hoodie.
Hamster Hoodie Ears
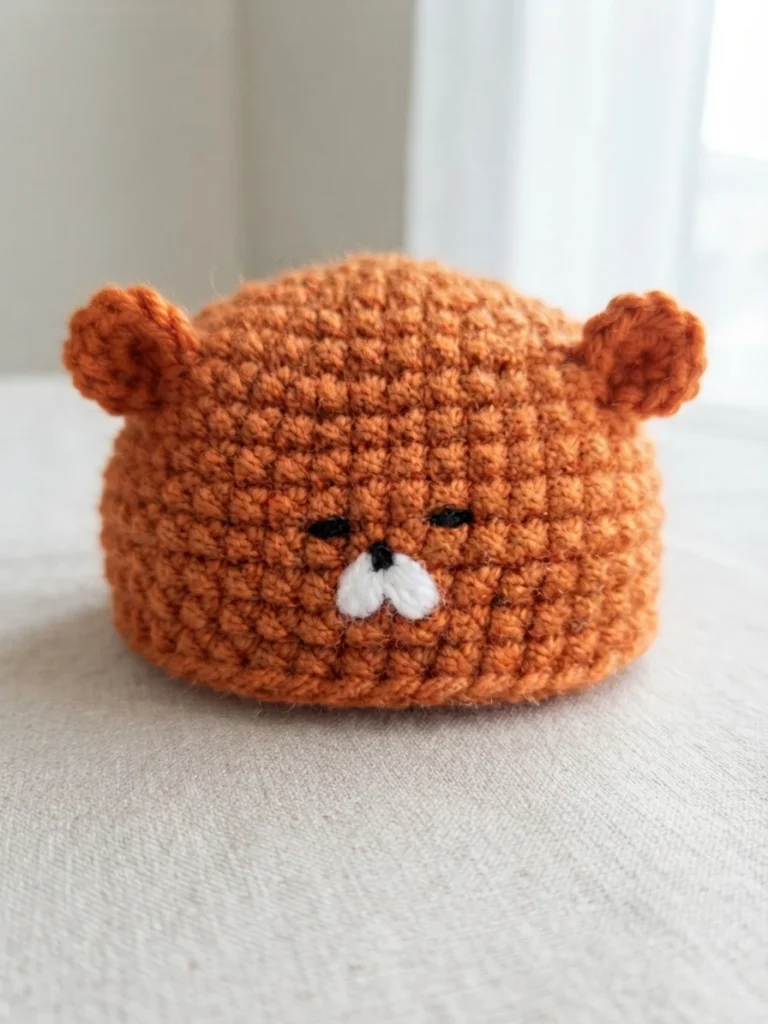
Each small hoodie ear is made in pumpkin yarn from a magic ring with a base of 5 sc. The yarn is cut and fastened off with a strand left for sewing the ear onto the hoodie. For the finishing touch, white yarn and black yarn are used to embroider a face onto the hoodie itself, turning the plain hood into the recognisable hamster style feature.
This pattern is an original design by Juli Anne of Once Upon a Cheerio and is described as an unofficial fan created design. It is for personal use only. The source asks readers not to claim it as their own, repost it, sell it, redistribute it, or share it instead of linking to the original blog post.