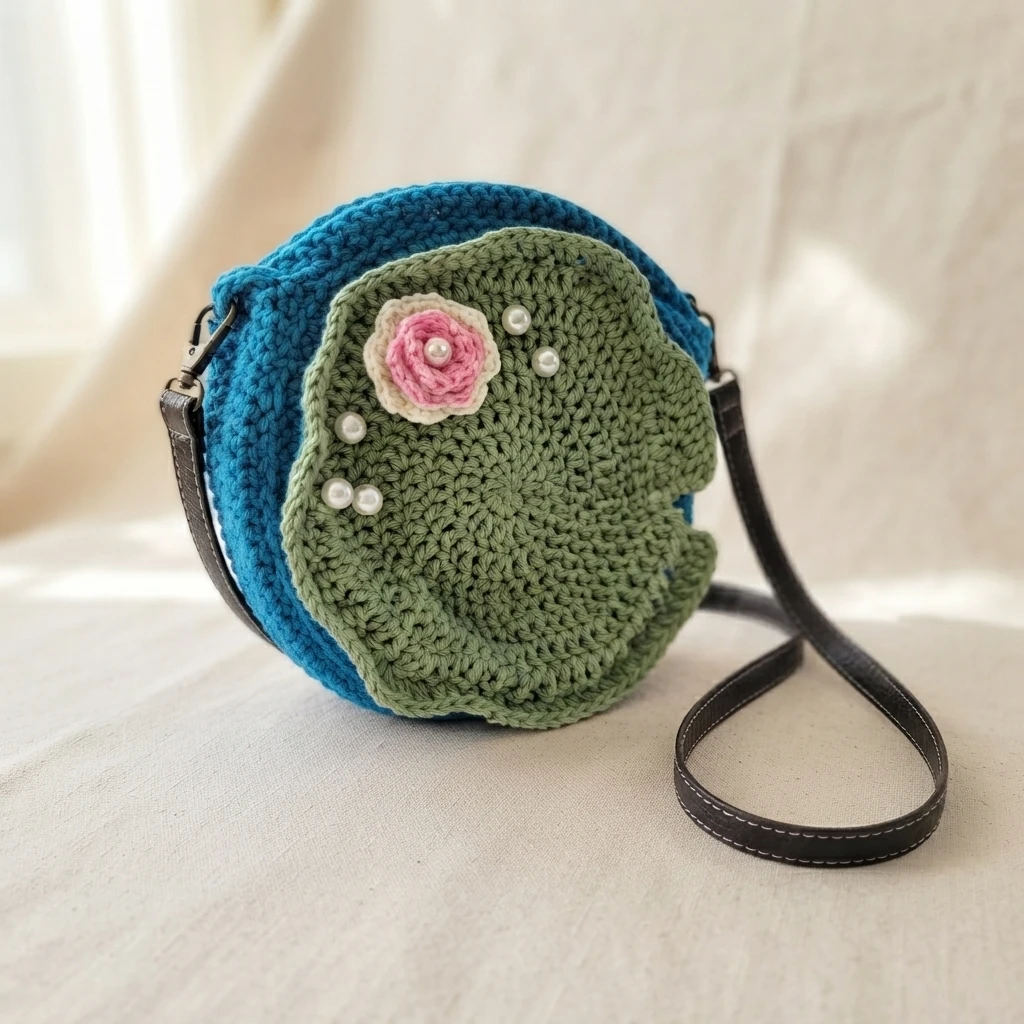
Project introduction
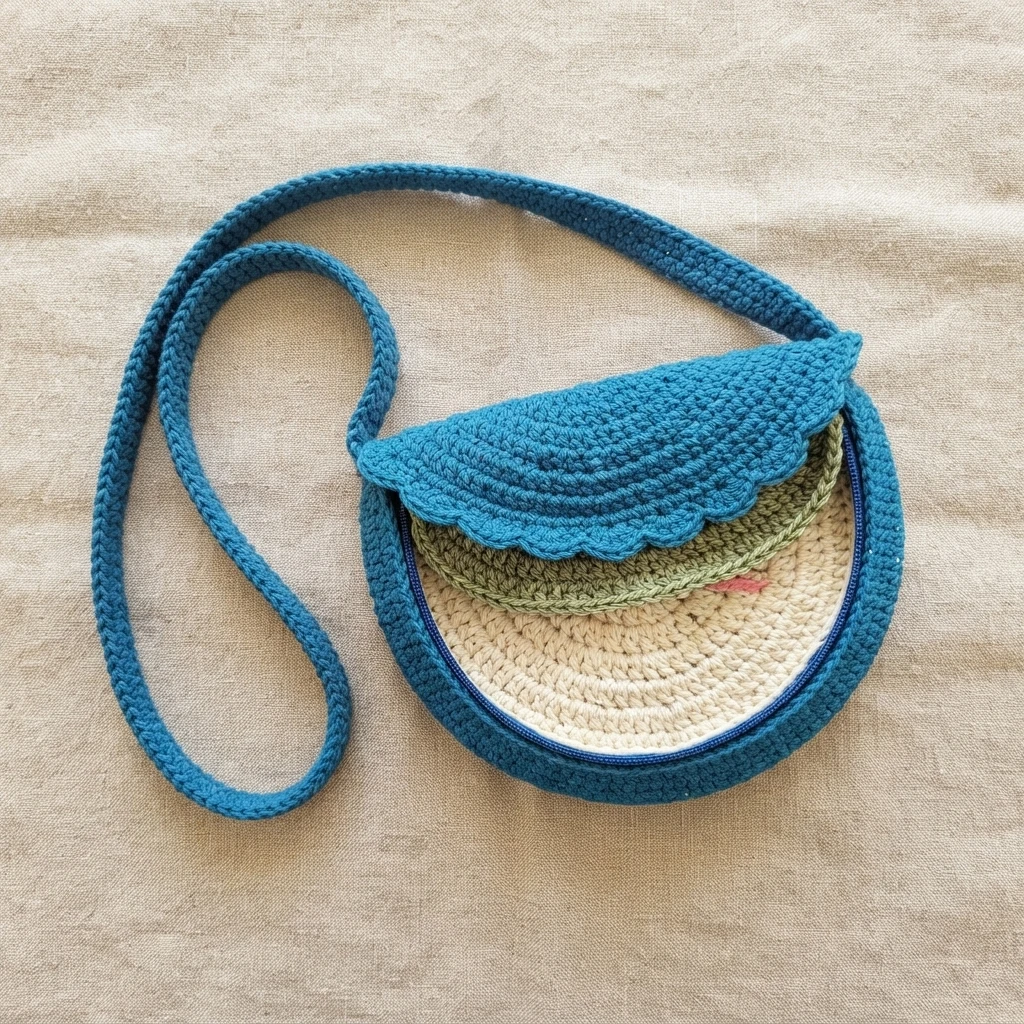
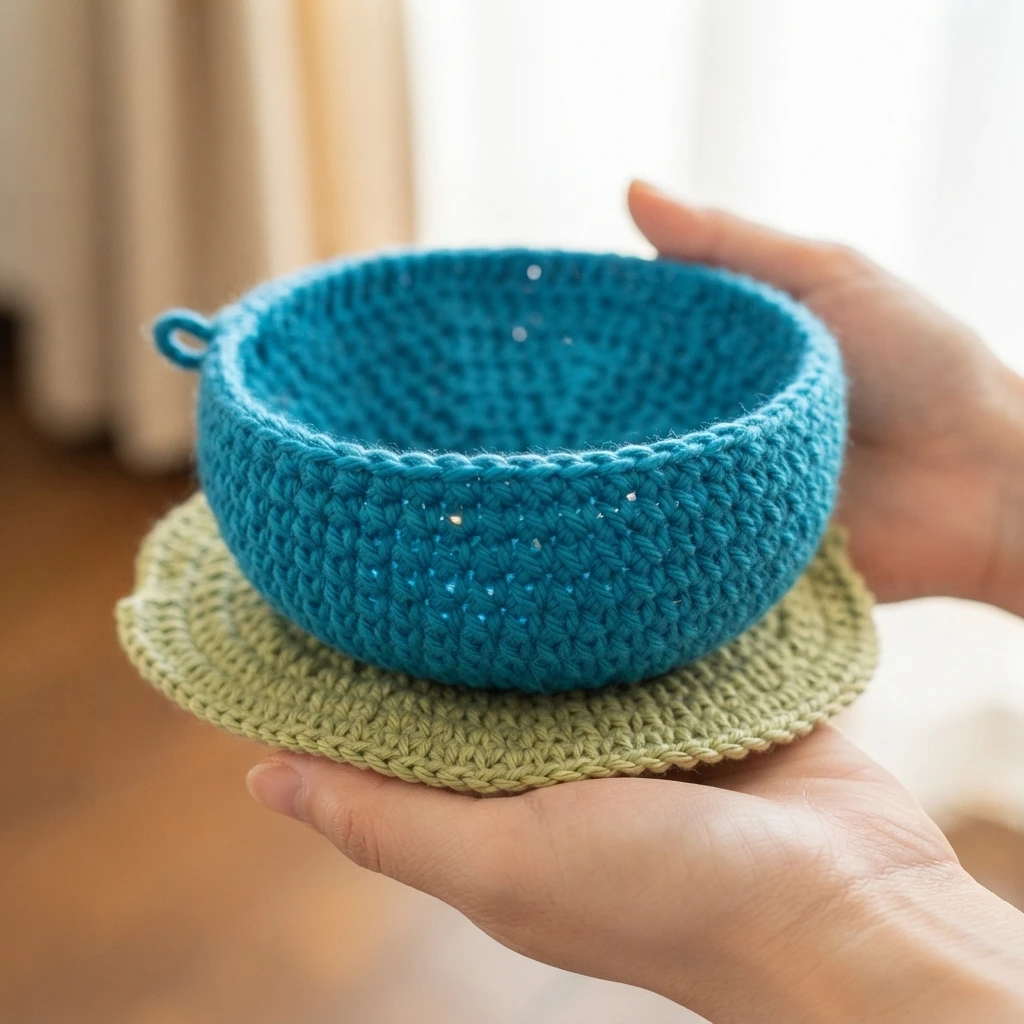
This article is a pattern overview, not a full tutorial, for a crochet lily pad bag presented as a playful pond fairy accessory. The source pattern is free, and this overview explains the pieces, supplies, stitches and construction order in concise form. Use the Original designer’s pattern and instructions for complete row by row directions before you begin making your own version of this bag.
Materials and Tools
Gather the supplies as listed before starting. Cotton is recommended for the worsted weight yarn, and the color plan is blue for the body, green for the lily pad, and at least one extra color for the flower. In the sample, white and pink were used for the flower, helping the applique stand out clearly against the green pad.
- 5.5mm crochet hook
- Yarn needle
- Worsted weight yarn, cotton recommended
- Galvanized wire rope, 1/16 inch wide
- Optional: 12mm pearl beads
- Optional: detachable bag strap
Crochet Stitches and Abbreviations
The pattern uses US crochet terms, so read the abbreviations with that system in mind. The short list covers the basic stitches used to shape each piece, plus working in the back loop only, increasing, and binding off. Keep these definitions nearby when following the designer directions, especially where several abbreviations appear within one round or row.
| Abbreviation | Meaning |
|---|---|
| sl st | slip stitch |
| sc | single crochet |
| hdc | half double crochet |
| dc | double crochet |
| BLO | back loop only |
| inc | increase (2 new stitches in one) |
| BO | bind off |
Body
Make two body pieces, both in the blue body color. Each starts at the center with double crochet worked into a magic circle and grows outward in joined rounds with regular increases, forming a flat circular shape. The two finished pieces later become the front and back sides of the bag, so keeping them matched in size is important for assembly.
Near the edge, one round is worked in back loop only single crochet around the wire, helping define the rim and adding support inside the fabric. A few following rounds use single crochet in each stitch, and then the piece is bound off. Return to the original pattern for exact round sequences and joins rather than relying on this summary.
Lily Pad
The lily pad uses green yarn and a similar start, beginning with double crochet into a magic circle and expanding in joined rounds with increases. For the first part it stays circular, like the body pieces, giving the pad a broad flat surface to sit across one side of the finished bag and provide that recognizable pond plant shape.
The character of the pad comes near the end, when work stops going around and instead turns to go back and forth in rows. That change creates the split described by the source. After those final rows, the piece is bound off, leaving the opening shape that separates this piece clearly from the solid circular body pieces.
Flower Applique
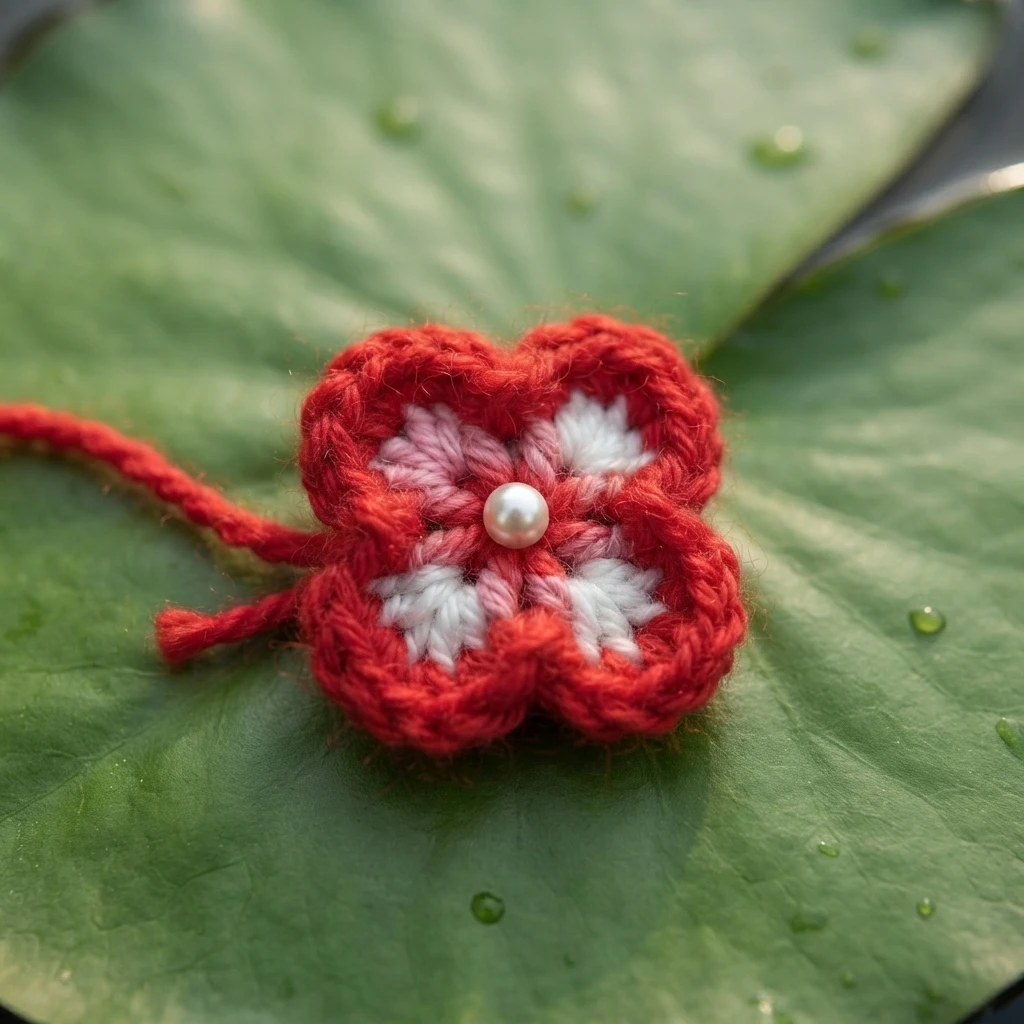
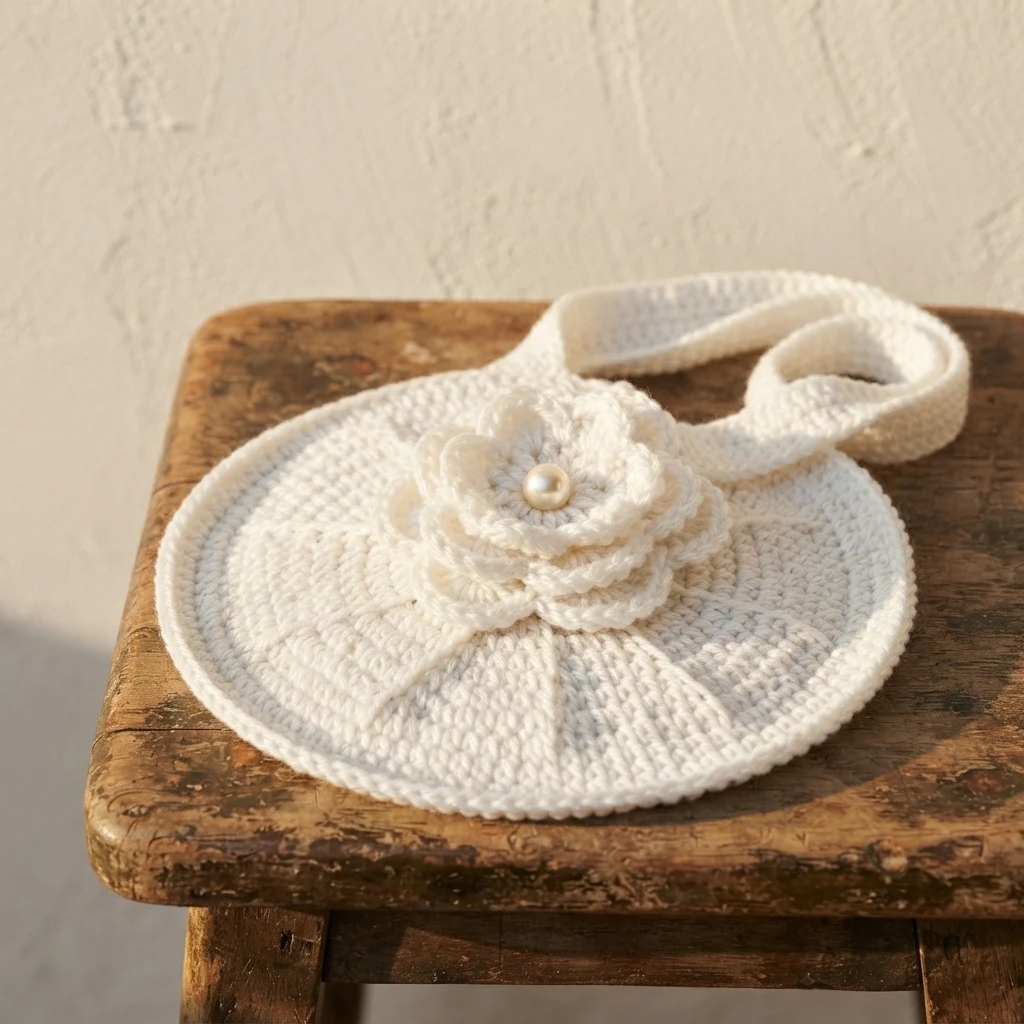
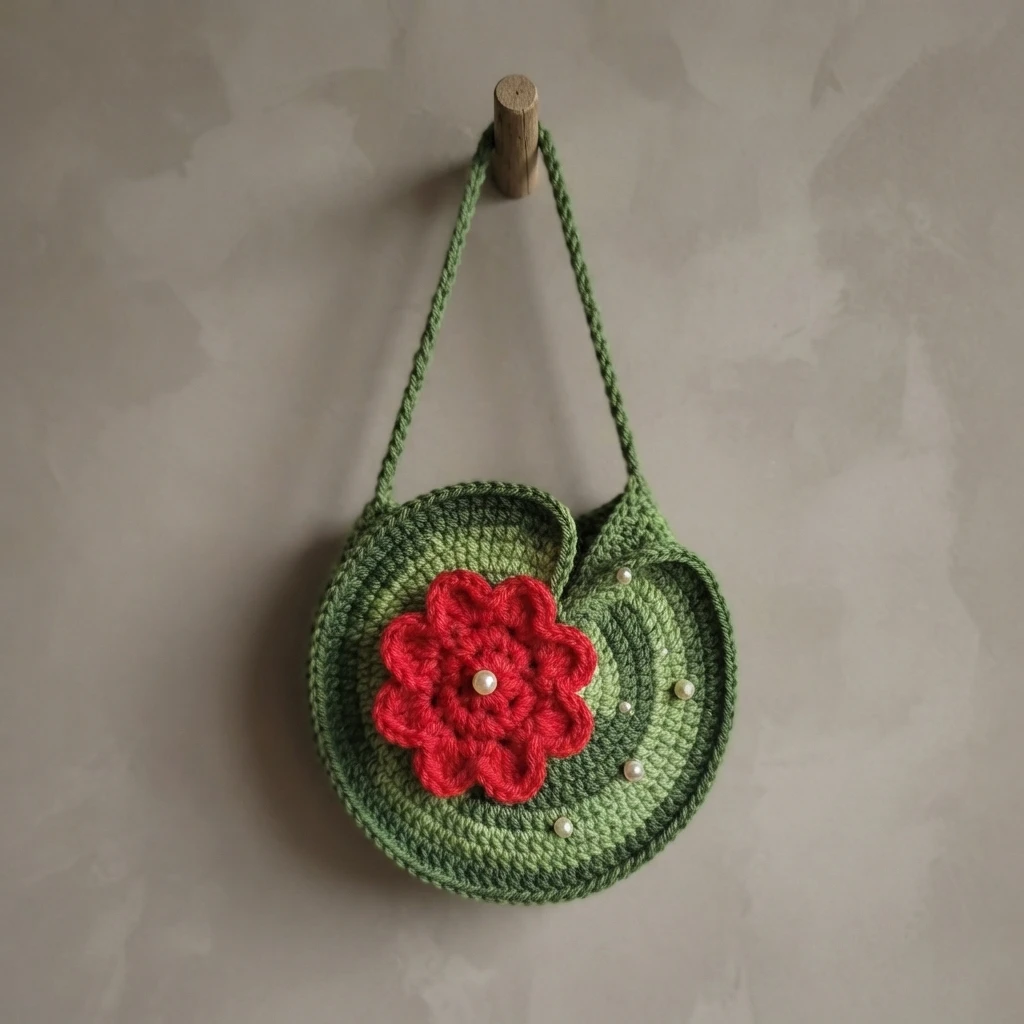
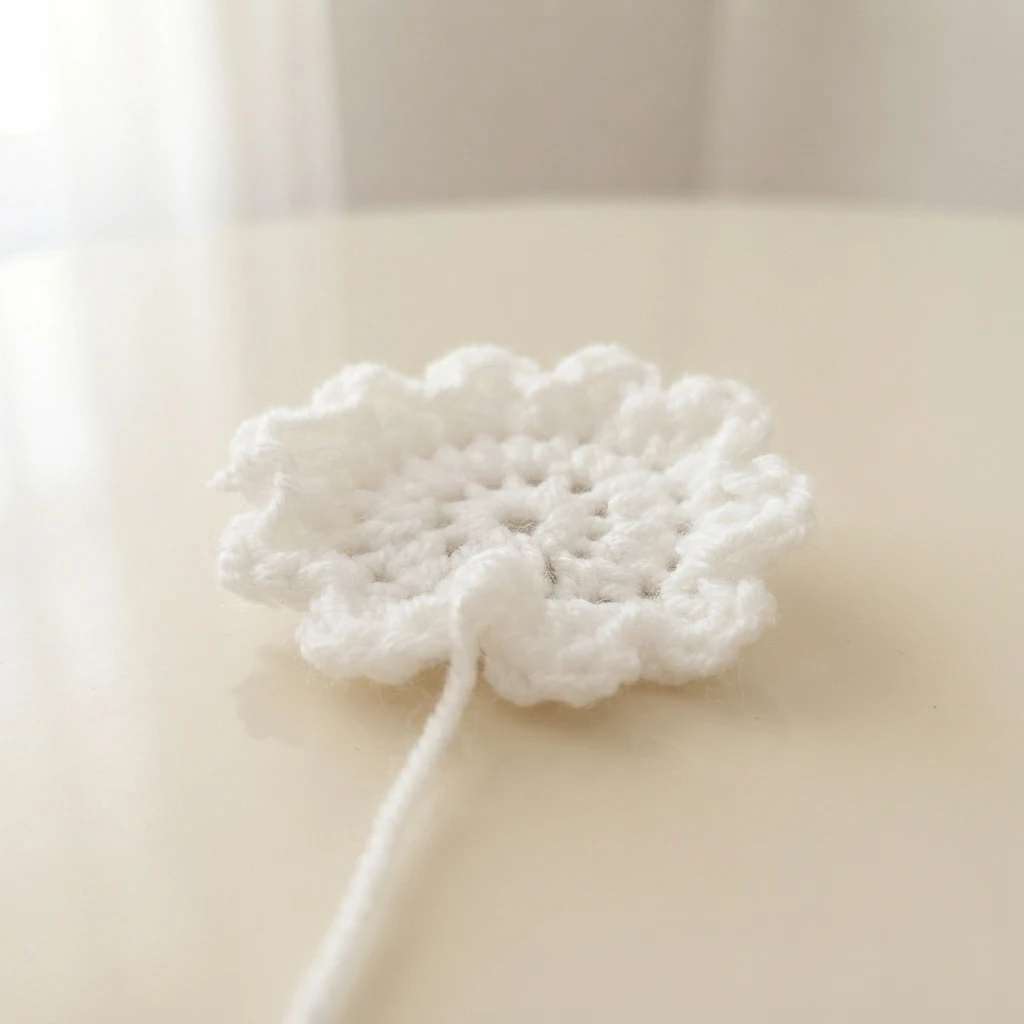
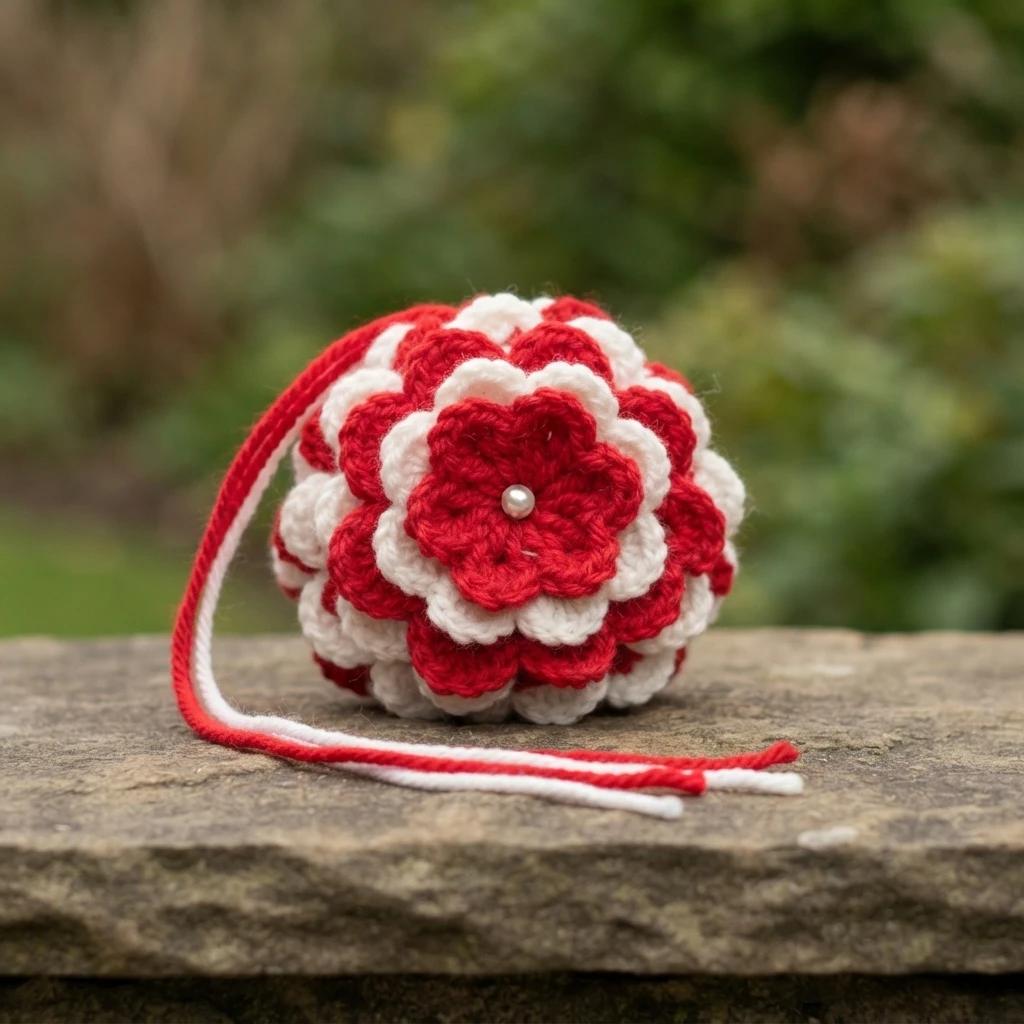
For the flower, the source notes that any flower applique pattern will do, but it also gives four layered options with four, six, eight and ten petals. Each starts from a magic circle and builds petals with single crochet, half double crochet and double crochet. Different colors are optional, and in the sample the two smallest flowers are pink while the two largest are white.
Stack the finished flowers and sew through the middle to hold the layers together, adding an optional pearl bead at the center if you wish. Then attach the completed applique to the lily pad. Extra pearl beads may also be added to the pad as desired, adjusting the decoration without changing the basic construction of the bag.
Assembly
Assembly begins by attaching the lily pad to one side of the bag body. Next, sew the two body pieces together with mattress stitch, leaving a large enough opening at the top so the bag can be used comfortably. At the corners of that opening, add small chain stitch loops for the strap clips, with those tiny loops given as approximately 8 chains.