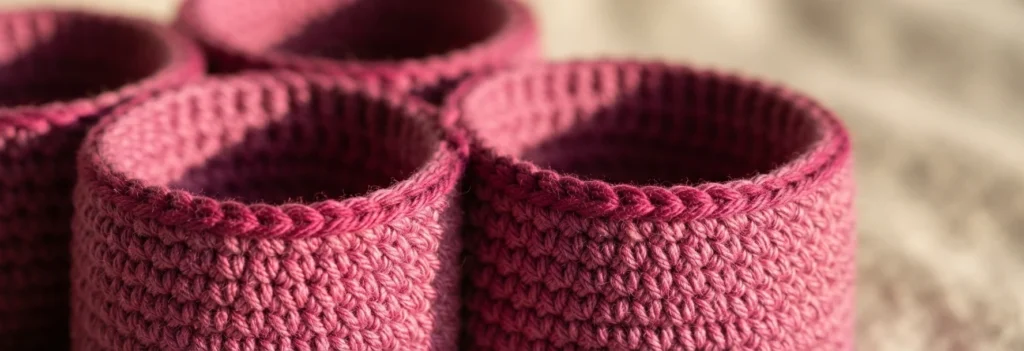
Project introduction
This article is a pattern overview for the Organizer Caddy by Sonya Blackstone of Blackstone Designs, not a full tutorial or a replacement for the complete instructions. It summarizes the project, supplies, construction and finishing so you can decide if it suits your needs before following the designer for the detailed work.
The caddy was created for Make it for Me, described as a month long free crochet pattern blog hop hosted by Kathy from ELK Studio. The designer chose a project she would genuinely use, a portable holder for the small bits and bobs that tend to end up scattered around a craft space.
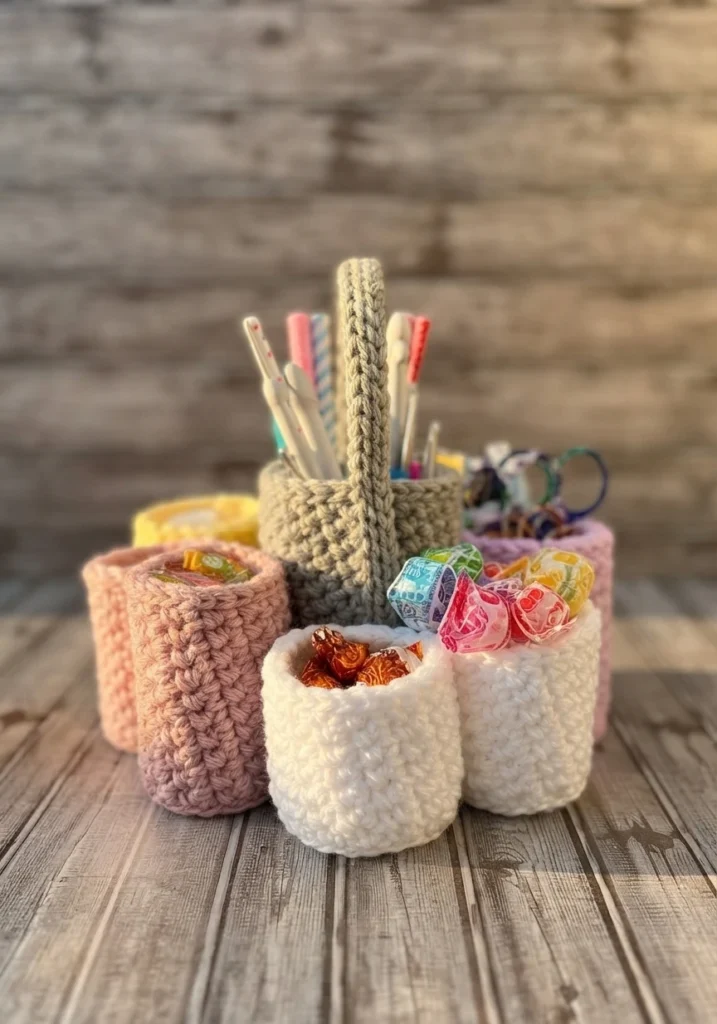
With eight cups to fill, the design is made for sorting rather than storing everything in one open basket. It can hold supplies for crochet, sewing or art, and the source also suggests use as a makeup caddy or a candy dish. Start with the Original designer’s pattern and instructions when you are ready to make it.
Materials
Before you begin, gather everything on the designer list so the work and assembly are not interrupted later. The project uses worsted weight yarn and a large hook, with simple tools for finishing. The checklist below preserves the source quantities and hook size exactly, including the metric equivalent given for the hook in the original materials list.
- Worsted Weight Yarn (#4), any color, 5 oz
- J/10/6.00mm crochet hook
- Yarn needle
- Scissors
Gauge
Gauge is stated in the source as not important for this project, which takes some pressure off the early rounds. That does not mean tension can be ignored completely, because very loose or very tight work will change how the cups hold their shape. Keep your crochet even and compare the pieces as you go.
Finished Measurements
After assembly, the finished caddy measures 8.25 inches in diameter by 4.25 inches high. That compact footprint helps explain why it works as a tabletop holder for small supplies, makeup items or sweets. Remember that this size describes the assembled project in the source, not the measurement of any single cup on its own.
Stitch Guide
The pattern uses a short set of abbreviations, all consistent with US crochet terminology. Knowing these entries will help you understand the language used in this overview and read the designer instructions with confidence when you move from this summary to the complete pattern for the full working details and sequence of the project.
- arnd = around
- ch = chain
- sc = single crochet
- st(s) = stitch(es)
Skill Level
The stated skill level is Easy, which matches the simple stitches and repeated construction used across the cups. Crocheters who are comfortable working in rounds, keeping track of repeats and joining separate pieces may find the structure approachable, while experienced makers can enjoy it as a practical project built from familiar techniques and useful repetition.
Written in U.S. Terms
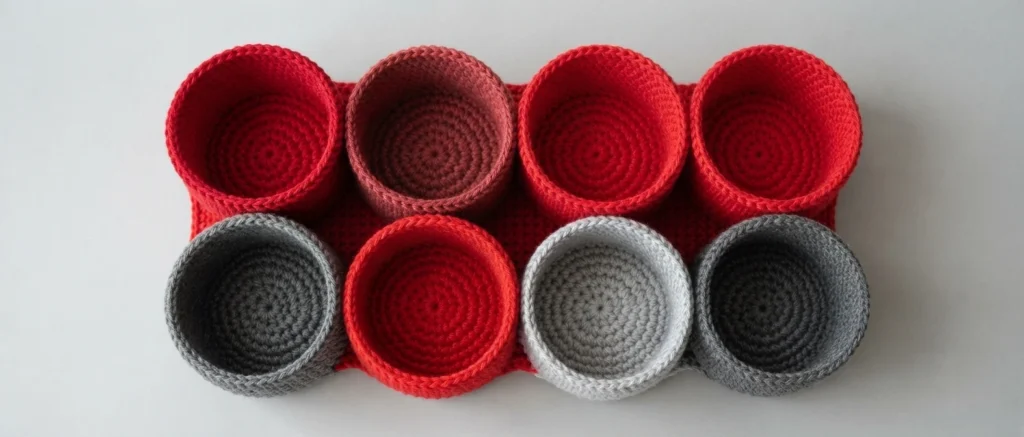
As the heading states, the pattern is written in U.S. Terms, so single crochet and the other abbreviations follow US meanings. The source also points readers toward earlier Make it for Me freebies from the same designer: a Chunky Lace Vest from 2018, a Noreaster Hat from 2019 and a Fur Lined Plaid Earwarmer from 2020.
Notes
Several notes shape the whole project. The basket is worked with double strands, beginning chains do not count as stitches, and instructions placed between asterisks are repeated where they appear. All outside cups share the same diameter, although two were made shorter to hold smaller items such as paper clips, giving the finished caddy a useful mix of depths.
The cups can be lined with fabric before they are attached together, or fitted afterward with tin cans or votive jars, an option the designer notes for items such as sewing pins or scissors. Hot glue was used for the cups and handle, with sewing suggested for heavy items. Seven colors were used in the sample, but one color also works.
CENTER CUP (Make 1)
Make one center cup to form the middle of the caddy. It begins with a magic ring and single crochets, then increases in rounds to create a flat circular base. A back loop only round helps turn the work upward, changing the piece from a flat base into the start of a container with sides that can hold items.
The side walls continue with a repeated pattern that skips a stitch and places paired single crochets, building texture as the rounds rise. That repeat continues for most of the height before a final round of slip stitches finishes the edge and the yarn is fastened off. Follow the designer pattern for the exact round by round sequence.
OUTER CUPS (Make 7)
Make seven outer cups to surround the center piece. Each starts in the same way, with a magic ring and increasing rounds, but the base stops smaller than the center cup base. A back loop only round then turns the work upward, so all seven pieces share a consistent shape and diameter before their walls are worked to height.
The walls use the same kind of repeated skip and paired single crochet pattern as the center cup, repeated over fewer rounds. For the shorter cups mentioned in the notes, the source directs makers to stop earlier, at the point specified in the full pattern. Each cup ends with slip stitches around the edge before fastening off.
Handle
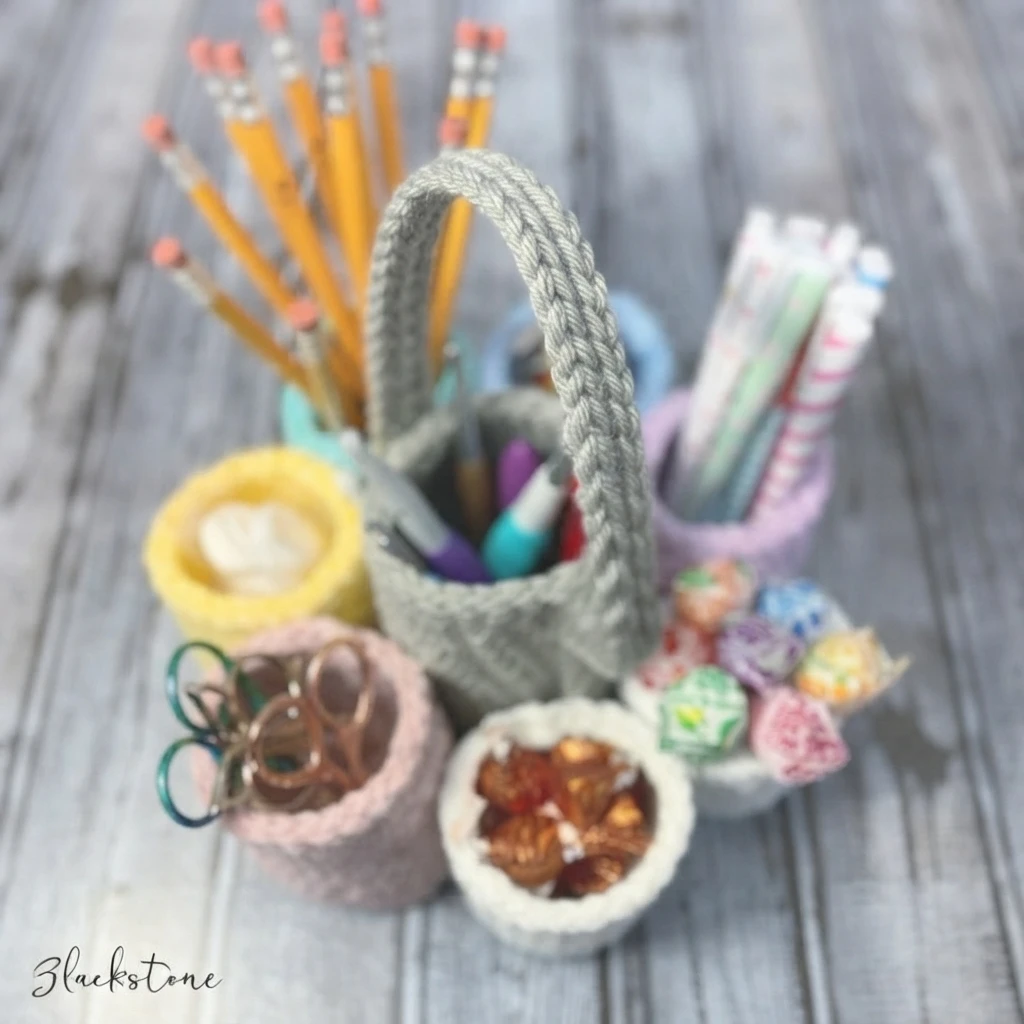
The handle is worked as a long narrow strip rather than a separate shaped piece. It starts with a chain of 71 stitches, then slip stitches are worked down one side of the chain. After turning, slip stitches continue up the other side, and the work is joined to the first slip stitch before fastening off.
Finishing
Assembly brings the separate pieces together in a specific order. Attach the outer cups to one another in a circle, but leave the first and last cups unjoined at first. Placing them around the center cup as you work helps you check their positions and keep the ring even before the circle is closed and fully secured.
Once the outer ring is ready, wrap it around the center cup and attach each outer cup to the center piece, then join the first outer cup to the last one. Attach the handle to the outside of the center cup, positioned between gaps in the outer cups. Finish by hiding all loose strings for a neat result.
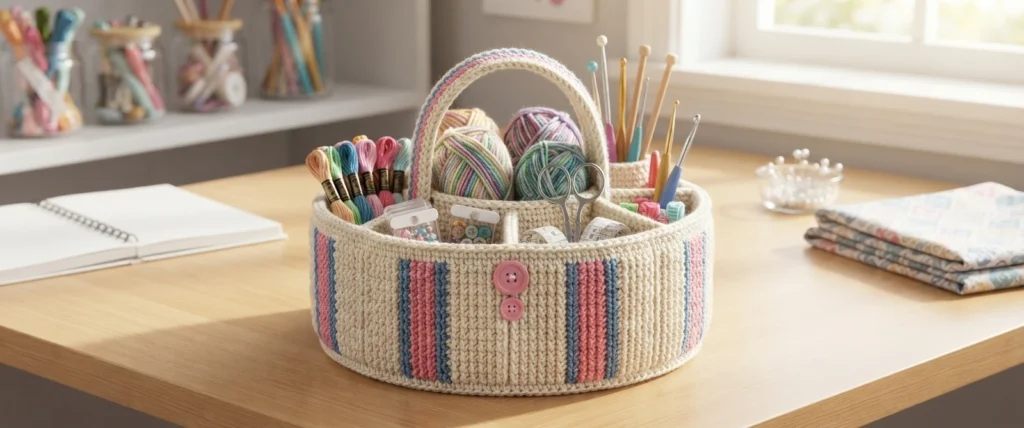
Voila! An Organizer Caddy!
The designer invites crocheters to join the Blackstone Designs Crochet Community on Facebook for CALs, giveaways, pattern support and other community activities. It is a place to connect with other makers using Blackstone Designs patterns, although joining is optional and is not needed to understand the project summary presented in this pattern overview article.
The written pattern and photographs are copyright 2020 Sonya Blackstone of Blackstone Designs. Please do not sell, share or modify the pattern itself, and share the link to where it can be found instead. Items made from the pattern may be sold, while educational use requires written permission from the designer, according to the source notice.