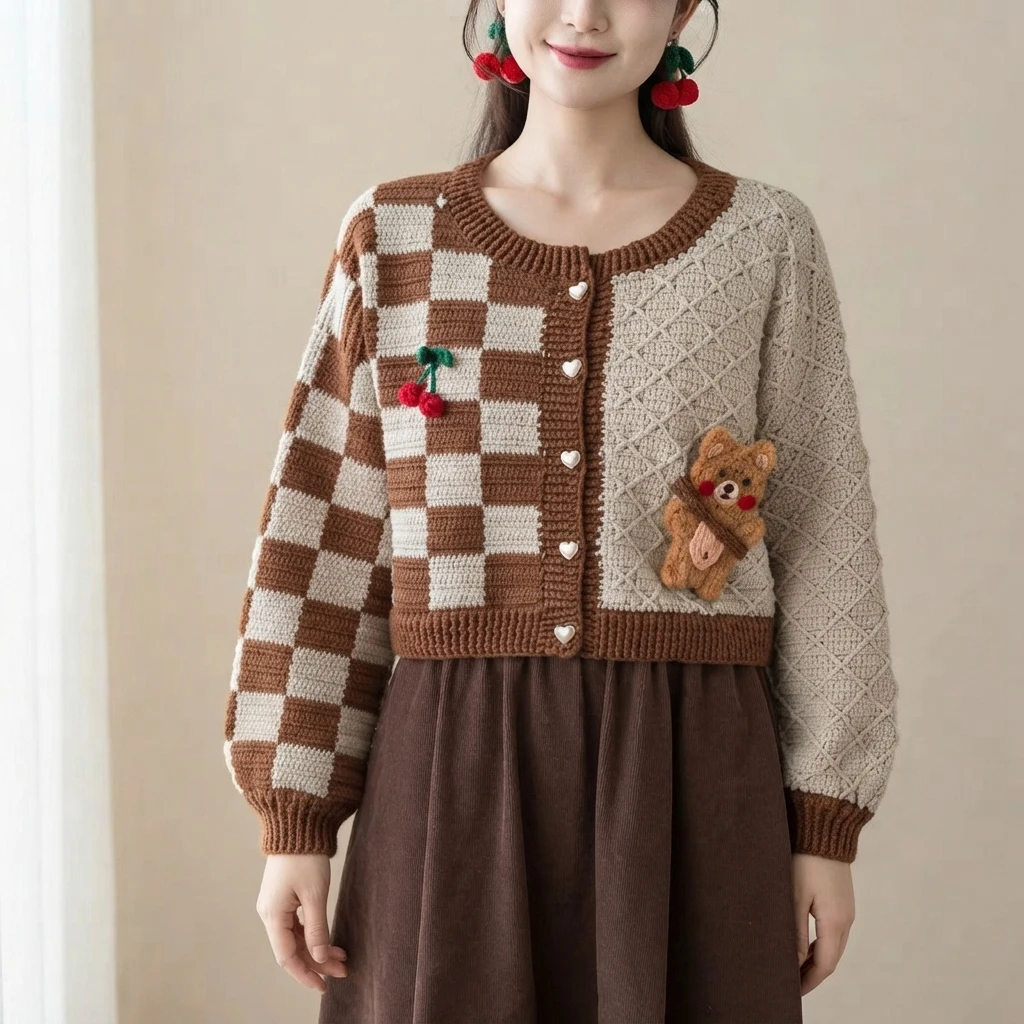
This is a pattern overview, not a full tutorial. The Plaid Bear Cardigan comes from Susan’s Family, published on susudiy.com, and the page presents it as a video-led project rather than a written row-by-row pattern. If you want the actual working instructions, the Original designer’s pattern and instructions is the place to go. What follows is a clear look at what the design involves, what you will need, and how the pieces come together, so you can decide whether to start it.
See the finished project
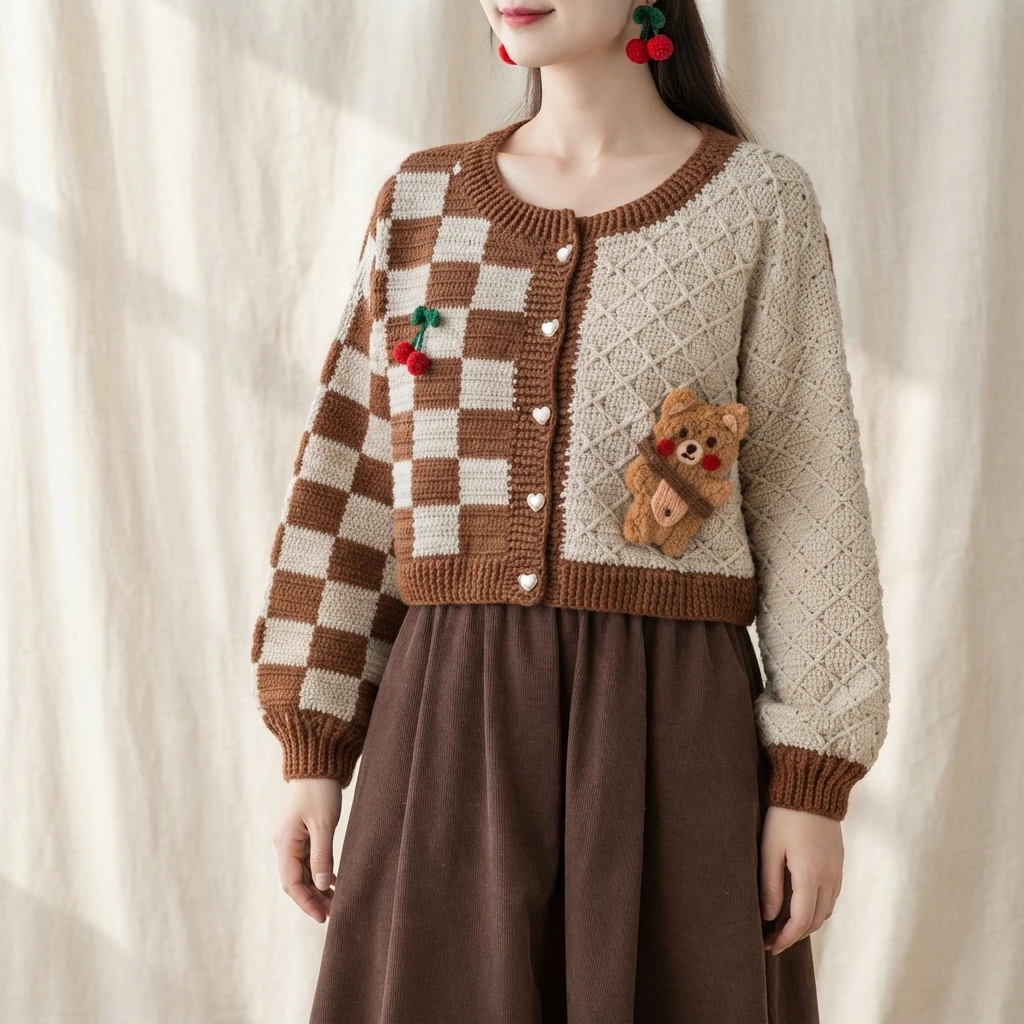
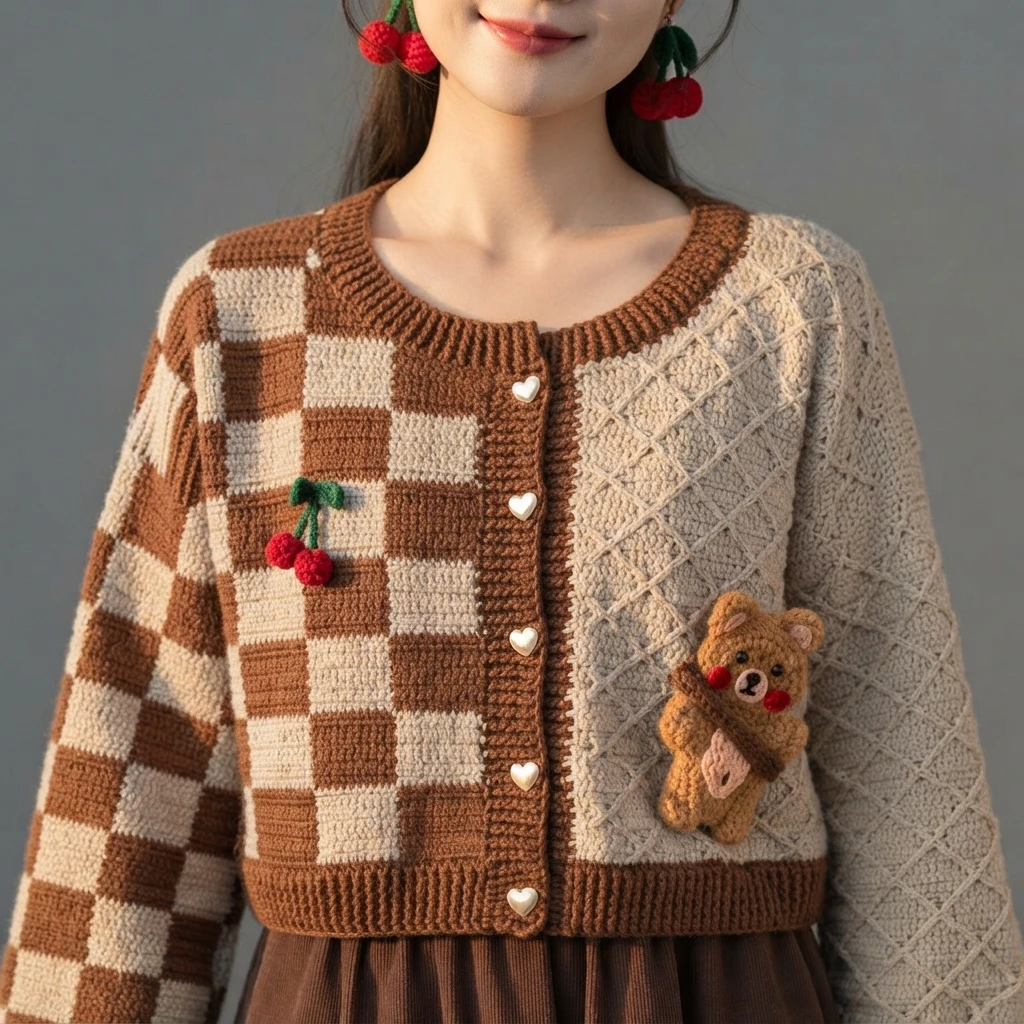
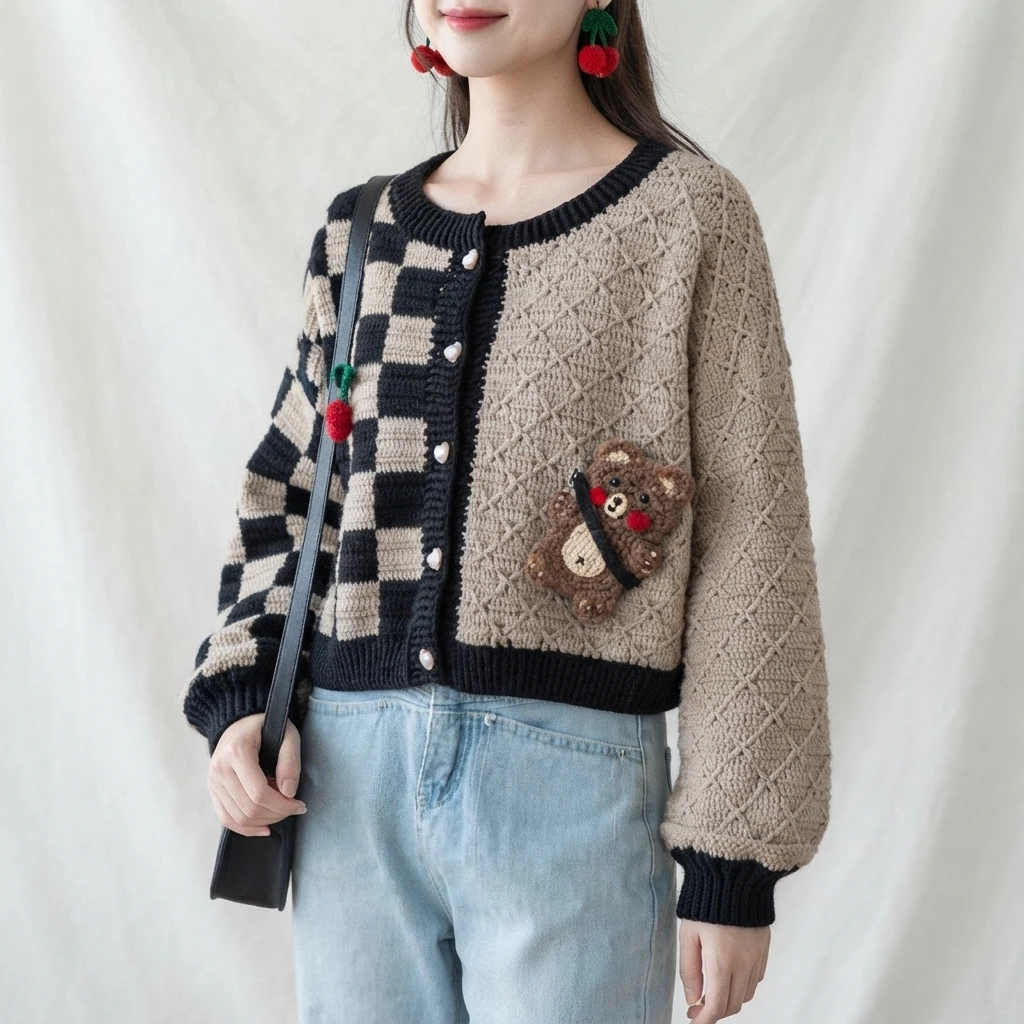
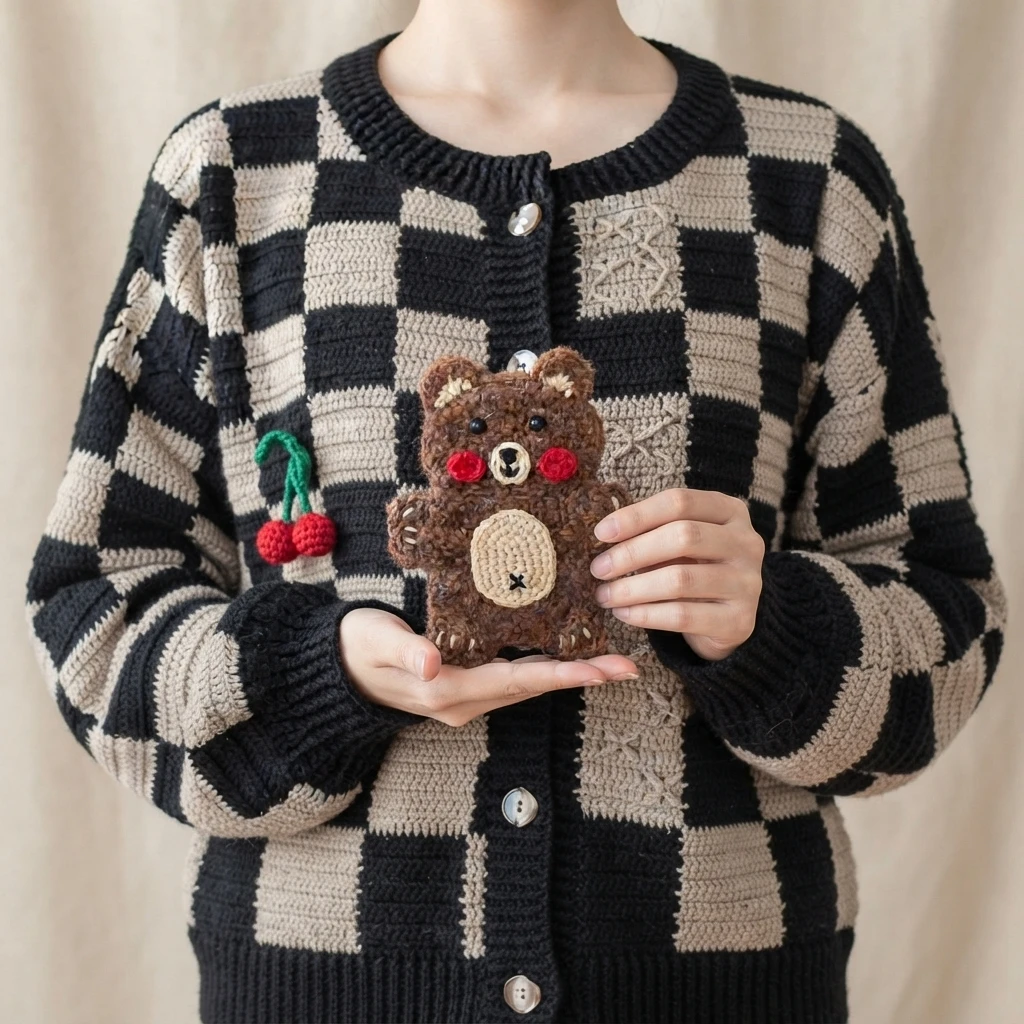
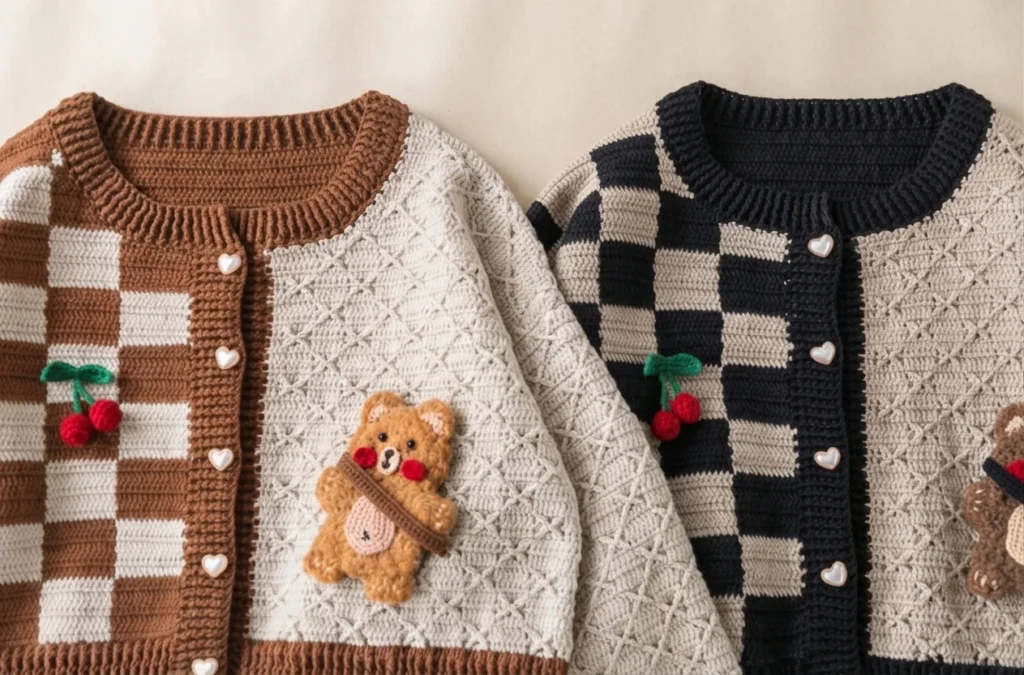
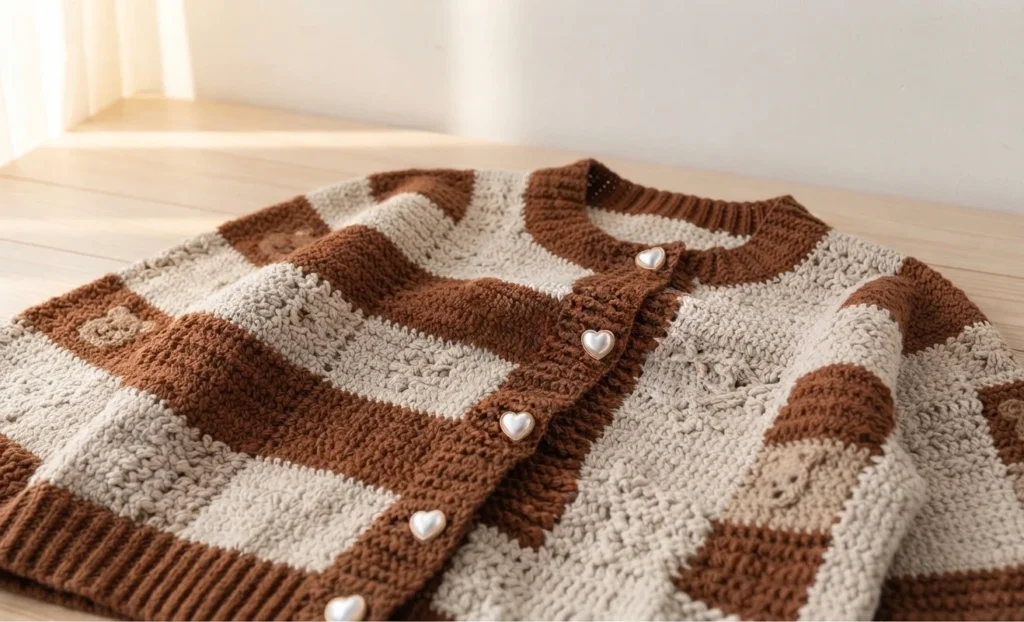
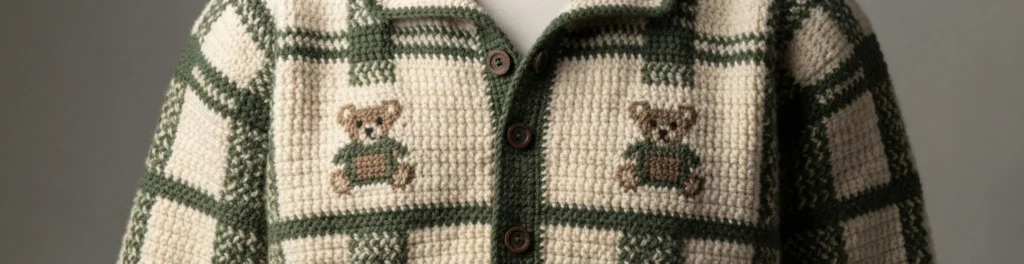
The source page includes six images of the finished cardigan, showing the plaid effect, the front bands, the collar and the bear decorations in place. Because the page is a preview rather than a written pattern, those photos are the clearest reference for how the finished garment is meant to look and how the decorative elements sit on the fronts. Look closely at the placement of the bear motifs before you commit to your own layout, since the source notes that placement can be adjusted to personal preference.
Construction Overview
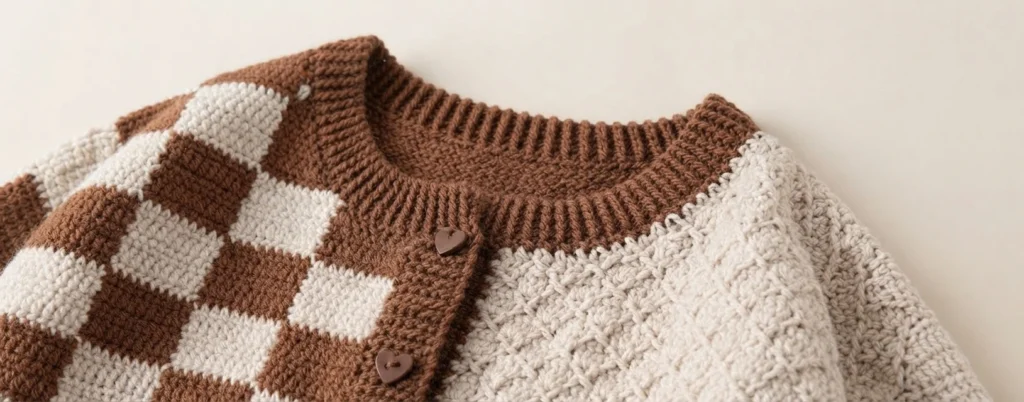


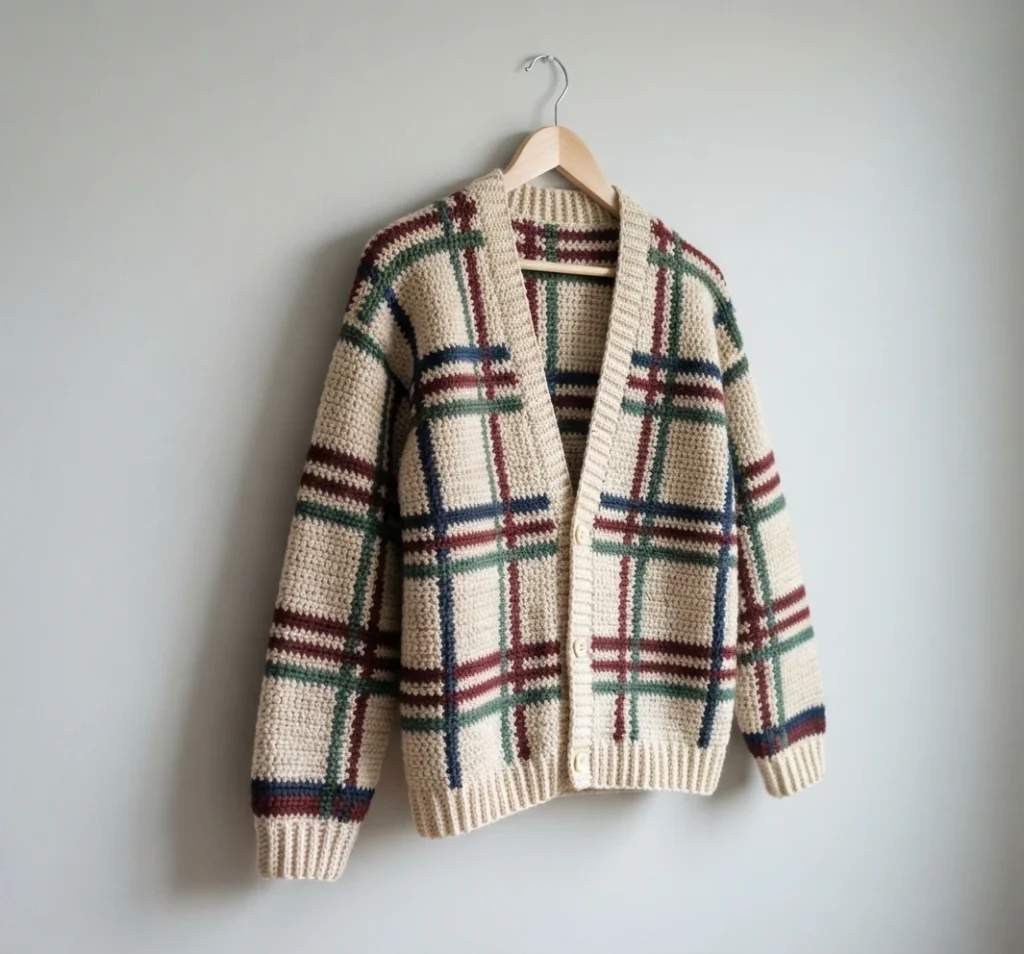
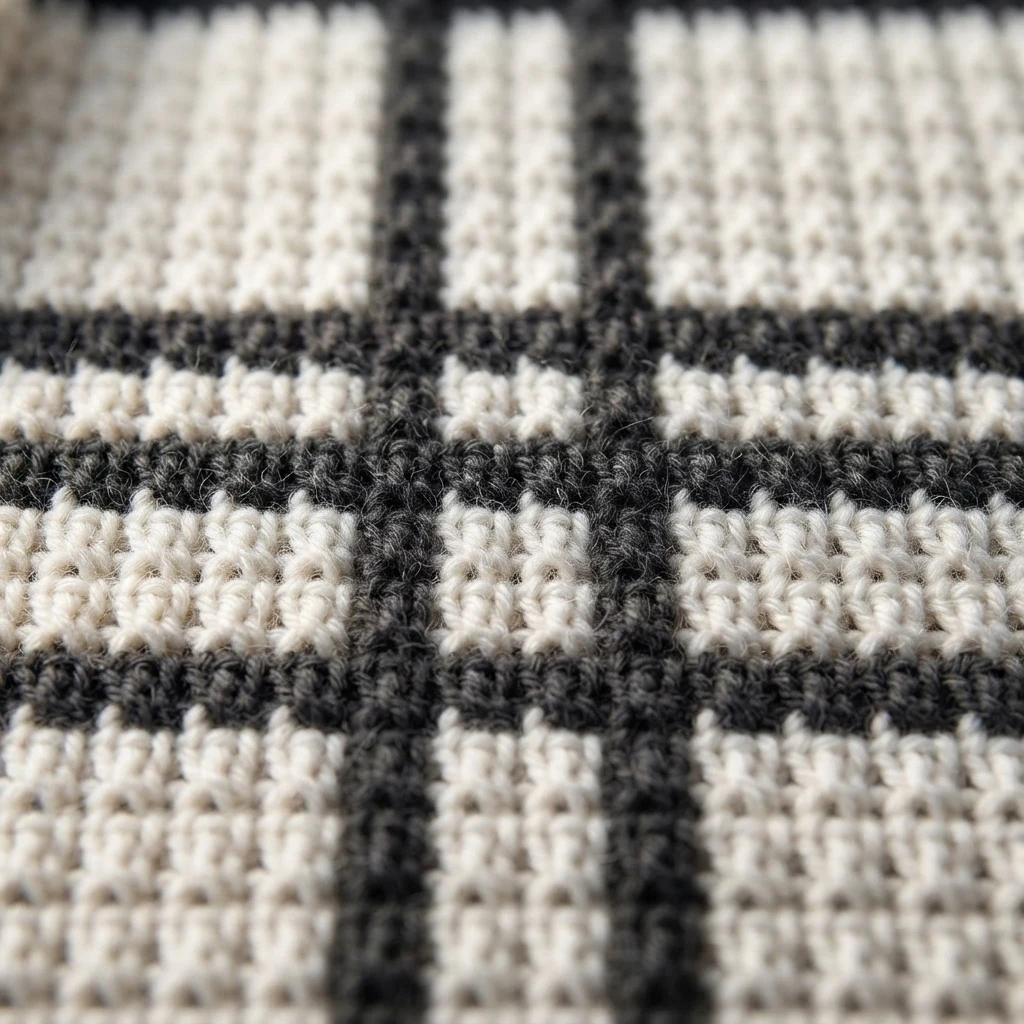
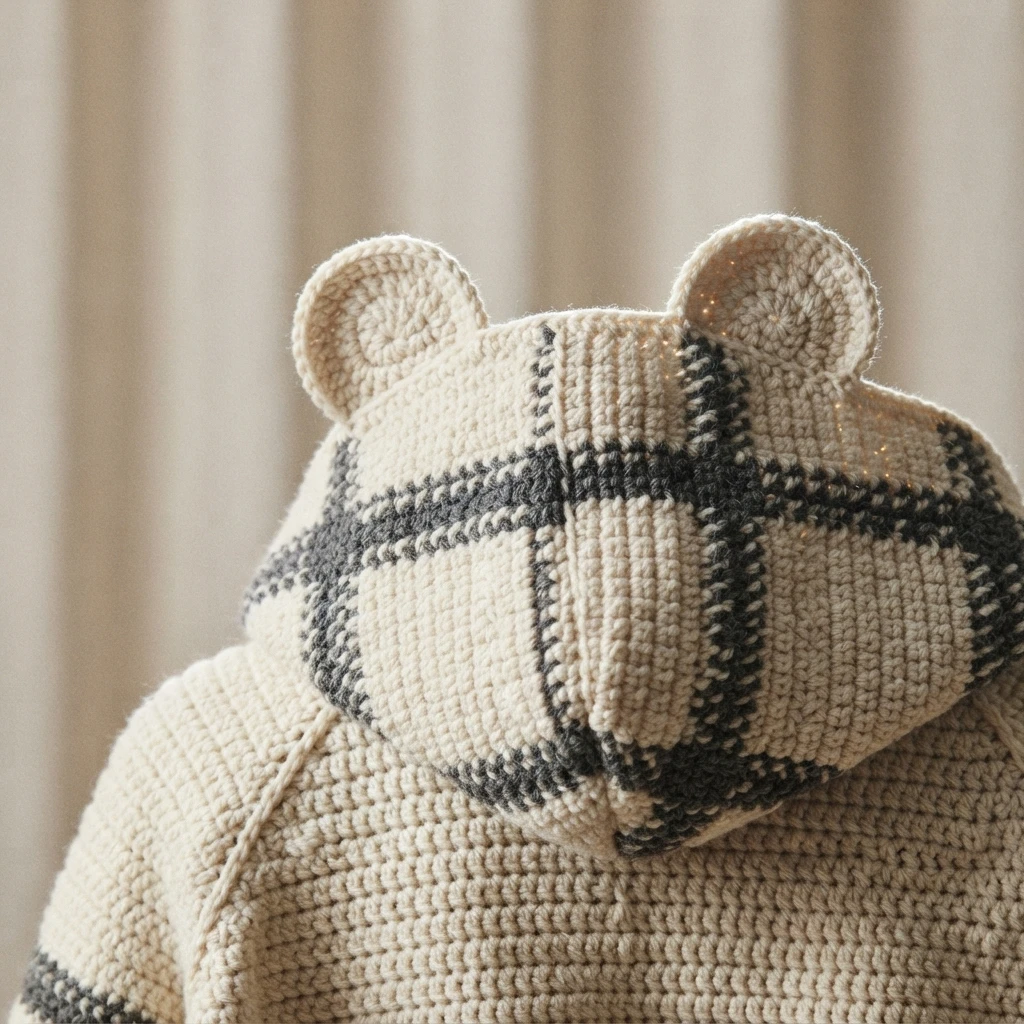
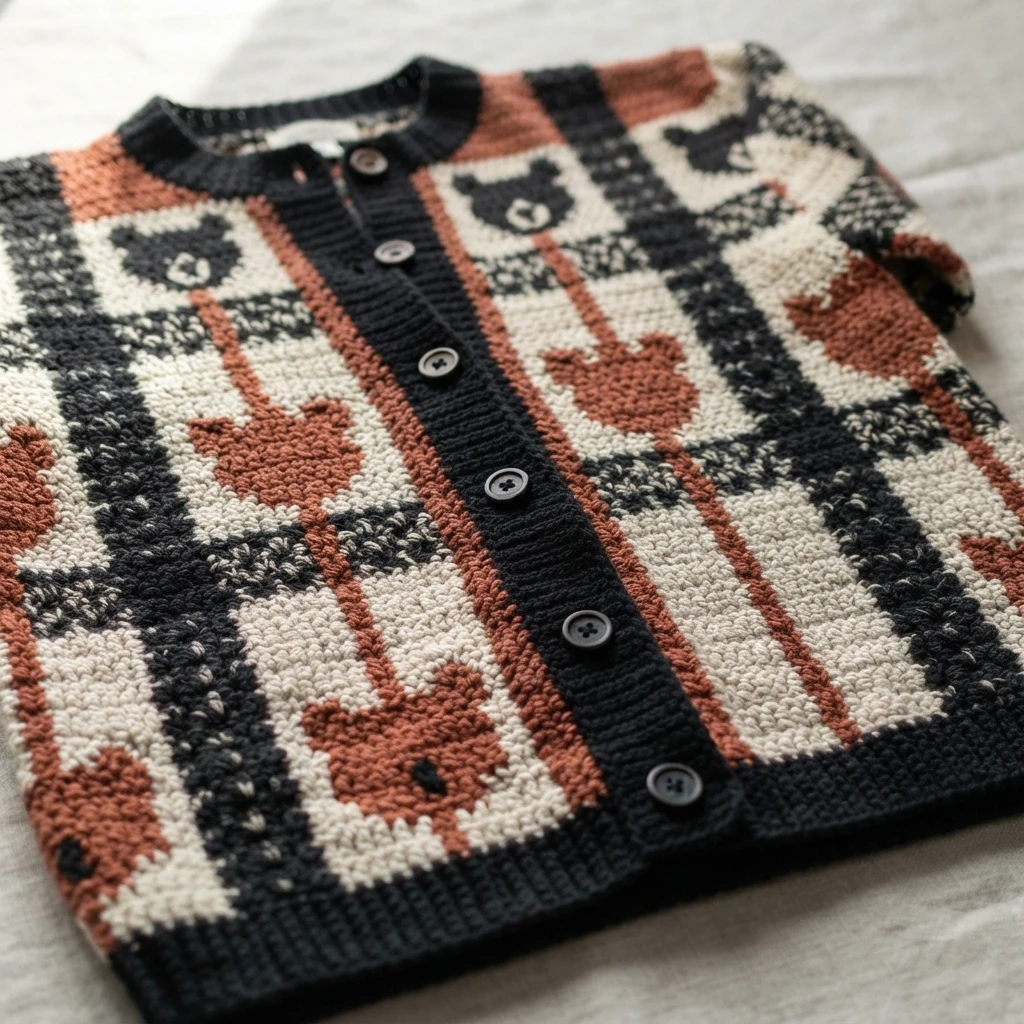
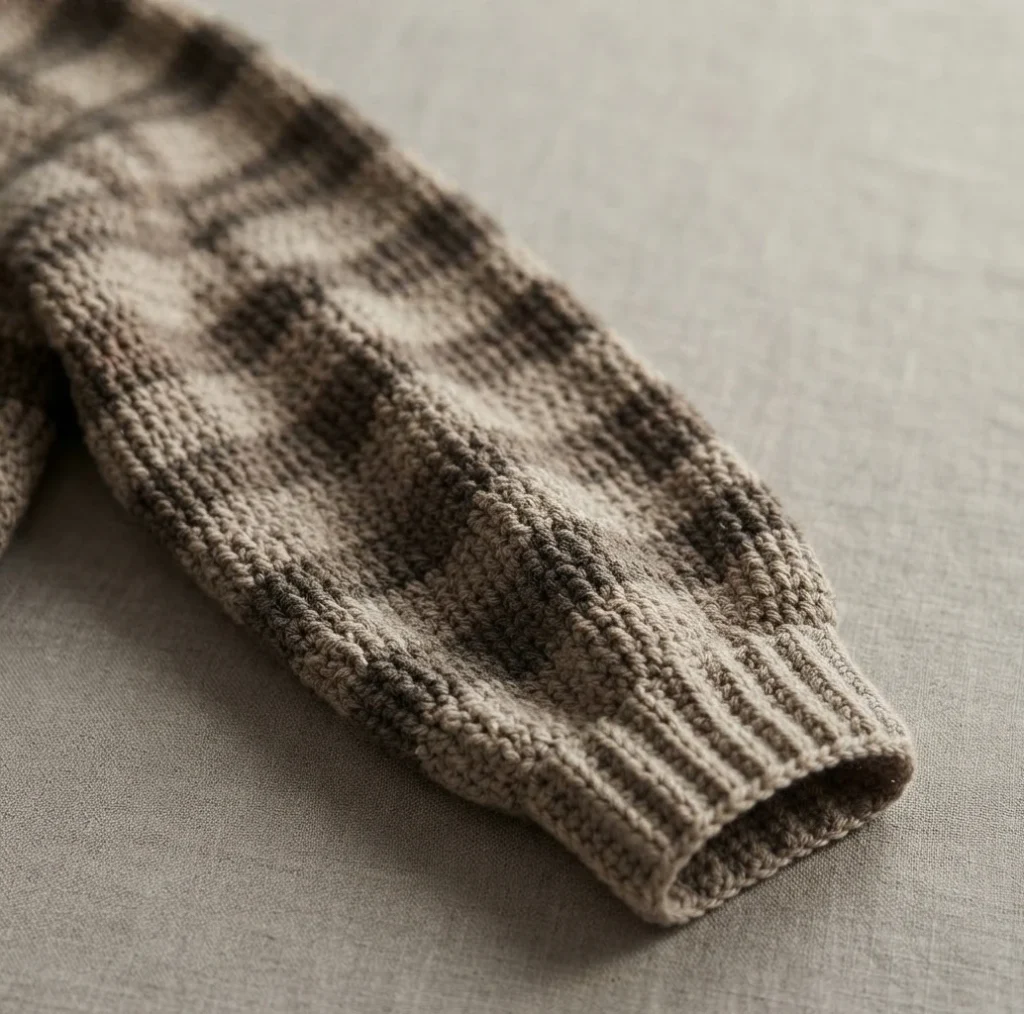
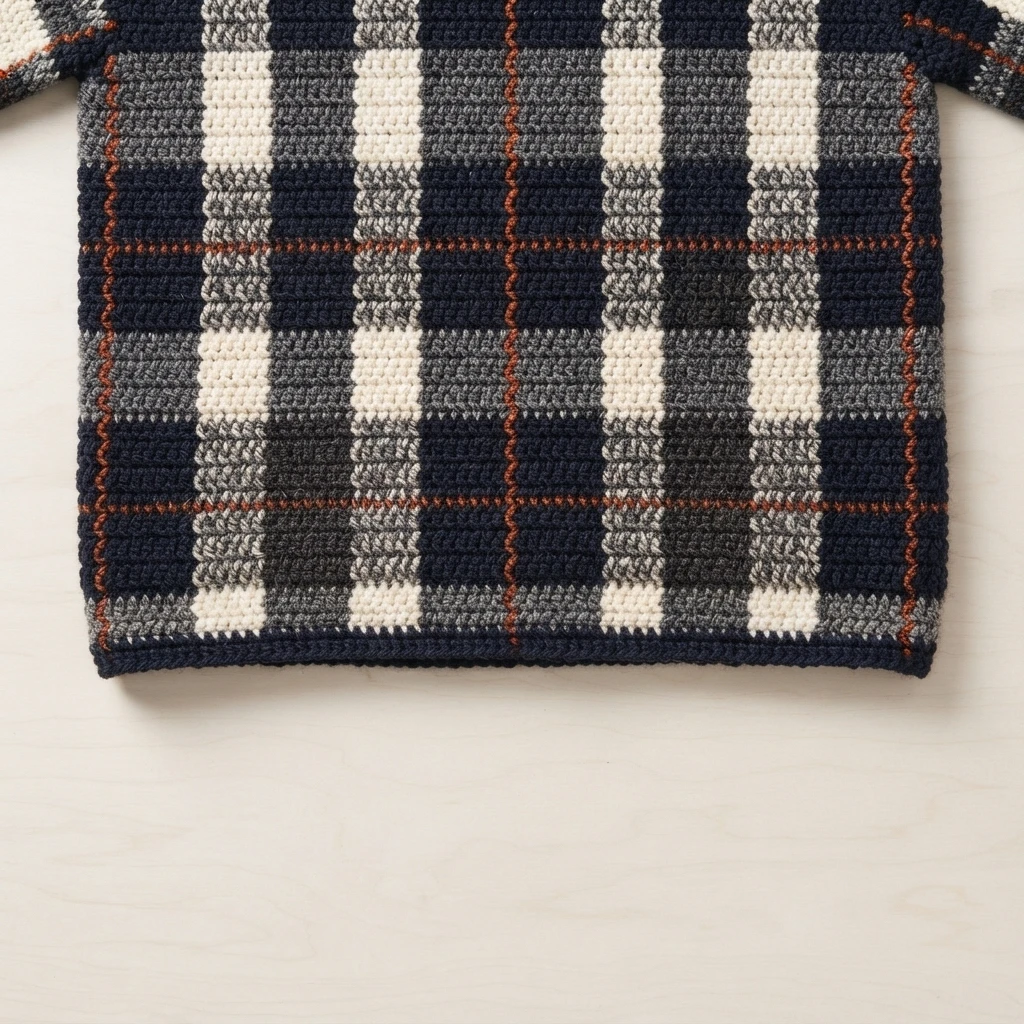
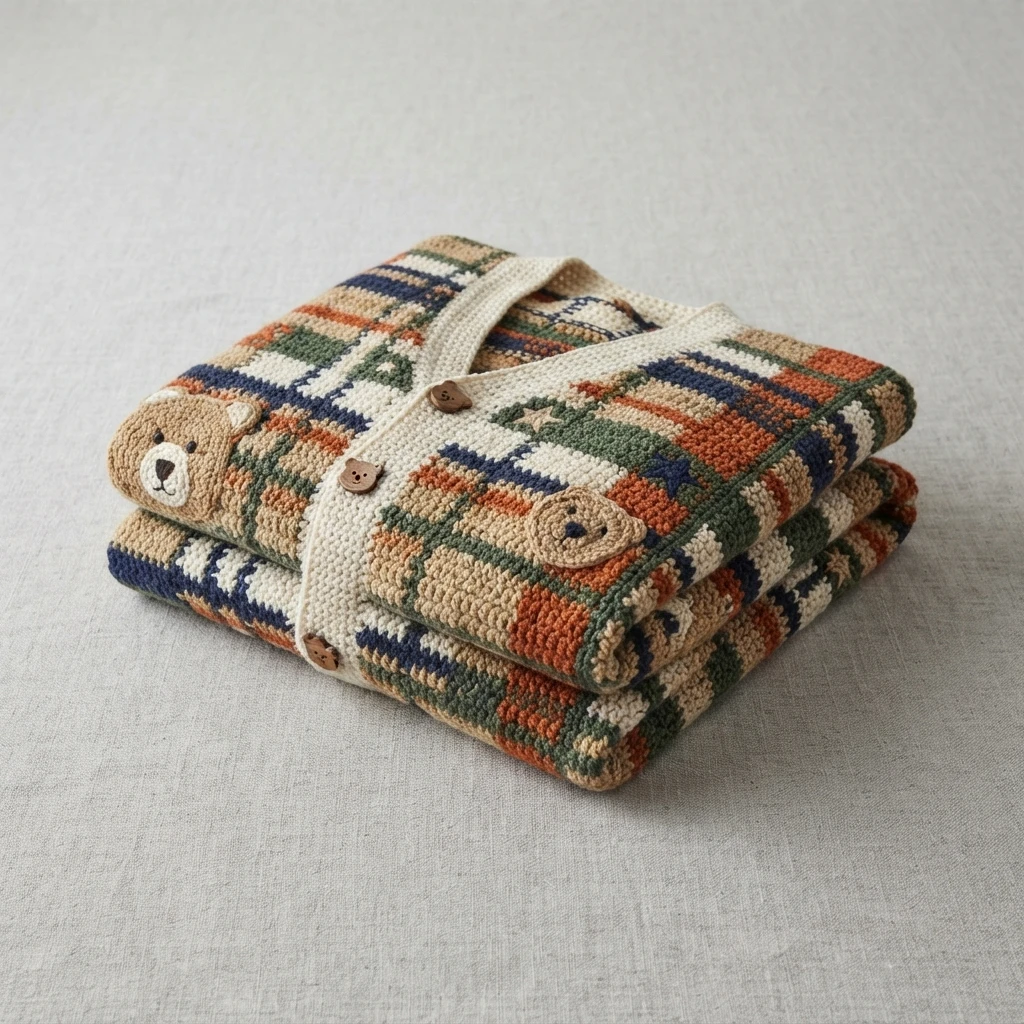
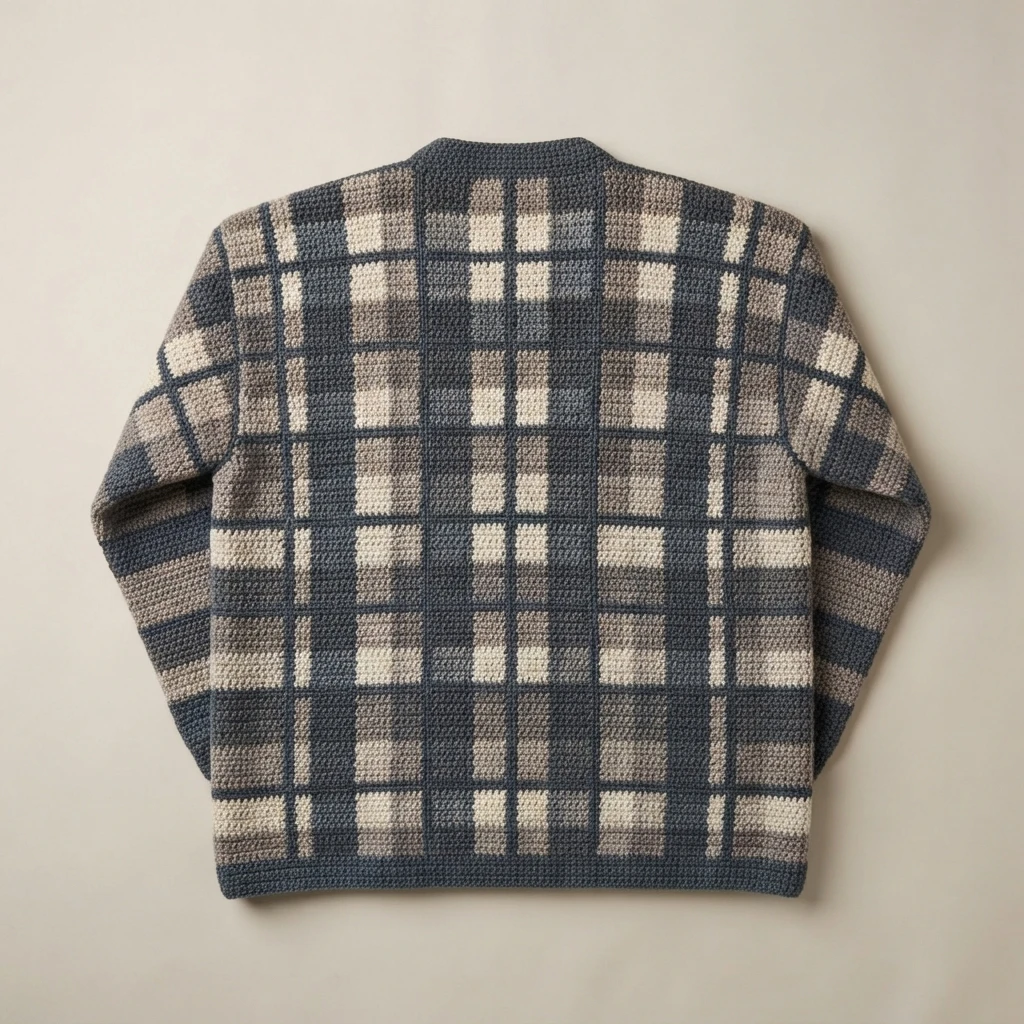
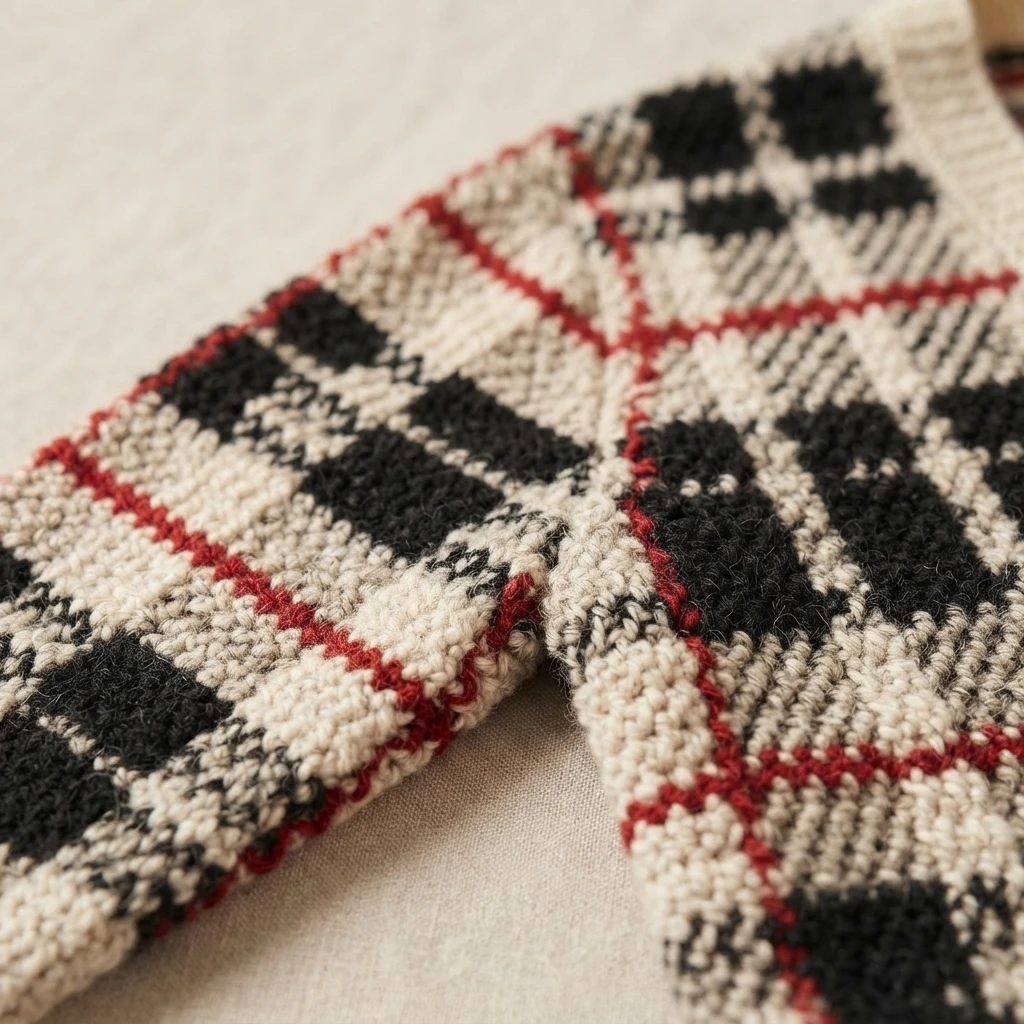
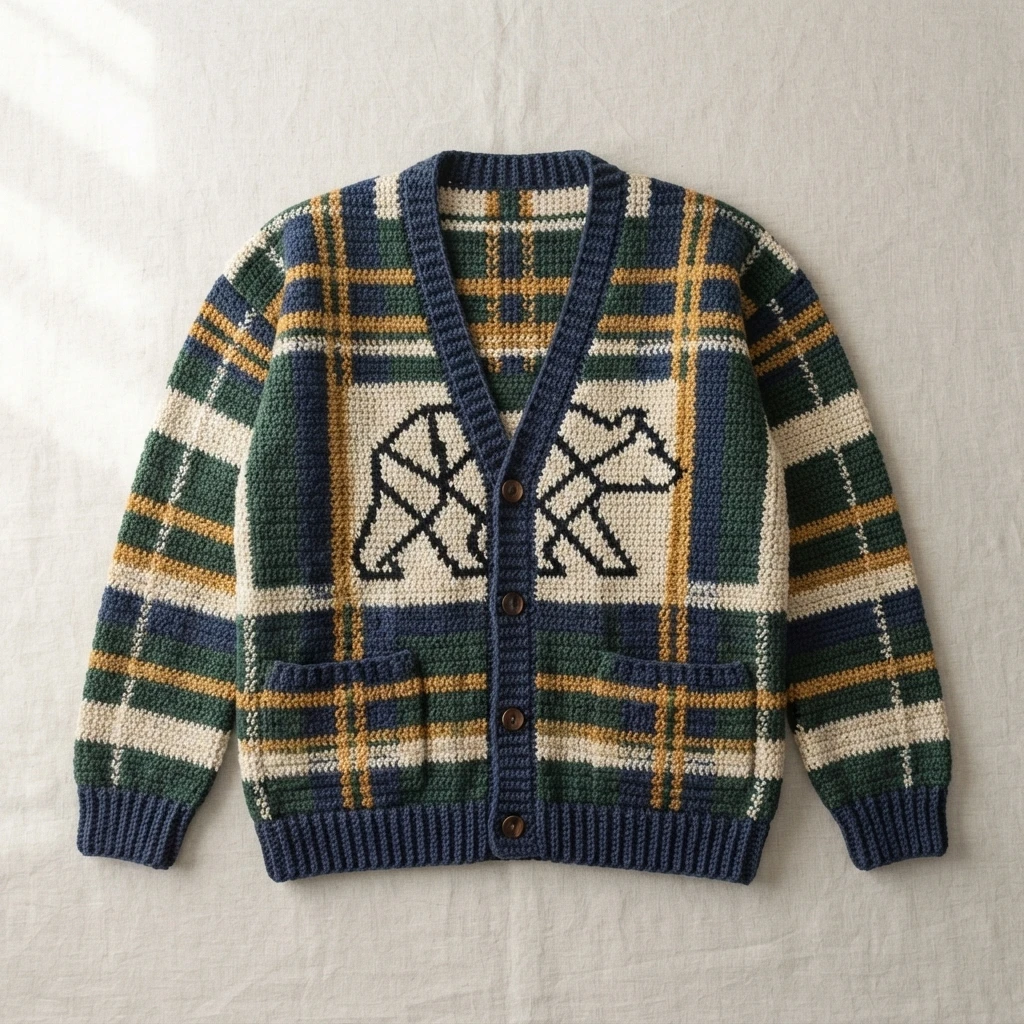
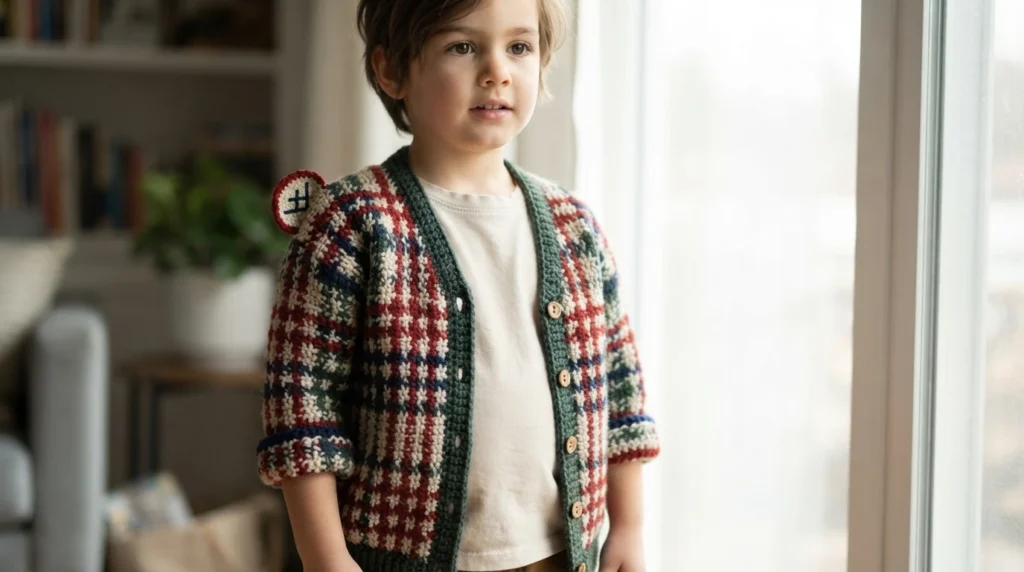
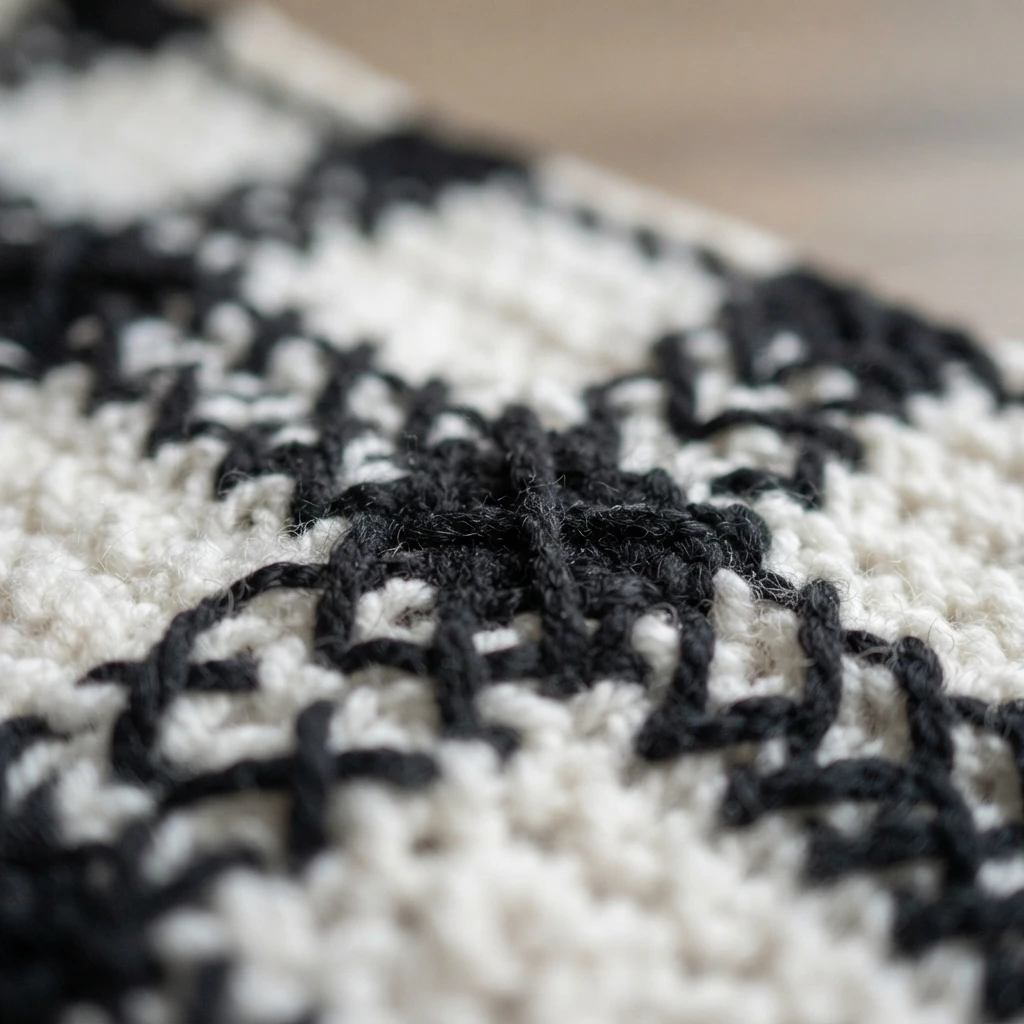
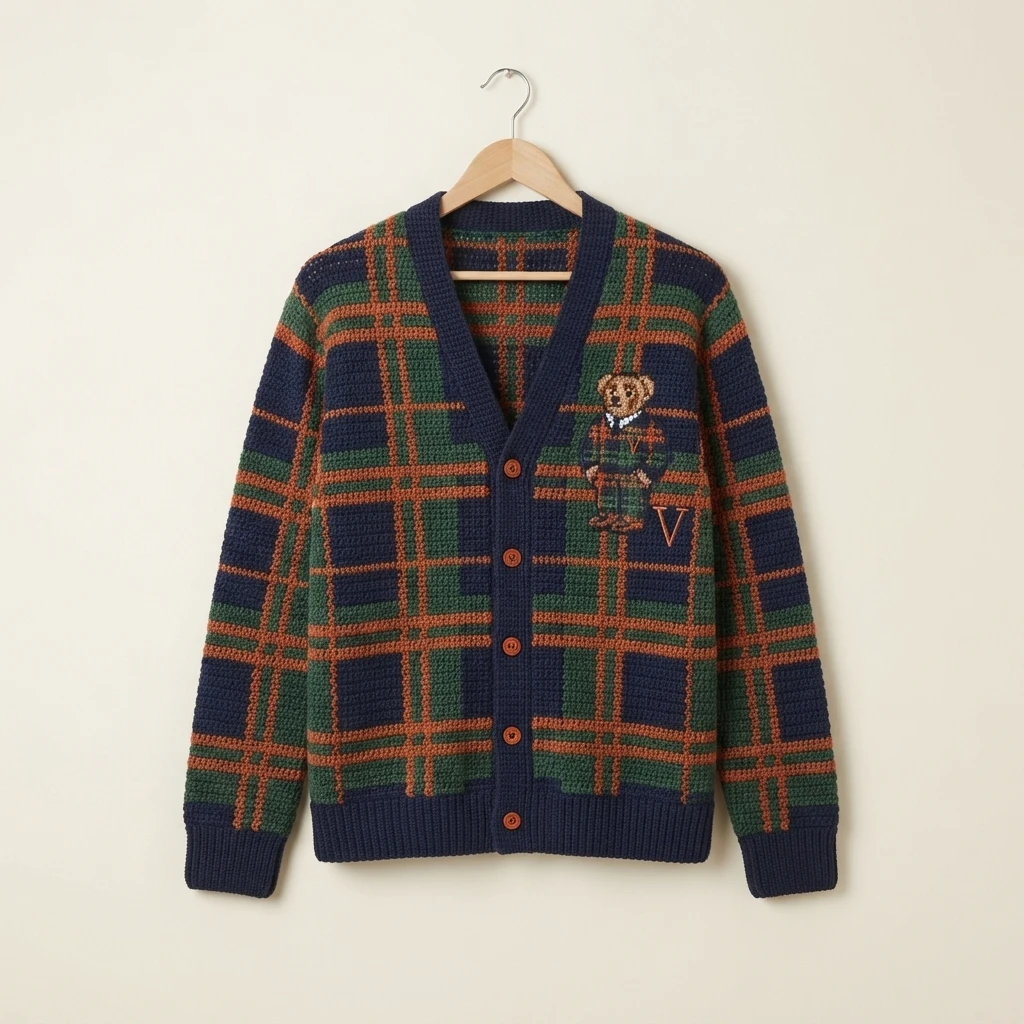
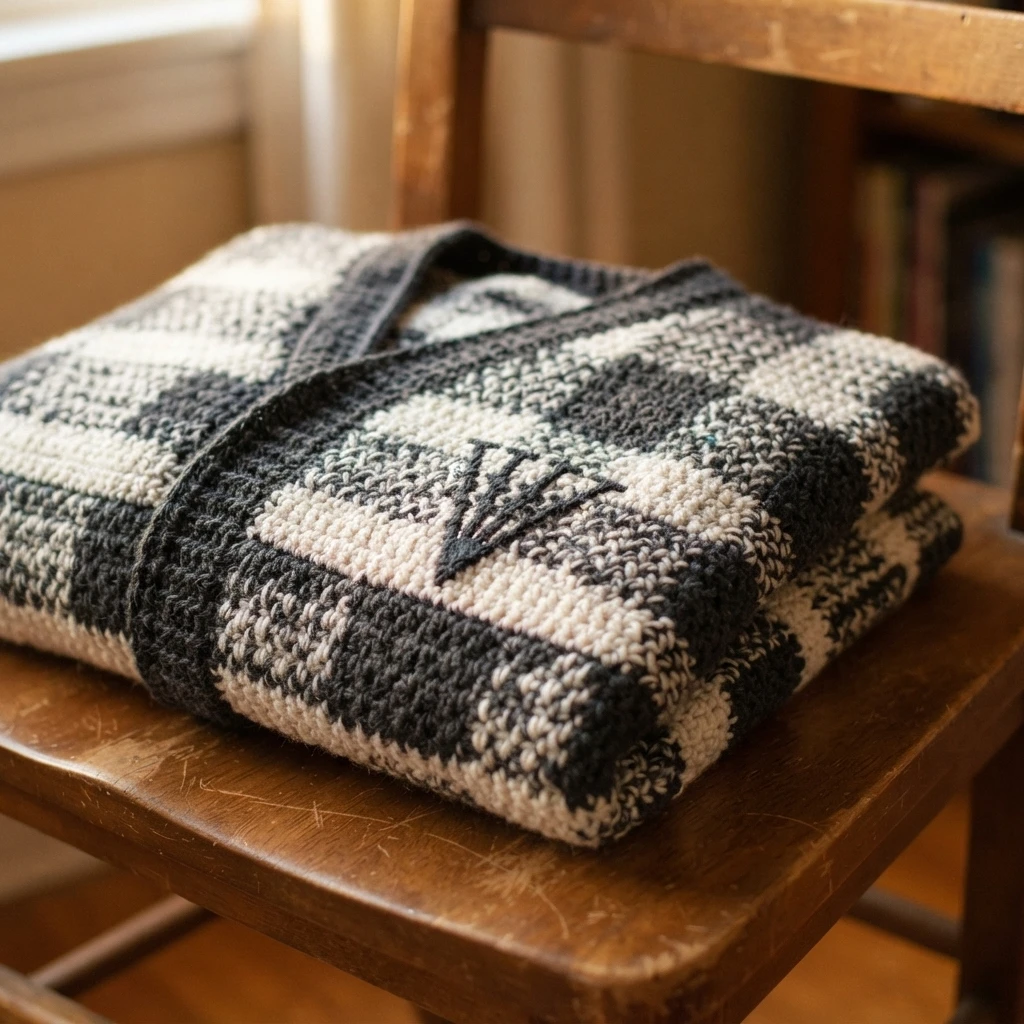
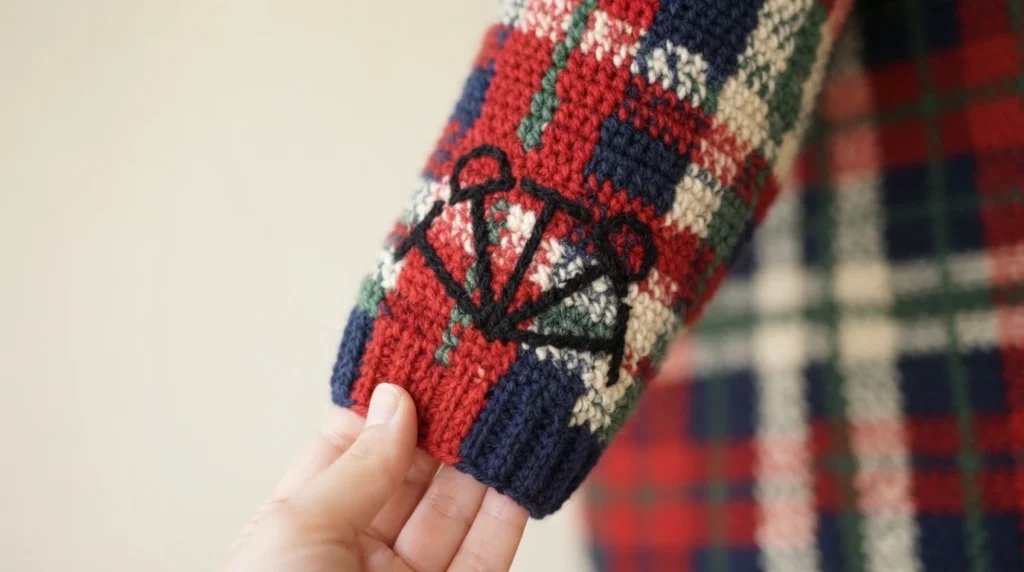
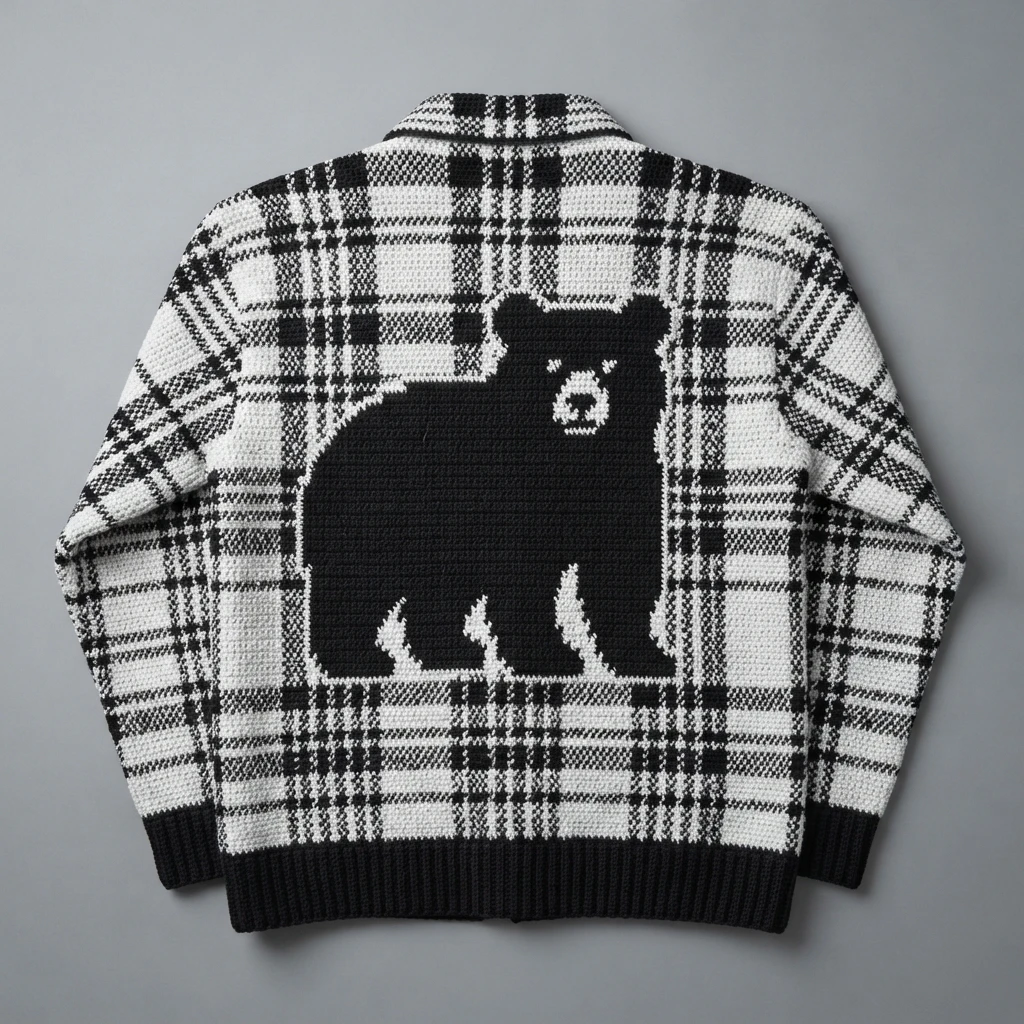
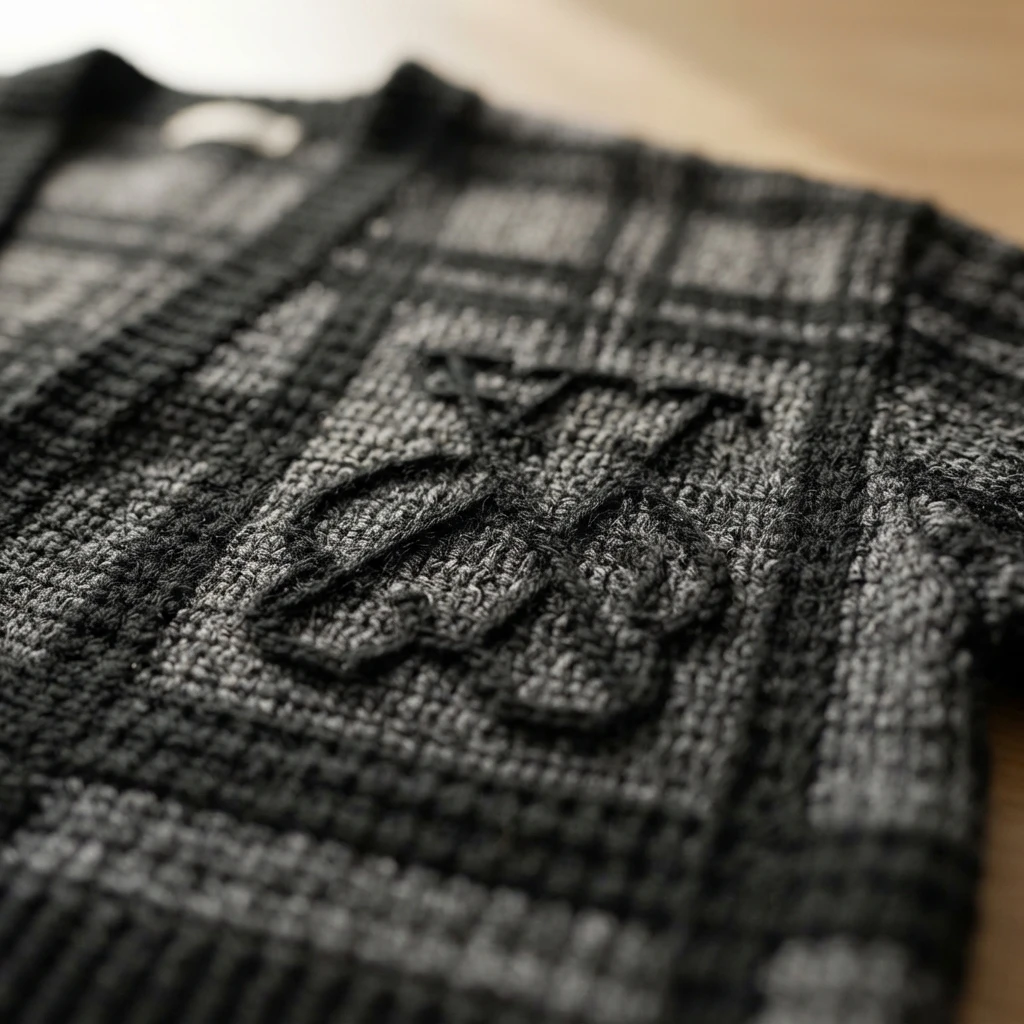


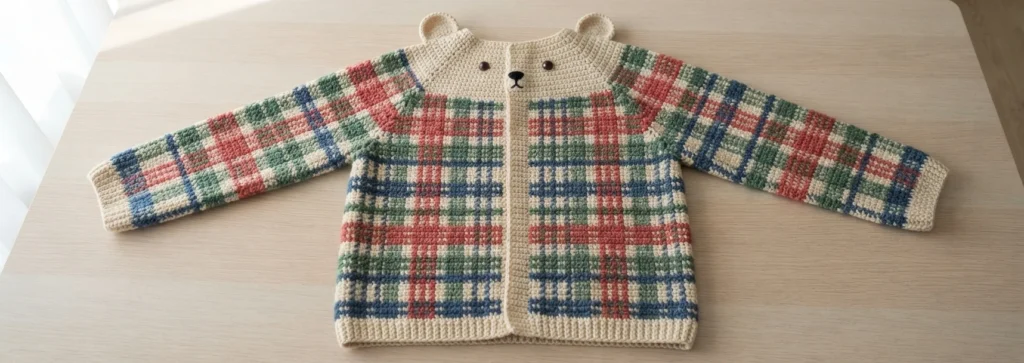

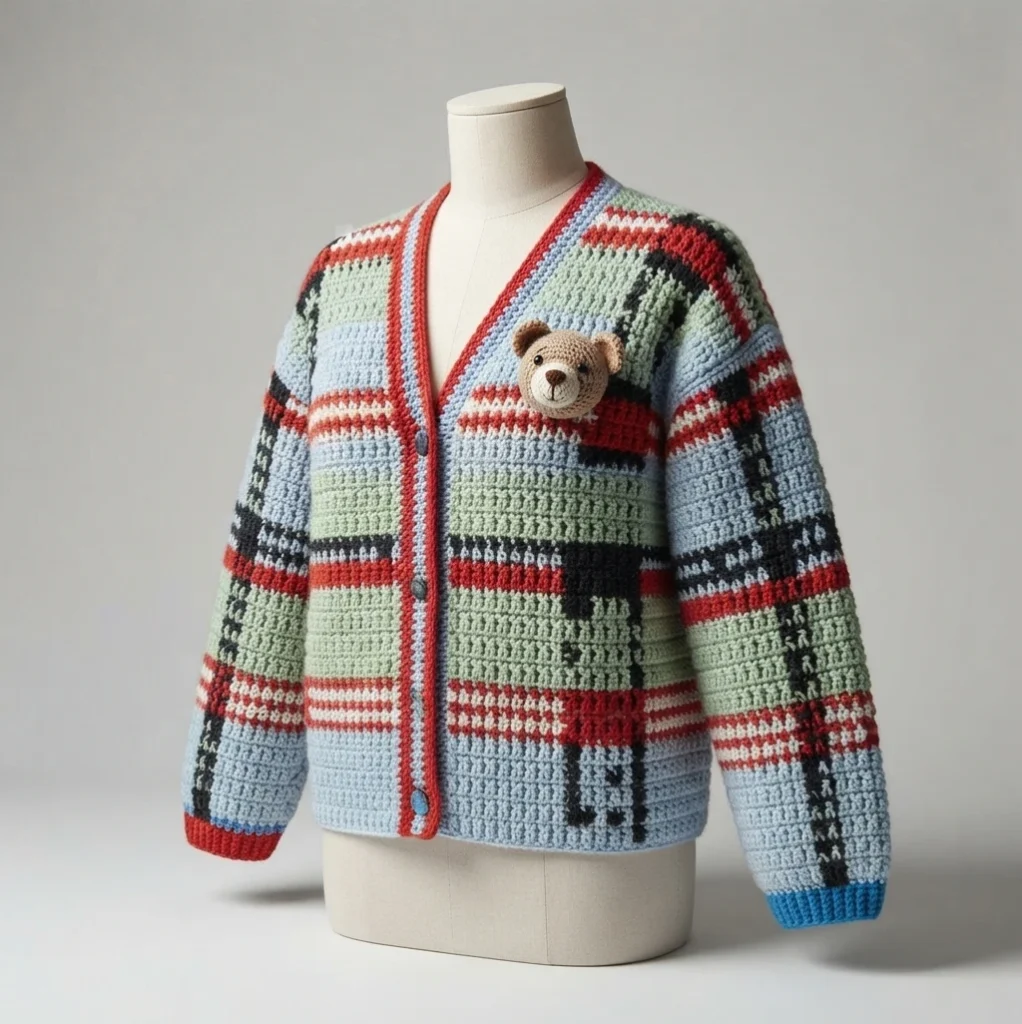

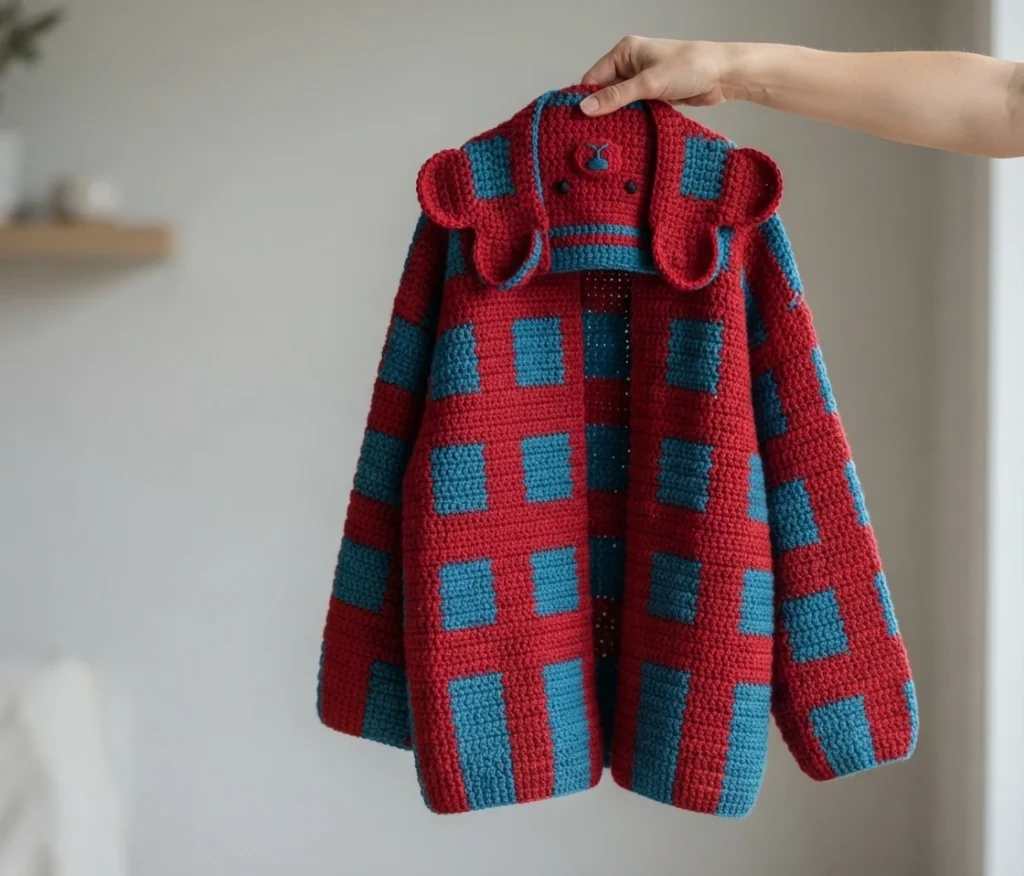

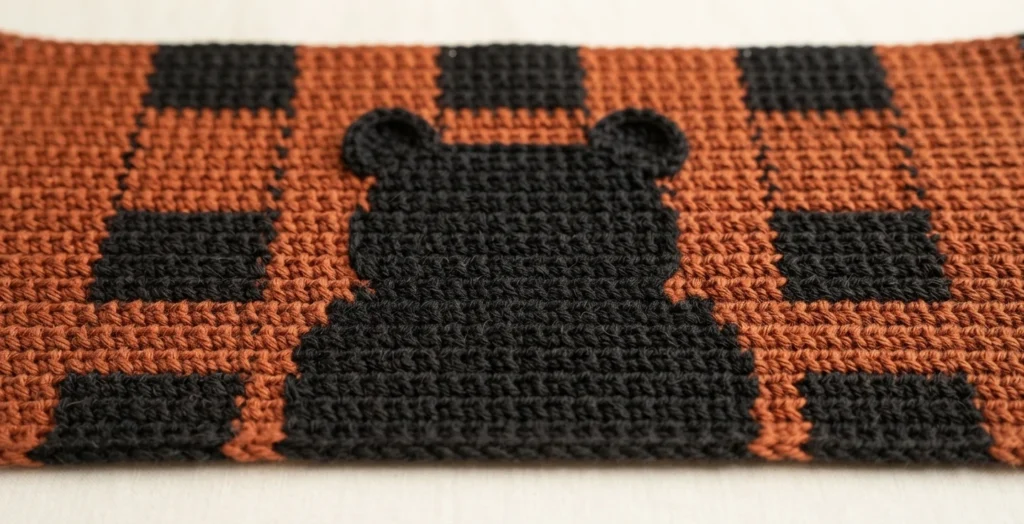

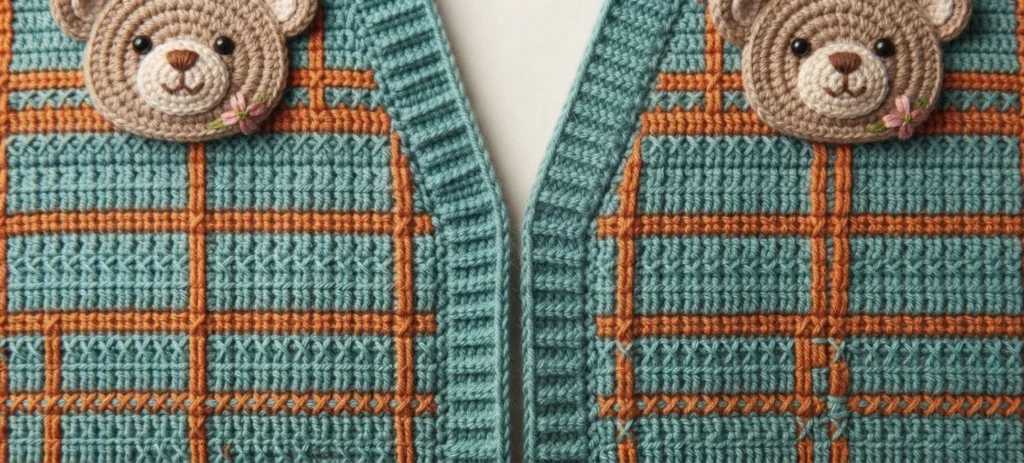


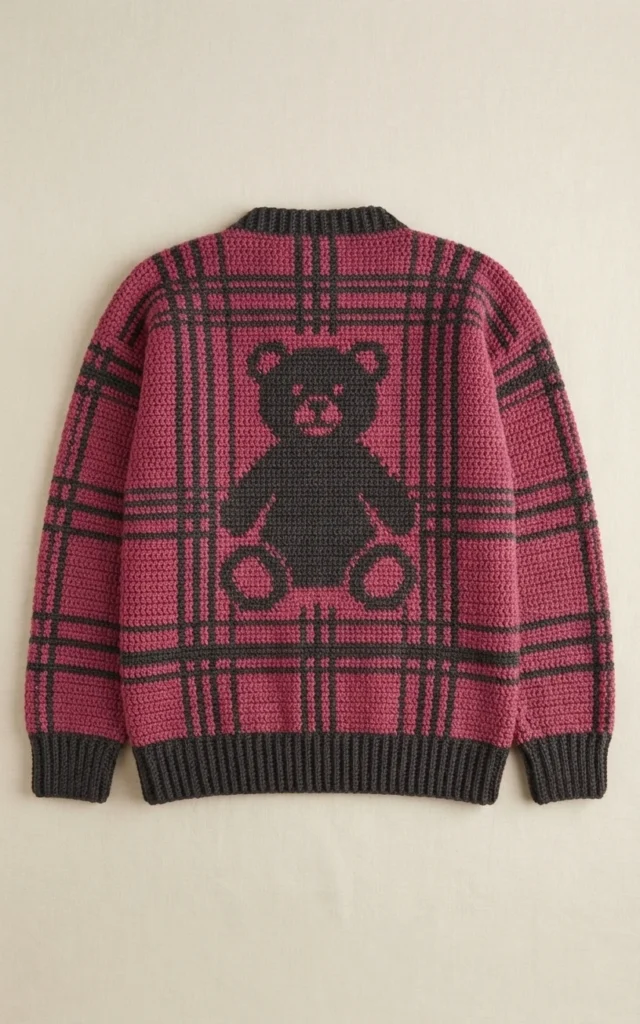
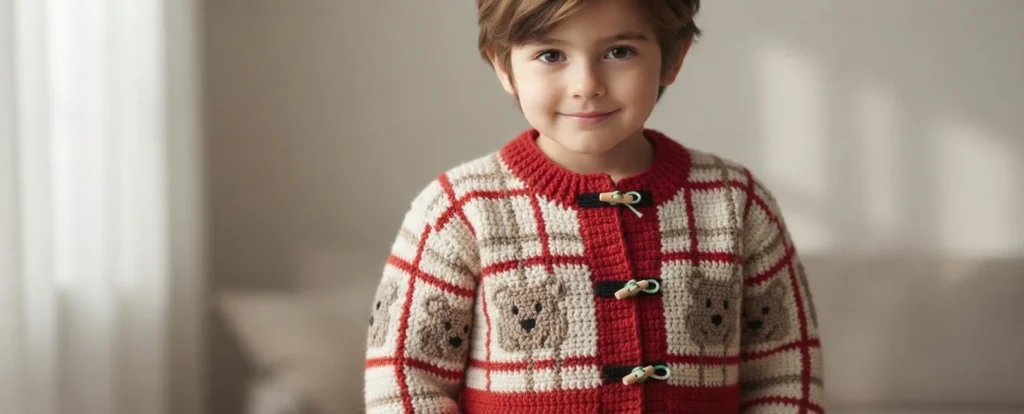
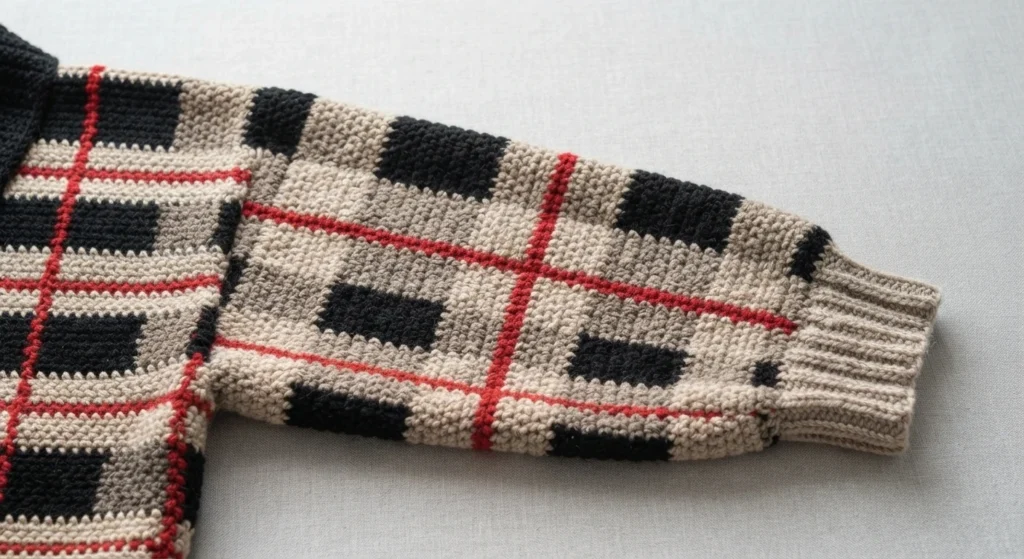


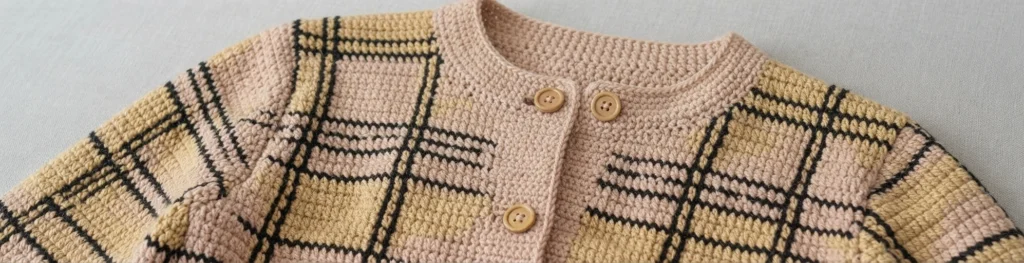
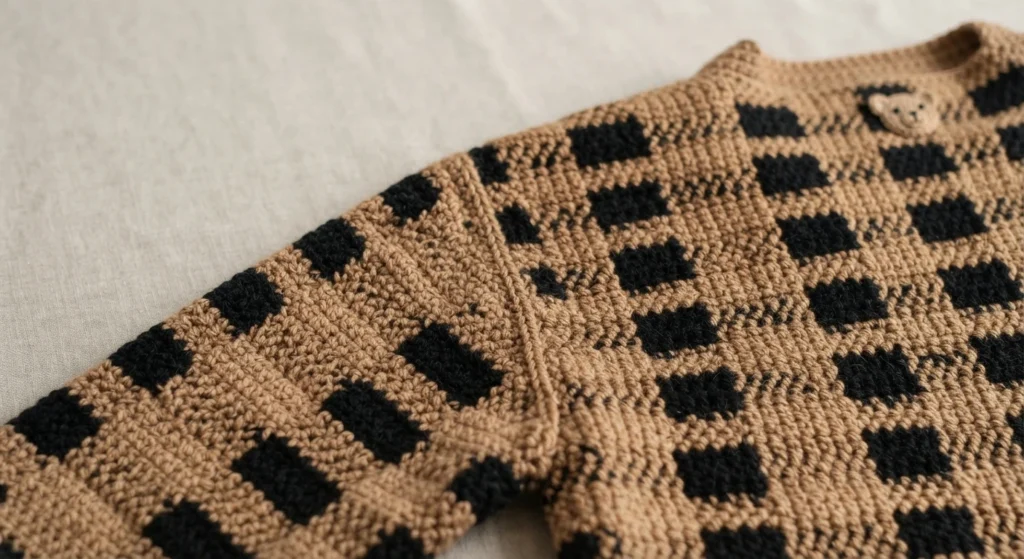
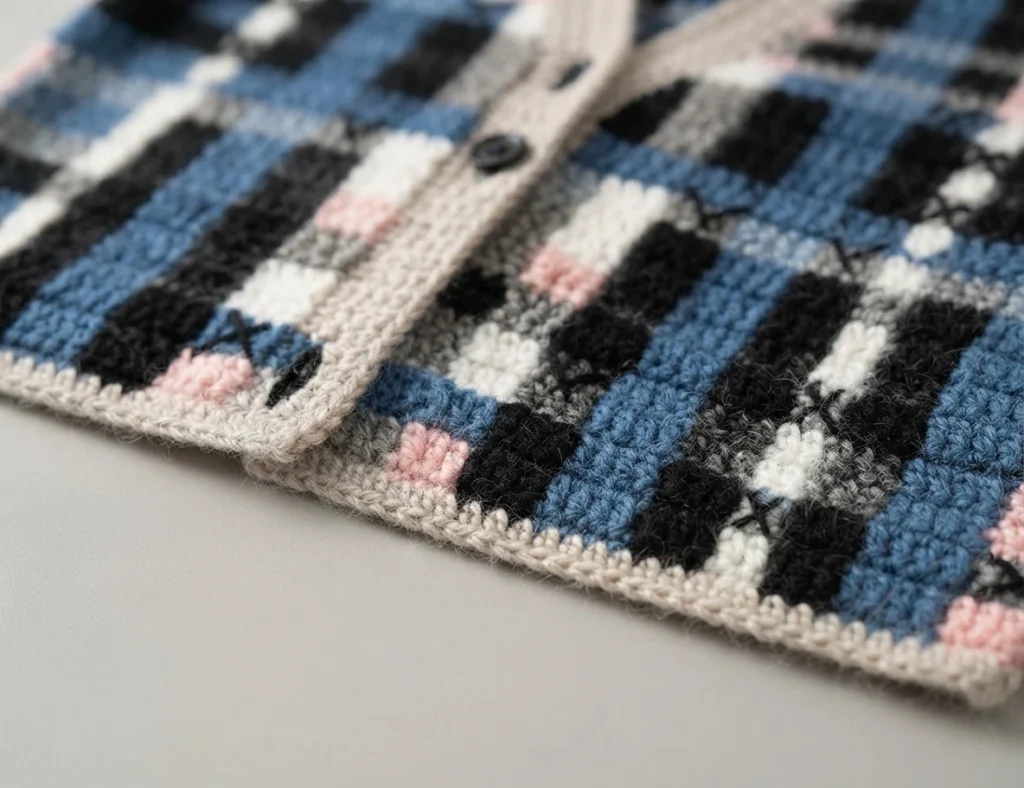
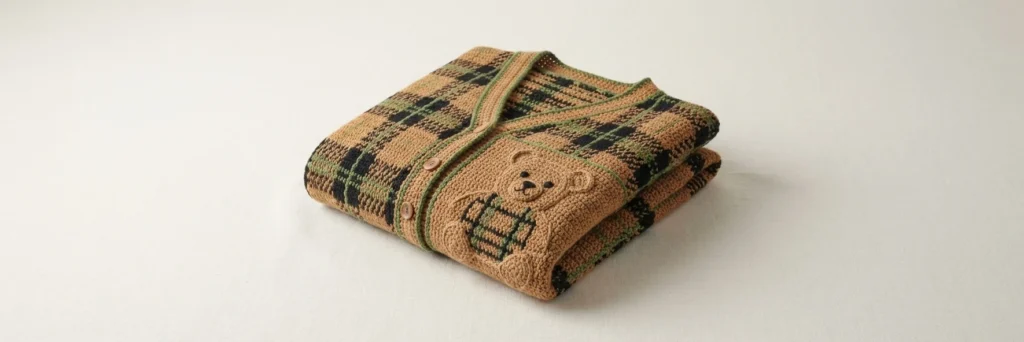
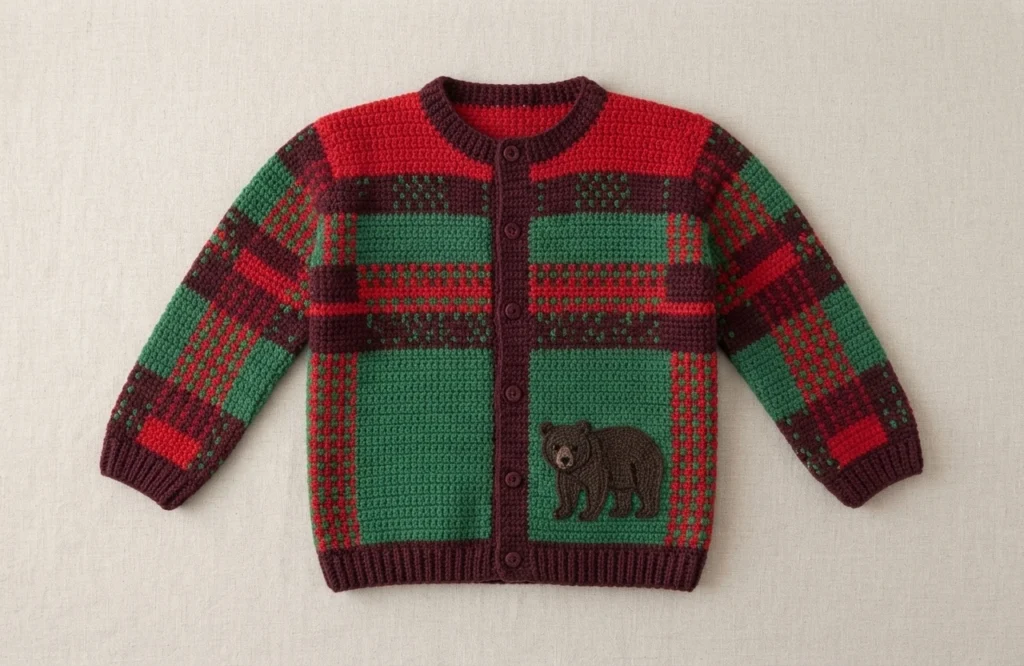
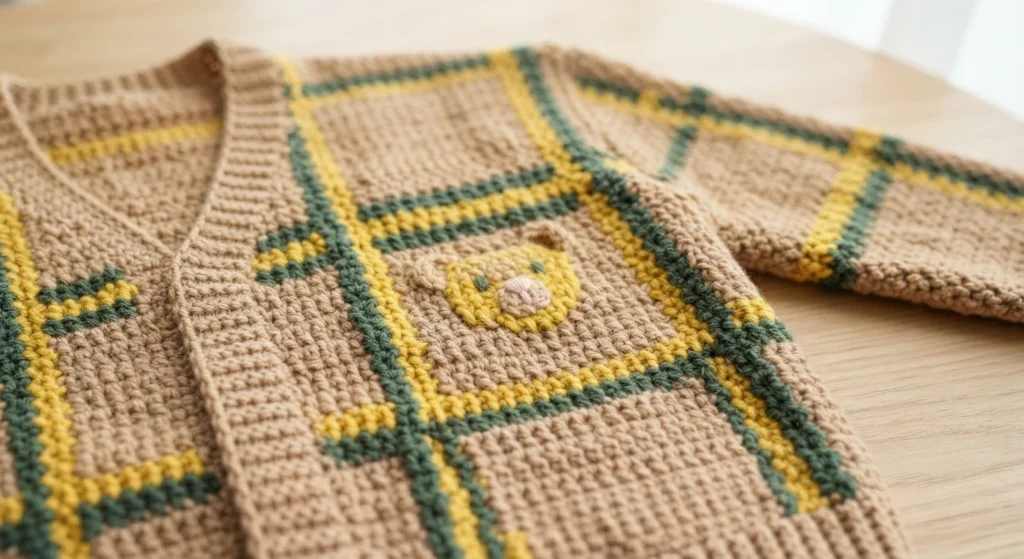

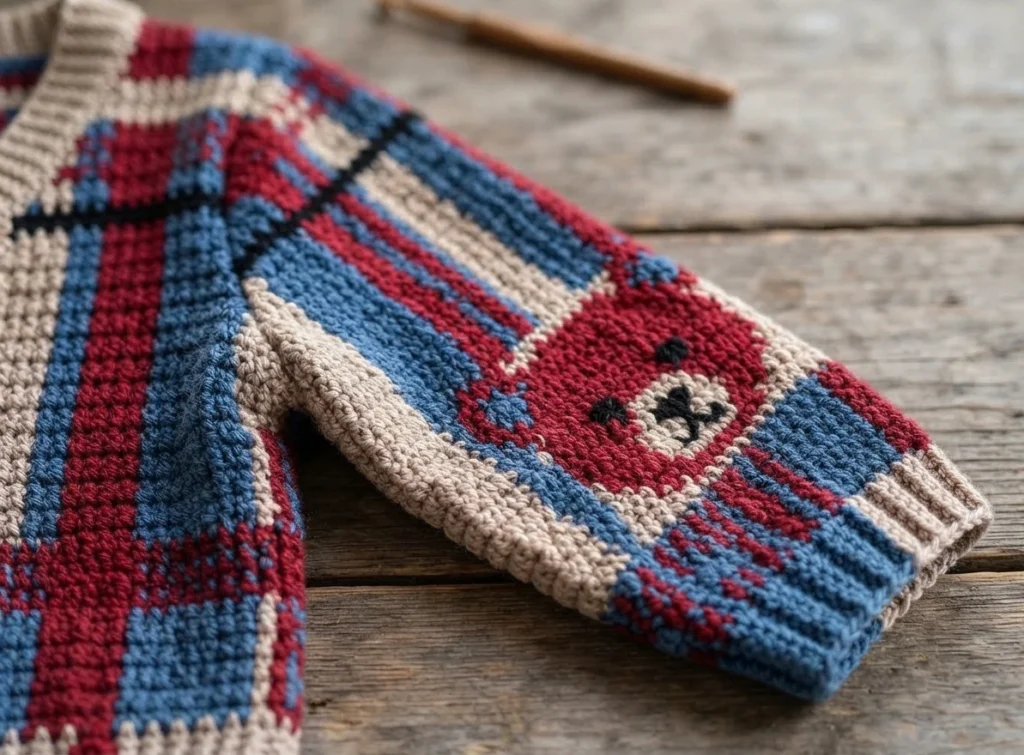
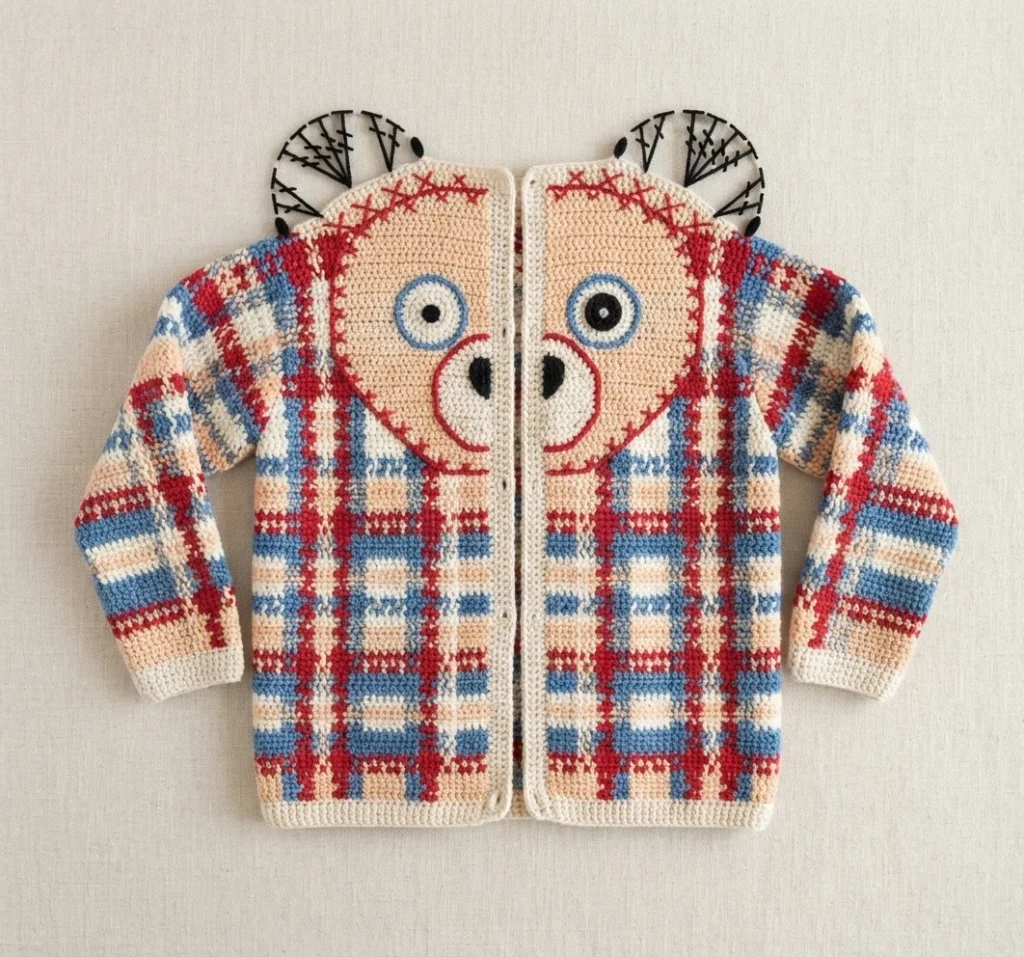
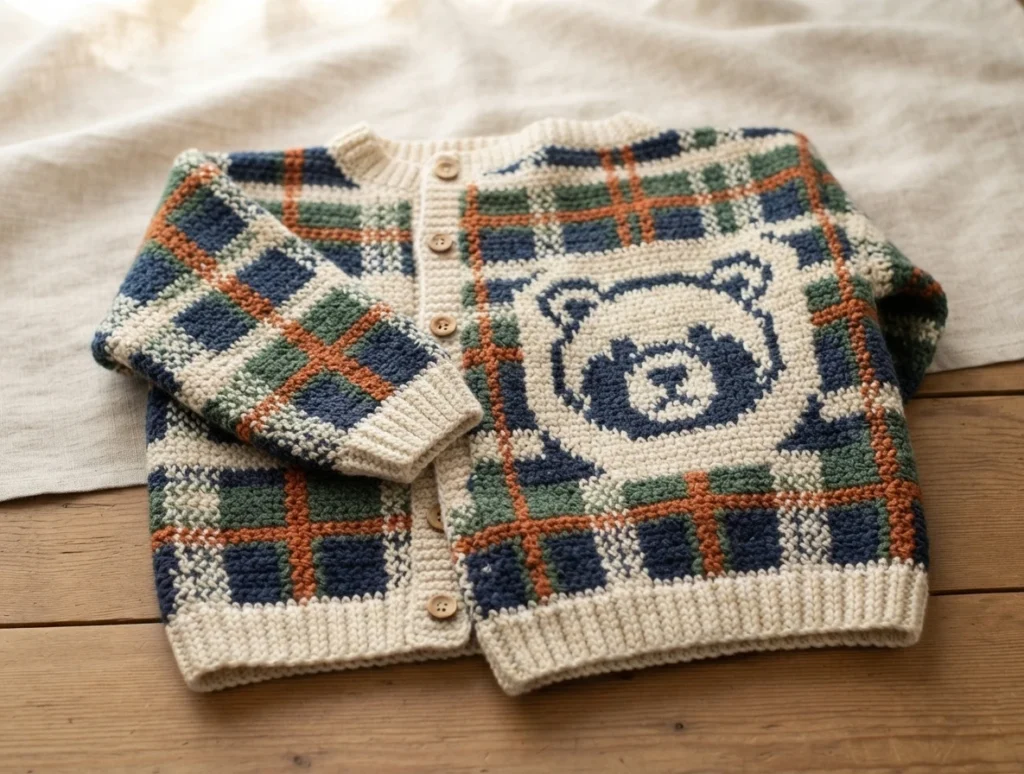
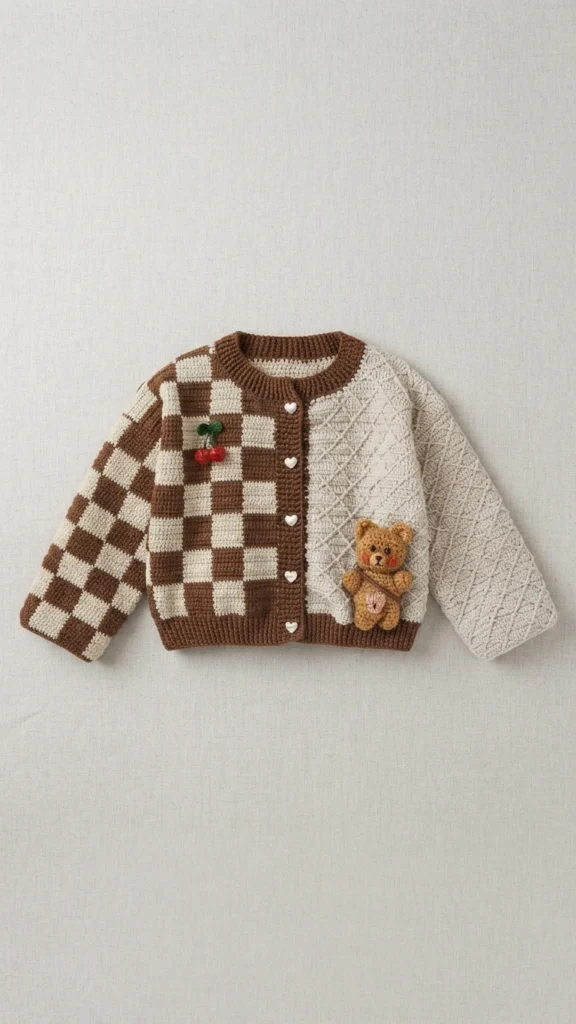
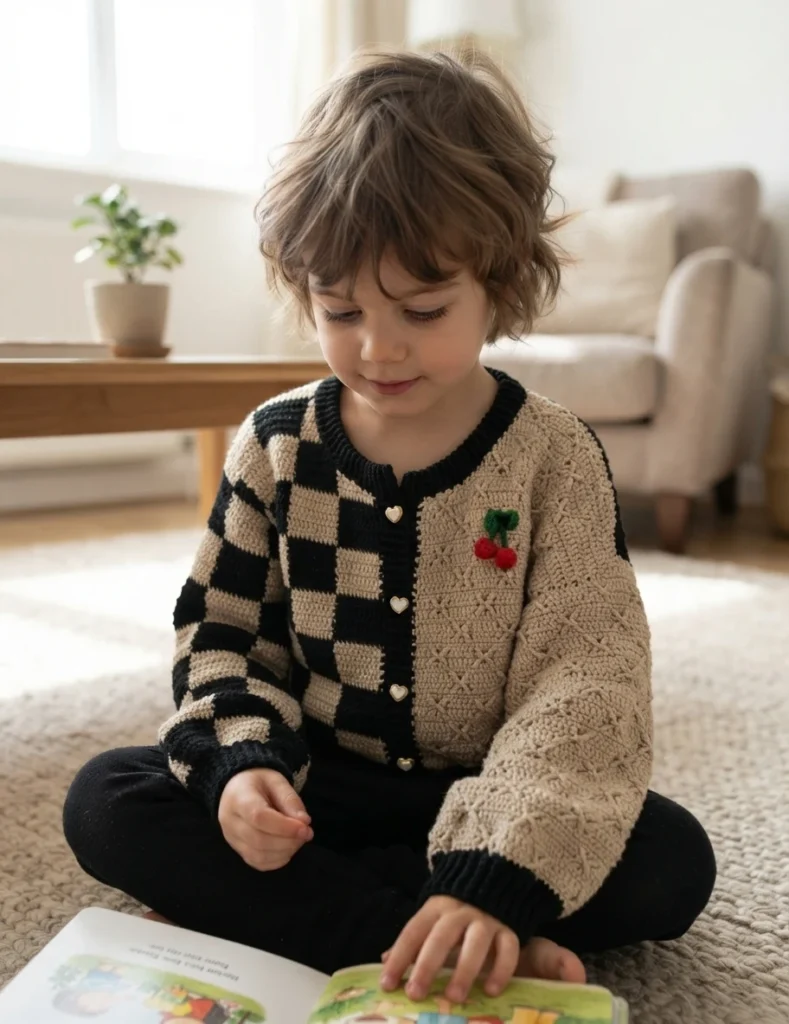
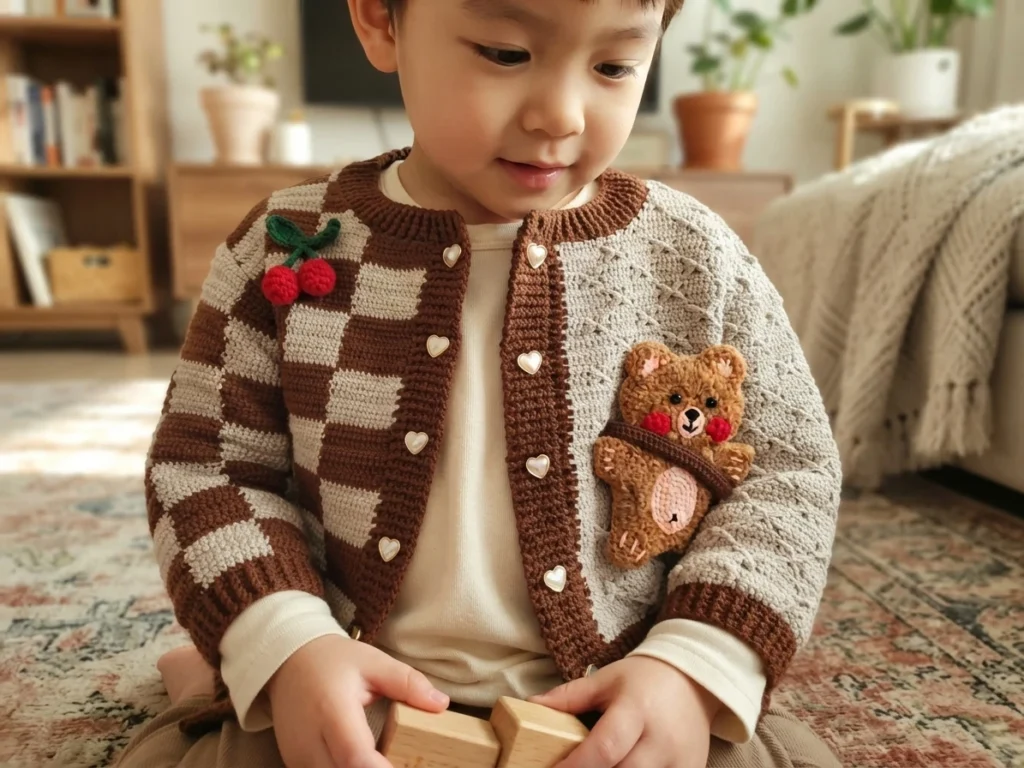
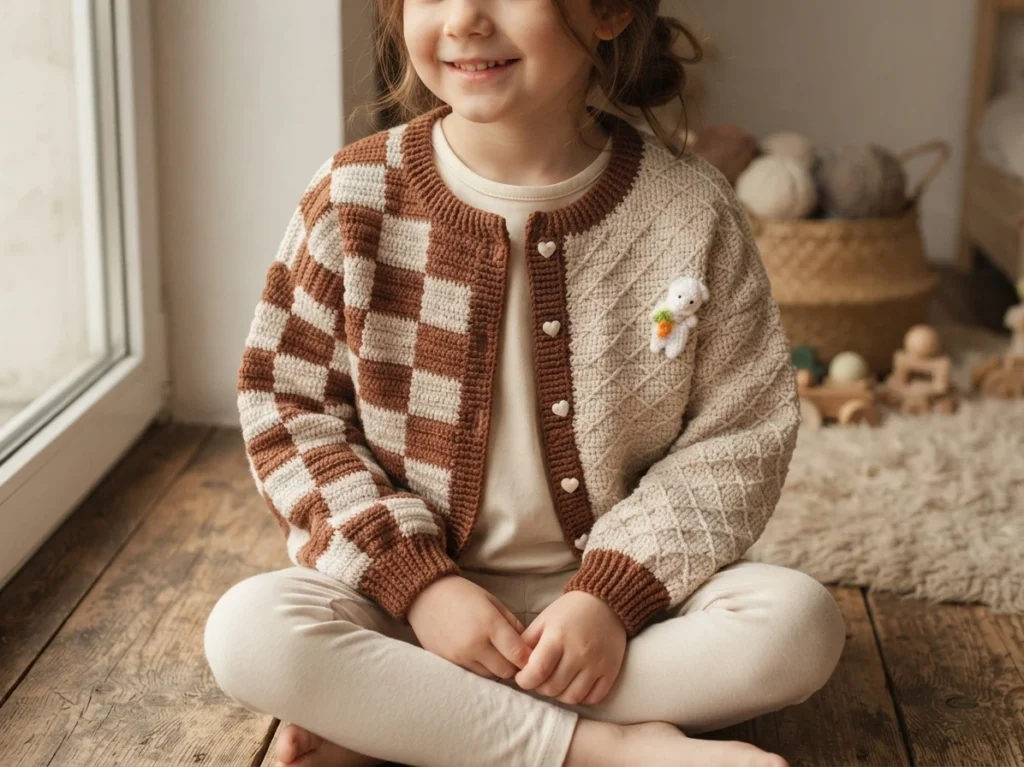
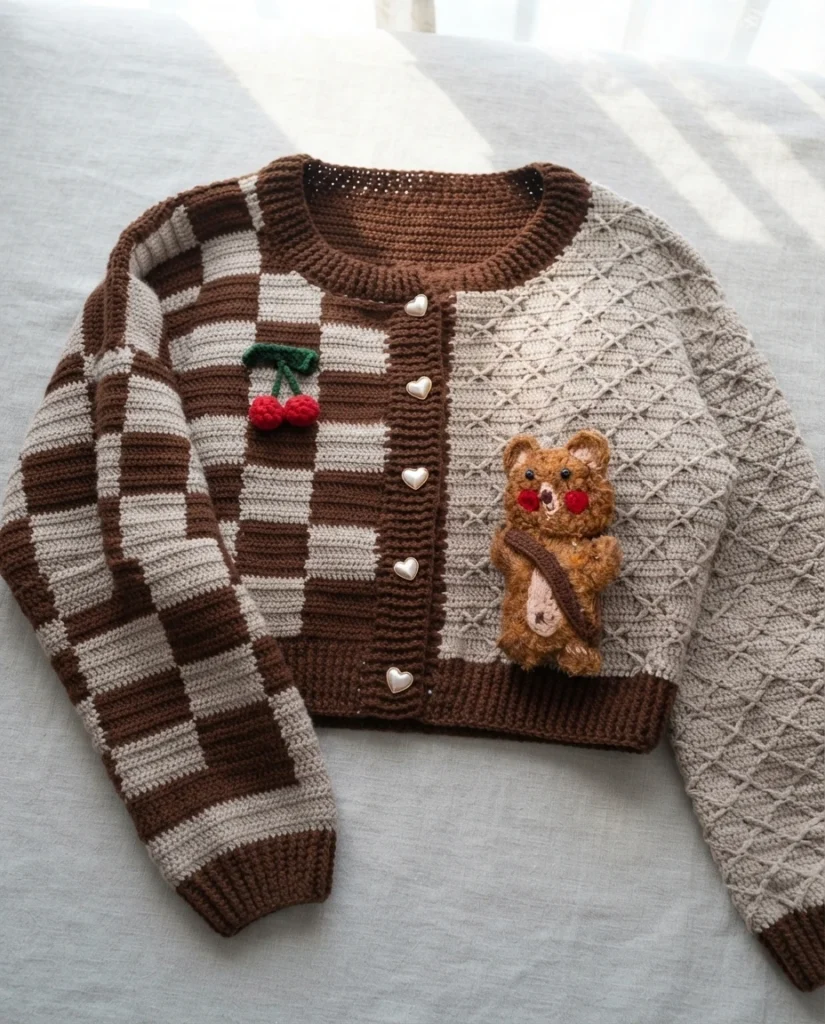
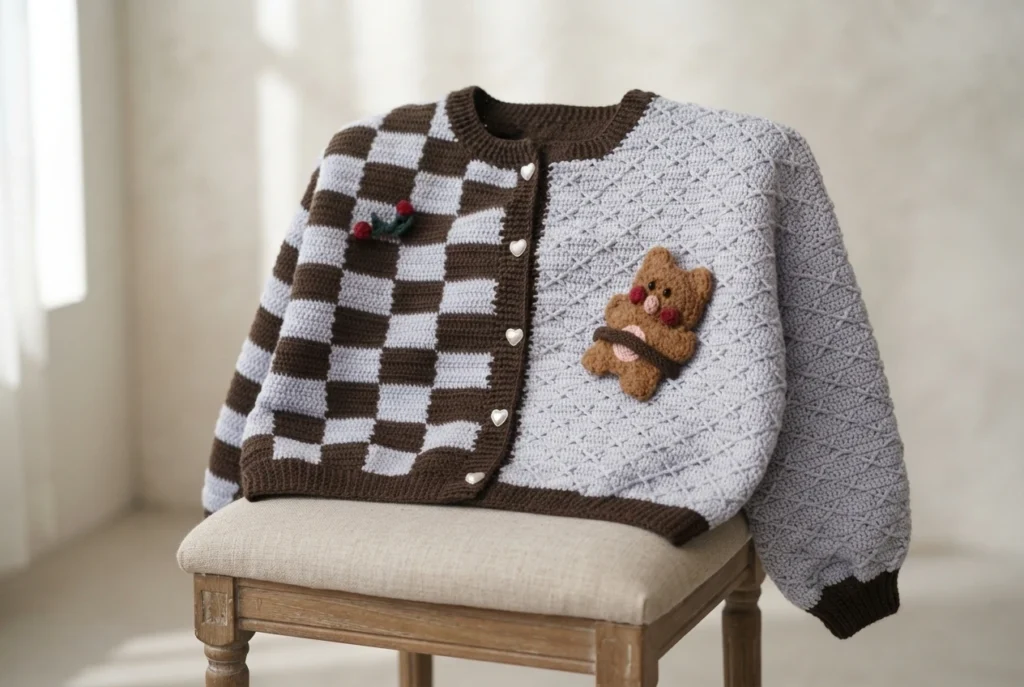
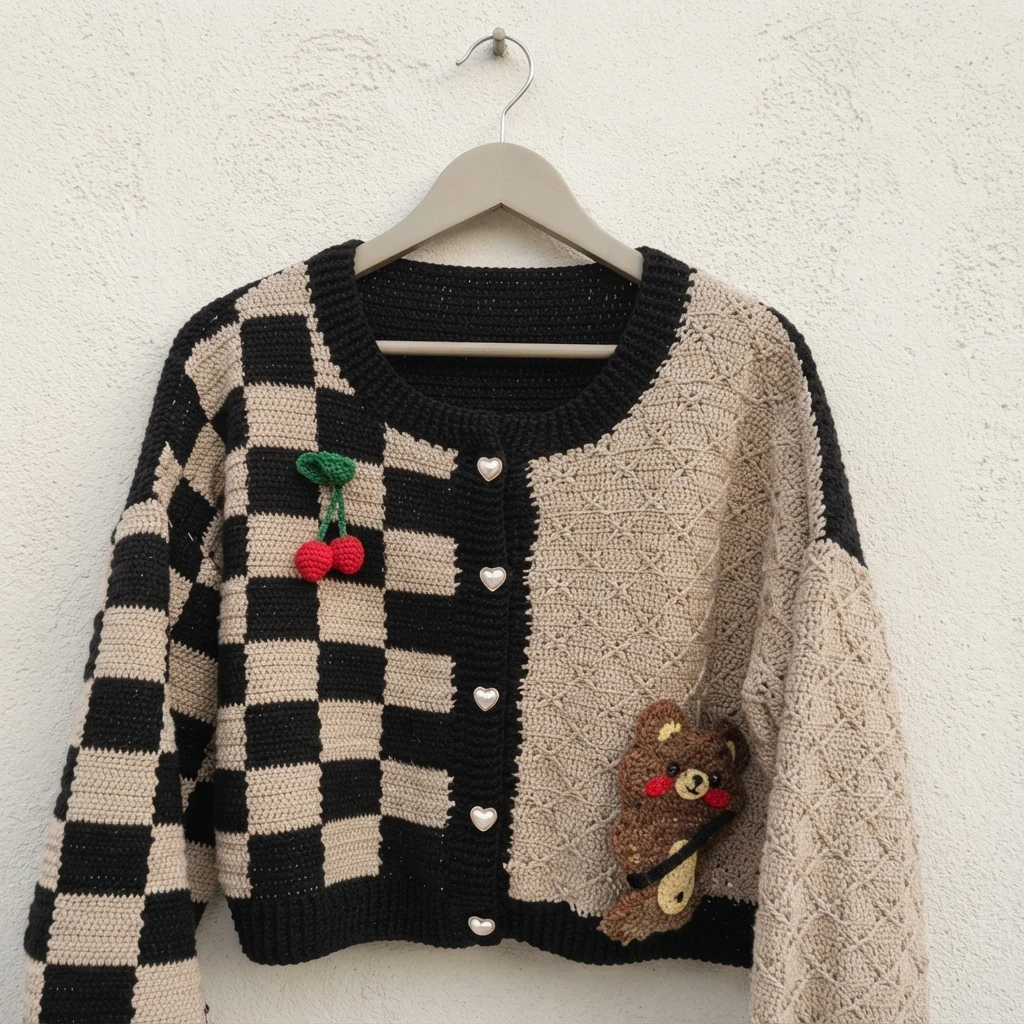
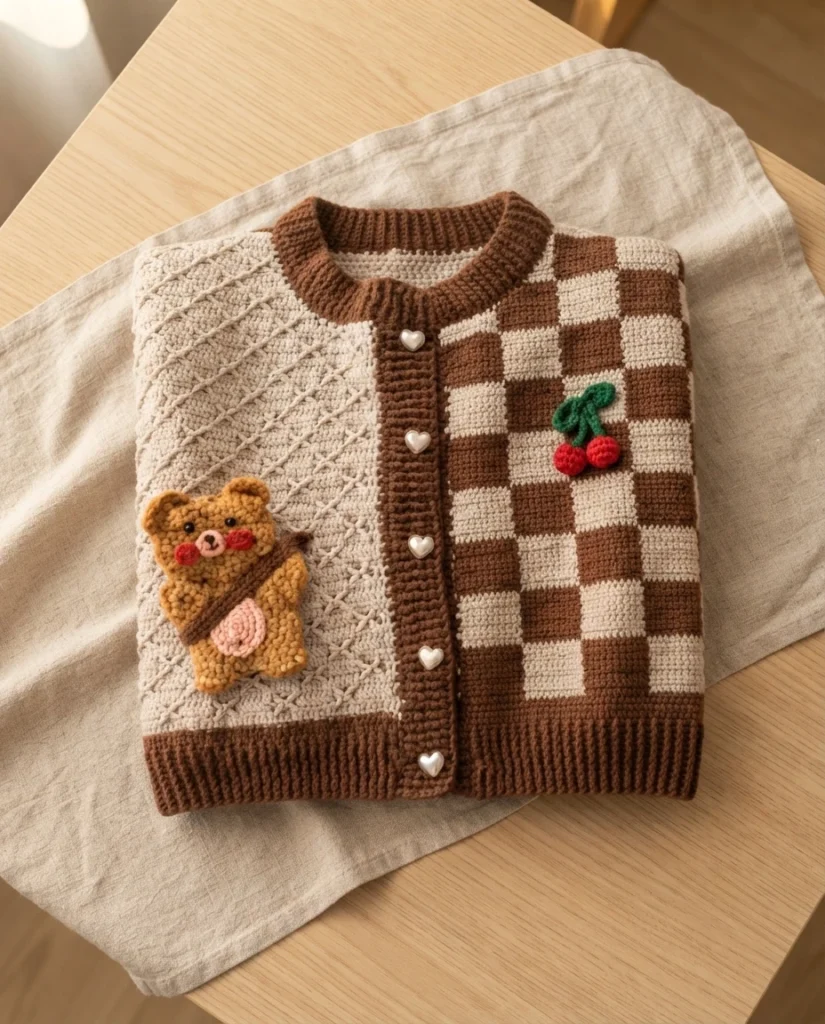

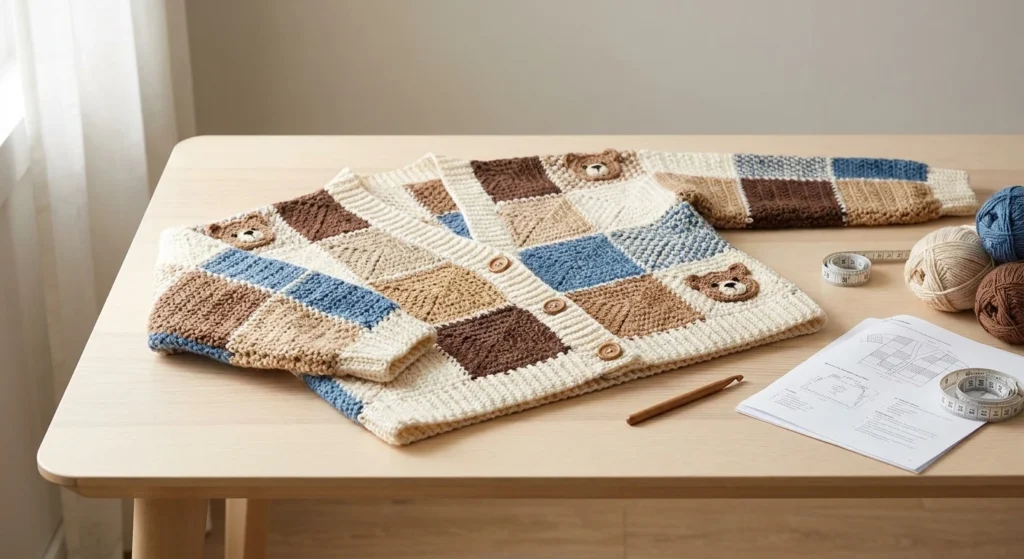
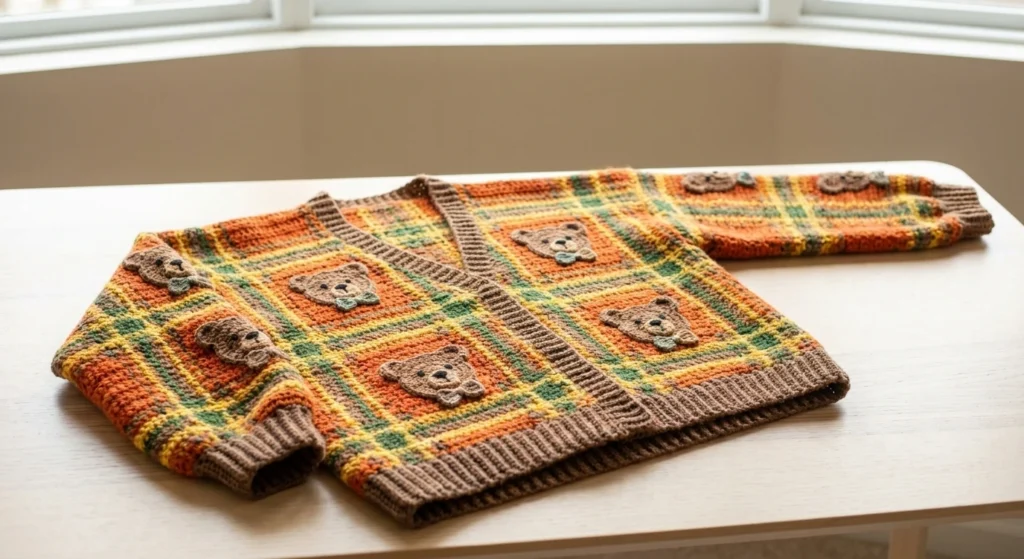
The cardigan is made up of a back piece, a right front piece, a left front piece, sleeve pieces, cuffs, a bottom edge, a front band, buttons, a collar and decorations. The back, both fronts and the sleeves are crocheted separately first. Those pieces are then joined together. After joining, the cuffs, bottom edge, front band and collar are worked, the buttons are attached, and finally the decorations are crocheted and secured in place. The source describes this order plainly, and following it keeps the finishing steps manageable.
Left and right are determined by the actual wearing orientation, so decide that before you label your panels. The back piece, right front piece and left front piece are each divided into Section 1 and Section 2. Each begins with foundation chains and is worked back and forth along those chains. The source points to the video demonstration for the detail, which is why this overview describes the shape of the work rather than reproducing rows.
The sleeve pieces start with a chain ring and are crocheted back and forth in rounds. The source notes that you can adjust the length of the sleeve pieces according to your own arm length, which is a useful allowance if your arms differ from the sample. Joining repeats a group of a single crochet followed by 2 chains. Shoulders of the front and back pieces are joined first, then the sleeves, and finally the side seams.
The cuffs are crocheted around the first round of the sleeve piece using double crochets. The bottom edge and front band are then worked back and forth, starting with the bottom edge, then the front band, and finally the buttons are sewn on. When working in rows, on the right side you work front post stitches over back post stitches, and on the wrong side you work back post stitches over front post stitches. The collar begins from the corner on the right front band and is worked back and forth in rows.
Decorations are crocheted according to the chart and then secured onto the right and left front pieces. The source says placement can be adjusted based on personal preference, so the bear motifs are not locked to one position. The tutorial is presented in labeled parts with timestamps, and the page notes the item was made by the community.
Supplies listed by the source, as a single checklist:
- Yarn: Susan’s Family Morandi 4#, Sheep Curly, 4-Ply Combed Cotton & Acrylic Fibre Hand Knitting Yarn
- Hook: 3.00 mm crochet hook
- Buttons, to be sewn on after the front band
- Stitch markers, for tracking sections and joins
- Tapestry needle, for seaming and weaving in ends
- The corresponding charts for your size, plus the video demonstration
The source does not state a yarn quantity, so plan from the listed yarn line and your own gauge rather than from a figure this overview cannot supply. The 3.00 mm hook is the only hook size named, and it pairs with the listed yarn in the sample. If your gauge differs, the source’s own note about tension applies: the sample size is for reference only, and handcrafted measurements may vary by 1 to 2 cm.
For a different construction style to compare against, our overview of the Easy Crochet Granny Hexagon Cardigan, Pattern and Video Tutorial: Pattern Overview covers a garment built from hexagons rather than flat panels. If you prefer applique-style motifs on a cardigan, the How to Crochet Your Own Mushroom Cardigan - Fox Creations: Pattern Overview is a closer match in spirit. Both are useful reading while you plan your own version.
2 thoughts on “Plaid Bear Cardigan Crochet Tutorial | Susan’s Family: Pattern Overview”