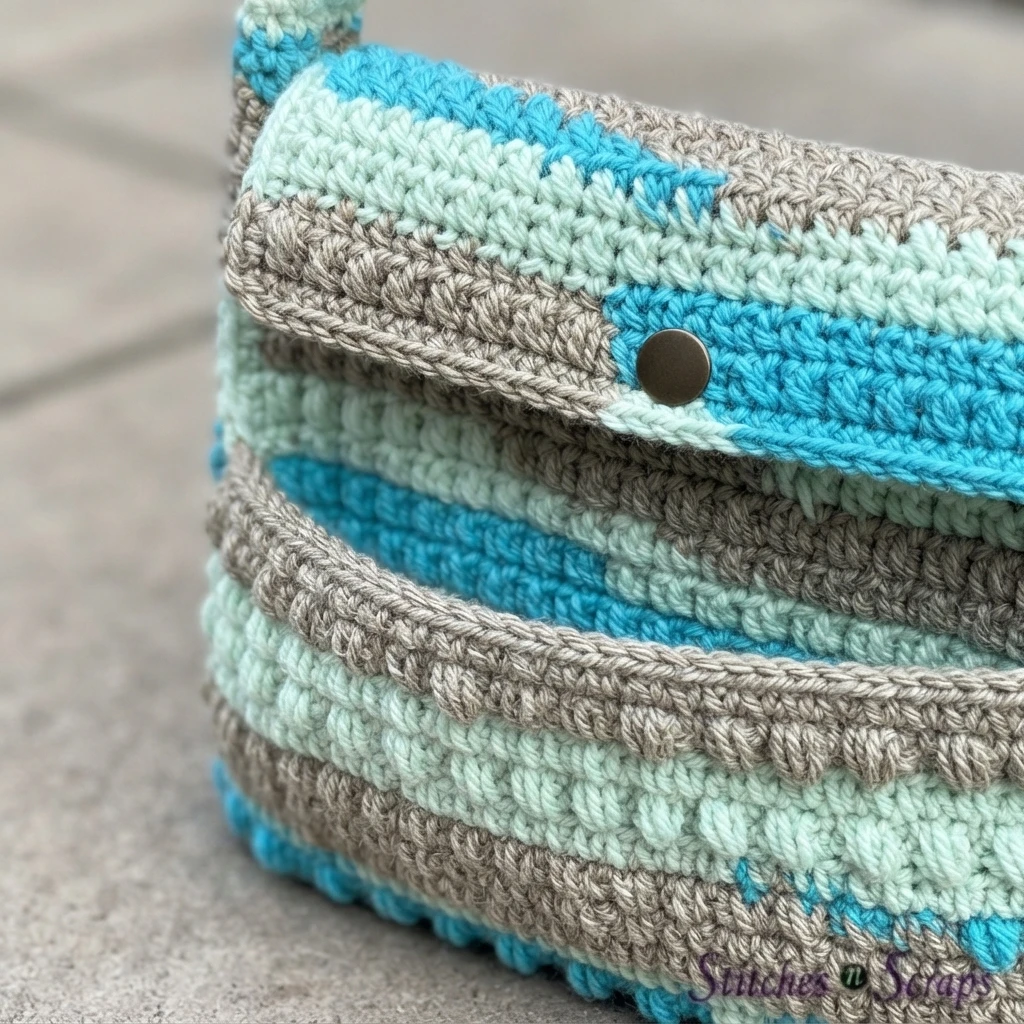
Project introduction
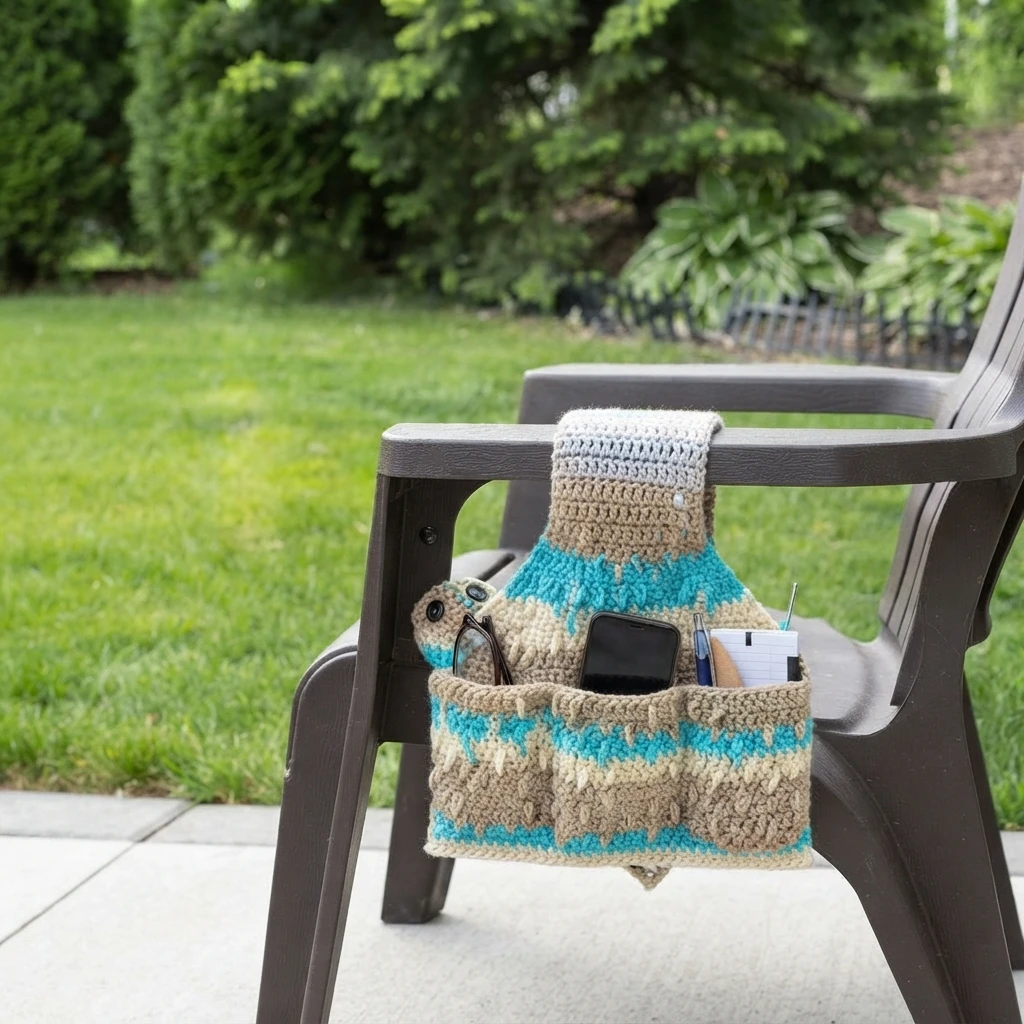
This article is a pattern overview, not a full tutorial, for a practical caddy that keeps everyday essentials close at hand. Created by Stitches n Scraps, the design wraps around the arm of a chair and closes with snaps to hold it securely in place. Because the arm section is adjustable, the same idea also works as a walker or wheelchair caddy. For the complete pattern, begin with the Original designer’s pattern and instructions, and use this overview to understand the project before you start.
Red Heart With Love Stripes yarn
The sample shown by Stitches n Scraps uses the color #1975 Sandbar Stripes, a self striping choice that suits the textured surface especially well. As the colors change across the rows, they draw attention to the raised spike stitch pattern and give the plain sections a lively, coordinated look without requiring the maker to switch yarns manually.
Open Arms
This caddy is designed to wrap completely around a chair arm, so the chair needs open space underneath that arm. It will not suit a chair with solid sides, because there must be a gap for the fabric to pass all the way around. The same wrap around idea also works on a horizontal bar, which makes the caddy useful on railings, walkers, and wheelchairs.
Adjust the Size
The designer made the sample for a patio chair with a rather wide arm, but the fit is not fixed to that one chair. The part that wraps around the arm is worked in plain half double crochet, so rows can be added or removed to suit a different arm or bar. The original pattern explains how to measure your chair and adjust the length accordingly.
Spike Stitches
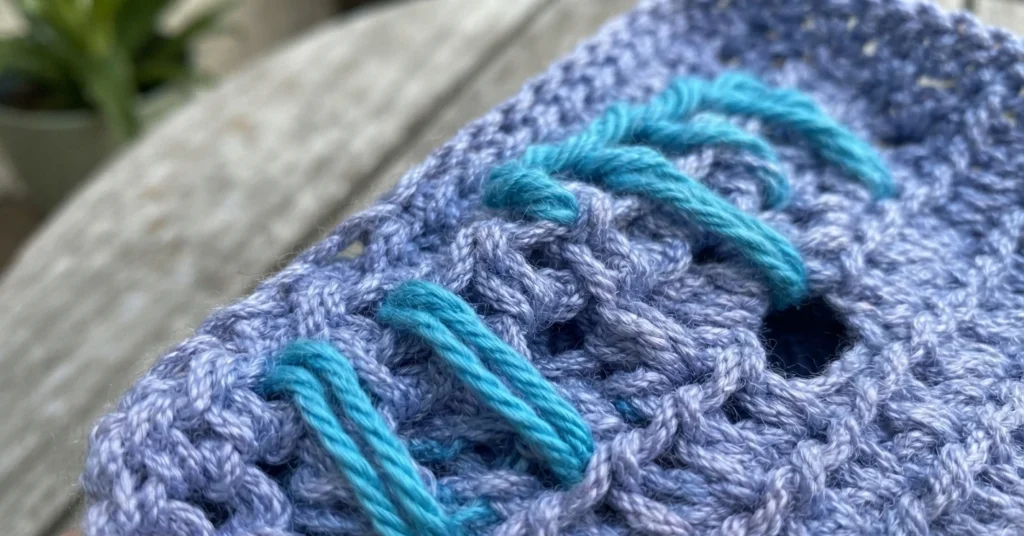
Spike stitches provide the bold, tactile texture that defines this caddy. Instead of staying only in the current row, these stitches reach down into earlier rows and create long loops across the surface of the fabric. Because those loops carry around the work, the texture looks attractive from both the right side and the wrong side, which suits a piece that may be seen from several angles.
Alternative half double crochet decrease
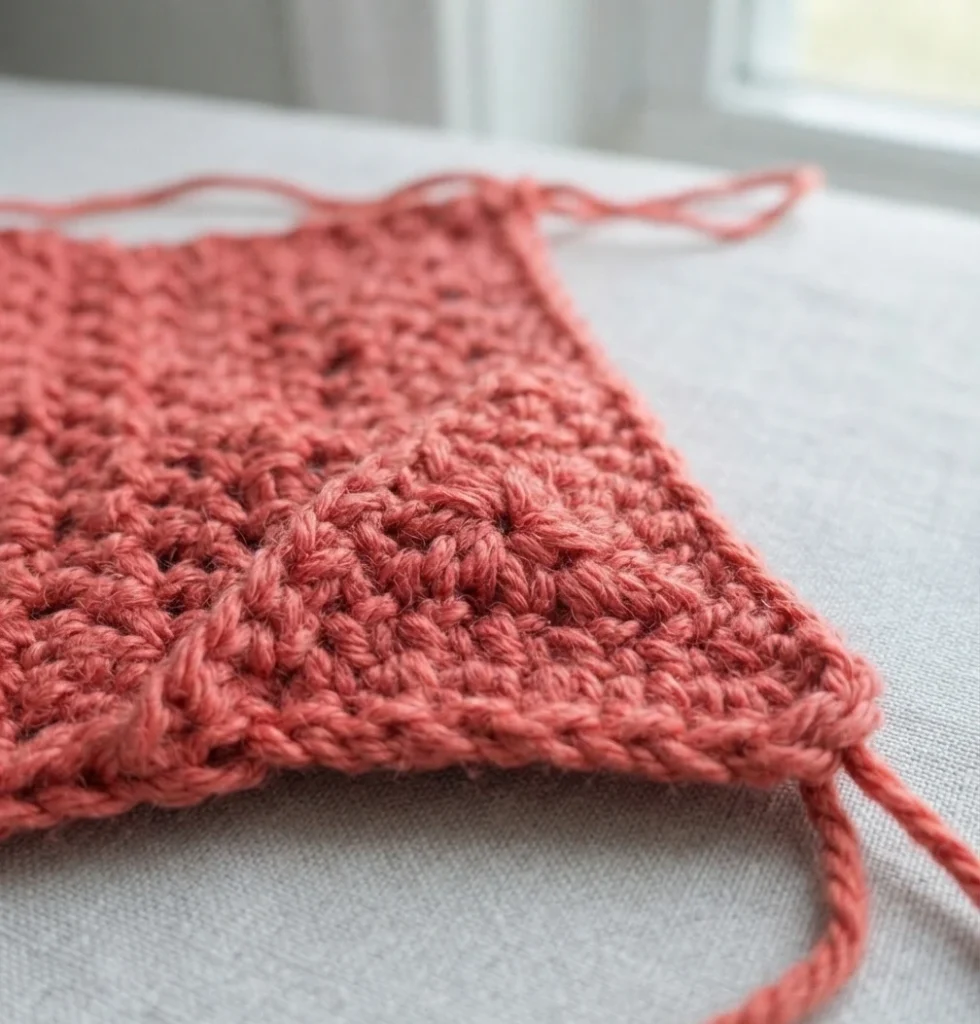
The shaping relies on a slight variation of the half double crochet decrease. A traditional half double crochet 2 together can feel bulky in the fabric, so this version reduces that bulk by skipping one of the yarn overs. It is a small change in method that helps the tapered areas lie flatter and look neater.
Mattress Stitch
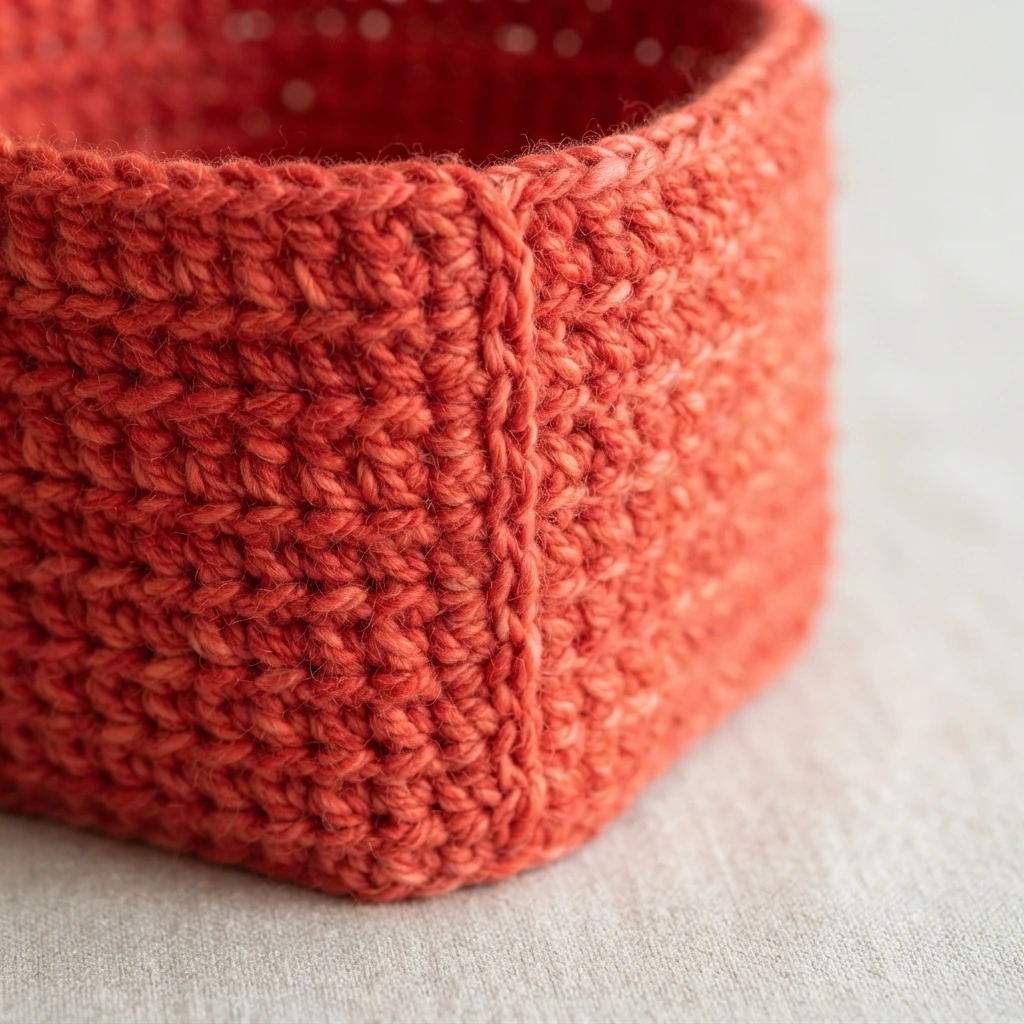
Mattress stitch gives the pocket a neat, almost seamless finish where its side edges meet the front of the caddy. The seam laces through loops from the middle of the stitches, so the joining thread stays hidden inside the crochet fabric. At the bottom of the pocket, the seam can also be tucked neatly beneath the extra third loops created by half double crochet.
Patio Chair Caddy
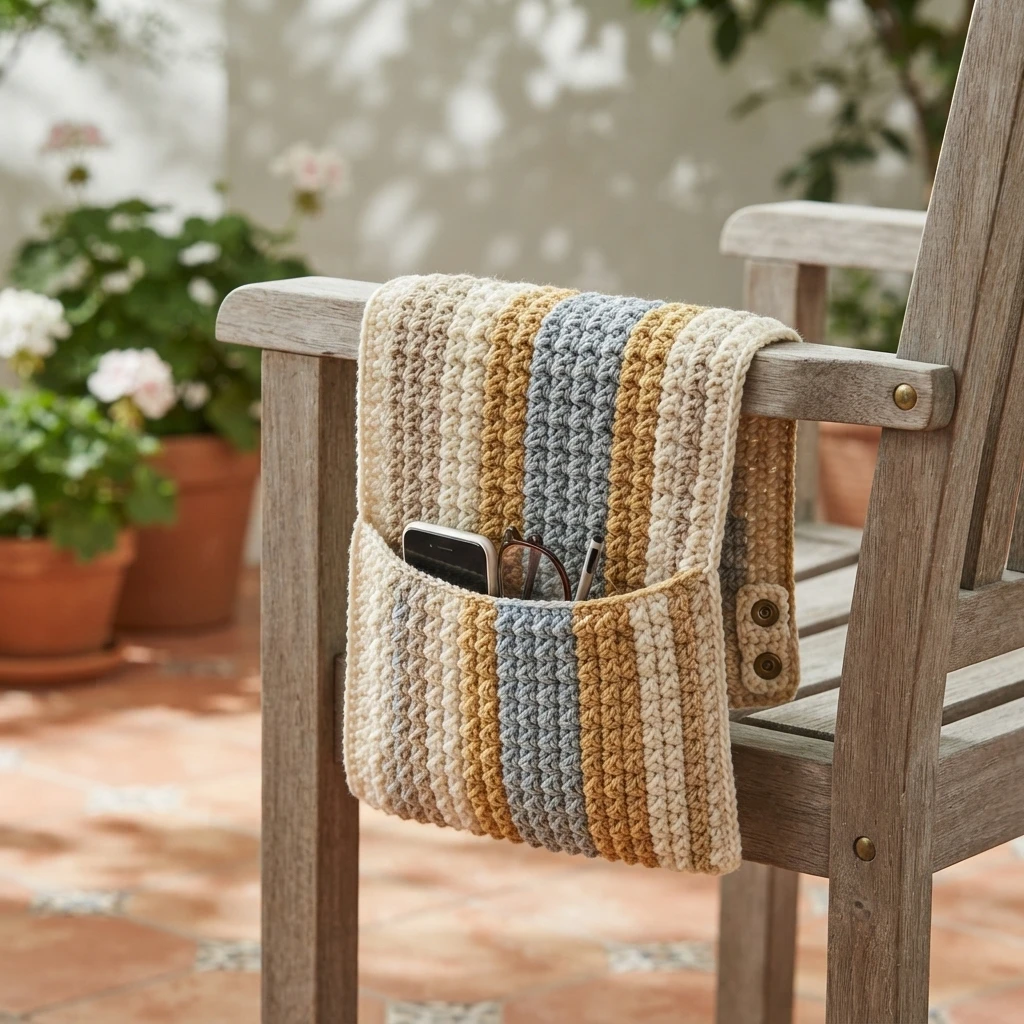

The sections that follow gather the key facts for planning this project, including the level, fit, gauge, abbreviations, special stitches, and the order in which the pieces come together. Reading them first will help you decide whether your chair, walker, or wheelchair is a good match before you follow the designer instructions.
Materials
Gather everything on this concise checklist before you begin, so the crochet, snap sewing, and optional finishing steps can proceed without interruption. The yarn amount is the estimate given for the sample, and the hook choice depends on matching the stated gauge.
- Red Heart With Love Stripes, 100% acrylic, worsted weight yarn (223 yds / 141g per skein); 325 yds in #1975 Sandbar Stripes
- Size H / 5 mm crochet hook, or the size needed to match gauge
- Tapestry needle
- 6 stitch markers
- 7 sew-on snaps, about 3/4 to 1-inch diameter
- Sewing needle and thread to attach the snaps
- 1/4-inch diameter x 12 inches long dowel rod (optional)
Project Level
This is an intermediate project. You should be comfortable with spike stitches, increases, and decreases, and the finishing also involves some sewing for the snaps and pocket assembly.
Size
The finished caddy is 12 inches wide at the bottom, and its height is 11.5 inches from the bottom to the beginning of the arm section. The yardage given is for a chair arm with a 12-inch circumference. The arm section is adjustable, but any change to its length will affect the amount of yarn needed.
Gauge
The stated gauge is 12 hdc x 10 rows = 4 inches. Checking gauge matters here because the caddy must wrap smoothly and the pocket and main sections need to align as intended.
Abbreviations used
The pattern uses US crochet terminology. Keep this short glossary nearby while you read the designer instructions, especially for the special stitches explained in their own sections below.
- ch = chain
- dec = decrease (see Special Stitches)
- hdc = half double crochet
- hdc2tog = half double crochet next 2 sts together
- RS = right side
- spike hdc = spike half double crochet (see Special Stitches)
- sk = skip
- st(s) = stitch(es)
- WS = wrong side
- yo = yarn over
Special Stitches
Two techniques shape and texture the fabric in distinctive ways. The spike half double crochet creates the long surface loops, while the alternative decrease keeps the tapered sections from becoming unnecessarily bulky.
Spike half double crochet (spike hdc)
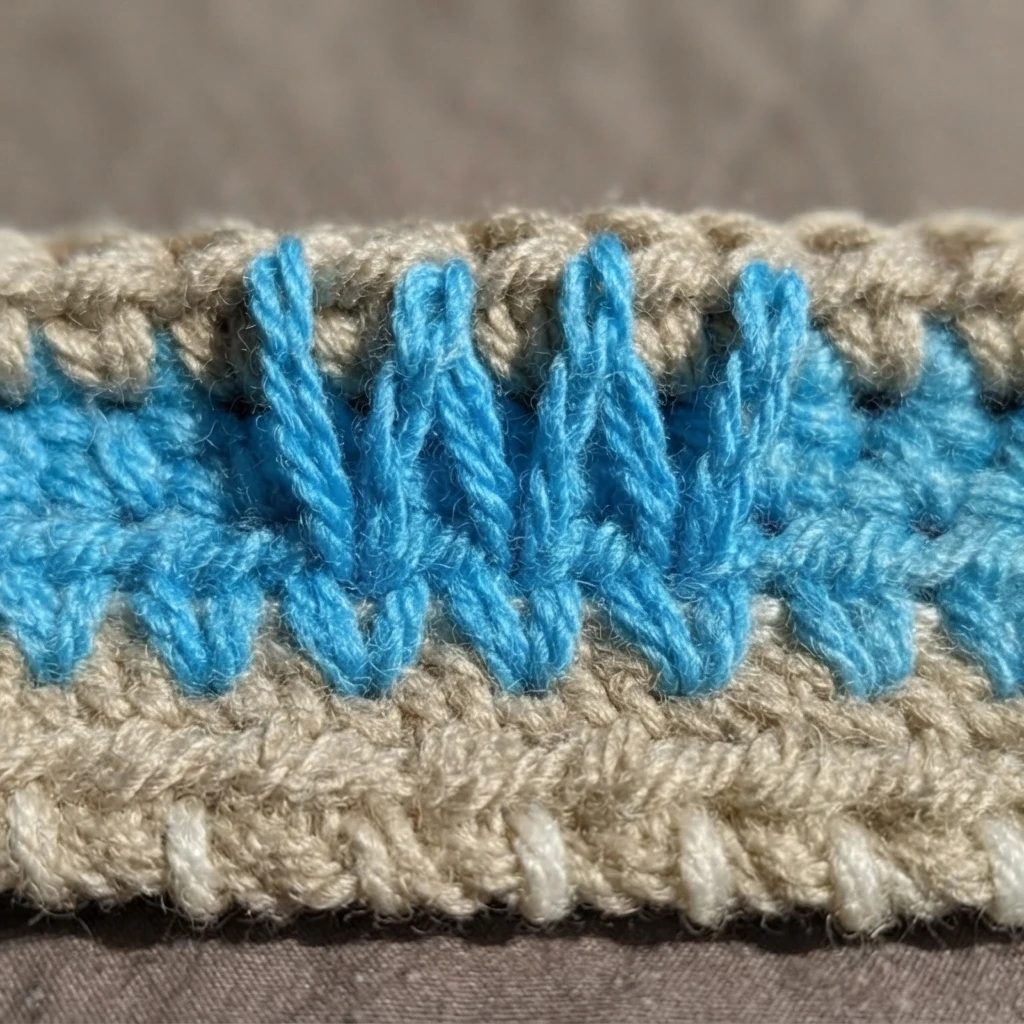
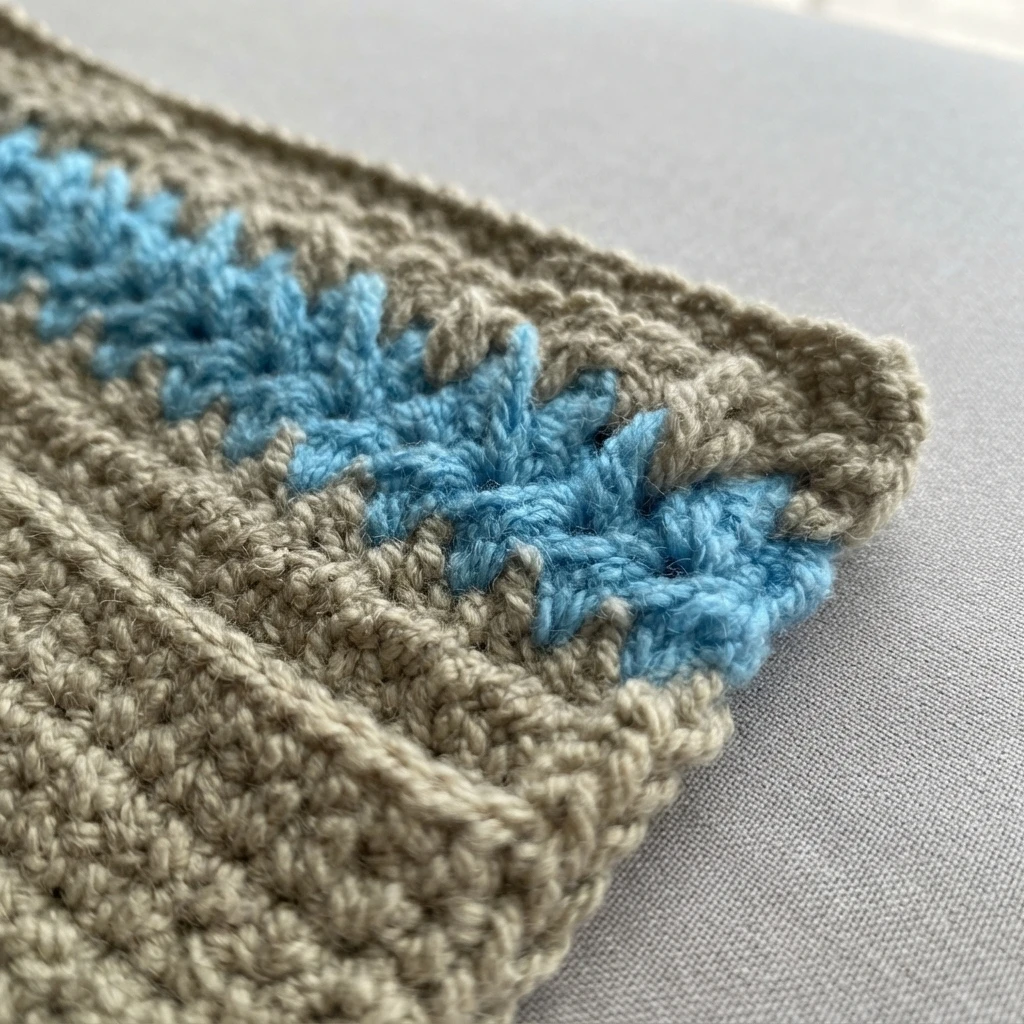
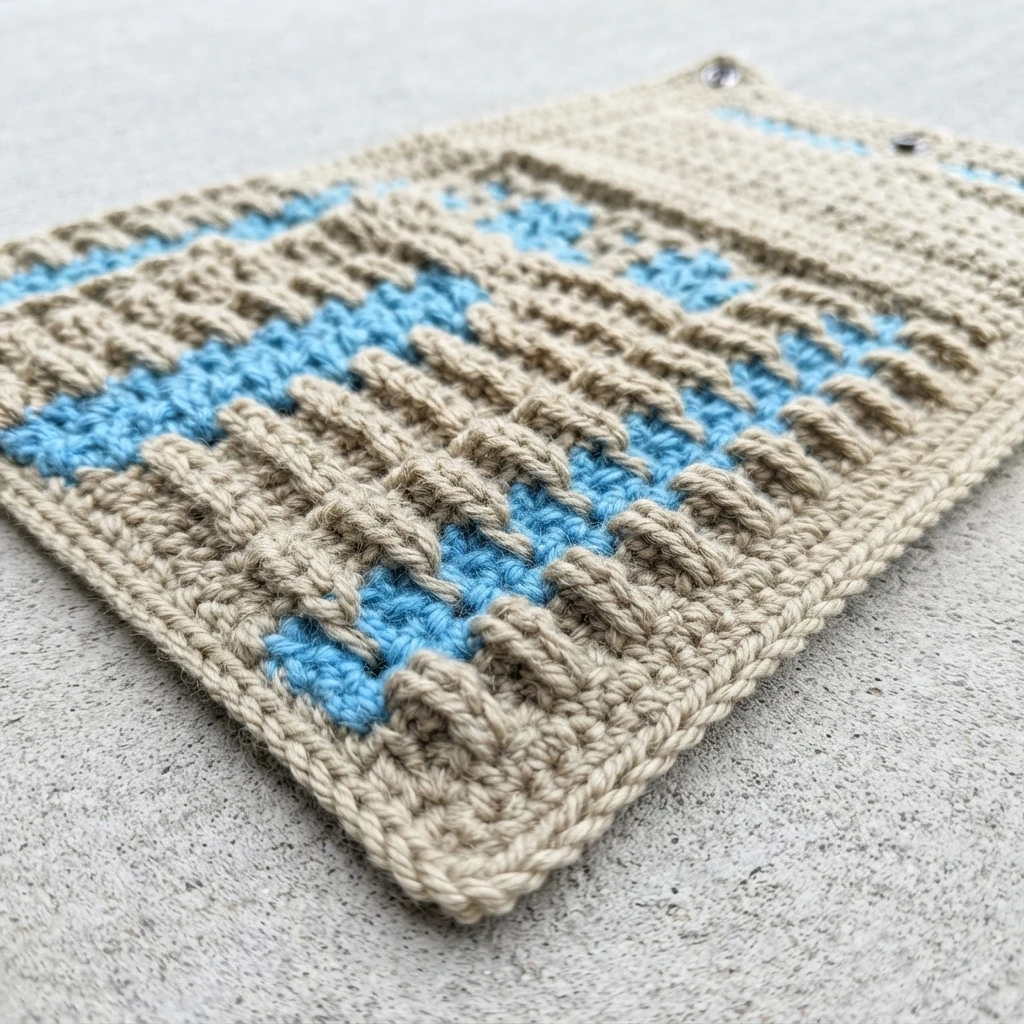
For a spike half double crochet, the hook goes into a stitch positioned 3 rows below, rather than into the usual place in the current row. The loop is drawn up to the height of the row being worked, so it stretches cleanly across the rows in between, and the stitch on the current row inside that spike is skipped. This long reach is what forms the dramatic vertical texture.
Half double crochet decrease (dec)
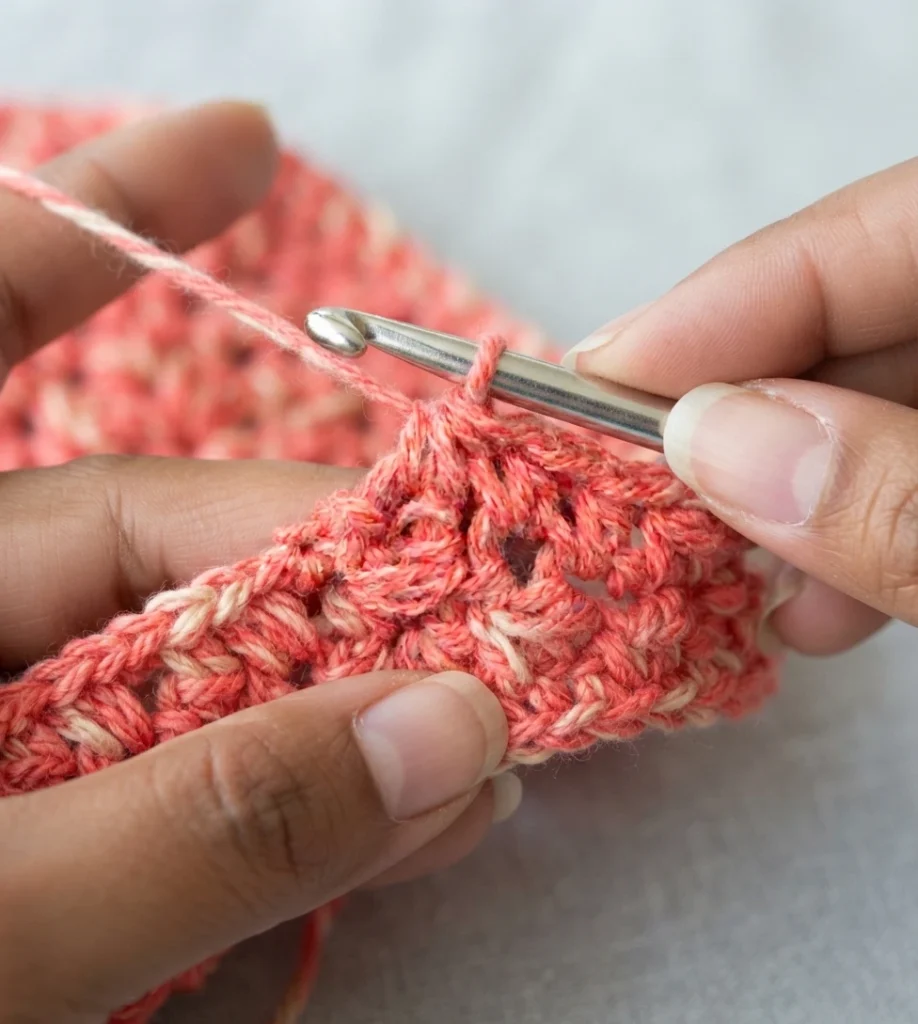
The decrease used here works into two stitches in turn, drawing up a loop in each one, and then pulls through all 4 loops on the hook. The result reduces the stitch count while keeping the shaping smoother and less bulky than a standard approach.
Construction Overview
In broad terms, the caddy is built from a front, a back, and a separate pocket, connected by a central arm section that lets the piece fold over a chair arm or bar. Textured main areas come first, shaping narrows and widens the upper portions, and assembly with snaps and sewn pocket seams turns the flat crochet into a hanging holder.
Front
The front carries the pocket on its main section and continues upward through a tapered top into the arm section. Its construction combines plain half double crochet with patterned spike stitch rows.
Main Section
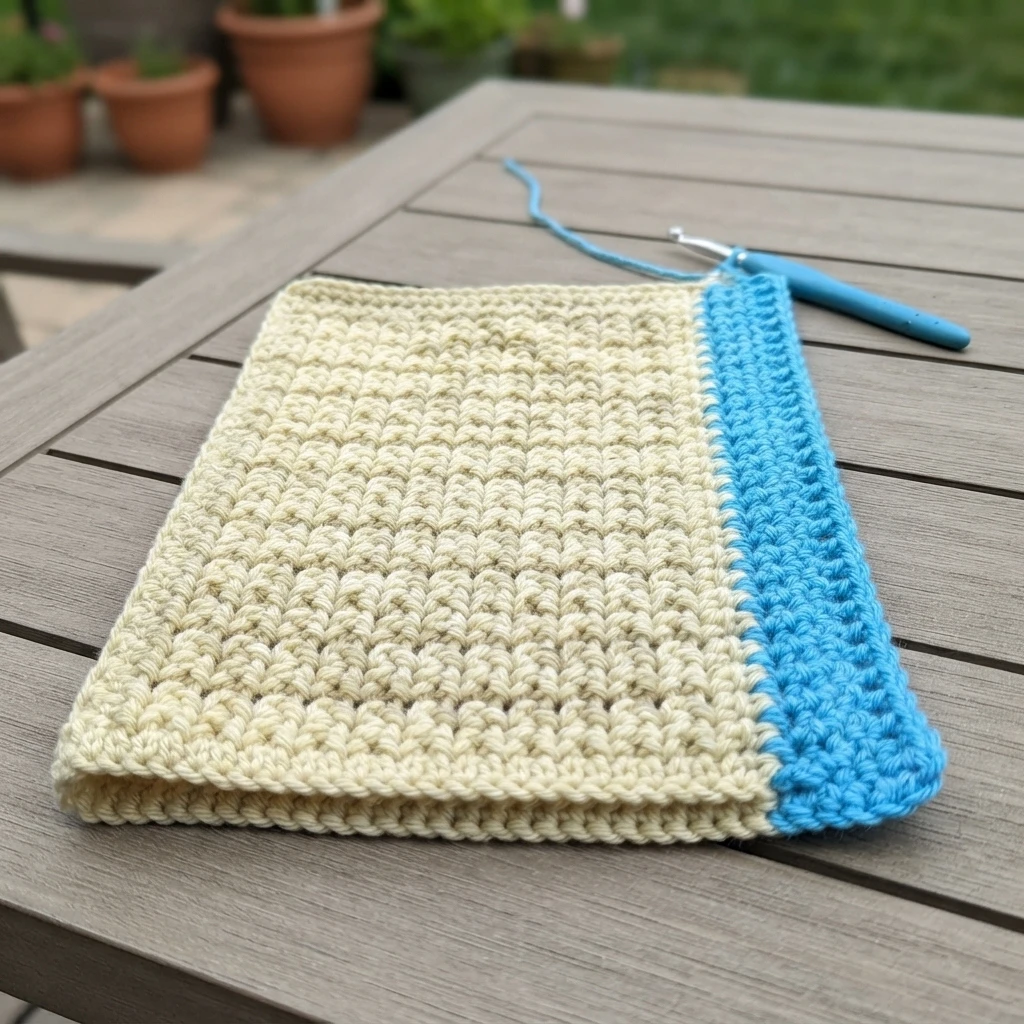
The front main section begins with a foundation chain and is worked in half double crochet, with spike stitch rows introduced to build the signature texture in bands across the fabric. Early in the piece, the bottom edge is folded back and joined through both layers, forming a small tube along the lower edge and a nicely finished base. A ridge of third loops remains visible on the right side, a detail that becomes useful later during pocket assembly.
Front Main Section Chart
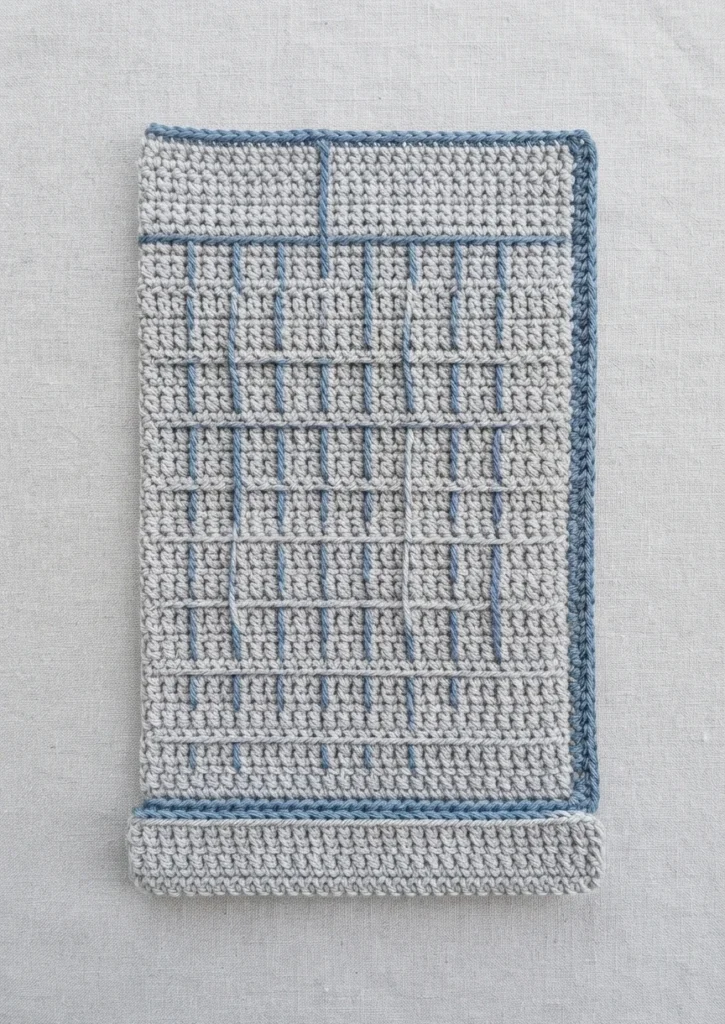
A chart for the front main section accompanies this part of the original pattern, offering a visual guide to how the plain and spike stitch rows are arranged.
Top
Above the main section, the front top narrows gradually through decreases worked across successive rows. Spike stitches continue within the shaping, so the texture carries upward even as the sides taper toward the narrower arm section. This tapered transition helps the caddy move from its wider pocket area into the strap like portion that goes around the chair arm.
Arm
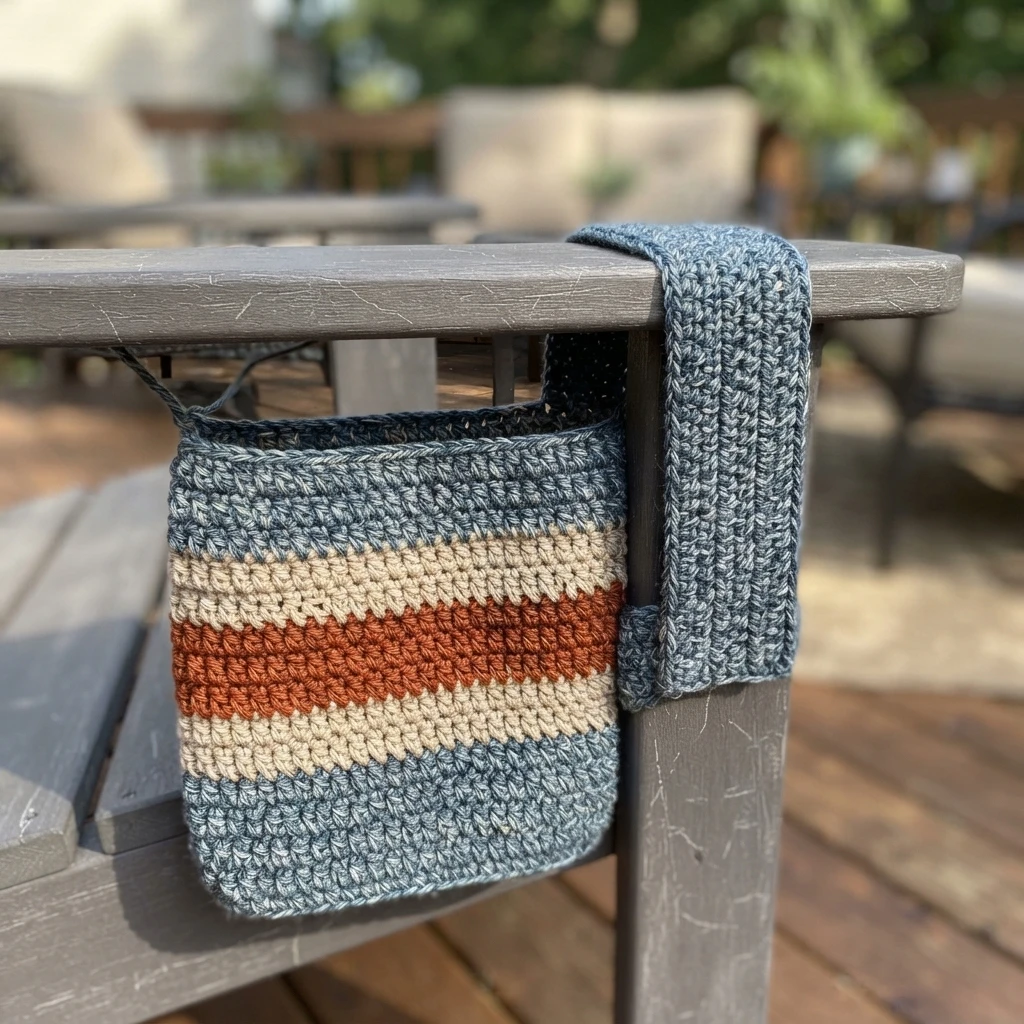
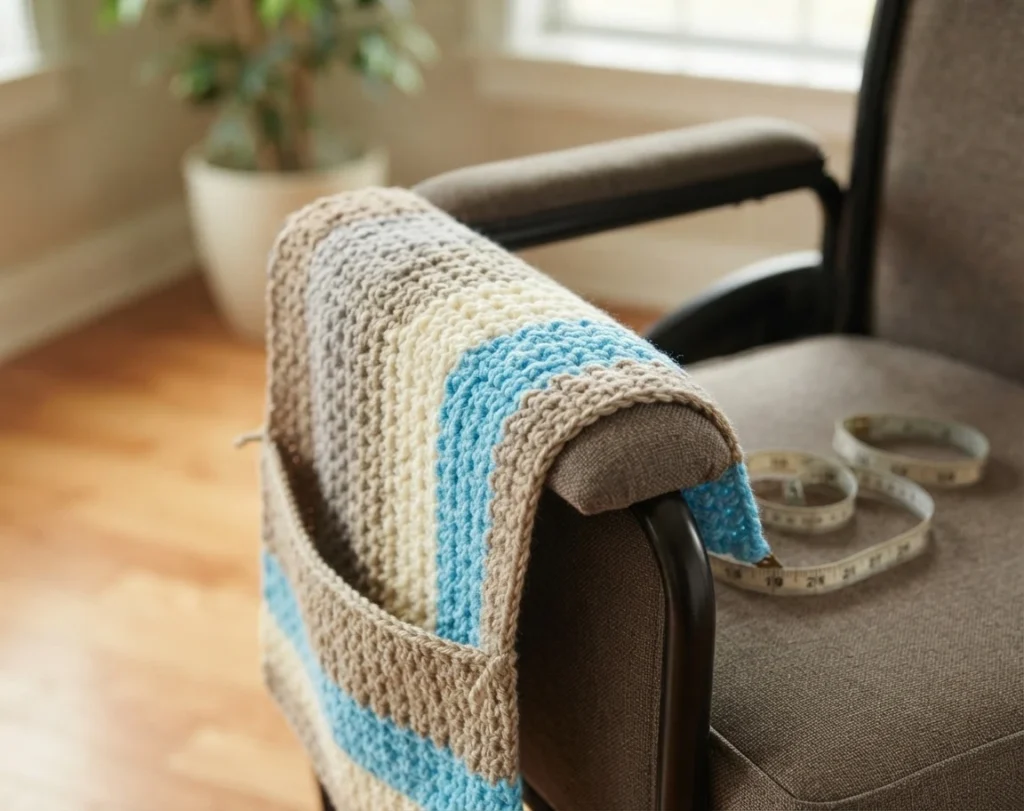
The arm section is a straightforward band of half double crochet worked across the narrowed top. To customize it, wrap a measuring tape around the arm of your chair or the bar of a walker or wheelchair to find the circumference, and make this section that length. Extra length can be added if desired, although the caddy will stretch a little, especially when holding heavier items, and any adjustment affects yardage.
Front Top & Arm Chart
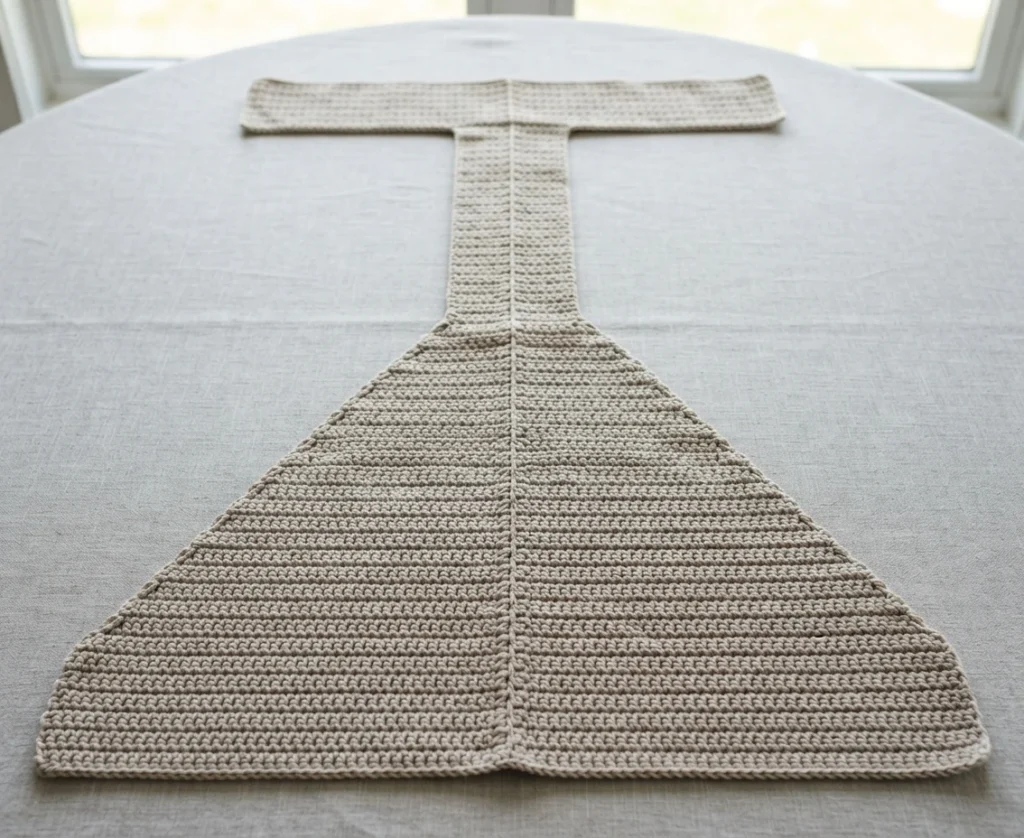
A combined chart for the front top and arm sections accompanies this part of the original pattern, showing the tapered shaping flowing into the plain band.
Back
The back is worked after the arm section and mirrors the overall logic of the front, widening again at the top before continuing into its own main section.
Top
The back top widens through increases worked across successive rows, bringing the narrow arm band back out to the full width needed for the main section. Spike stitches return within this widening area, restoring the patterned texture and balancing the look of the front top on the opposite side of the folded caddy.
Back Top Chart
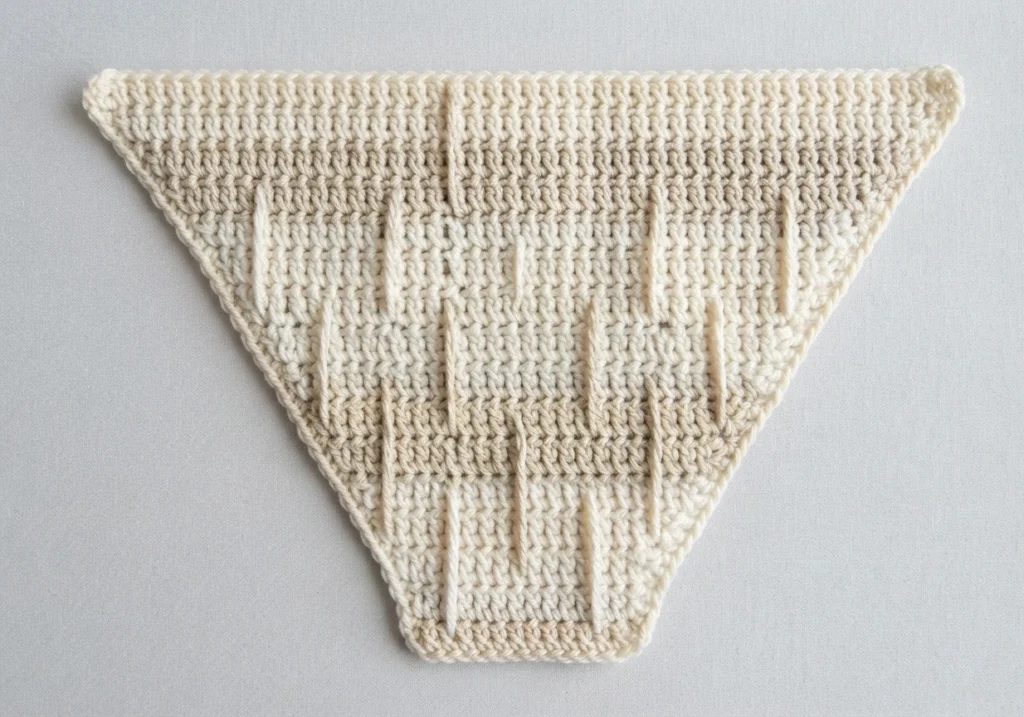
A chart for the back top accompanies this part of the original pattern, providing a visual reference for the increasing, textured rows.
Main Section
The back main section repeats the front main section pattern sequence described in the original instructions, recreating the same mix of plain and spike stitch rows, and then the yarn is fastened off.
Back Main Section Chart
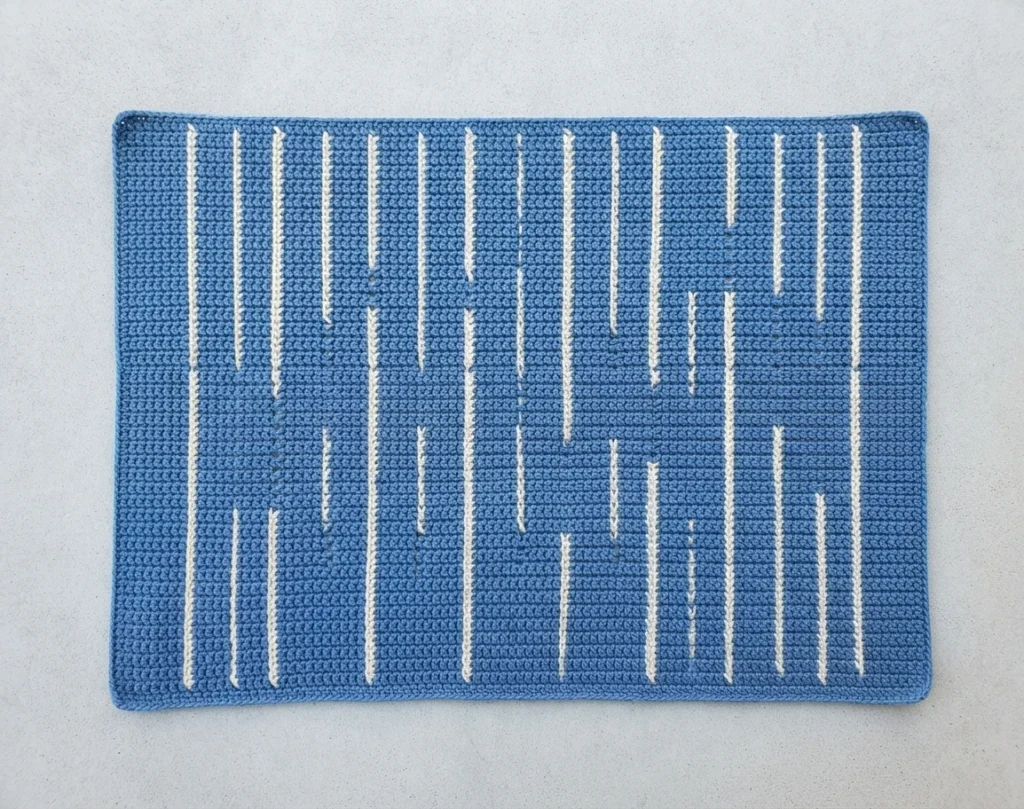
A chart for the back main section accompanies this part of the original pattern, as a visual companion to the repeated front main sequence.
The pocket is crocheted separately, also beginning with a foundation chain and worked mainly in half double crochet. Its spike stitch rows echo the texture of the main sections, alternating with plain rows so the pocket front looks coordinated with the body of the caddy. Once its rows are complete, the yarn is fastened off and the piece is set aside for assembly.
Pocket chart
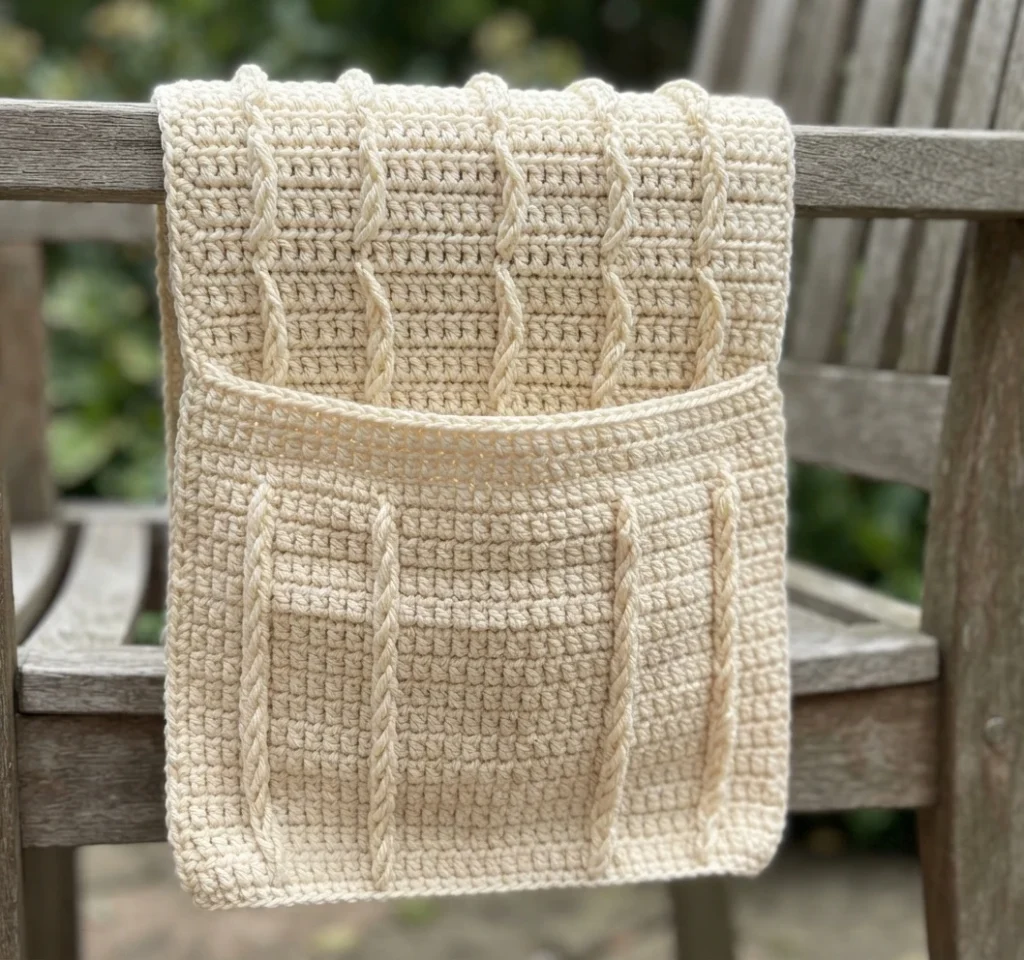
A pocket chart accompanies this part of the original pattern, mapping the placement of the plain rows and spike stitch rows across the pocket.
Assembly
Assembly brings the flat pieces together in stages, first positioning the snaps that hold front and back together, and then attaching the pocket and any optional finishing touches.
Snaps
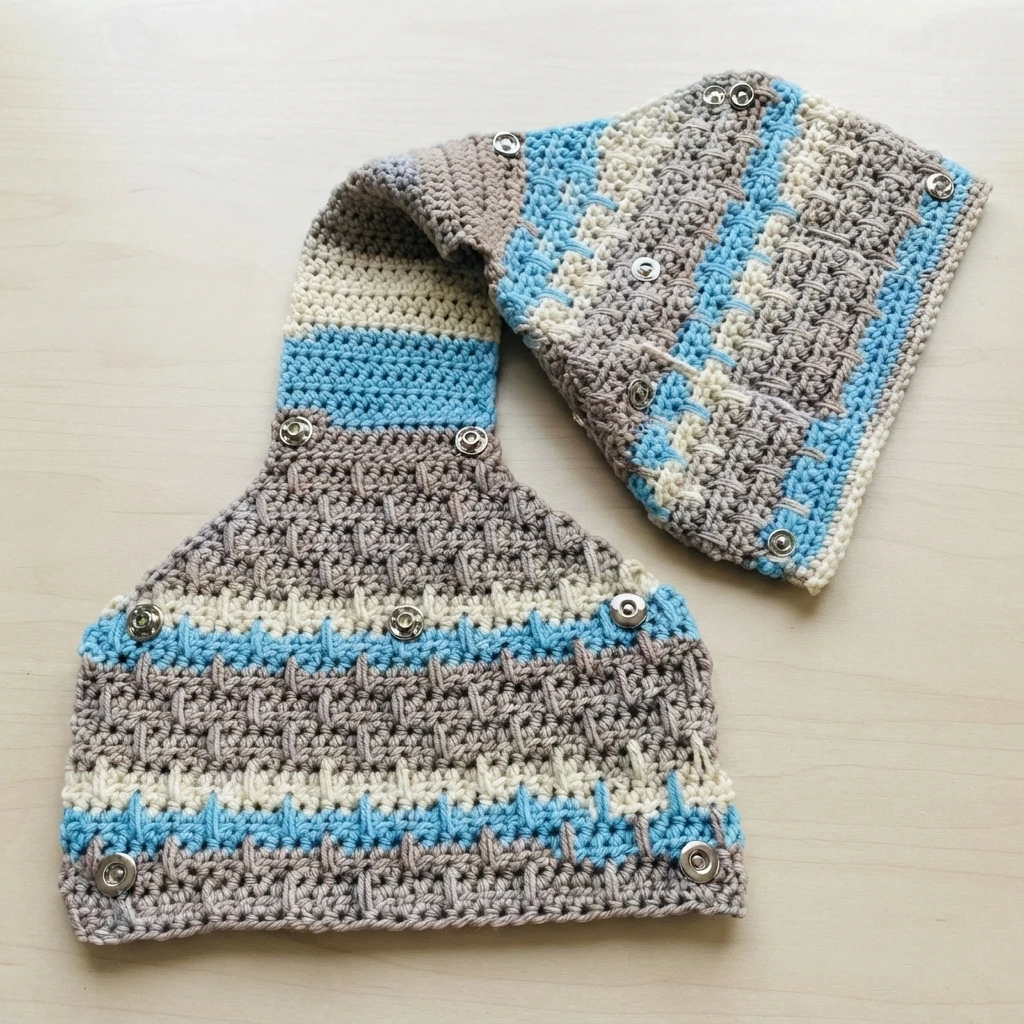
The snaps join the back and front when the caddy is folded at the center of the arm section, with the beginning of the front aligning with the end of the back. One part of each snap is sewn on the wrong side of the front, in the bottom corners, along the top of the front main section, and near the top of the front top section. The matching parts are then sewn in corresponding positions on the wrong side of the back.
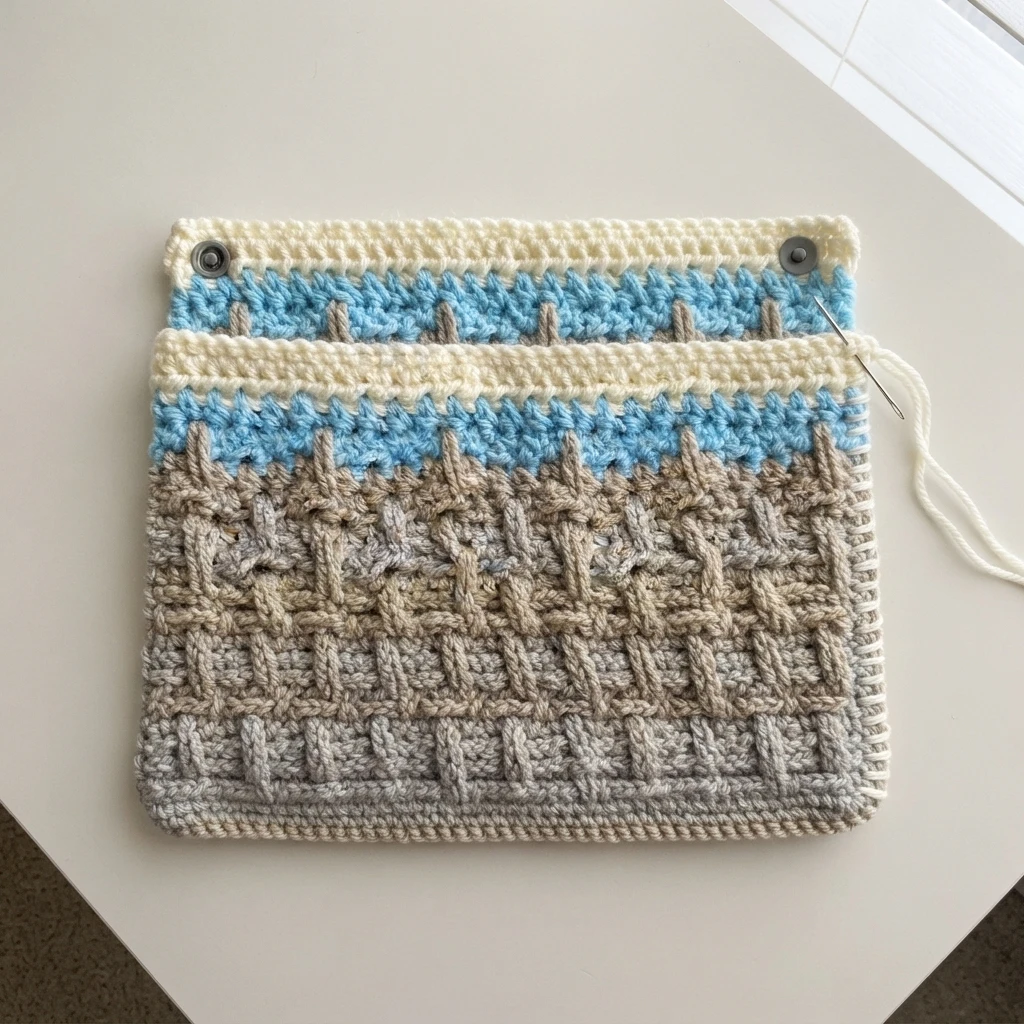
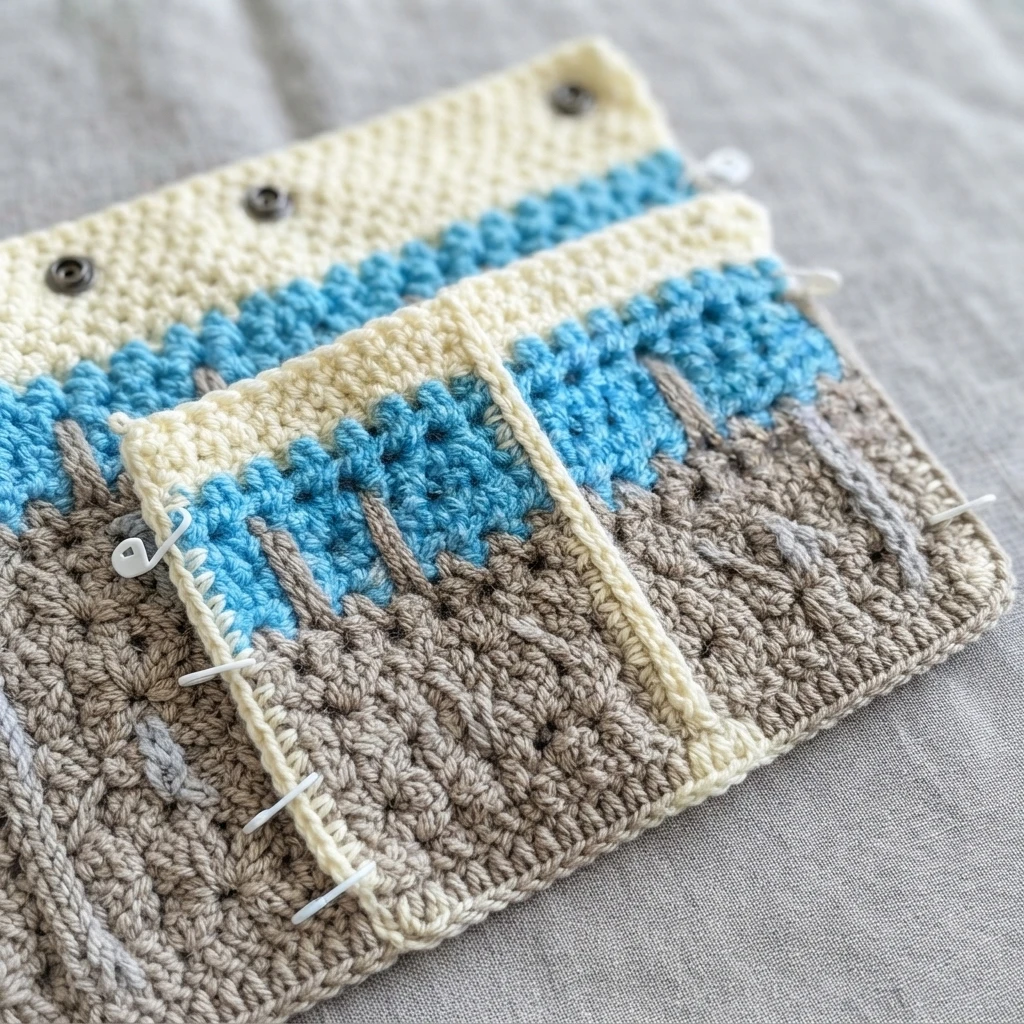
With the snaps open and the caddy laid flat, right side up, the pocket is placed right side up over the front main section and sewn around its side and bottom edges, taking care not to sew over the snaps. Mattress stitch handles the side seams, while the bottom seam hides beneath the exposed third loops of the front. Marked vertical lines, placed in the sample approximately 11 stitches in from each side, are sewn through both layers to divide the pocket into sections.
Optional Dowel
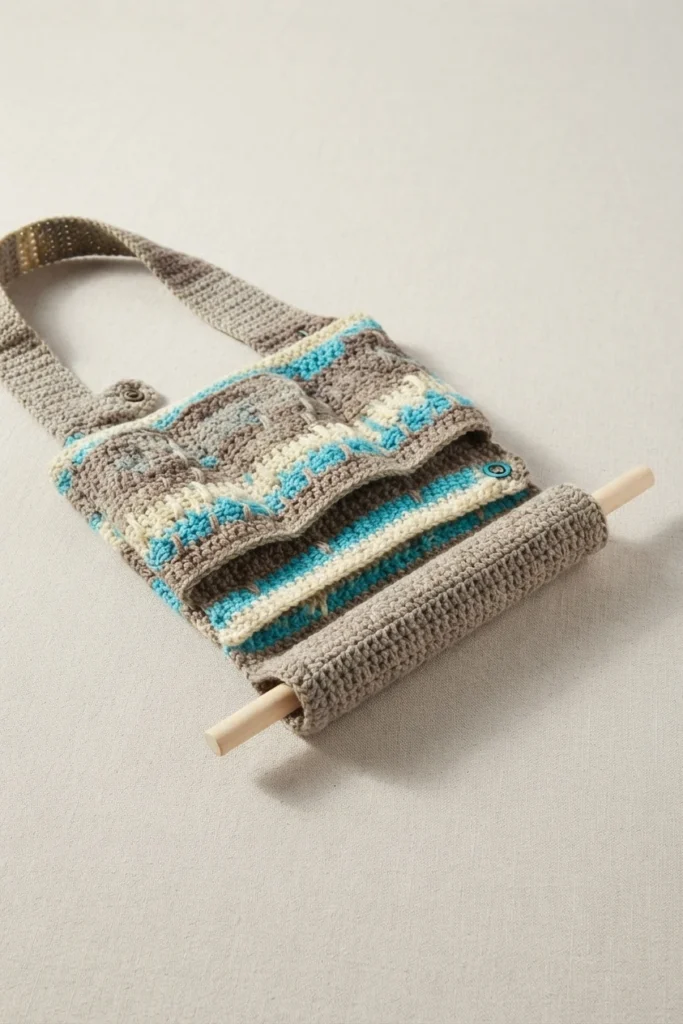
If you choose to use the optional dowel, slide it into the open tube below the pocket. The ends of the tube can be sewn shut to secure it, or left open so the dowel can be removed easily for washing. Finish by weaving in all ends and removing all markers.
Rate this Patio Chair or Wheelchair Caddy pattern!
If you prefer to work from paper or save the pattern offline, a downloadable pdf of this pattern is available on Ravelry for a small fee. That paid format applies to the printable PDF described by the designer, and no price beyond that description is stated here. According to Stitches n Scraps, the fee helps offset advertising revenue lost when the pattern is printed or downloaded rather than viewed online.