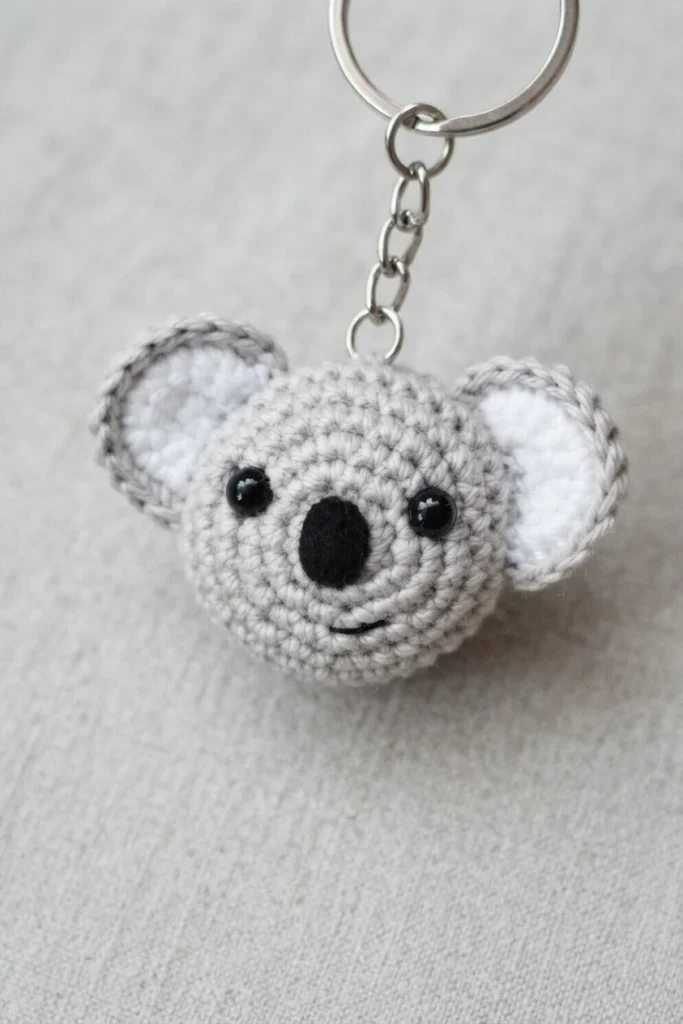
Project introduction
This article is a pattern overview, not a full tutorial, for a small koala keychain created by Stitch by Fay. The designer developed the project at the beginning of 2020, a time when Australia was facing severe bush fires. World events often shape the designer creative work, and feelings about that crisis were channeled into this little character, which was made to support fundraising and went on to become very popular with makers.
Use this overview to understand the size, supplies, techniques and construction order before you begin. For the complete row by row instructions, follow the Original designer’s pattern and instructions on the designer website. That is the place to work from, because this page summarises the project and does not replace the original pattern.
Materials
Gather everything before starting, because this is a tiny project and the finishing details matter as much as the crochet itself. The sample colours, hook size and eye size below are the specific choices listed by the designer. If you substitute yarn, keep the hook matched to that yarn and keep your tension firm, as explained in the notes.
- Yarn for the main colour: Paintbox Yarns Cotton DK, shade Stormy Grey
- Yarn for contrast areas: the same yarn, shade Paper White
- Crochet hook: size 2.5mm
- Eyes: a pair sized 6mm, safety style
- Stuffing: polyester fiberfill, for light filling
- Nose material: black felt, just a small piece
- Detail thread: black embroidery floss
- Hardware: one keychain fitting
- Tools for finishing: a yarn needle
- Tools for tracking rounds: a stitch marker
- Tools for trimming: scissors
That checklist covers the crochet, stuffing, facial details and hardware in one place. The felt and floss are only for small finishing touches, while the marker is important throughout because the pieces are worked in a spiral and the start of each round is easy to lose without it.
Abbreviations
The pattern uses US terminology and a short set of standard abbreviations. Reading them through before you start will help the original instructions feel much clearer, especially where increases, invisible decreases and front loop work appear in the shaping of the head and ears.
- ch: chain
- sc: single crochet
- inc: increase
- invdec: invisible decrease
- FLO: front loop only
- st/s: stitch/es
- […]: repeat the instructions in brackets
- (…): indicates stitch count at end of round
Bracketed groups signal a repeat sequence, and the number in parentheses at the end of a round confirms the stitch count for that round. Those two conventions are especially helpful when checking your shaping as the head grows and then narrows again.
Notes
The finished keychain measures approximately 2.5″ (6.5cm) x 2″ (5cm), so it is compact enough for keys or a bag. Pieces are worked in a continuous spiral, starting with a magic ring unless the original pattern says otherwise. Mark the first stitch of each round with a removable stitch marker, moving it as you progress so your place stays clear.
Gauge is not important for this project, which makes it forgiving for a small amigurumi style piece. Choose a hook size to match your chosen yarn, and focus instead on stitch tightness. Your stitches should be close enough to prevent stuffing showing through the fabric. If gaps appear, adjust your hook size as the designer advises.
Head
The head is the main piece and is worked in continuous rounds from a magic ring. Single crochet shaping builds the form outward first, then later rounds narrow it again. Front loop only rounds are part of that shaping sequence, helping create the transition in the head shape before the decreasing rounds bring the opening closed at the end.
During construction, the safety eyes are placed between rounds 4 and 5. Their position is approximately 1 stitch up from the center, with 5 stitches in between them. The designer notes trimming the stems off the back of the eyes, then stuffing the head lightly before the final decrease rounds close it. Once complete, the yarn is fastened off and the end is woven in.
EARS (make 2,white)
Each ear has a white inner piece, and you make two of them in total. The white piece starts with a magic ring, then continues as a small flat shape worked with turning chains and increases across a few short rows. When it reaches the intended size, it is fastened off and the ends are woven in, ready to be paired with the grey outer piece described next.
Make 2, grey
The grey part of each ear follows a similar small, flat construction, also beginning with a magic ring and building up through increasing rows. After those rows, the grey piece is joined to its matching white piece. The two layers are held with right sides facing out, and single crochet is worked through each stitch on both pieces to join them together as one ear.
When the joining is finished, fasten off but leave a long tail, because that tail is used for sewing the ear to the head. Repeat the full process for the second ear so you have a matching pair, with the white layer sitting against the grey layer on both sides of the finished keychain.
Assembly
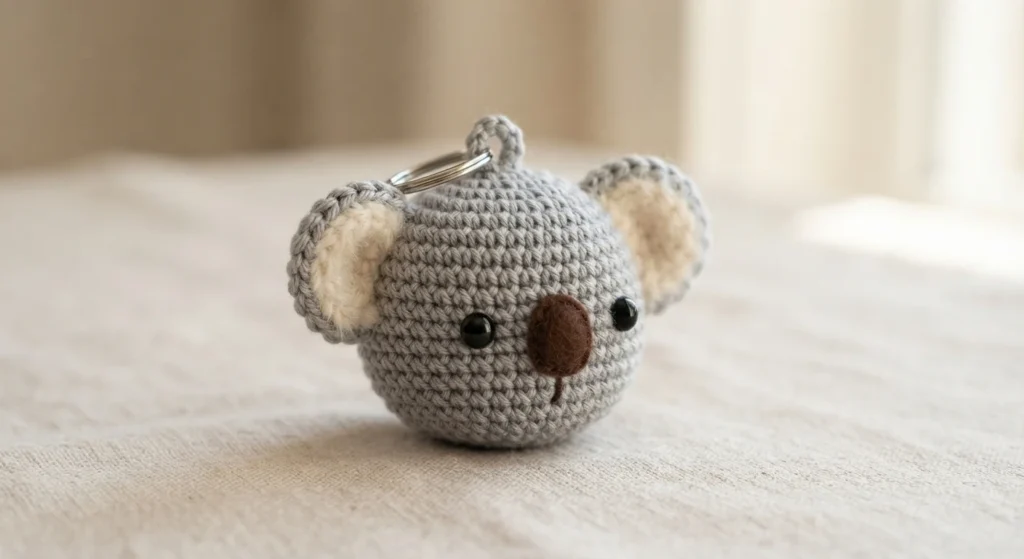
Assembly brings the simple pieces together. Sew the ears to the top of the head, placing them approximately 5 stitches apart. For the nose, cut a small oval shape and secure it in place centered between the eyes, using glue or felting as the designer describes. A mouth can be embroidered if desired, which lets you add a little extra expression, and the final step is attaching the keychain to the top.
If you enjoy small keychain projects, you may also like Kawaii Apple Keychain: Pattern Overview and Crochet Apple Keychain Pouch: Pattern Overview for related reading. Keep the original designer link nearby while assembling, so placement details stay accurate to the source pattern.