Easy Ghost Worry Worm
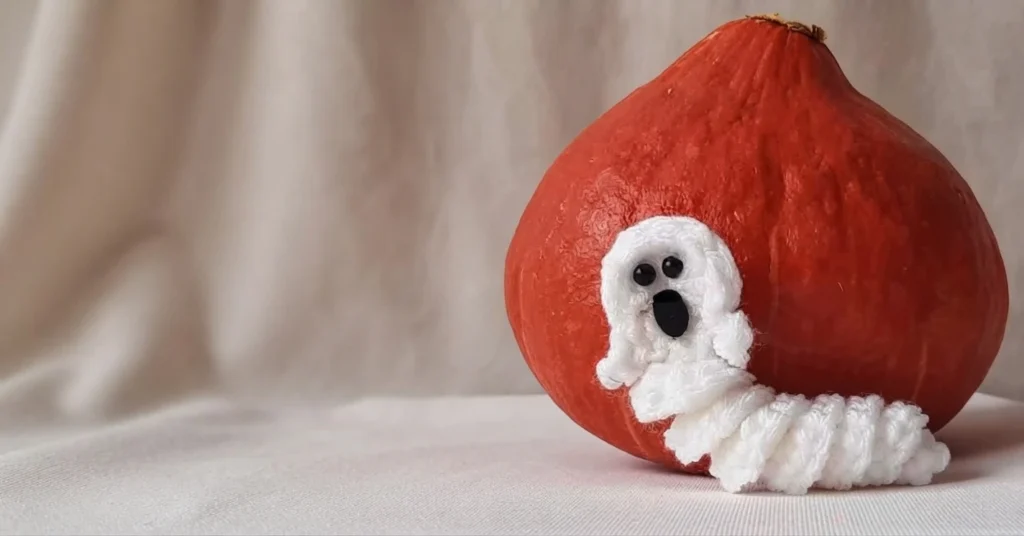
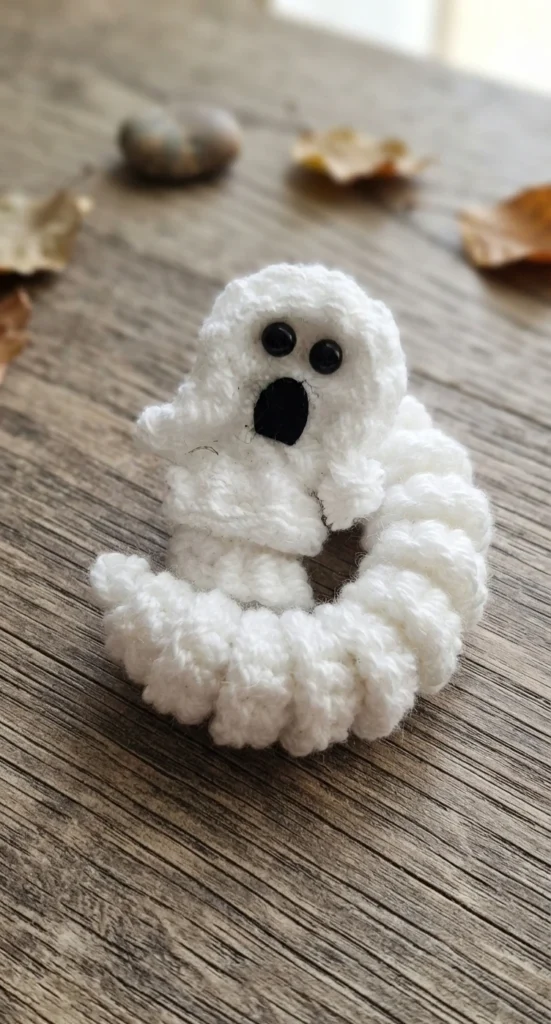
Start Crochet presents Hailey the Hug-a-Boo Worm, a Ghost Worry Worm with a friendly look, as a short Halloween project that can be made in under 10 minutes. The source lists uses including gifts for children, a calming tool in classrooms, trick-or-treat giving, and small finds left out and about for people to discover. The source describes the project as easy to make and fun to give, and as suitable for Halloween decor.
Crochet Pattern Overview
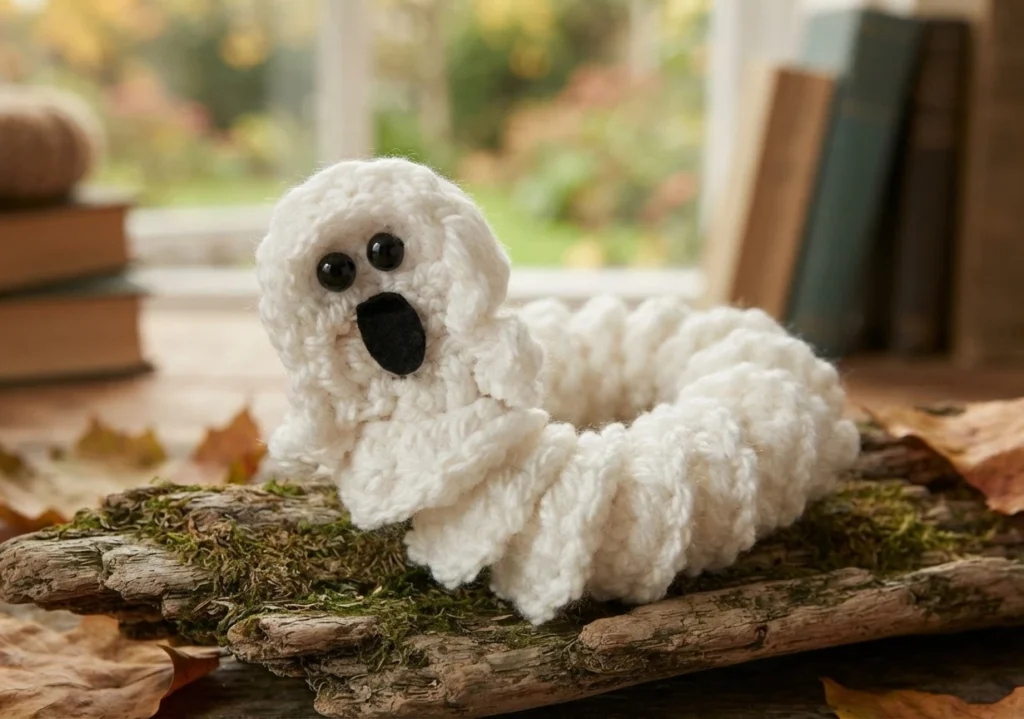
This is a pattern overview, not a full tutorial. If you want to crochet the not-so-spooky Ghost Worry Worm from Start Crochet, you will need the original designer’s pattern and instructions. That page holds the complete written pattern, the round-by-round counts, and the finishing details. What follows here is a practical look at what the project involves, so you can decide whether it suits your hook, your yarn stash, and your Halloween plans.
The source explains that curly crochet surfaces come from hyperbolic crochet, a mathematical term for negative curvature. Shapes like coral reefs or lettuce leaves can be replicated by adding stitches at a constant rate to each row, and adding stitches more often makes the fabric curl more. The source links to a video about hyperbolic crochet here.
Materials Needed
The source lists a short, beginner-friendly supply set. The sample uses Paintbox Yarns Simply Chunky in Paper White, a 100% acrylic chunky yarn. The designer notes that glow-in-the-dark yarn would be a great option if you have some. You will also need a crochet hook that fits your yarn; the sample used a G/6 (4 mm) hook. A darning needle and a pair of scissors round out the basic tools.
For the face, the source offers choices rather than a single required supply. Eyes can be a strand of black yarn or stick-on eyes. The sample used 5 mm plastic half round flat back black bead eyes, which have no adhesive on the back, so a dab of glue is needed to attach them. For the mouth, you can use a strand of black yarn to make a smile, or a small piece of black felt cut into a tiny oval shape. Glue is used to attach the eyes and the felt mouth.
- Chunky yarn in Paper White (sample: Paintbox Yarns Simply Chunky, 100% acrylic); glow-in-the-dark yarn is an optional alternative
- Crochet hook that fits your yarn (sample: G/6, 4 mm)
- Darning needle
- Scissors
- Eyes: black yarn or 5 mm stick-on eyes (sample: 5 mm plastic half round flat back black beads)
- Mouth: black yarn or a tiny oval of black felt
- Glue for attaching eyes and felt mouth
Abbreviations
The pattern uses standard US crochet abbreviations. Here are the terms the source defines, so you can read the original pattern without stopping to look anything up.
- MC = magic circle
- ch = chain
- sc = single crochet
- dc = double crochet
- sl st = slip stitch
- st = stitch
- sts = stitches
- fo = fasten off
Skill Level
The source rates this project as beginner level, with one prerequisite: you need to know how to work a magic circle, or use an alternative starting method. If the magic circle is new to you, the original pattern page points to videos that teach it. Everything else in the project stays within beginner territory, which is part of why it works as a quick seasonal make.
Halloween Handmade With Love Gift Tags (FREE PDF Printable)
The source also offers a free printable PDF of Halloween gift tags, described as a little gift for makers. They are intended to be added to handmade projects you want to give to someone special during the spooky season. If you like finishing your makes with a tag, this is a separate freebie from the pattern itself.
Gauge
The source states a gauge of 12 sts and 16 rows = 4 inches (10 cm) in sc. It is also clear that gauge is not really crucial for this project. Instead, it suggests experimenting with different hook sizes and different yarn weights until you get a gauge you are happy with for the project you are working on.
Two practical adjustments are given. If your ghost worry worm turns out narrower than you expected, switch to a thicker weight yarn. If you want a longer ghost worry worm, add more stitches to your beginning chain. Both are simple changes you can make without rewriting the pattern.
Size
The source states that this Ghost Worry Worm measures about 4.7 “ (12 cm) in height. That is a small, palm-sized project, which fits its role as a pocket companion, a classroom calming tool, or a little hidden treasure for someone to find. Because gauge is flexible here, your own version may land slightly differently depending on the yarn and hook you choose.
Crochet Project Tracker Free Printable
The source also shares a free printable project tracker. The idea is simple: keep track of your crochet projects with printable sheets, so you do not lose the hook size, the yarn you used, or which pattern you were following. If you tend to have several projects going at once, it is a handy companion to print and keep in your project folder.
Yardage
The source lists the yarn used as approximately 7.4 yards (6.8 meters), and gives 5 gm as the weight of yarn used. That is a genuinely small quantity, which makes this a good candidate for using up a partial skein or a leftover ball of chunky yarn. It also means you can make several without committing to a full new ball, though the exact amount you use will depend on your gauge and how tightly you work.
Notes
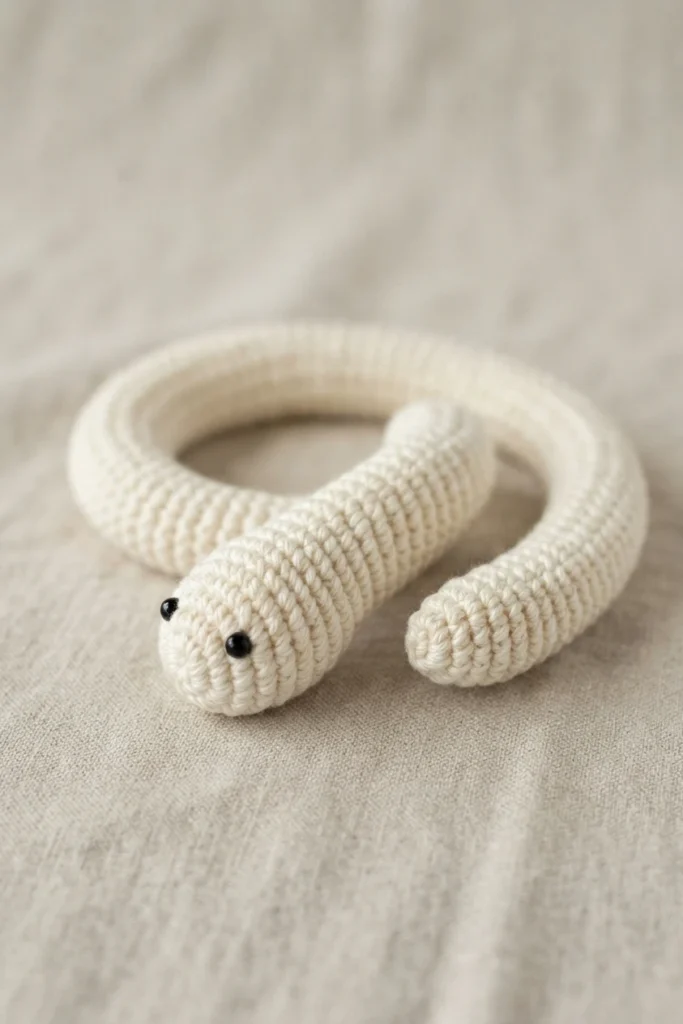
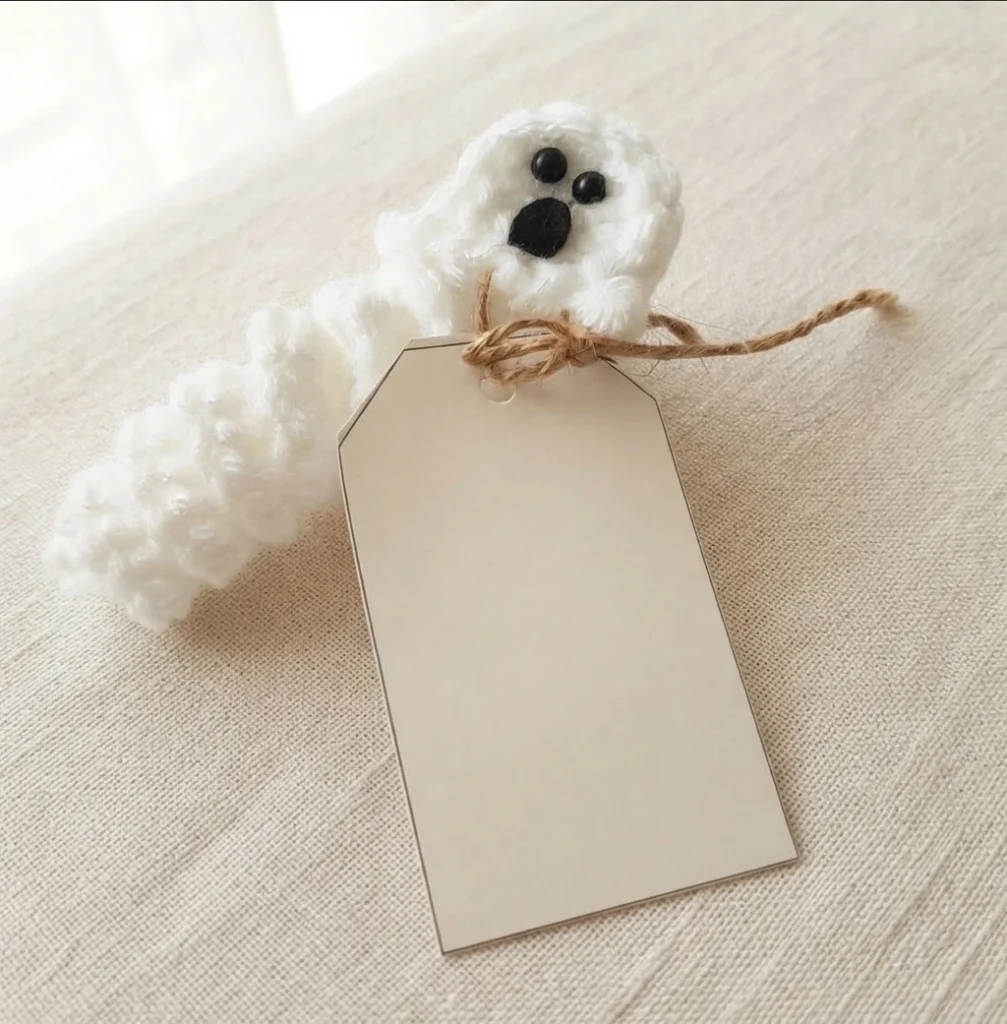
The source notes are worth reading before you start, because they explain how the pattern is written and how much freedom you have. Any type of yarn can be used as long as you pair it with a corresponding crochet hook size; the yarn label gives hook size recommendations. You can make the pattern larger or smaller by changing the yarn type, the hook size, or both.
Two formatting details matter for reading the original. Numbers in brackets at the end of each row indicate the final stitch count for that row. A beginning ch 2 counts as a stitch. The pattern is written in US crochet terms, which matches the abbreviations listed above. If you are used to UK terms, keep that difference in mind when you follow the designer’s page.
Printable PDF Pattern Overview
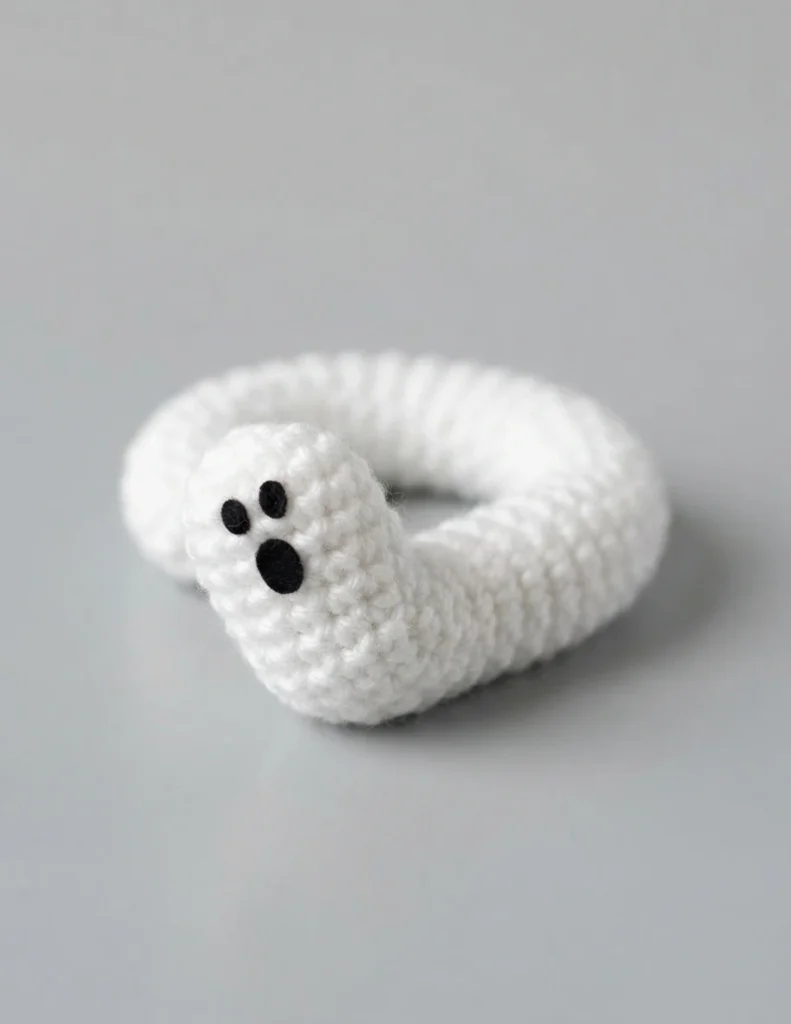
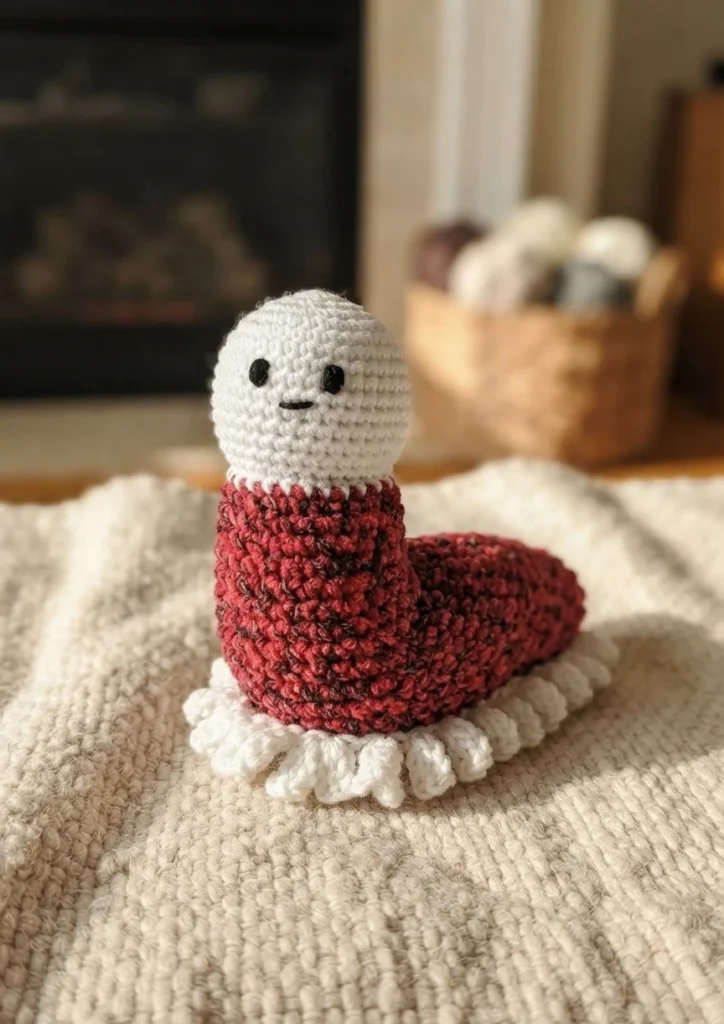
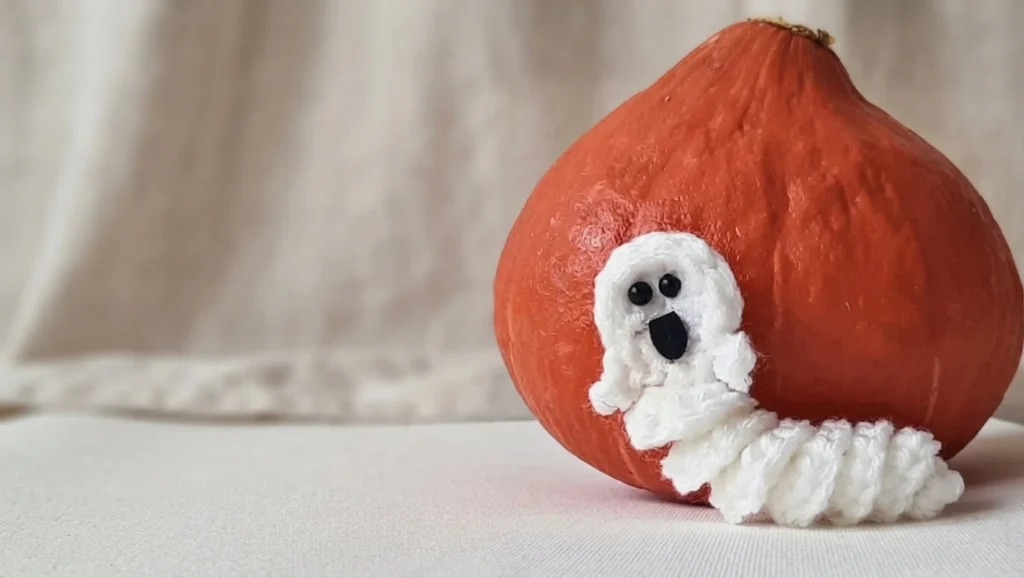
The source points to an ad-free PDF version of the pattern for anyone who would rather print at home and tick off the steps while crocheting. The source lists the Ghost Worry Worm Crochet Pattern PDF Printable as a separate item from the free web pattern, so if you want the printable, look for the PDF option on the designer’s page rather than assuming the free page includes it.
Three Halloween Worry Worm Crochet Patterns Bundle Sale (PDF Printable)
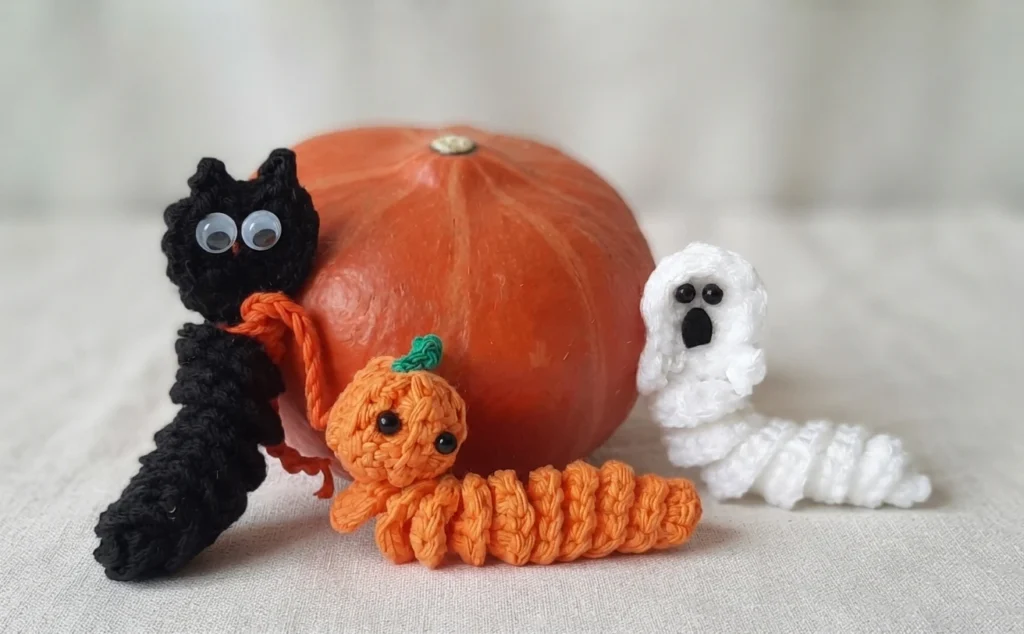
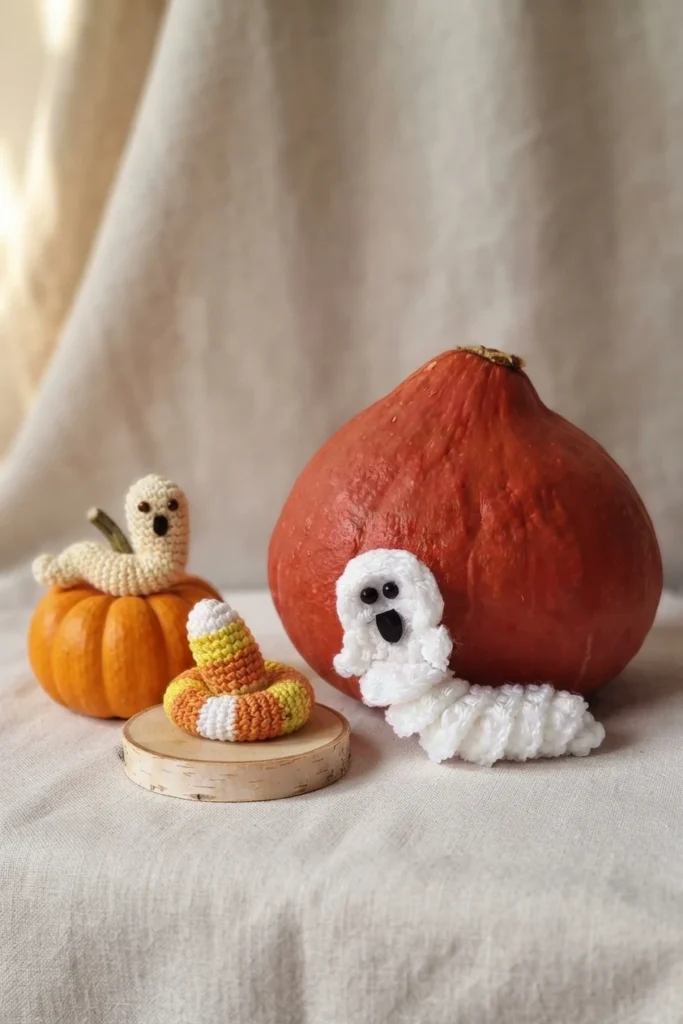
The source also describes a bundle of three Halloween Worry Worm crochet patterns in an ad-free PDF printable format, available through Ravelry or the designer’s online shop. This is a paid bundle, distinct from the free single pattern on the web. If you enjoy the ghost and want the matching Halloween trio, the bundle is the route the designer offers for that set.
Ghost Worry Worm Construction Overview
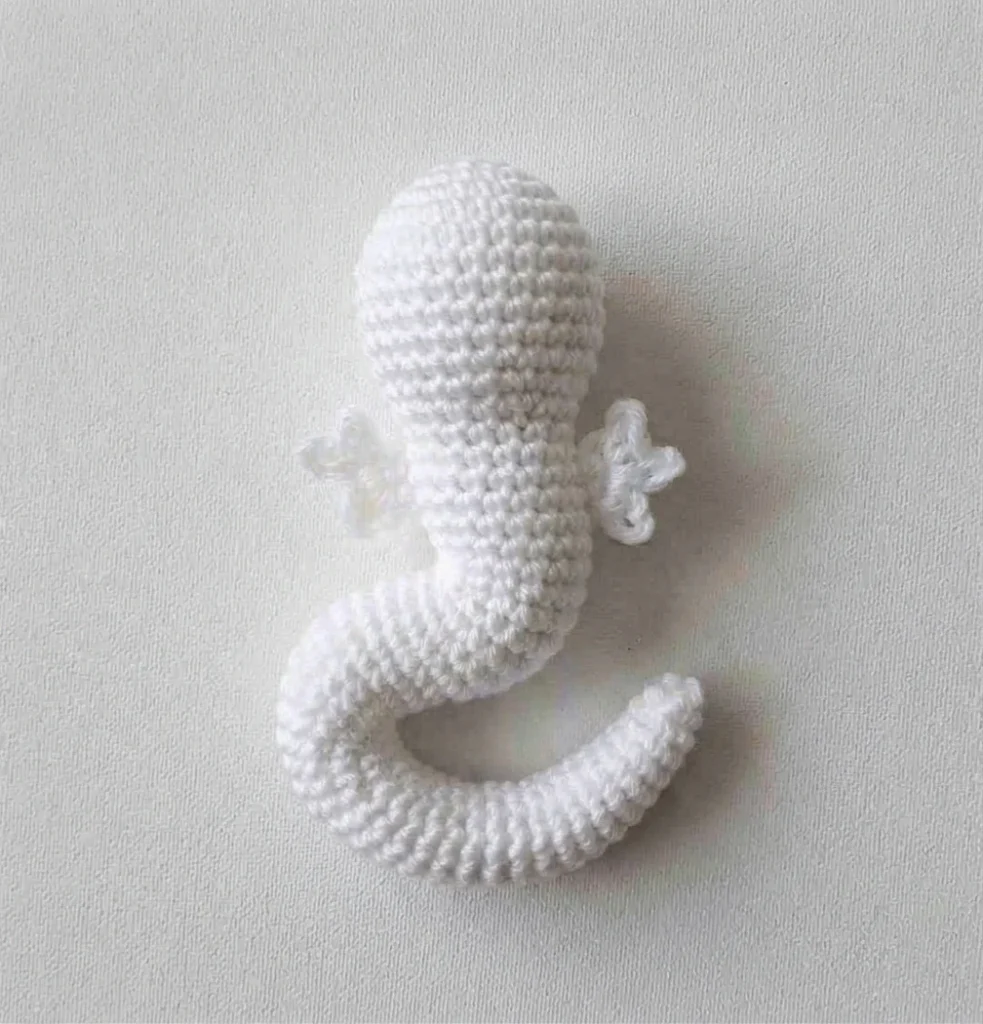
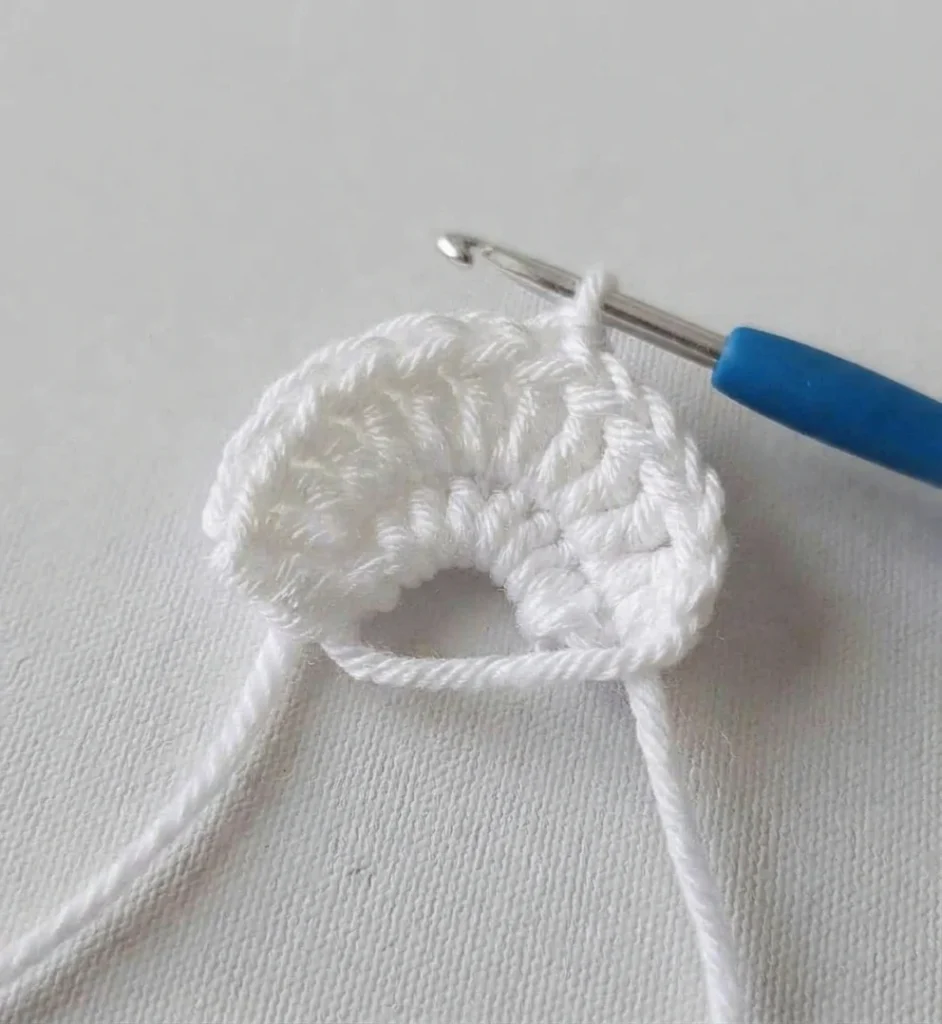
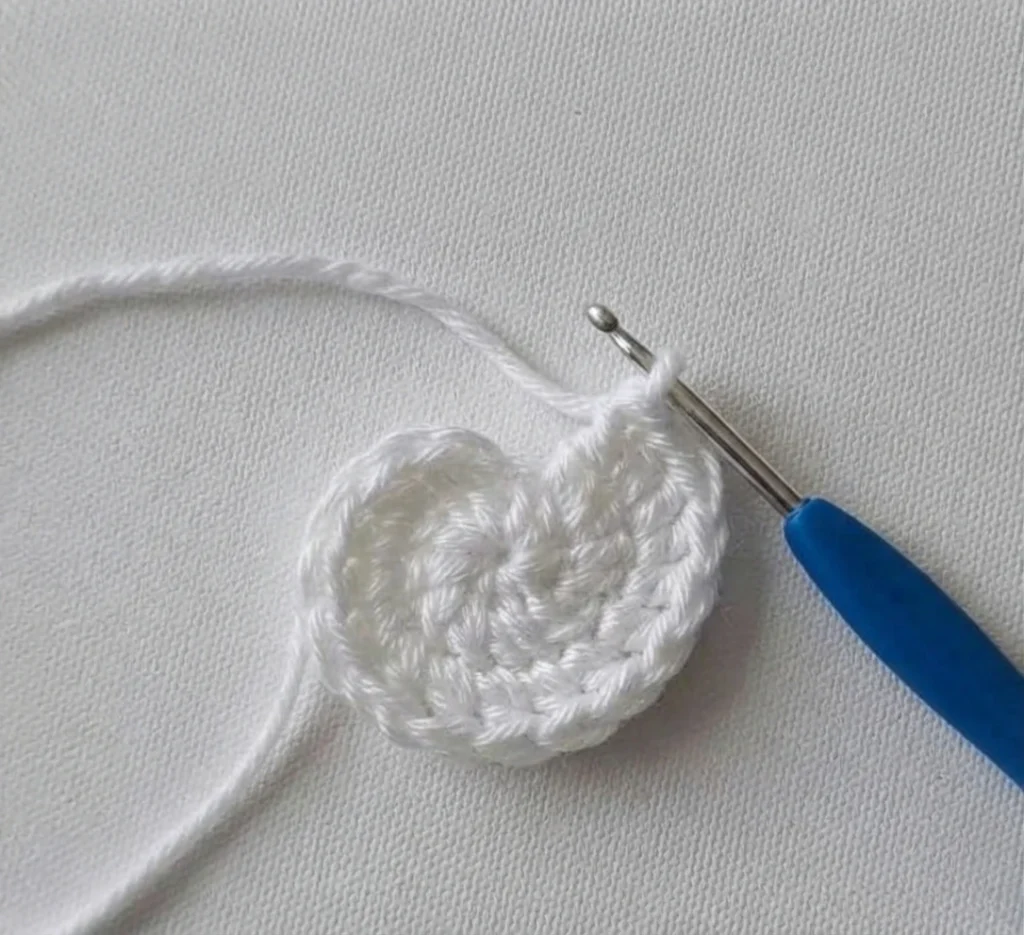
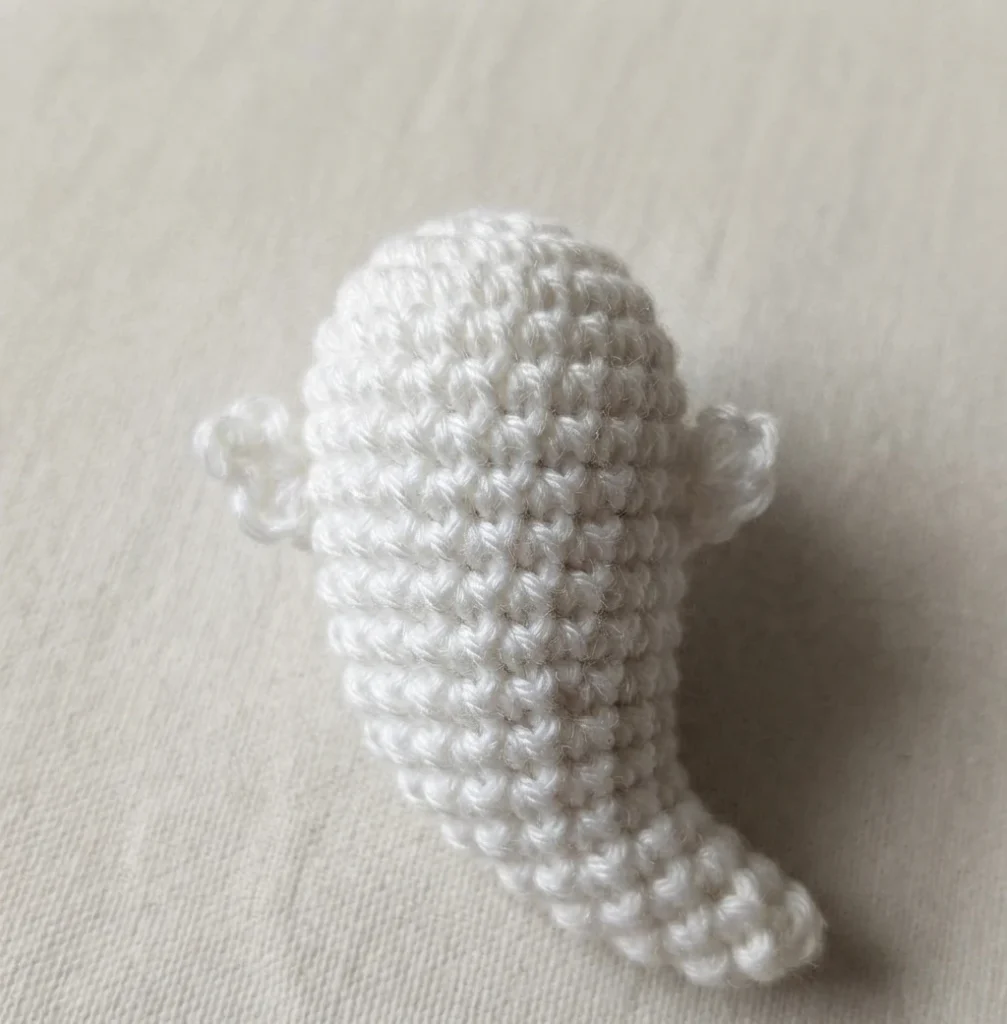
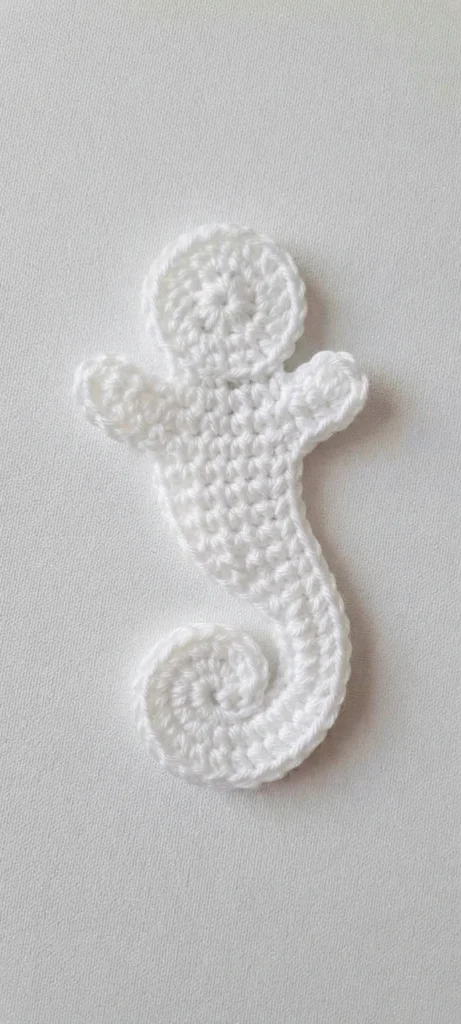
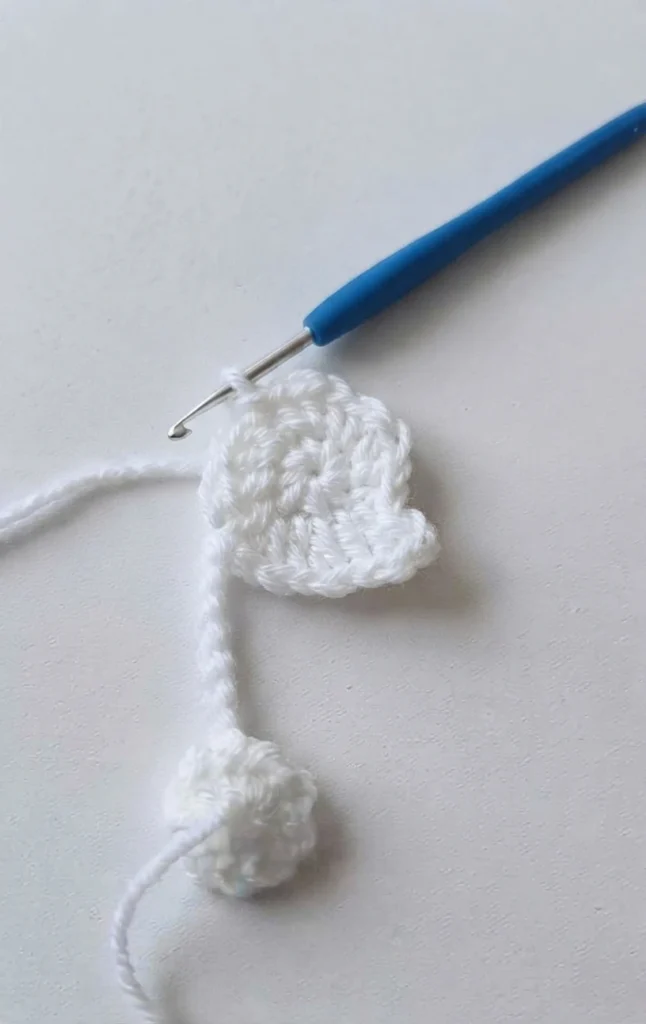
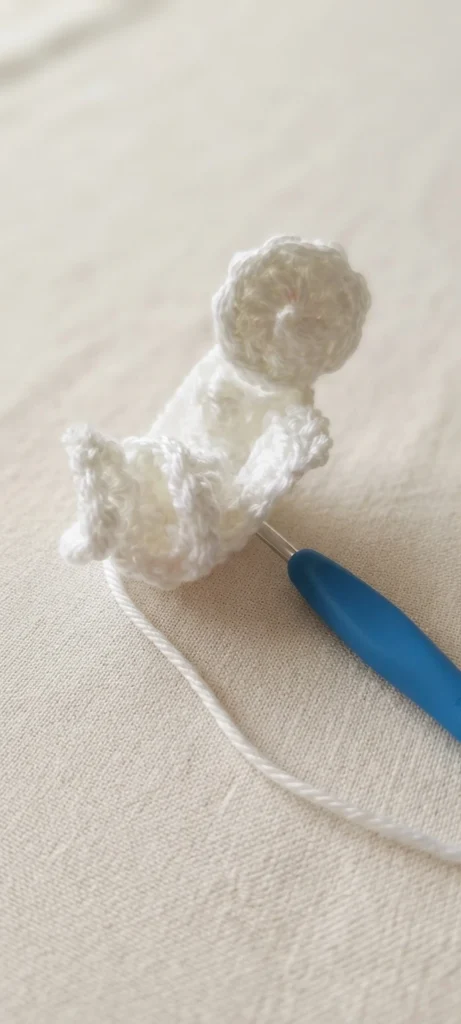
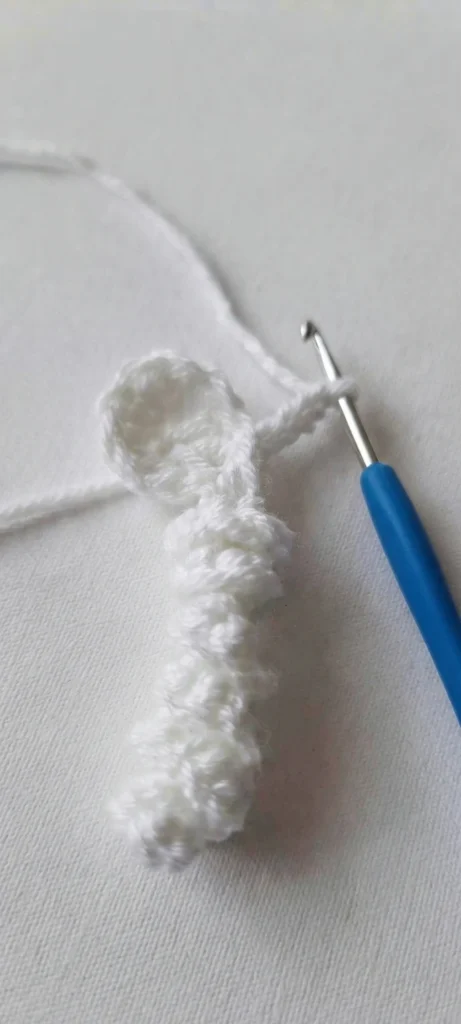
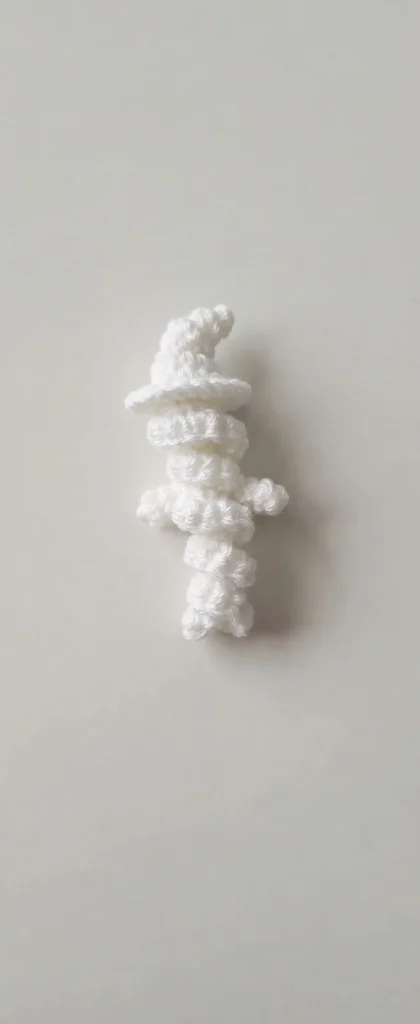
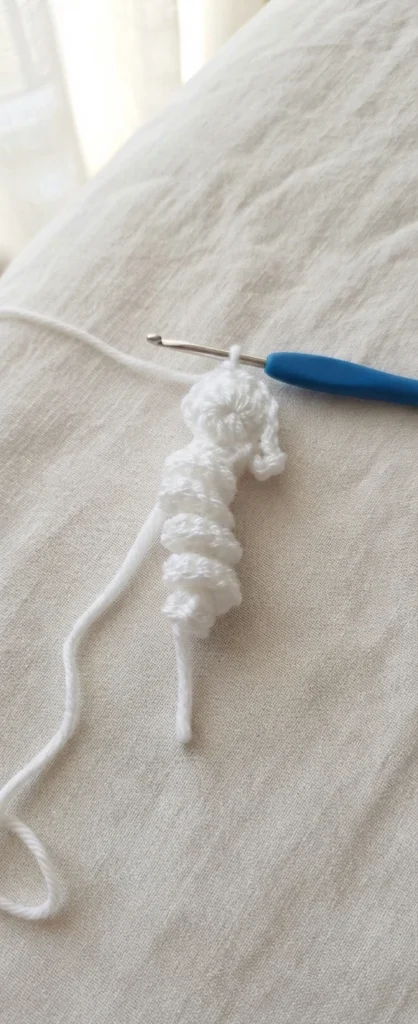
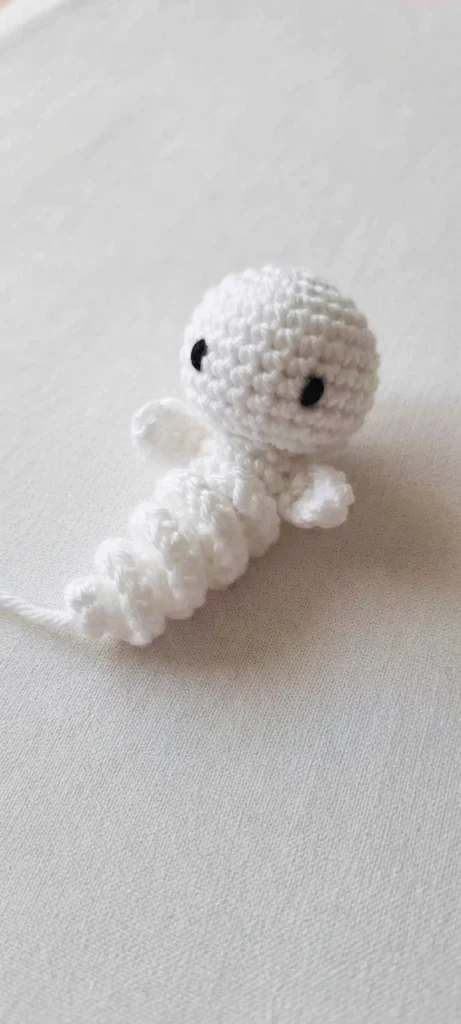

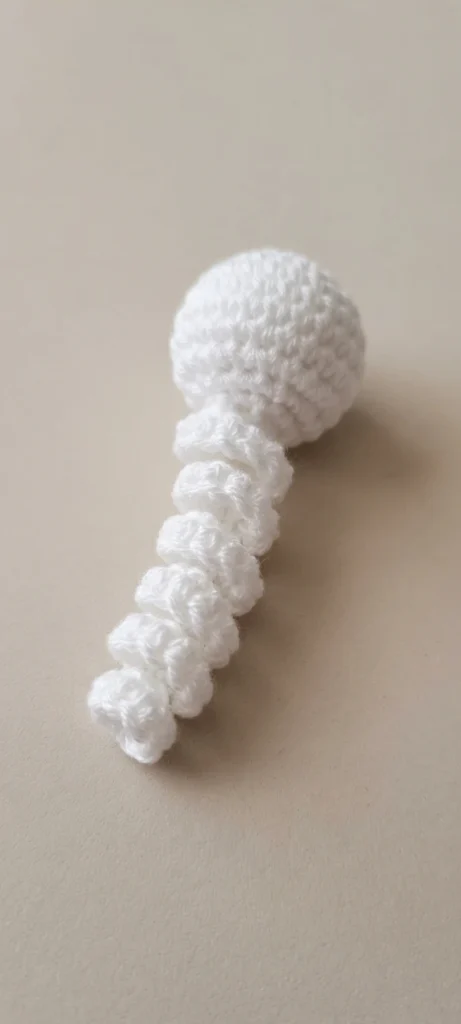
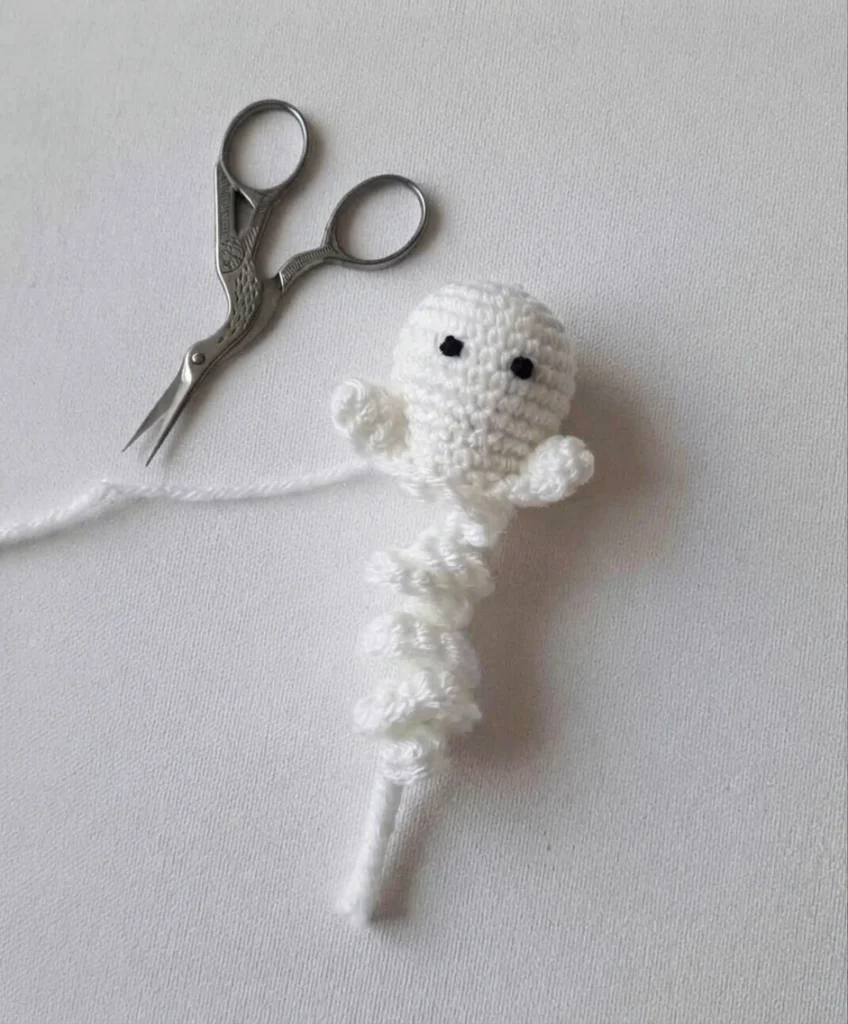
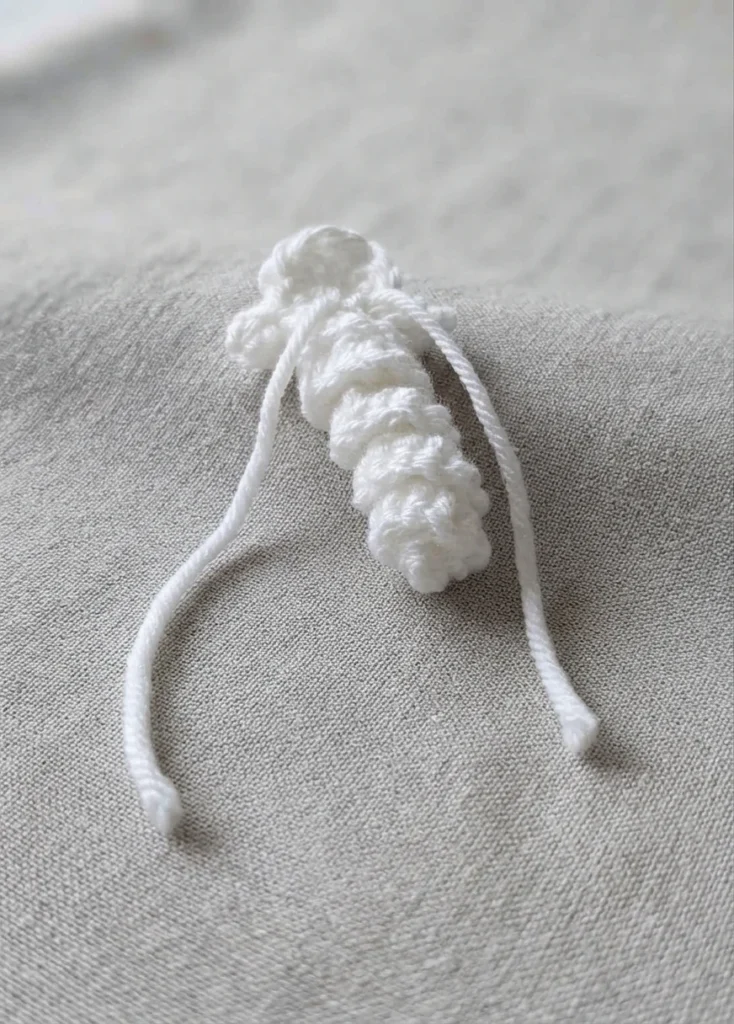
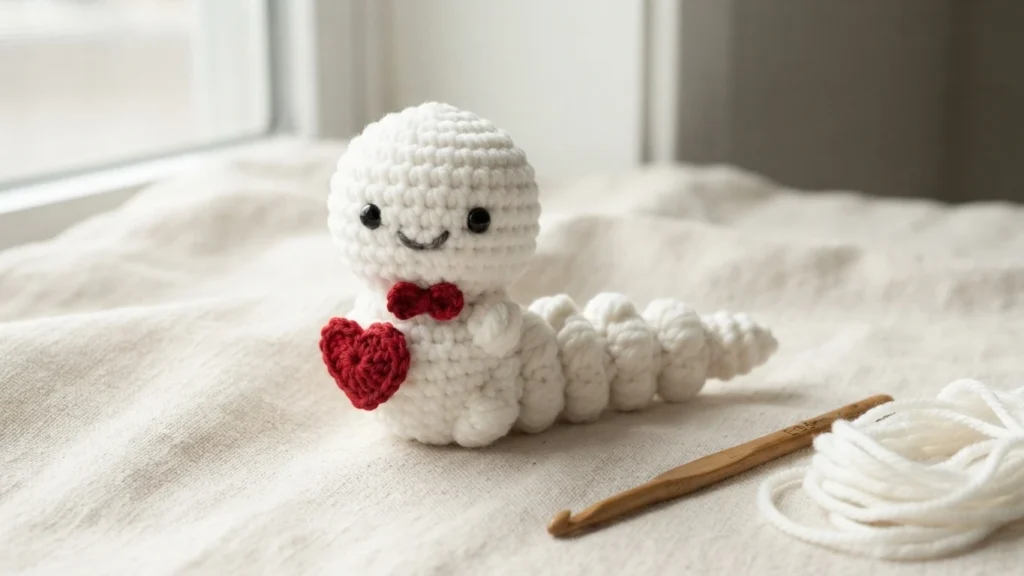
This section describes the general shape of the project, not the row-by-row instructions. The head starts from a magic circle, and the source notes that a beginning ch 2 counts as a stitch. The body is then worked along a beginning chain, with 4 sc into the second ch from your hook and 4 sc into each st across towards the ghost’s head, which is how the source builds the curl. That method reflects the hyperbolic crochet idea described in the source.
After the body is joined to the head, the source suggests curling the body by twisting it into shape. The arms are formed as picot stitches (ch 4, sl st into first ch), one on each side, with slip stitches worked loosely into the next 8 sts between them. The finishing steps include leaving a 4 inch tail, fastening off, pulling the beginning tail to close the hole at the head tightly, and tying the beginning and end tails together with a double knot.
If any of those steps feel unclear, the original pattern page is the place to check, since it holds the full sequence and the stitch counts.
Embellishments
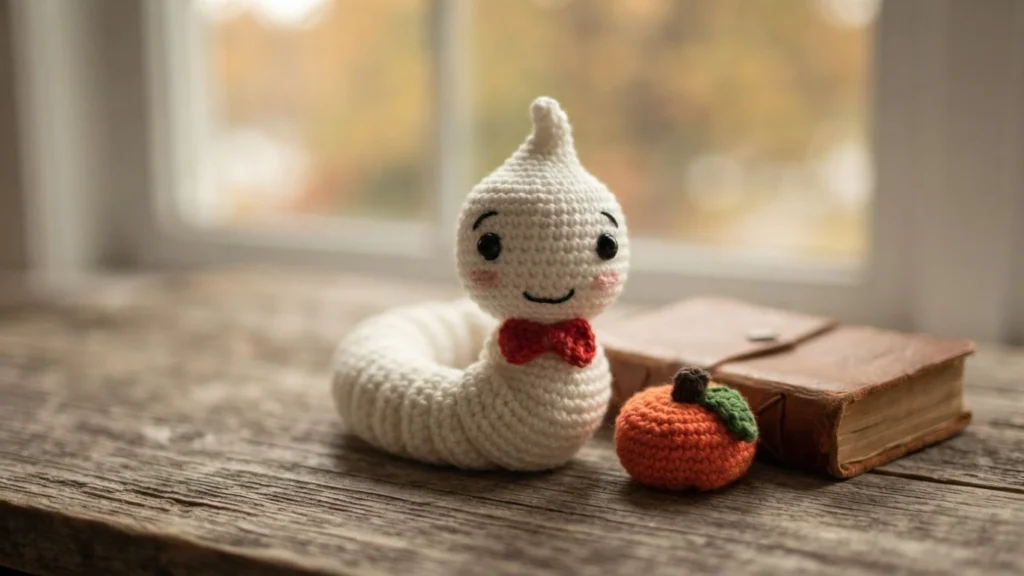
The source states that you have several options for embellishing your Ghost Worry Worm, and the face is where most of the personality comes from. You can mix and match the eye and mouth methods below. The designer encourages experimenting with different facial expressions, from a spooked look to a happy smile.
Eyes
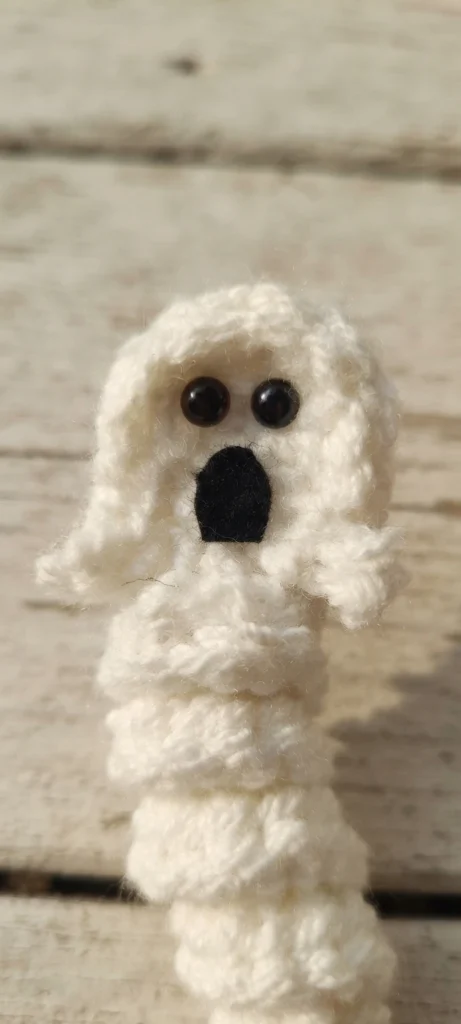
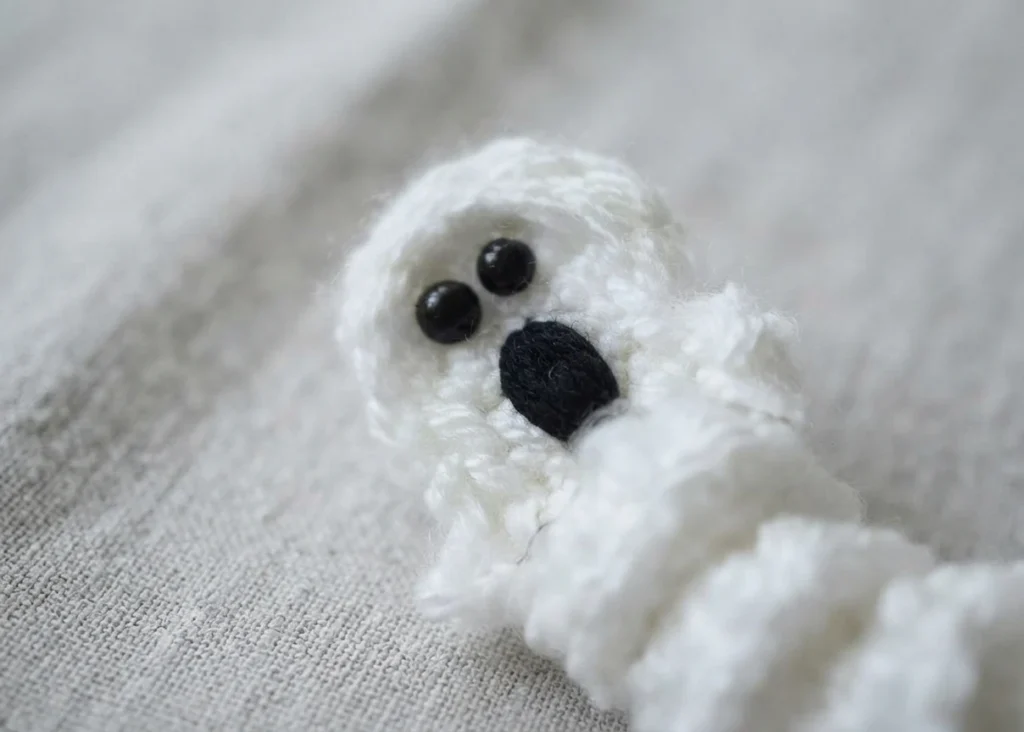
Option 1 is embroidered eyes. Cut a 4 inch length of black yarn, thread it through your darning needle, and stitch two small vertical stripes for the eyes. Option 2 is to glue on some 5 mm stick-on eyes. The sample used 5 mm plastic half round flat back black beads, which have no adhesive on the back, so a dab of glue is required. Either route gives you a different look: stitched eyes read as softer and more handmade, while beads give a rounder, more toy-like face.
Mouth
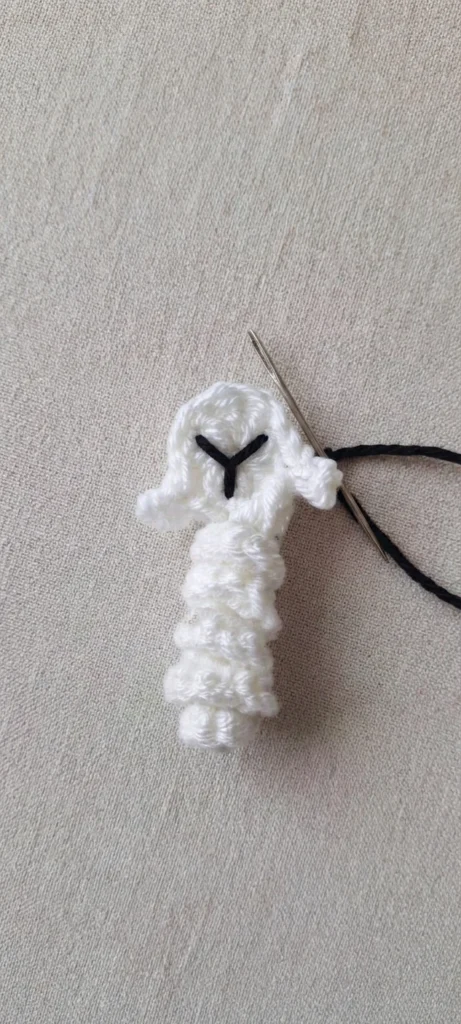
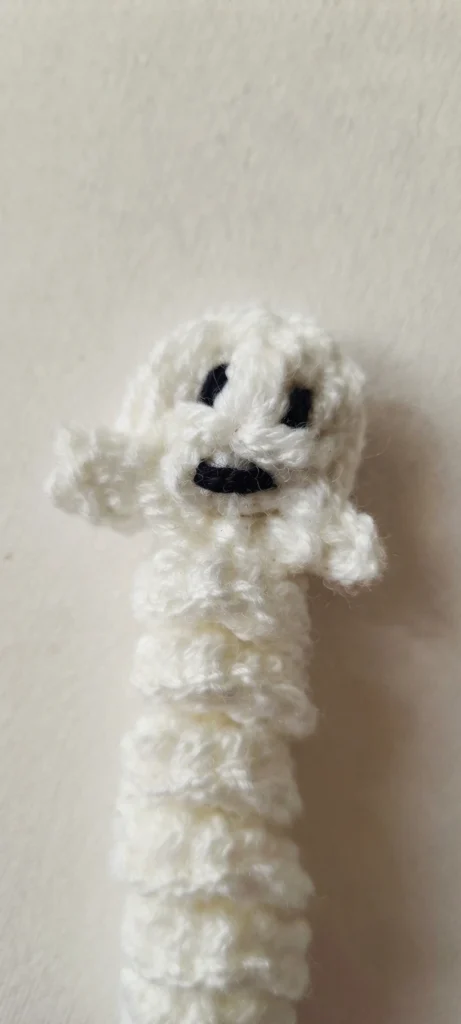
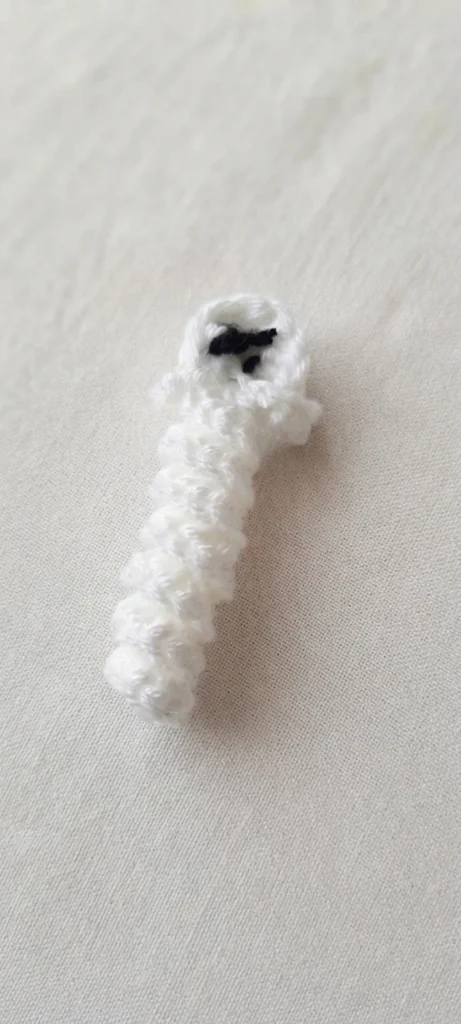
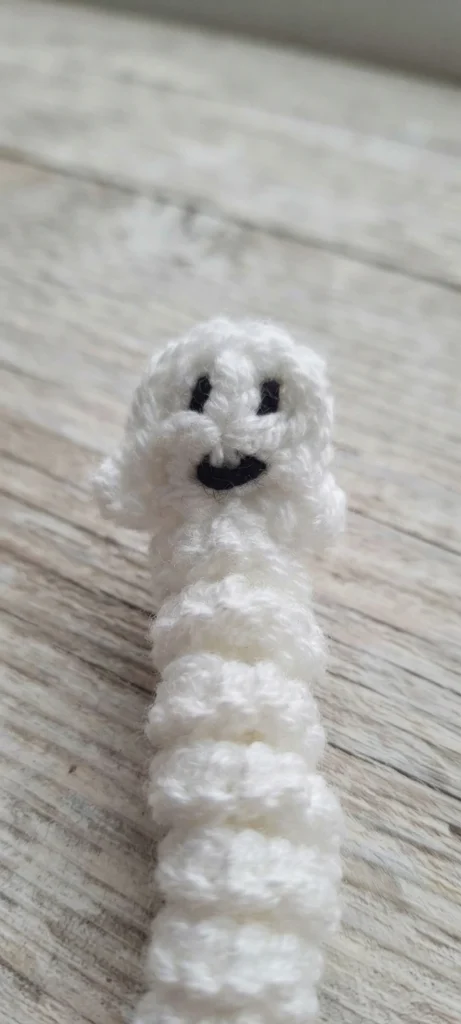
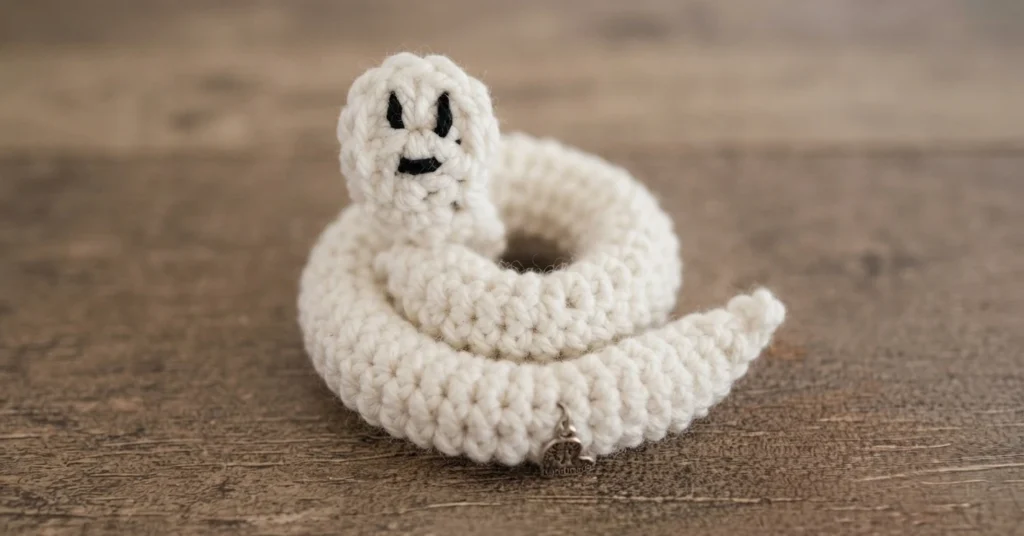

Option 1 is stitched yarn: work a short horizontal line for the mouth, then tie the two black strands at the back of the head with a double knot and cut the excess. The source notes that you could finish at this point, or hide the yarn ends by crocheting another circle as in the earlier head rounds and stitching it to the back of the head. A little stuffing can be added before sewing the front and back heads together.
Option 2 is glued yarn: attach a small strand of yarn for the mouth, which avoids any excess black yarn showing at the back of the head. Option 3 is glued felt: cut a piece of felt into a tiny oval shape and attach it with a dab of glue. The source suggests the oval can give a more spooked expression, while a stitched smile reads as happy. If you want to see how other makers finish their worry worms, the related overview of the Ravelry Worry Worm Finger Puppet pattern by Divina Rocco is a useful companion read.
Original designer’s pattern and instructions
Ravelry: Worry Worm Finger Puppet pattern by Divina Rocco: Pattern Overview