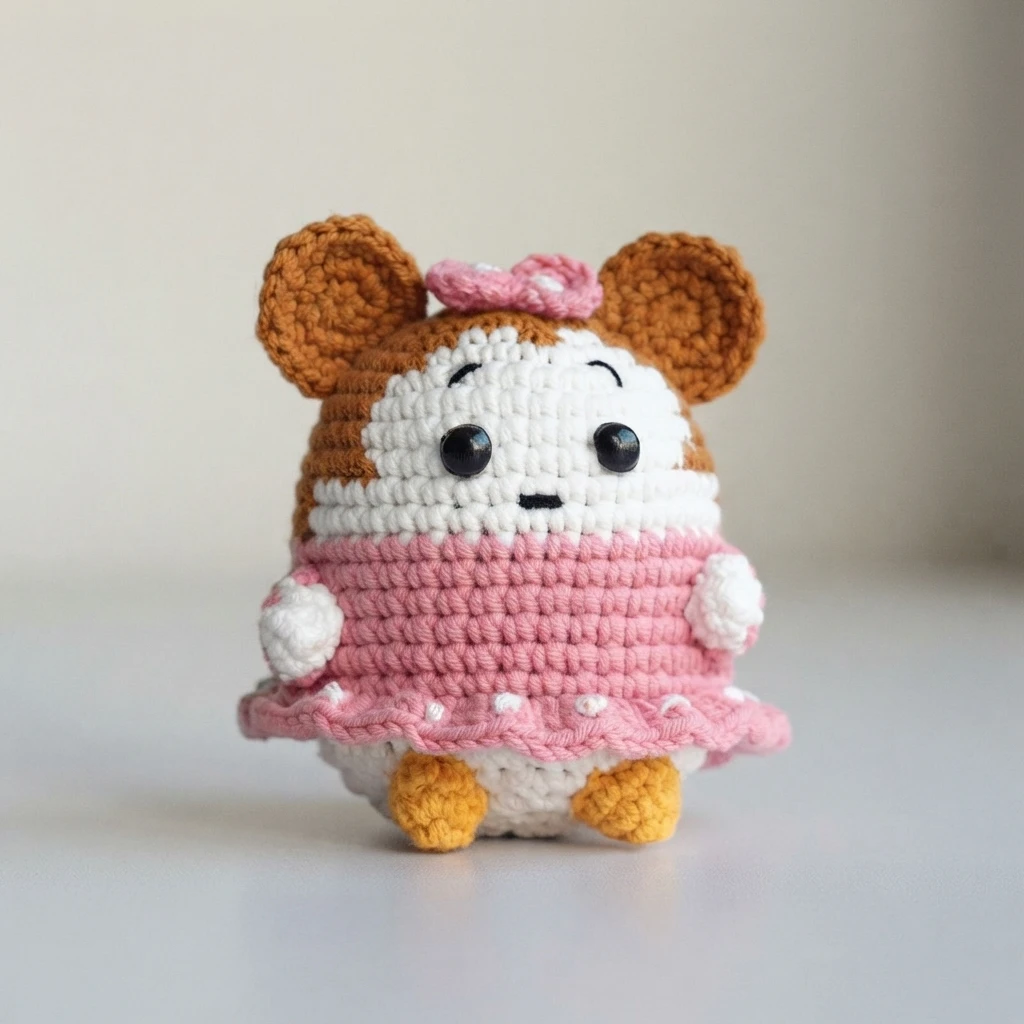
Project introduction
This article is a pattern overview, not a full tutorial, for a chibi version of Minnie Mouse designed by AmiguWorld. It summarizes the project and how its pieces come together, then points you to the complete instructions. The character keeps a familiar look in a compact form, with a pink dress, a matching bow, and brown ears.
The pattern is credited to @amiguworld, photos are credited to that same account, and a video tutorial is available from @AmiguWorldOfficial. AmiguWorld presents this as a free pattern on the web. Start with the Original designer’s pattern and instructions before you begin, because the stitch by stitch details live there, not in this summary.
Abbreviations
Check this short key before you read the original, so the notation feels familiar from the start. The design relies mostly on single crochet, with double crochet used for the dress flare and the bow. Half double crochet is defined in the abbreviation key, but it is not used in the instructions for any piece. Bracketed totals, repeats, and loop notes all appear in the designers writing, so a quick review here will help.
| Abbreviation | Meaning |
|---|---|
| R | one complete round |
| mr | magic ring, used as a start |
| sc | single crochet |
| hdc | half double crochet |
| inc | work two single crochet into one stitch |
| 2dc-inc | work two double crochet into one stitch |
| dec | work two stitches together to make one |
| sl st | slip stitch |
| st | stitch |
| ch | chain |
| FO | fasten off and finish off |
| [ ] | stitch total expected at the end of that round or row |
| ( ) x 6 | work the grouped stitches six times in total |
To crochet an amigurumi Minnie Mouse you need the following
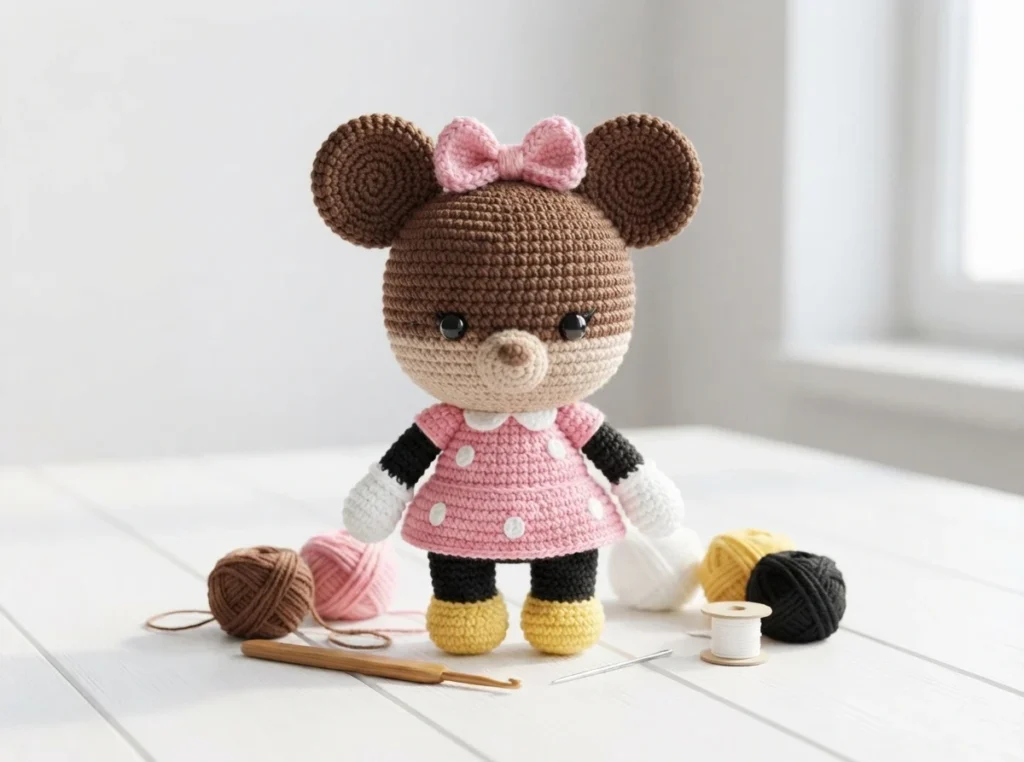
Gather everything on this checklist before you start, because colors change often and several small parts are sewn on later. The source lists one yarn weight in five colors, one hook size, and one eye size, plus basic finishing tools. Using the listed items helps all the pieces stay in proportion.
- Yarn (2.5mm): yellow, white, brown, pink, black
- 3.0 mm crochet hook
- Eyes: 8mm
- Fiberfill for stuffing
- Sewing needle
- Scissors
Head - Body
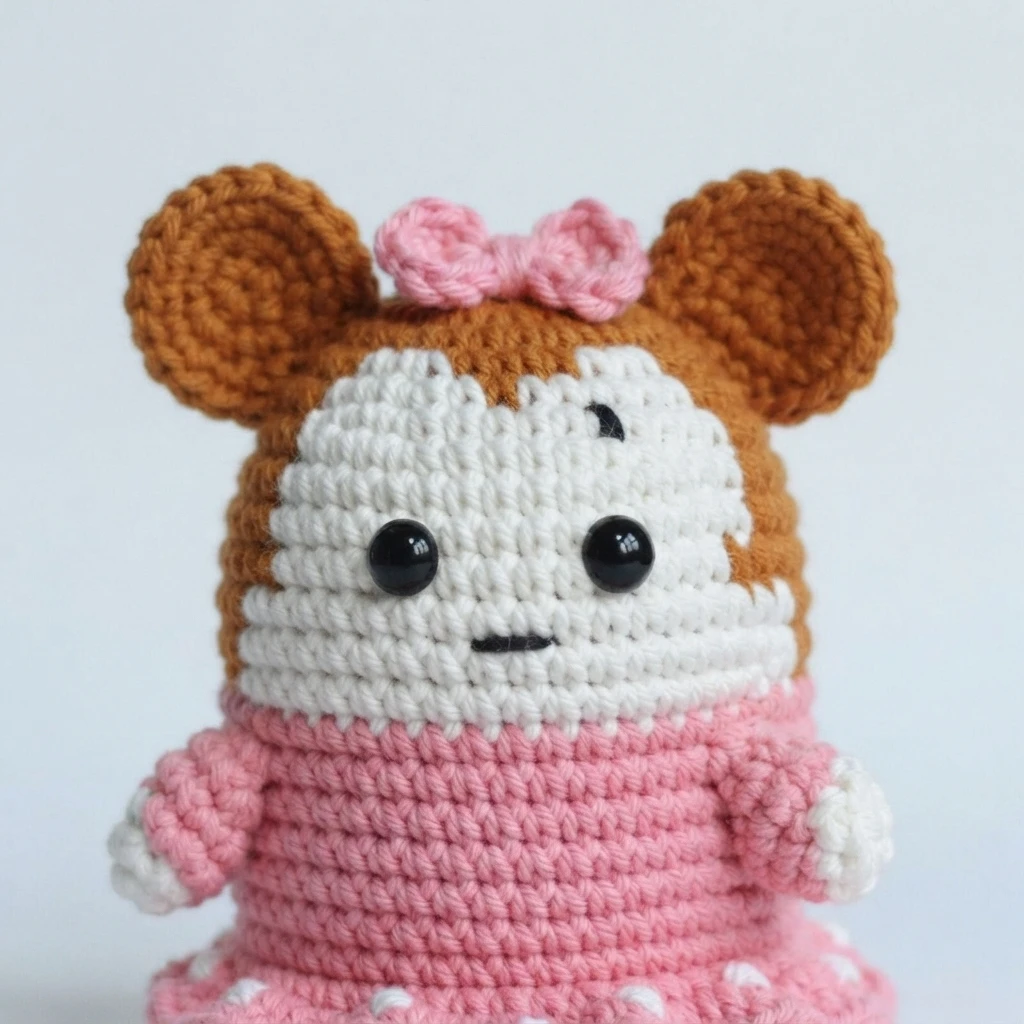
The head and body are made as one joined piece that begins with brown yarn and grows through steady increases. White yarn is brought in across the front to form the lighter face area while brown continues around the sides. Because that color placement shifts slightly each round, follow the original closely rather than guessing from photos.
The eyes are placed between rounds 8 and 9, with 5 sts between them, before the head is closed. Pink yarn then forms the dress colored section, followed by a white round worked through the back loops only. Decreases narrow the base, fiberfill is added as the opening shrinks, and the tail is hidden after stuffing.
Dress
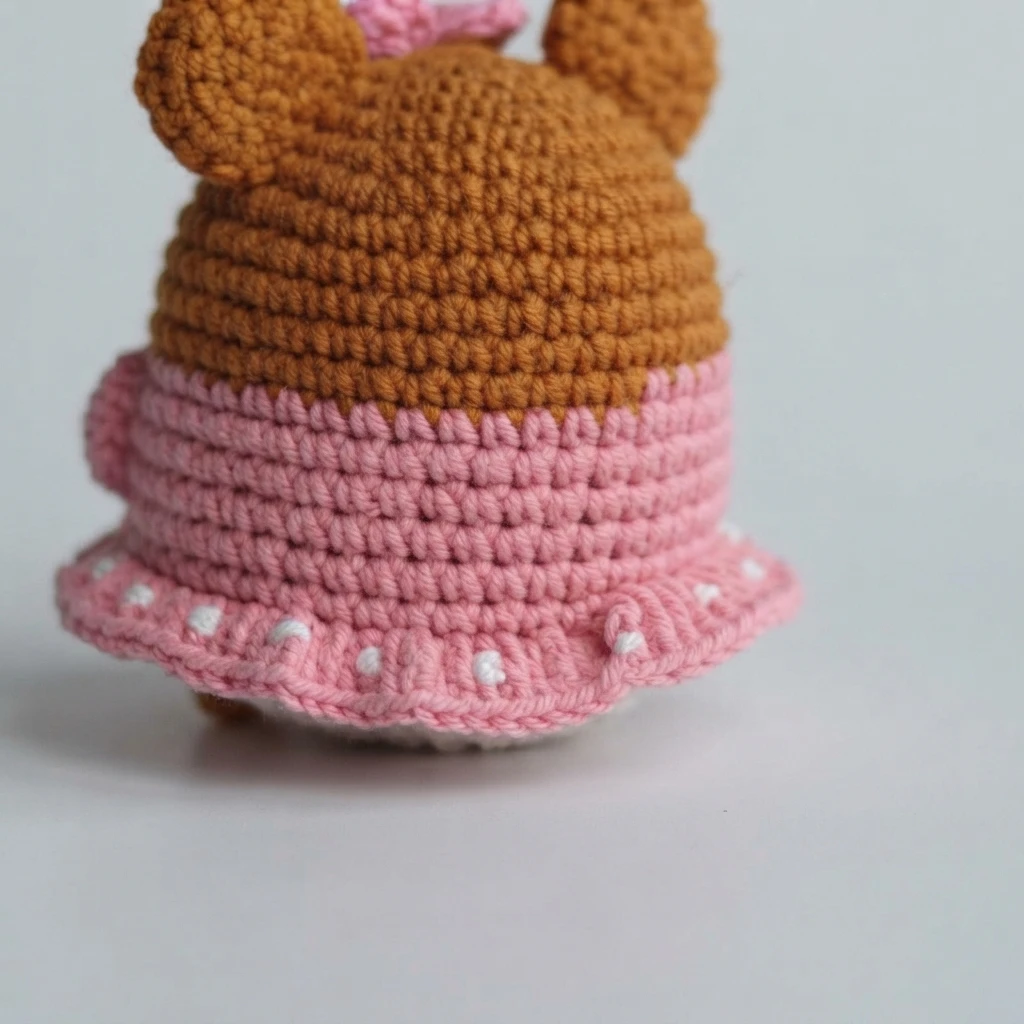
The dress flare is added in a separate pass that returns to round 19 and works into the front loops only. It begins with chains and uses double crochet increases all the way around to build a wide, ruffled edge over the pink body. When that round is done, cut the yarn and hide the tail for a clean hem.
Ear (make 2)
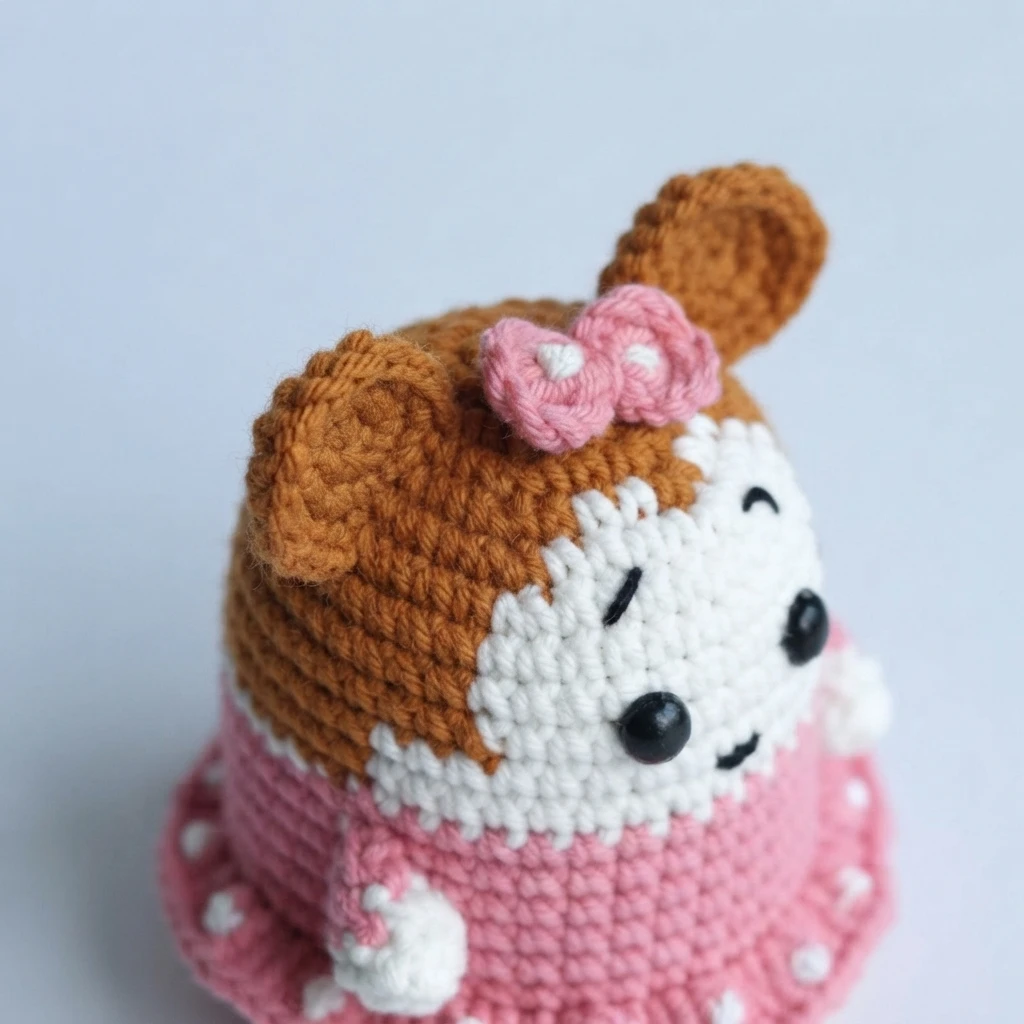
Make two matching ears, each starting in brown yarn from a magic ring and expanding quickly over three short rounds. Those early rounds create the round shape without extra shaping later. Add a light amount of fiberfill before finishing, then cut the yarn and leave a long tail on each ear for sewing to the head.
Arm (make 2)
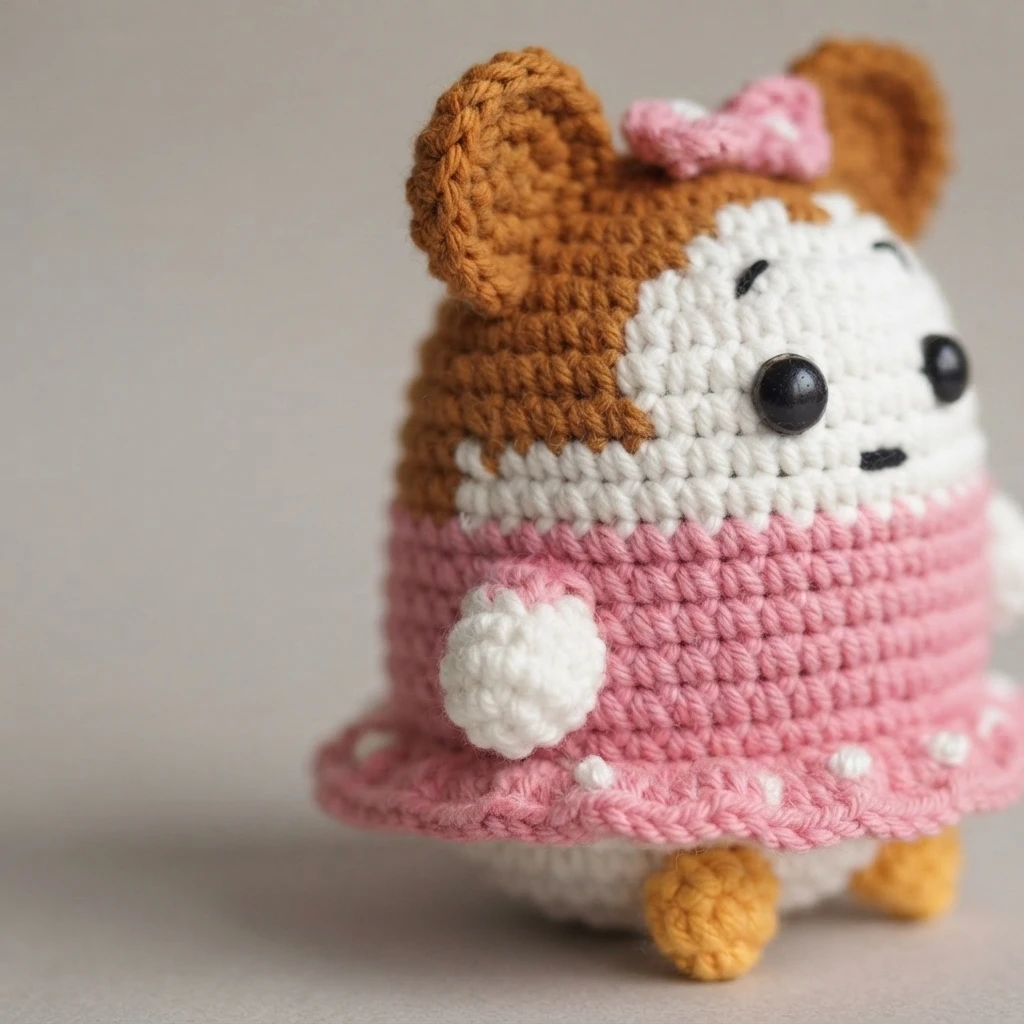
Make two arms, starting each one in white yarn from a magic ring before the color changes to pink for the upper rounds. The white part forms the hand, while the pink part matches the dress color on the body. Stuff each arm lightly, then cut the yarn and leave a long tail for sewing.
Leg (make 2)
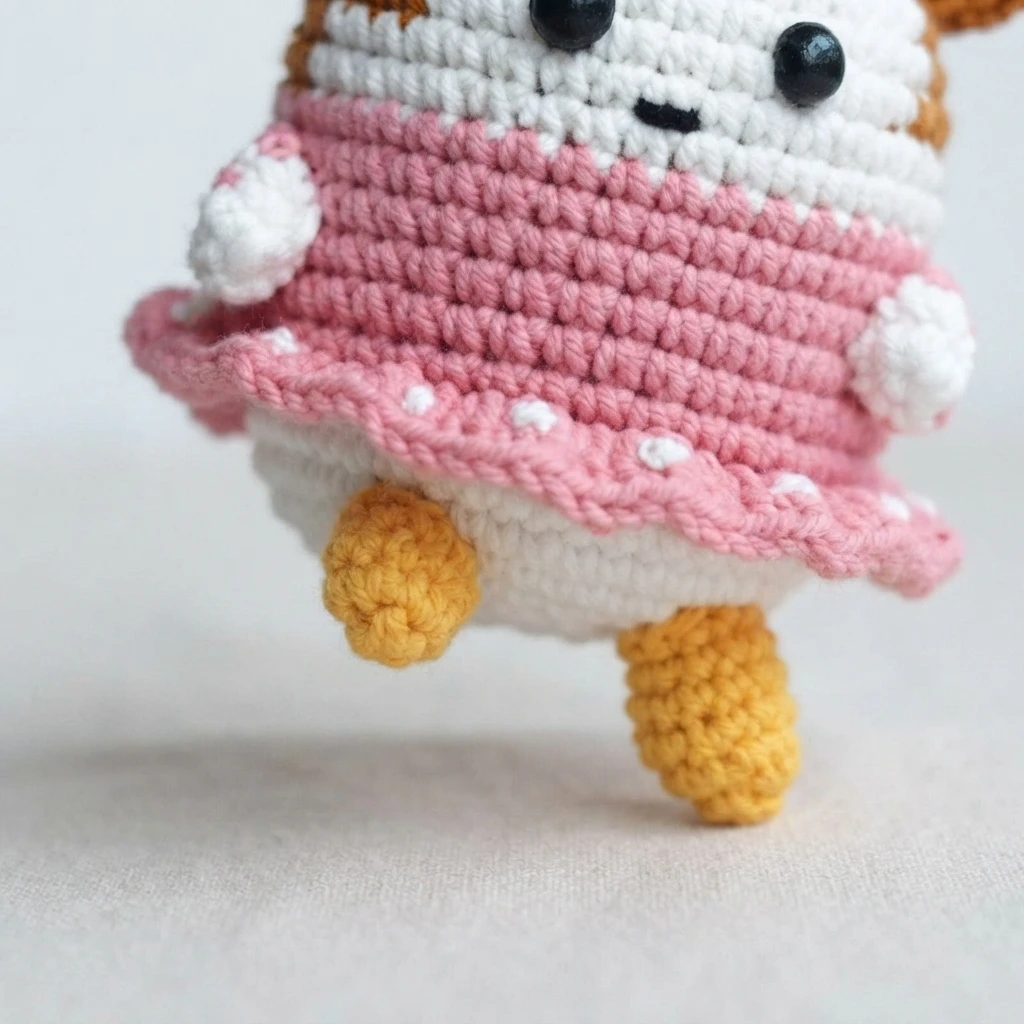
Make two legs, each worked in yellow yarn from a magic ring to suggest shoes in this chibi design. After the opening increase round, one even round keeps the small foot shape simple and sturdy. Add fiberfill before finishing, then cut the yarn and leave a long tail so both legs can be sewn on securely.
Bow
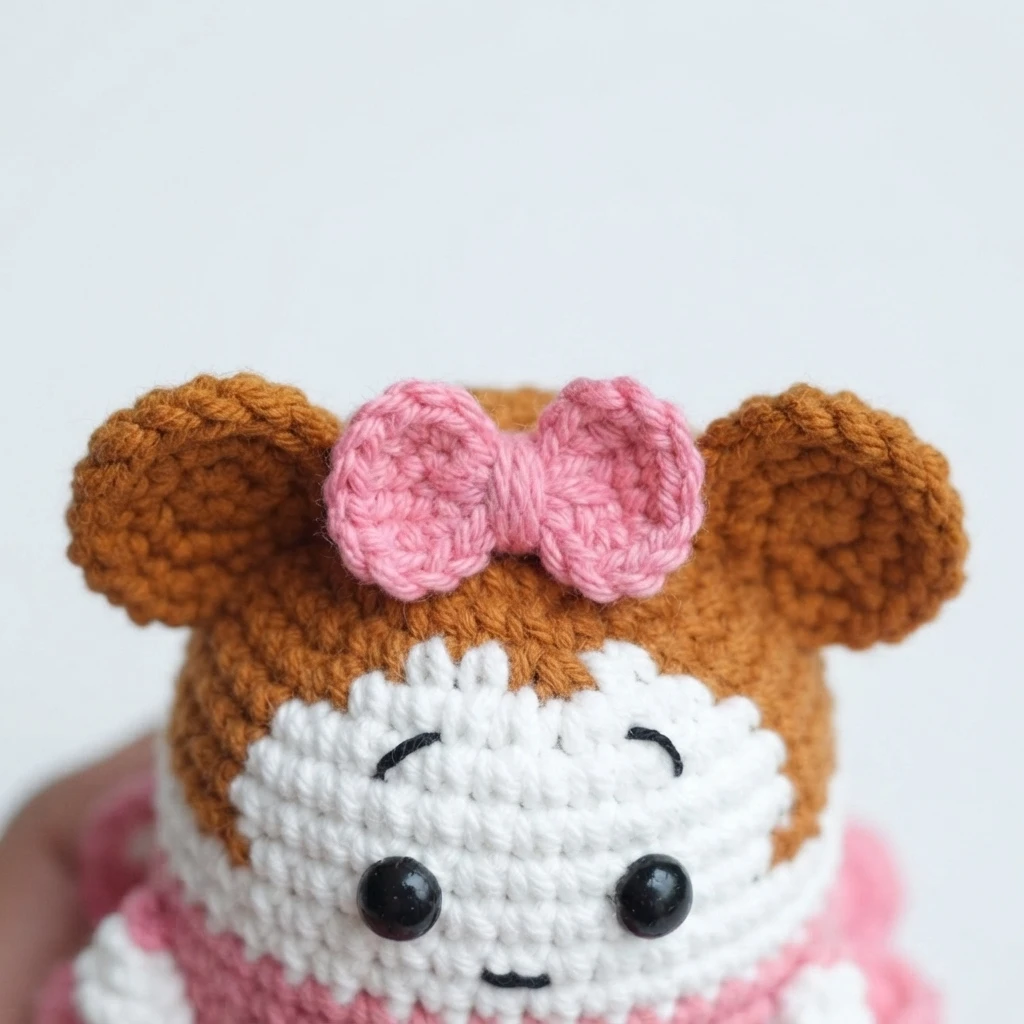
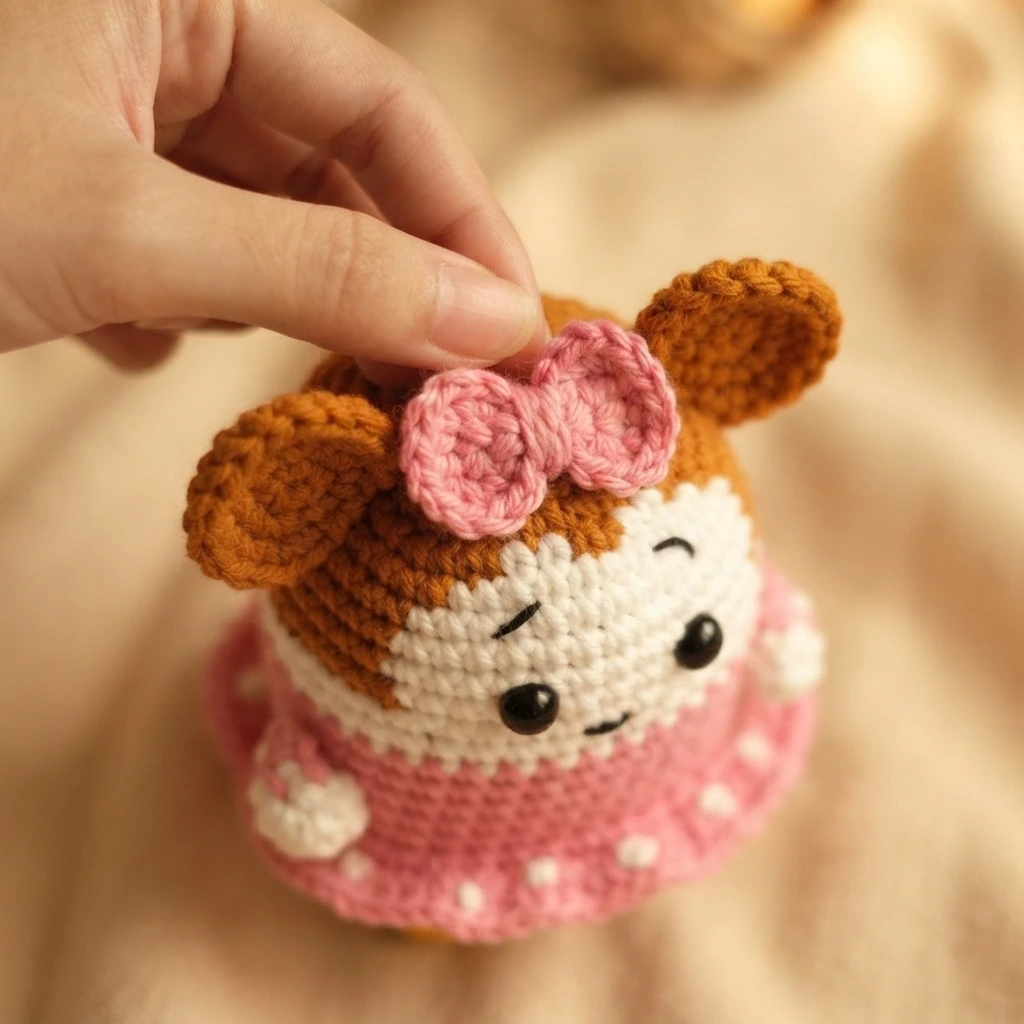
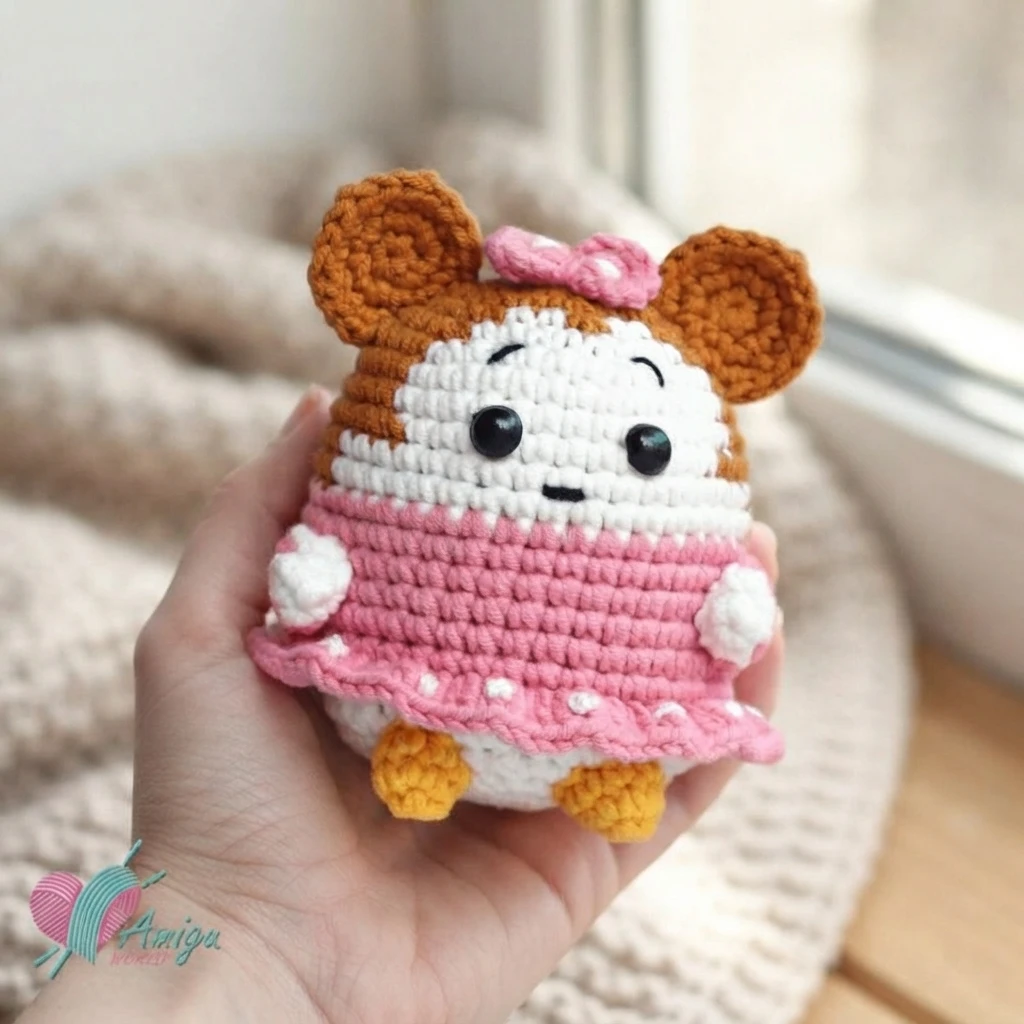
The bow is the finishing touch and is made in pink yarn to match the dress. It is formed from a magic ring using groups of chains and double crochet stitches repeated twice to create the two sides. When the shape is complete, cut the yarn and leave a long tail for sewing it in place.
When the separate pieces are ready, use their long tails and your sewing needle to join the ears, arms, legs, and bow to the main piece, checking the designer photos for placement. For more character overviews, see Freaky Mummy Amigurumi Doll: Pattern Overview and Turkey Amigurumi: Pattern Overview.