Project introduction
This article is a pattern overview, not a full tutorial, so it introduces the project, supplies and construction in US crochet terms and points you to the complete instructions. Start with the Original designer’s pattern and instructions on LovelyCraft, where the Miffy Bunny Amigurumi pattern is presented as free. Miffy is a fictional bunny character created by Dick Bruna, and this crochet version turns that familiar character into a handmade toy.
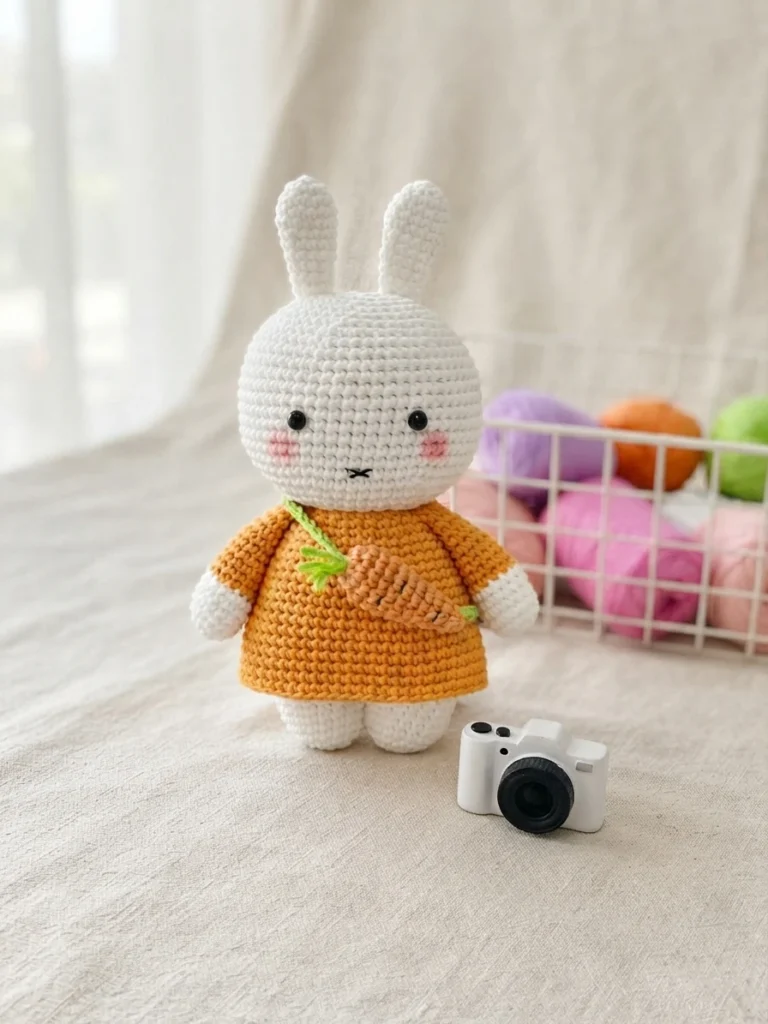
The finished bunny is shown ready for a summer holiday, with a cheerful vacation mood running through the styling. She wears an orange dress and carries a tiny bag shaped like a carrot, details that give the simple bunny silhouette plenty of personality. It is a display piece the source describes for a favorite corner of a room, where the toy can be seen and enjoyed every day.
Miffy Bunny Amigurumi Crochet Pattern Overview
The pattern page credits beary_bearnita_ and gives that same handle for Instagram, Ravelry and Etsy, which makes it easier to find more work from the designer. This overview keeps the credit with the original source and does not present the design as ours. Use the LovelyCraft page for the working pattern itself, including the exact rounds, placement and finishing details for each part.
Materials
Gather everything before you begin so the small parts can be worked in order without stopping to search for eyes, filling or a needle. The source list is short and specific, and the sample used Yarnart Jeans. Choose sport or DK light weight yarn, then check your hook, embroidery thread and safety eyes against this concise checklist.
- Sport or DK light weight yarn (sample used Yarnart Jeans)
- Crochet hook: 2 mm - 2.5 mm
- Black embroidery thread
- Fiberfill
- Yarn needles
- Safety eyes, size 6 mm
Abbreviation
The pattern uses a compact set of US abbreviations for the stitches and techniques that shape the toy. The definitions below follow the source key, including its specific meaning for an increase and for an invisible decrease. Keep this list nearby while you read the designer instructions, especially when a round moves between plain stitches, shaping and back loop work.
| MR | magic ring |
| sc | single crochet |
| hdc | half double crochet |
| inc | increase (2 single crochet in 1 stitch) |
| dec | decrease (invisible decrease) |
| BLO | back loop only |
| slst | slip stitch |
Leg*2
Two matching legs start the figure and set up the body that follows. Each leg begins with a magic ring, grows through increase rounds and then continues with even rounds of single crochet to form a short, straight section. Finish the first leg and cut the yarn, then make the second in the same way but leave the yarn attached so the legs can be joined.
Body
The body continues in rounds after the legs are joined, widening first and then narrowing in stages toward the top. Even sections between the decrease rounds help create the smooth torso shape, while the shaping becomes closer together near the end. The final body round is worked in back loop only and closed with a slip stitch, with a long tail left for sewing.
Head
The head is a separate rounded piece that starts with a magic ring and expands gradually through a series of increase rounds. A long run of even single crochet rounds builds the full middle section before decrease rounds draw the shape back in, step by step, toward a small finish. When the last decreases are complete, the yarn is cut and the end is woven in.
Arm*2
Make two arms, each beginning with a magic ring and increasing before several even rounds form the lower part. The color then changes to orange, connecting the arms visually with the dress, and the piece continues evenly in the new color for a longer section. Cut the yarn at the end and leave a long tail for sewing each arm to the body.
Ear*2
The two ears give Miffy her tall bunny profile and are worked in continuous rounds from a magic ring. They widen gently near the start, hold their width briefly, then narrow through decrease rounds with even rounds between them, creating a soft tapered shape. Finish each ear by cutting the yarn and leaving a long tail so it can be sewn to the head.
Skirt
The orange skirt is not made separately. Instead, it is crocheted directly onto the body by inserting the hook into the back loop only round at round 21, which links this section to the way the body was finished. From there, increase rounds spaced with even rounds flare the fabric outward into a dress shape. It ends with a slip stitch, then the yarn is cut and woven in.
Carrot
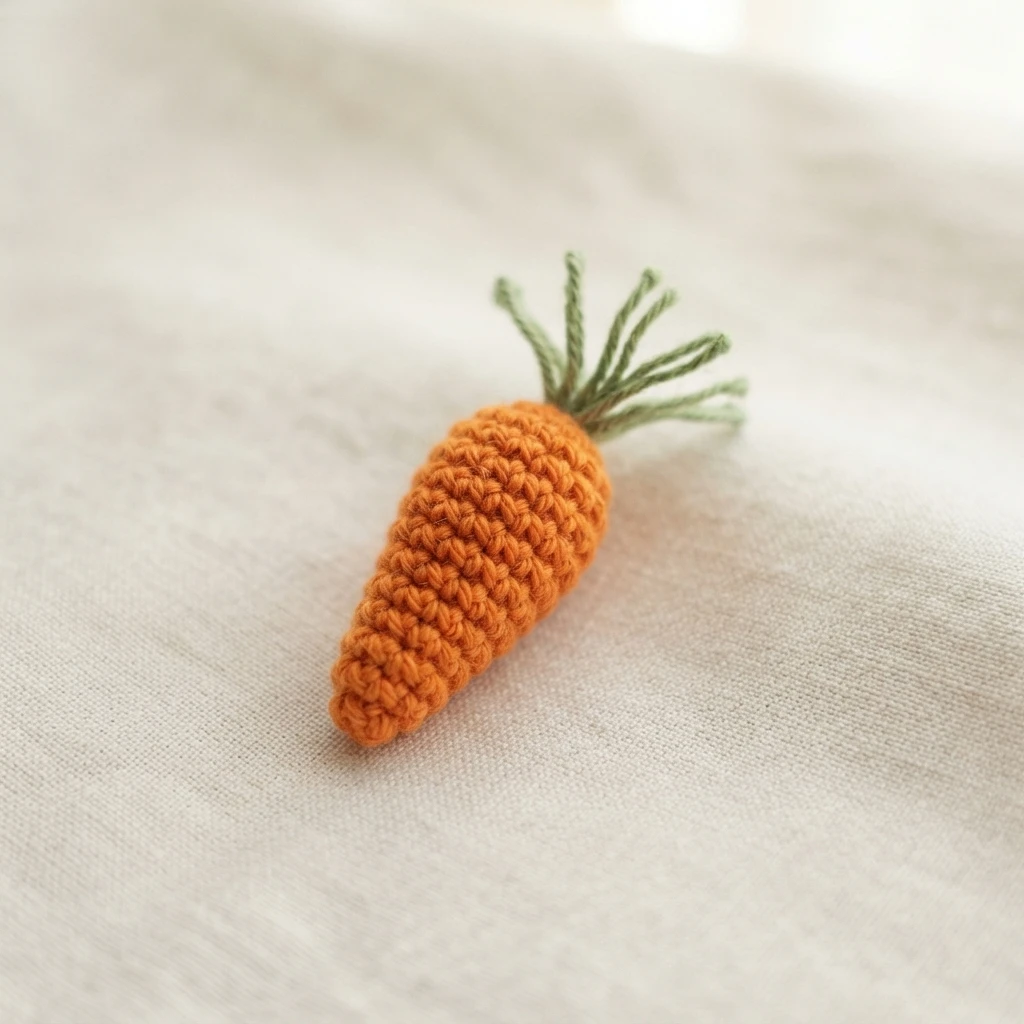
A tiny carrot completes the holiday look and works as a small accessory rather than a main body part. It begins with a magic ring, holds an even width for several rounds, then tapers through decreases to a narrow tip that is closed with a tapestry needle. Green threads are added at the top for leaves, and the source credits pipizzuellacrochet as this accessory designer.
When the head, ears, arms, skirt and carrot are complete, the source announces that the Miffy Bunny Amigurumi is ready, so follow the designer page for sewing order and placement. For more inspiration on this site, you can also read Easy Easter Bunny Worry Worm Crochet Pattern: Overview: Pattern Overview or Freaky Mummy Amigurumi Doll: Pattern Overview.