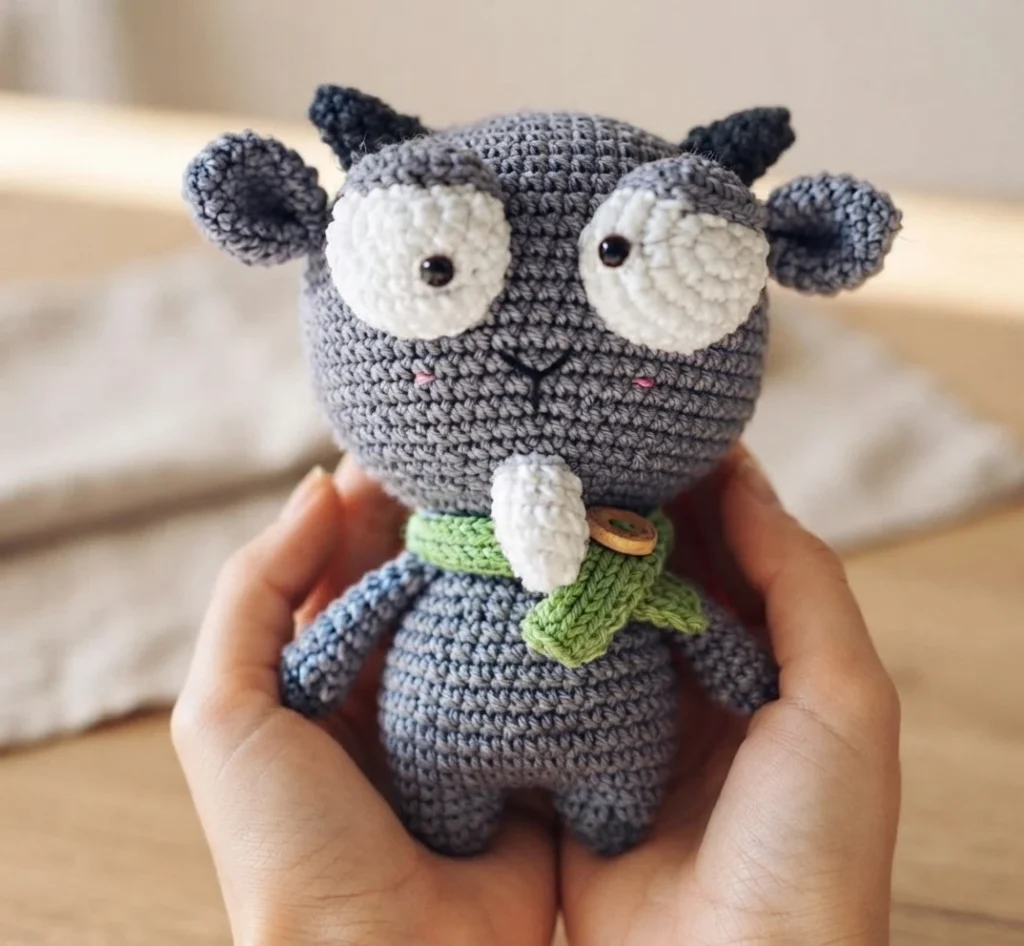
Project introduction
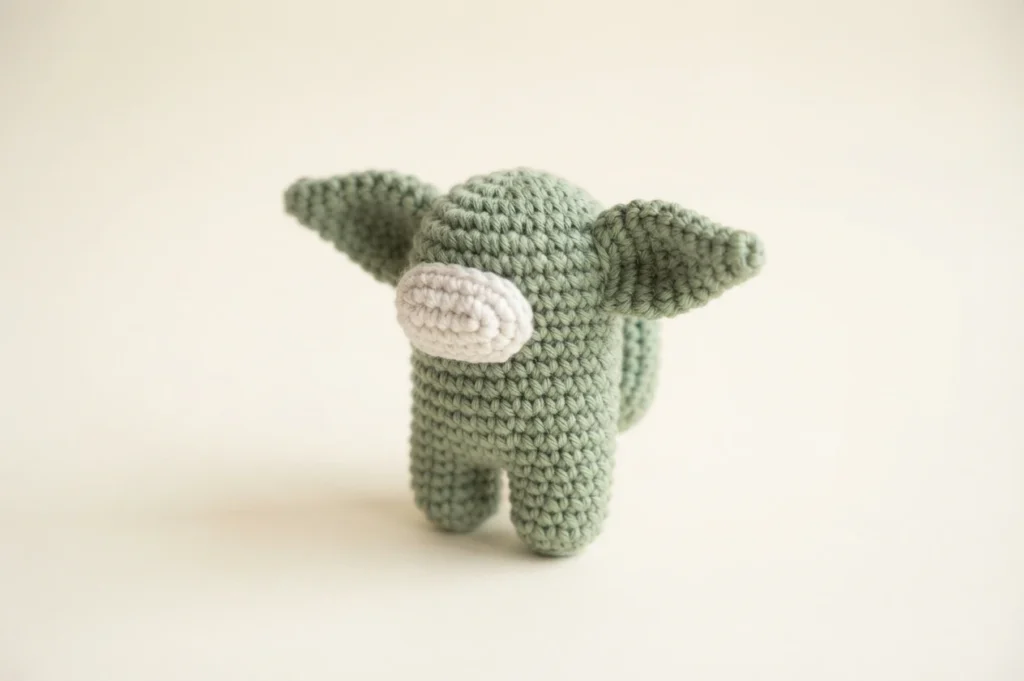
This article is a pattern overview, not a full tutorial, for a sweet stuffed goat shared as a free amigurumi pattern. The photos and design are credited to @lenlenlenlenshop, and the project is presented as a way to learn the goat through the original free pattern. Use this overview to preview the parts, order of construction, and finishing steps before you begin crocheting.
For the complete instructions, follow the Original designer’s pattern and instructions from Always Free Amigurumi. The general approach described for amigurumi toys is to shape each piece with increases and decreases, fill the finished shape with stuffing, and then use the photos as a guide for decoration. That same approach runs through this goat, from its legs and body to its head and small details.
Abbreviations
The abbreviations below are the ones used throughout the original pattern, so it helps to review them before you start. Most pieces are worked in rounds and shaped with single crochet increases and decreases. Loop placement, finishing notes, and bracketed stitch totals are also explained here, which makes the short pattern lines much easier to follow as you move from one part to the next.
- R: round
- mr: magic ring
- sc: single crochet
- inc: increase, 2 sc in the next stitch
- dec: decrease, join the next 2 stitches into 1
- sl st: slip stitch
- st: stitch
- ch: chain
- dc: double crochet
- tr: treble crochet
- hdc: half double crochet
- F.O: finish off
- BLO: back loop only
- FLO: front loop only
- [ ]: number of stitches you should have at the end of the round or row
- (x6: repeat whatever is between the brackets the number of times stated
Materials
Gather everything on the source list before you begin, because this goat is built from several small pieces that are sewn together at the end. The materials list names four yarn colors, and the body instructions also call for yellow yarn, so check that color as well. No hook size, yarn weight, or finished measurement is specified in the source materials.
- Yarn in grey, white, black and light orange, plus yellow for the body as specified in that section
- Crochet hook
- Fiberfill for stuffing
- Sewing needle
- Scissors
- Button
A useful note from the source is the construction order: the goat starts at a leg, and from the legs the crocheting continues into the body and head area. Keeping the sewing needle and fiberfill close by matters, because several pieces are stuffed as they are finished and most are left with tails ready for assembly later.
AMIGURUMI GOAT CROCHET Pattern Overview
Legs (make two)
The legs are the starting point for the whole figure and both are begun in grey yarn from a magic ring. The first leg is shaped with increases, stuffed with fiberfill, then finished by cutting the yarn and hiding the tail. The second leg is treated differently at the end: the yarn is not cut, so it can join the first leg with a slip stitch and continue directly into the body using stitches from both legs.
Body
The body continues on from the joined legs, but the yarn color changes to yellow for this section. Increases first widen the body, followed by rounds worked evenly in single crochet, and then decreases gradually narrow the shape again toward the top. When the shaping is complete, the body is finished with a slip stitch, stuffed with fiberfill, and the yarn is cut leaving a long tail for sewing during assembly.
Head
The head is the largest single piece and it is worked separately in grey yarn, beginning with a magic ring of 6 st. A long series of increase rounds builds the rounded shape, followed by rounds worked evenly, including a section of 8 rounds at the widest part. Decreases then bring the head back in, before it is finished with a slip stitch, stuffed with fiberfill, cut, and the tail hidden neatly away.
Arms (make two)
Two matching arms are made, each starting in black yarn from a magic ring. After a small increase round, the arm is worked evenly for 5 rounds to keep it narrow and simple. It is closed with a slip stitch, stuffed with some fiberfill so it holds a soft shape, and the yarn is cut leaving a long tail for sewing. Making both arms before assembly helps you place them evenly on the body.
Goatee
The goatee is a small white detail that gives the goat much of its character, and it is worked from a magic ring of 3 st. Increases build the little piece up in the first rounds, then it is worked evenly for the remaining rounds without further shaping. The source does not add stuffing for this part. Instead, the yarn is simply cut leaving a long tail for sewing it to the head.
Horn (make two)
Make two horns in black yarn, each beginning with a magic ring. The horns stay small and tapered because plain single crochet rounds are mixed with increase rounds, rather than increasing on every round. That sequence creates a simple pointed shape that suits a goat without needing any separate stuffing step in the source instructions. As with most of the small parts, the yarn is cut leaving a long tail for sewing.
Eyes (make two)
The eyes are crocheted pieces rather than separate purchased eyes, and two are made in white yarn from a magic ring. Increases expand each eye over the early rounds, one round is worked evenly, and then a decrease round pulls the shape back in slightly. This gives the eye a rounded, slightly domed form. The yarn is cut leaving a long tail for sewing, ready for the eyelids to be joined to the eyes during assembly.
Eyelid (make two)
Two eyelids are made in grey yarn, again starting with a magic ring of 6 st, and they are shaped only with increases before the yarn is cut leaving a long tail for sewing. Because the eyelid is a shallow piece made over few rounds, it sits over the white eye made earlier. The source pairs each eye and eyelid together in assembly, using the reference picture to guide their placement on the head.
The same source section also includes a scarf worked in light orange yarn. Unlike the round pieces, the scarf starts with a chain, specifically 49 chains, and double crochet stitches are worked from the fourth chain from the hook, with 39 dc noted in the source. The yarn is then cut to finish. This flat accessory adds a bright contrast against the grey head and the other yarn colors used for the goat.
Assembly
Assembly brings all the separate pieces together with pinning and sewing, so lay everything out first and use the long tails you left on each part. Pinning before you sew is specifically mentioned for the horns, ears, and arms, which helps you check symmetry and placement before anything is fixed in place. The source assembly does not describe making ears as a separate crochet section, so follow the original pattern for that detail.
- Sew the eyes and eyelids together, as shown in the picture
- Attach each horn after first pinning it where it belongs on the head
- Secure the ears in their spots on the head with pins before stitching them fast
- Stitch the finished head onto the body
- Pin the arms to the body, then sew them on
If you enjoy this style of small character, you may also like the related overviews Easy Zodiac Amigurumi Goat Pattern For Beginners: Pattern Overview and Miffy Bunny Amigurumi: Pattern Overview. Both offer another way to compare how simple amigurumi pieces, thoughtful color changes, and careful sewing can turn basic rounds into a finished toy with clear personality.