Project introduction
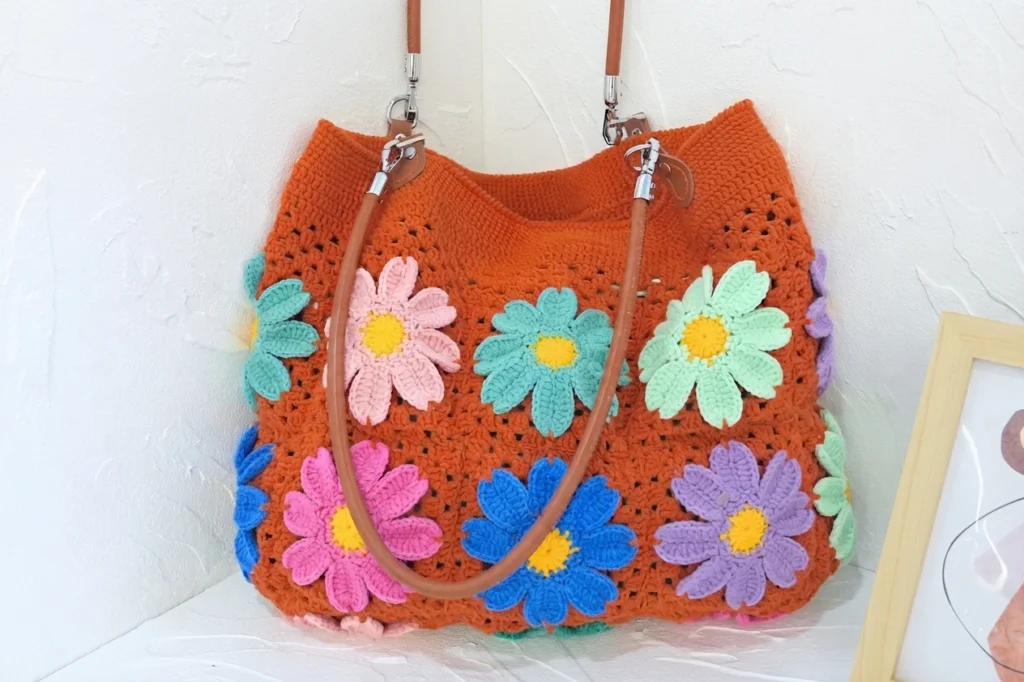
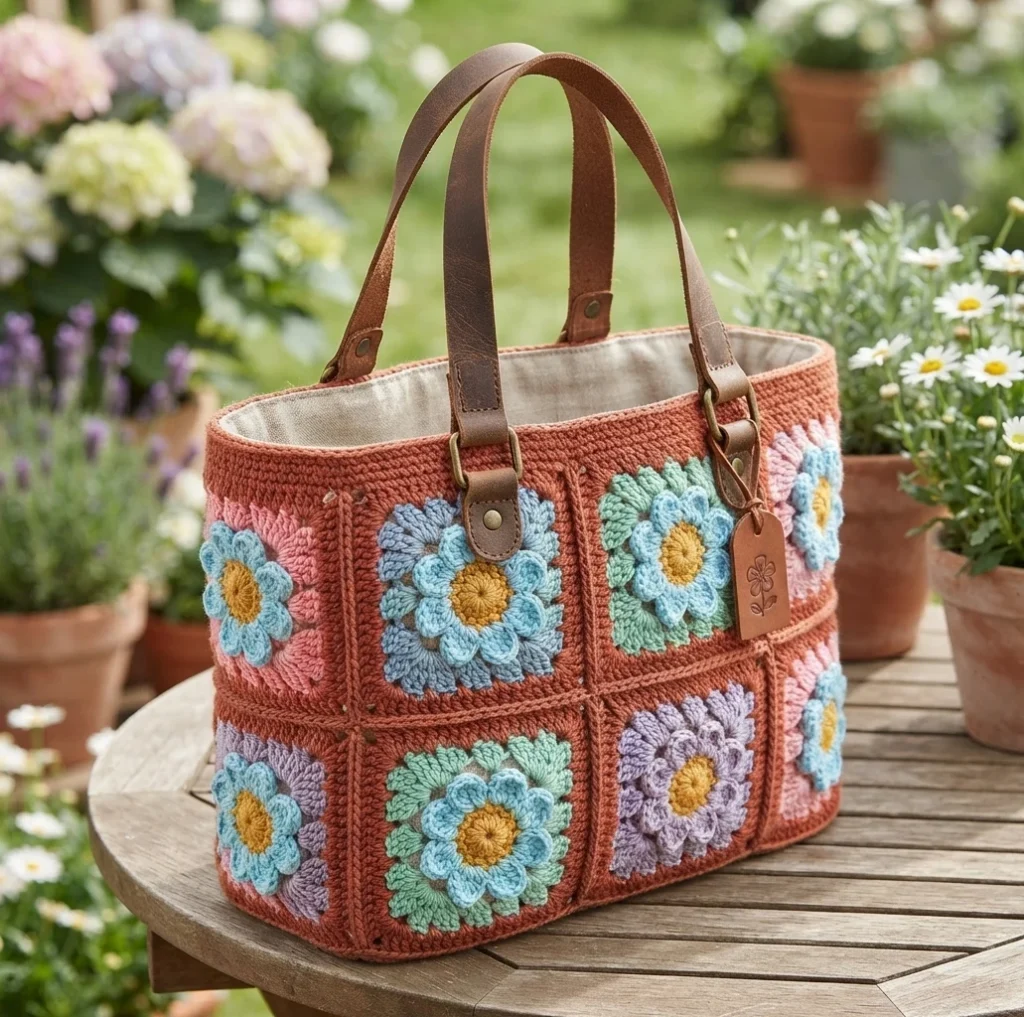
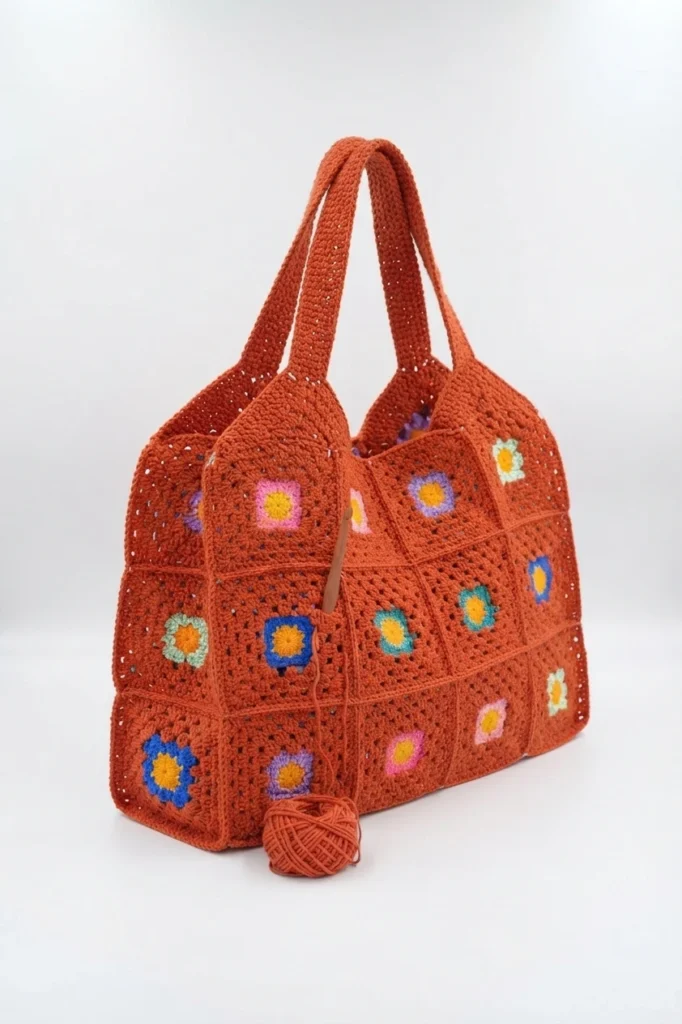
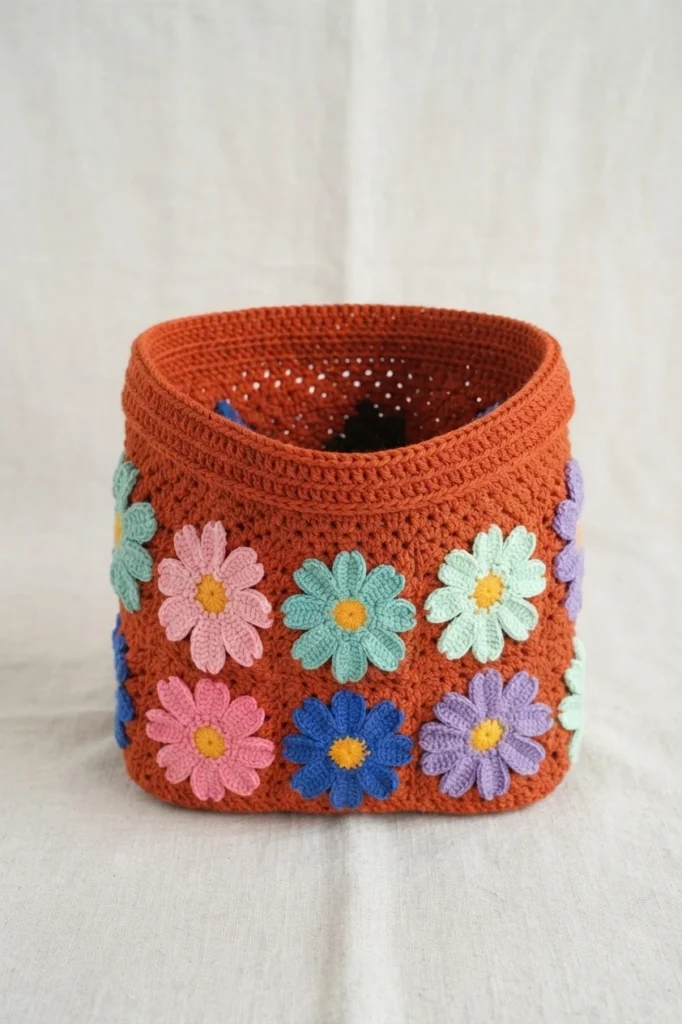
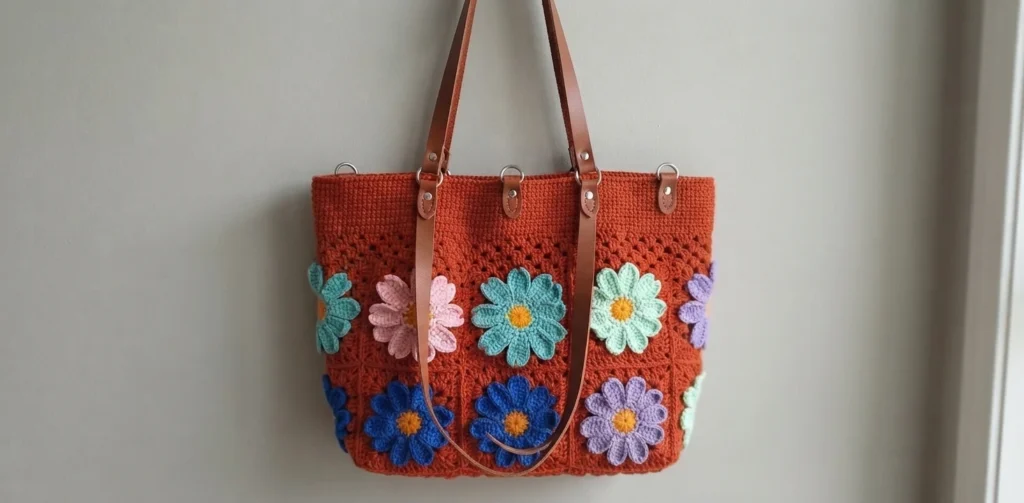
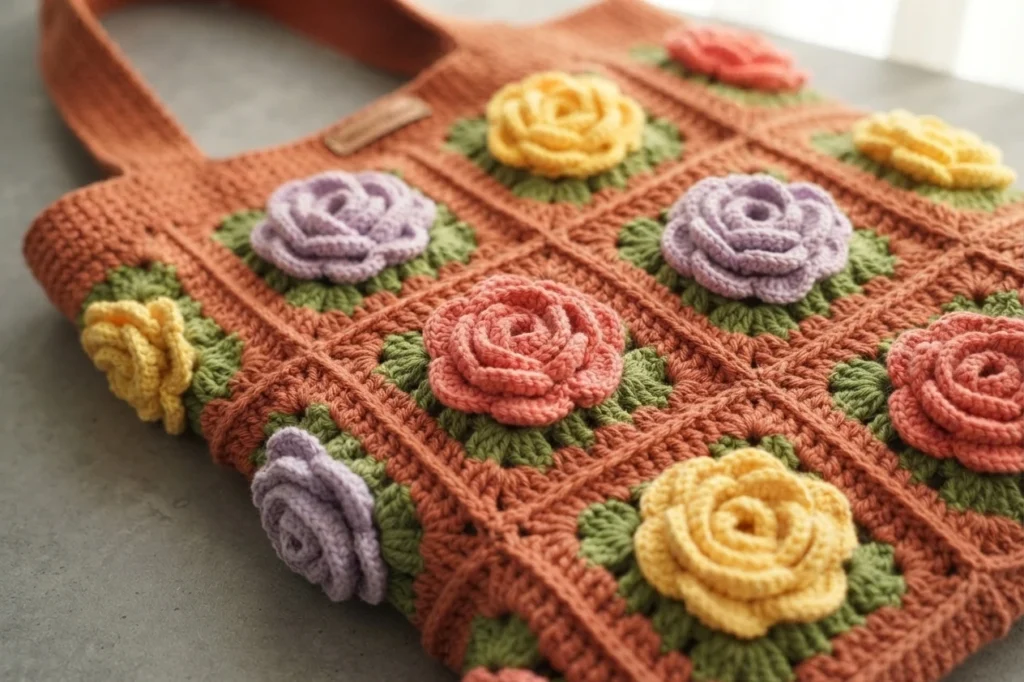
This overview covers the Large Daisy Granny Square Bag, a floral tote built from daisy-style granny squares arranged on a warm terracotta mesh background. Below you will find the finished sizes, the supplies list, the construction stages, and the finishing and care notes the original designer provides.
Crochet Large Granny Square Bag Pattern ( Pattern Overview)
Please note that this page is a pattern overview, not a complete tutorial. It summarizes the design, dimensions, materials, and build stages of the Large Daisy Granny Square Bag so you can decide whether it fits your plans. The bag pairs colorful daisy granny squares with a classic mesh pattern on a terracotta base, finished with leather handles for a polished look. For the full row by row instructions, photos, and video, visit the Original designer’s pattern and instructions.
The design centers on motif work: individual daisy squares are crocheted first, then joined into a garden style tote. The source presents the project as approachable for experienced crocheters and for those new to granny squares alike.
Pin for Later
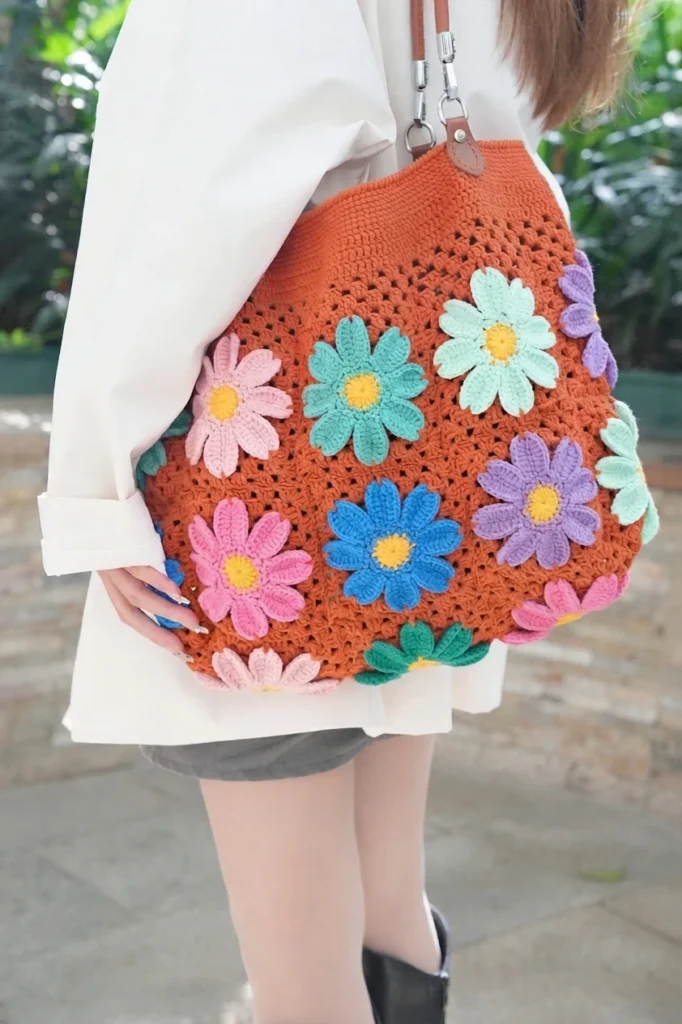
If this blooming tote has caught your eye, save it now and return when your hook is free. Keeping the pattern handy preserves the color inspiration: sweet pink, sky blue, mint green, and lavender daisies with yellow centers on warm terracotta. A saved copy also makes it easy to share the project with a crochet friend or revisit it whenever spring has you craving something floral.
Details About Large Granny Square Bag
Each daisy granny square measures about 4 inches (10 cm) across, and the project calls for 19 squares in assorted colors arranged over a terracotta mesh background. The finished tote is roughly 15 inches (38 cm) wide and 13 inches (33 cm) tall, a roomy size the designer suggests for daily errands or market trips.
The palette begins with warm terracotta as the base so the flowers stand out. Blooms appear in soft pink, sky blue, mint green, and lavender, with yellow centers and mint green leaves, plus brown leather handles. The source also invites personal color play, from soft pastels to bold brights or a single color in varied shades.
Materials needed for Large Granny Square Bag
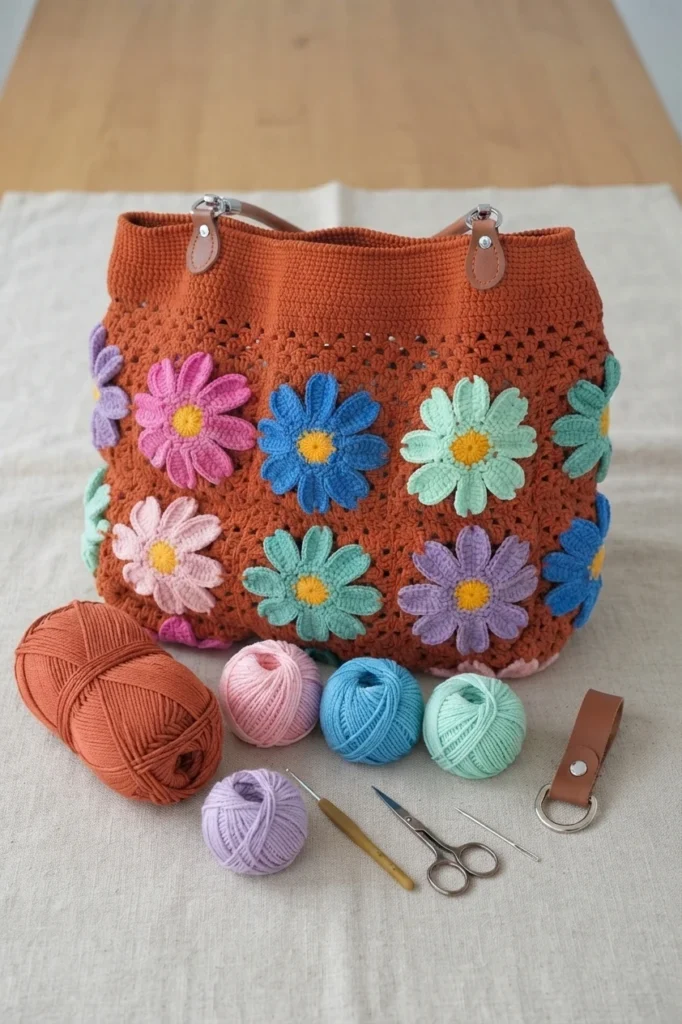
Gather these items before you begin. Each piece has a clear role, from the cotton yarn that forms the motifs to the leather hardware that gives the finished tote its structured handles.
- Loopara 4ply combed cotton yarn in terracotta, pink, sky blue, mint green, lavender, and yellow
- 2.3 mm crochet hook for the daisy granny squares
- 3.0 mm crochet hook for joining and finishing
- Scissors
- Yarn needle for weaving in ends and sewing hardware
- Leather D buckles
- Leather shoulder straps
Abbreviations (US Terms)
The pattern is written in US crochet terms. Keep this quick reference nearby while you read the designer’s instructions, especially through the petal and square rounds where several stitches appear inside a single repeat.
| Abbreviation | Stitch |
|---|---|
| ch | chain |
| sc | single crochet |
| dc | double crochet |
| hdc | half double crochet |
| sl | slip stitch |
| bpsc | back post single crochet |
| inc | increase |
| st | stitch |
Large Granny Square Bag Layout
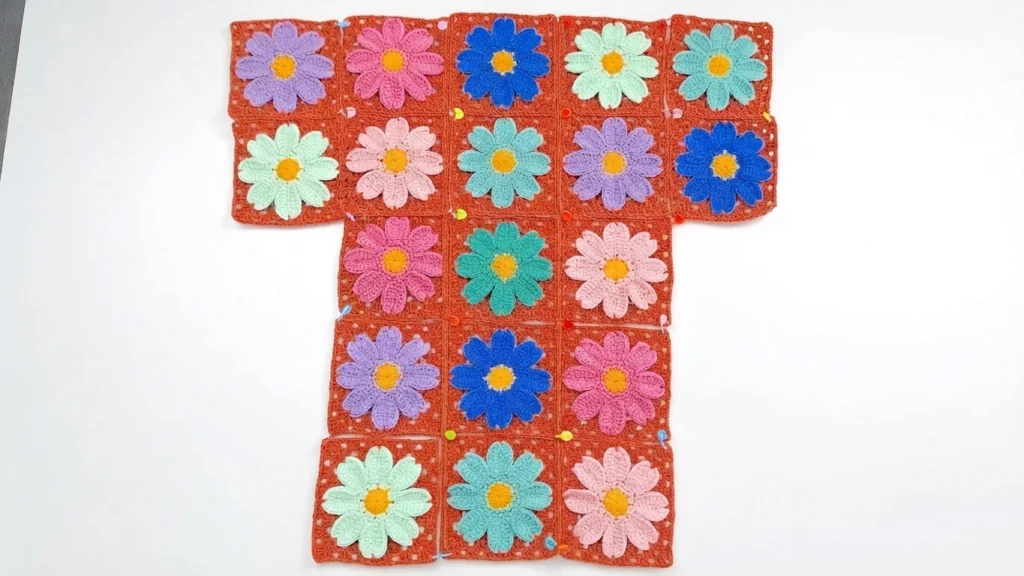
Before joining begins, the 19 daisy squares are arranged in a T-shaped formation, the layout the designer provides for this tote. Green lines on the diagram mark the fold lines that build the bag’s structure, turning the flat arrangement into a three dimensional tote. Review the layout first, since the seams follow this arrangement and the folds decide where the body, sides, and base fall.
How to Crochet Large Granny Square Bag - Step by Step
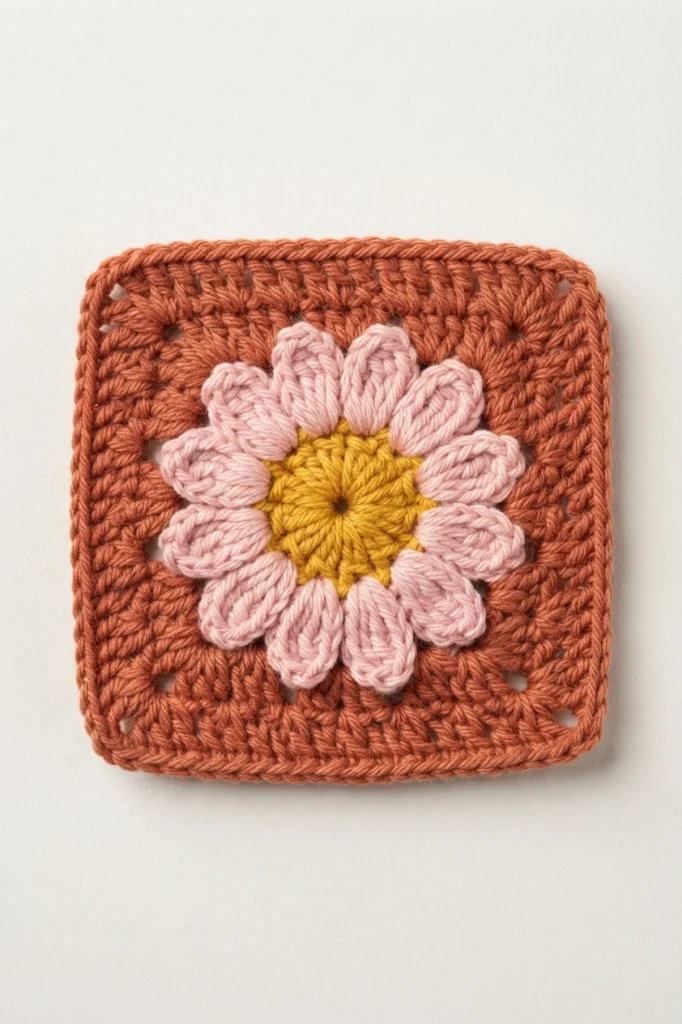
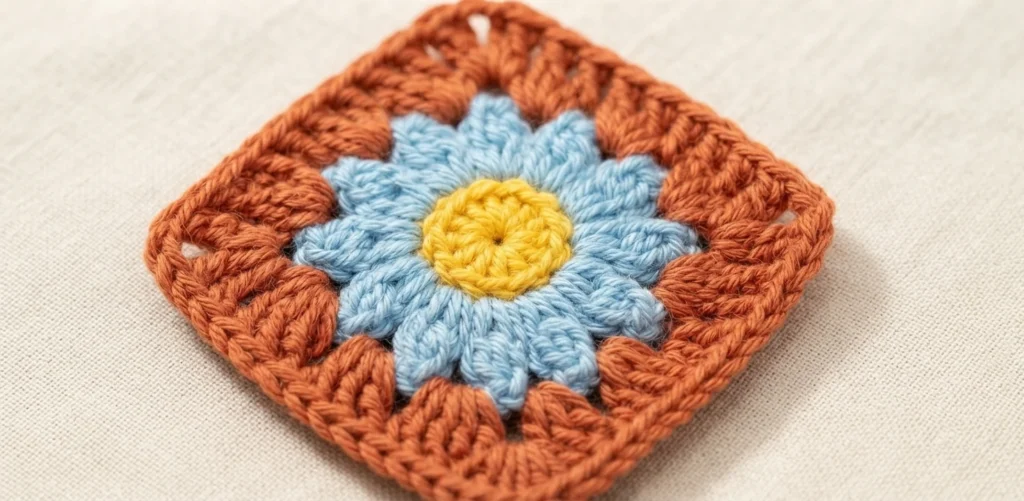
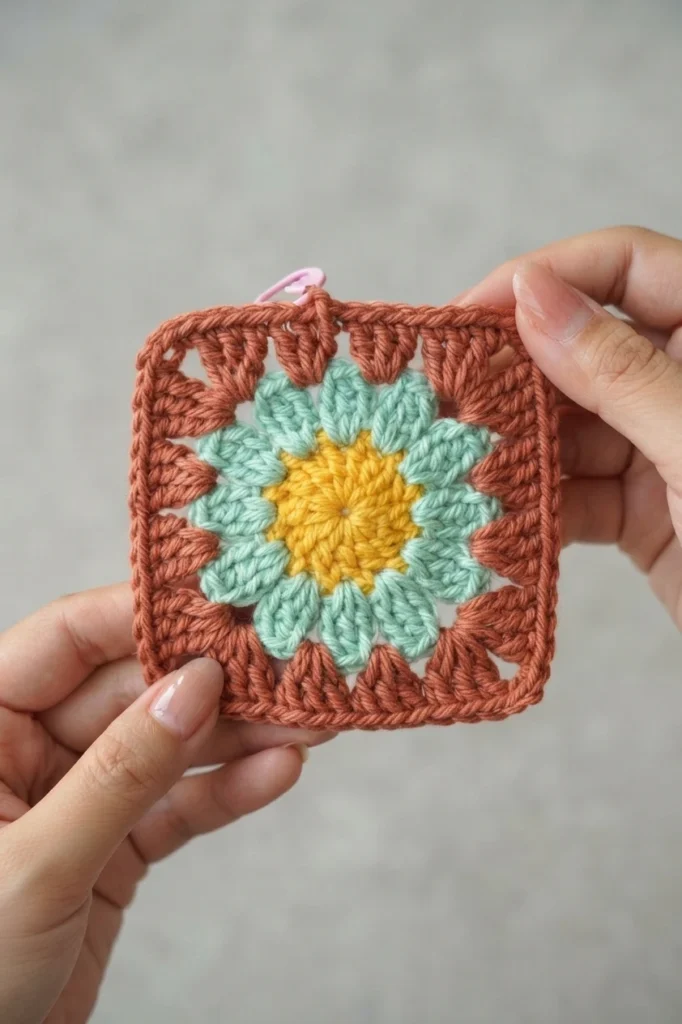
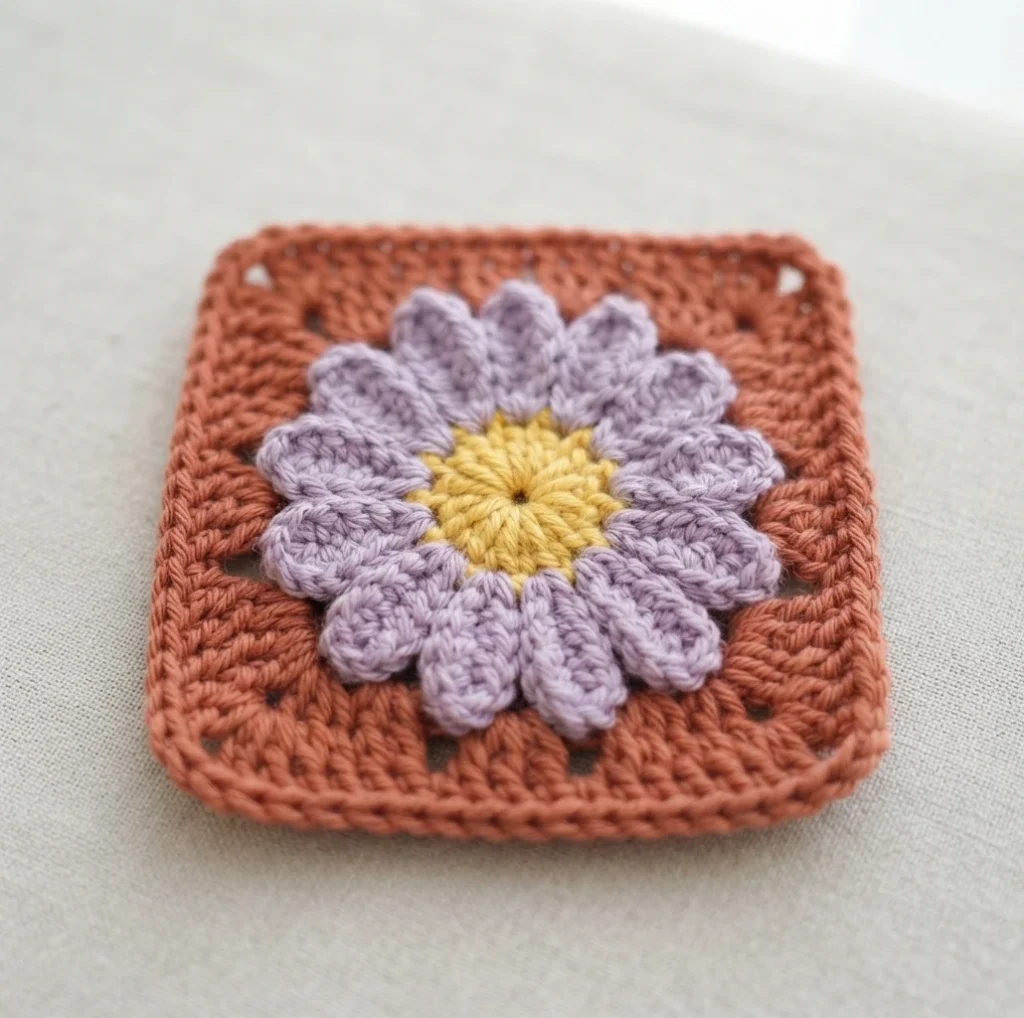
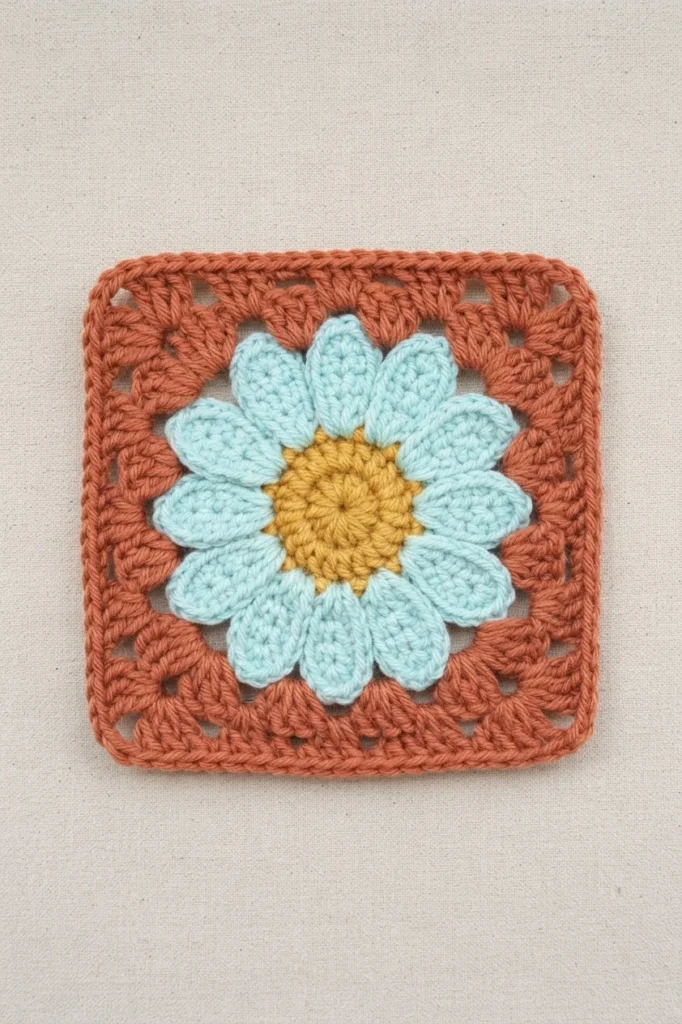
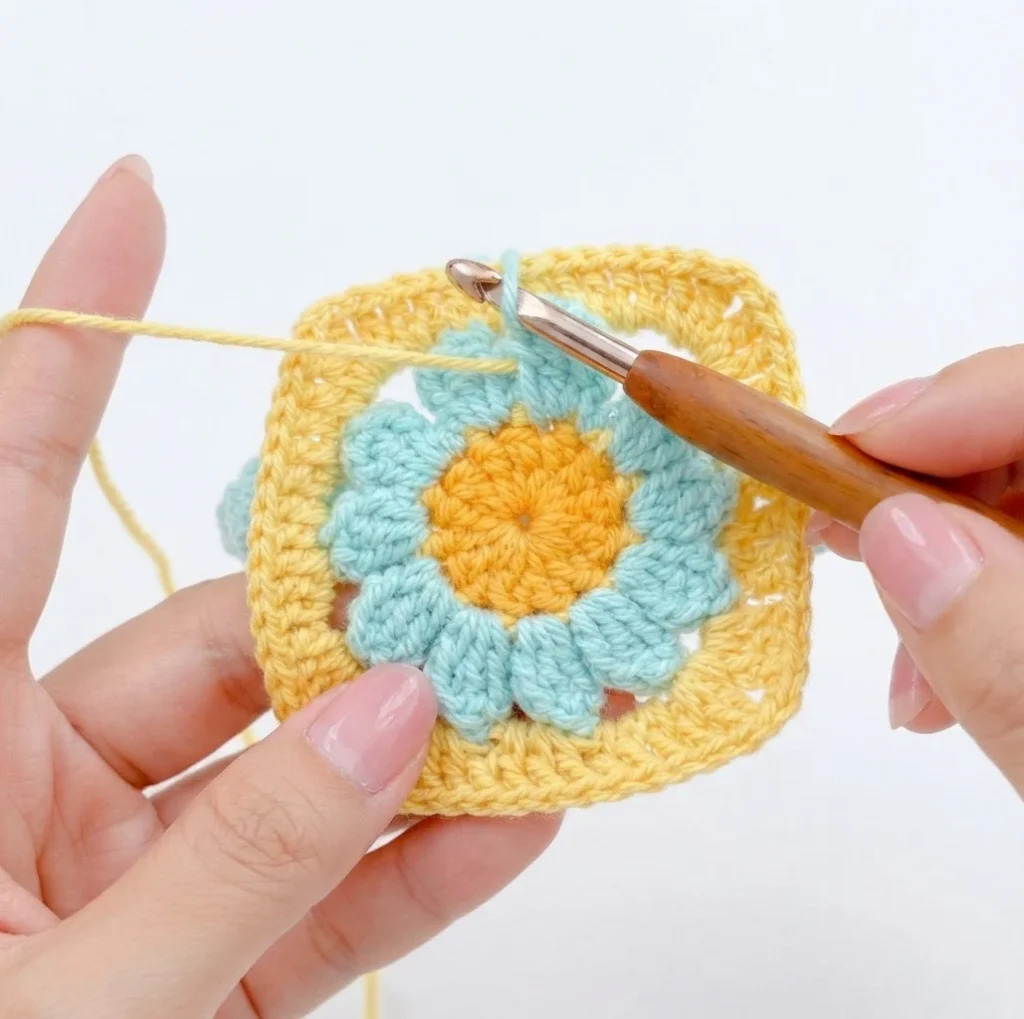
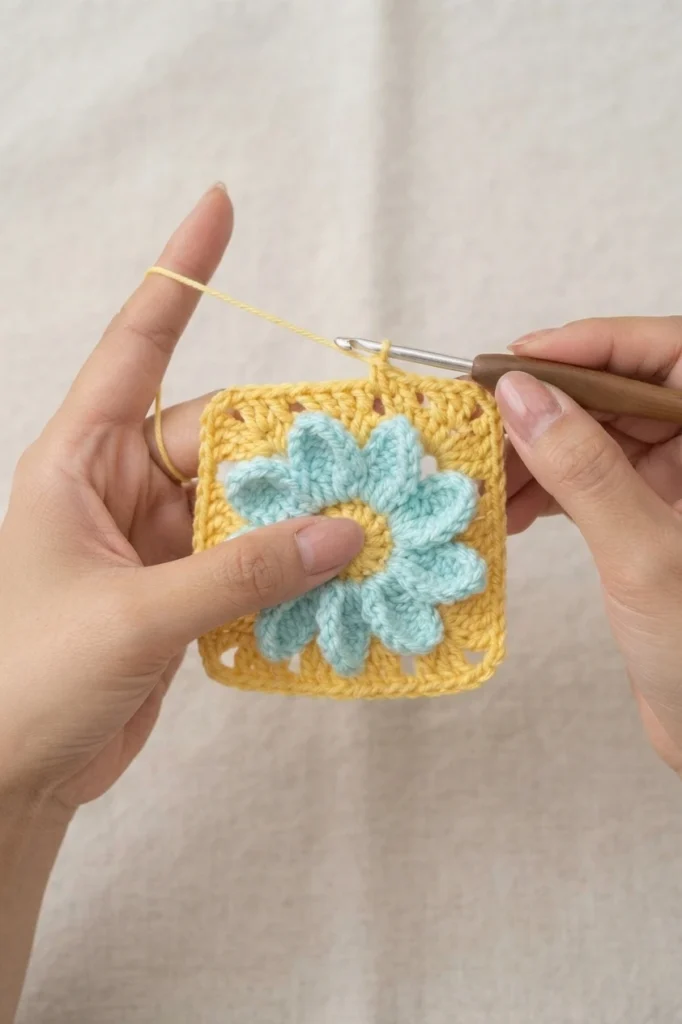
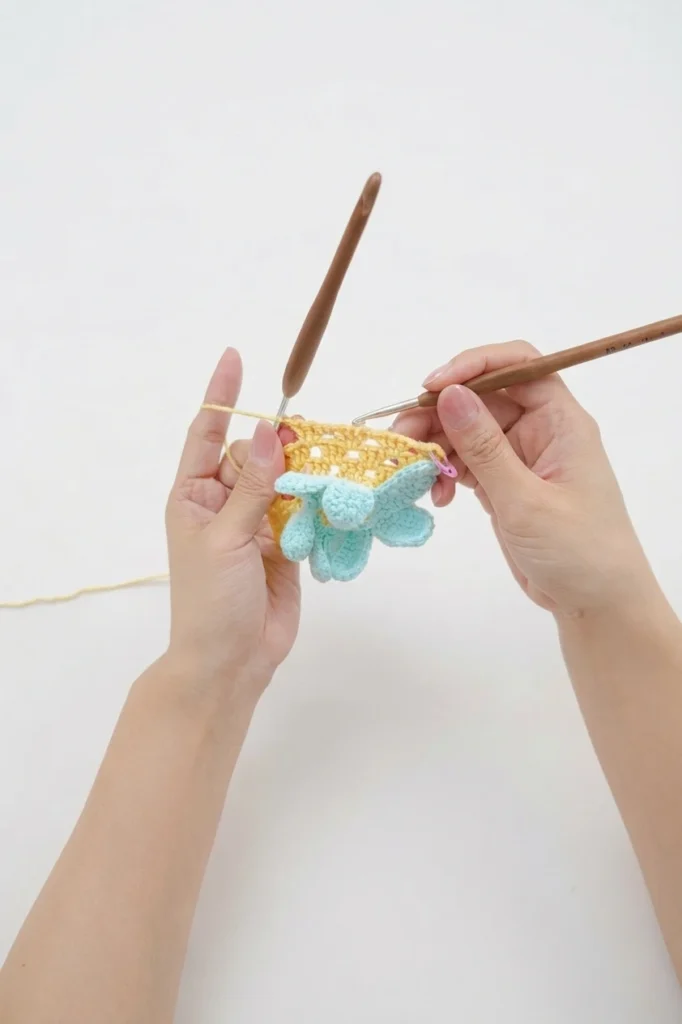
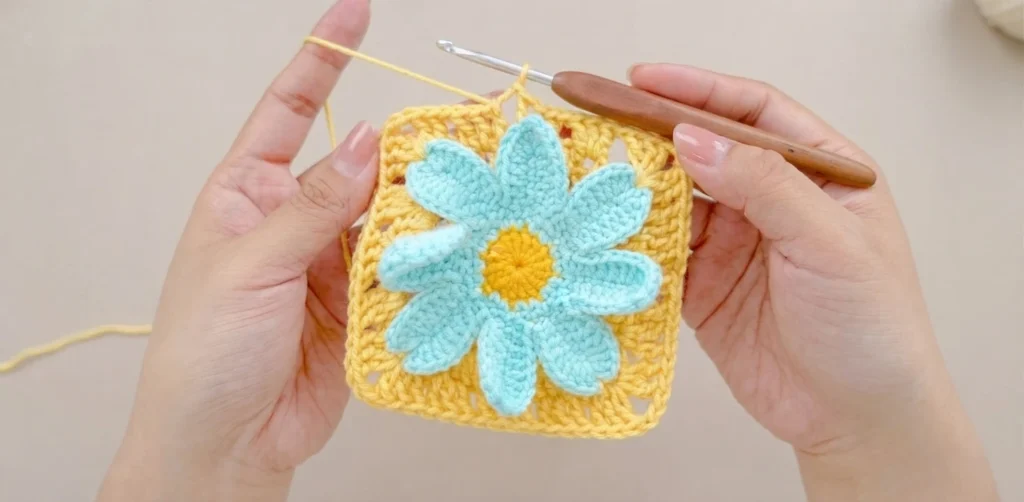
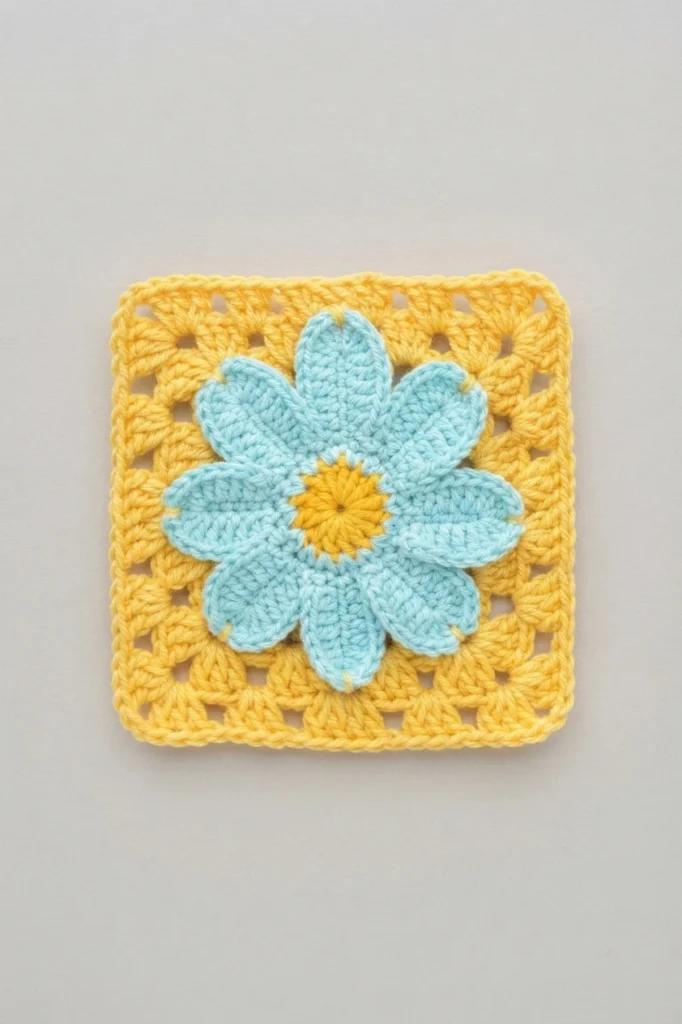
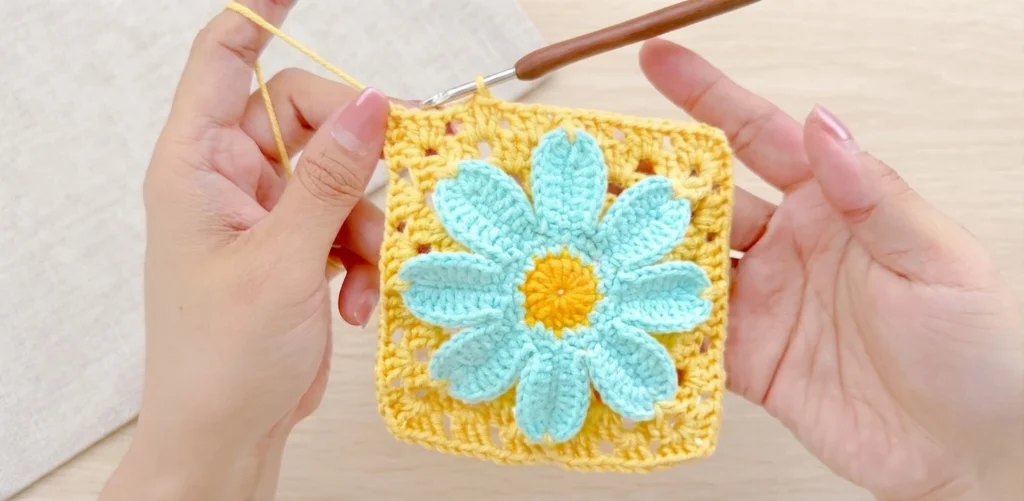
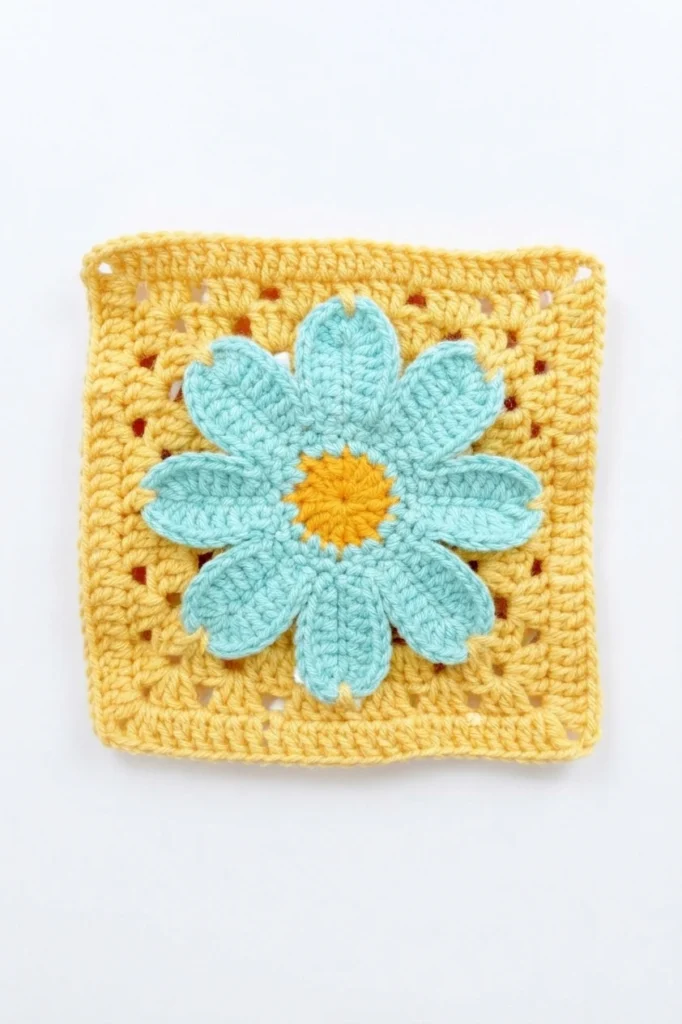
Construction begins with the daisy motif. The center starts with a magic ring, a chain 3 that stands in for the first double crochet, and 16 double crochet stitches worked into the ring, joined with a slip stitch. The second round forms eight petals, and the third round builds the flower outward with a repeating mix of single crochet, half double crochet, double crochet, and increases before the yarn is fastened off.
Round four starts the square shape, worked into the back of the previous round with back post single crochet and chain 5 repeats. Rounds five through eight grow the granny square with classic corner groups, some rounds anchoring into petal stitches as they go. The ninth and final round squares the motif off with double crochet sides and chain 3 corners. The designer’s advice: begin with a tight magic ring, keep tension even, and count stitches carefully in the flower center.
How to Seam Bag

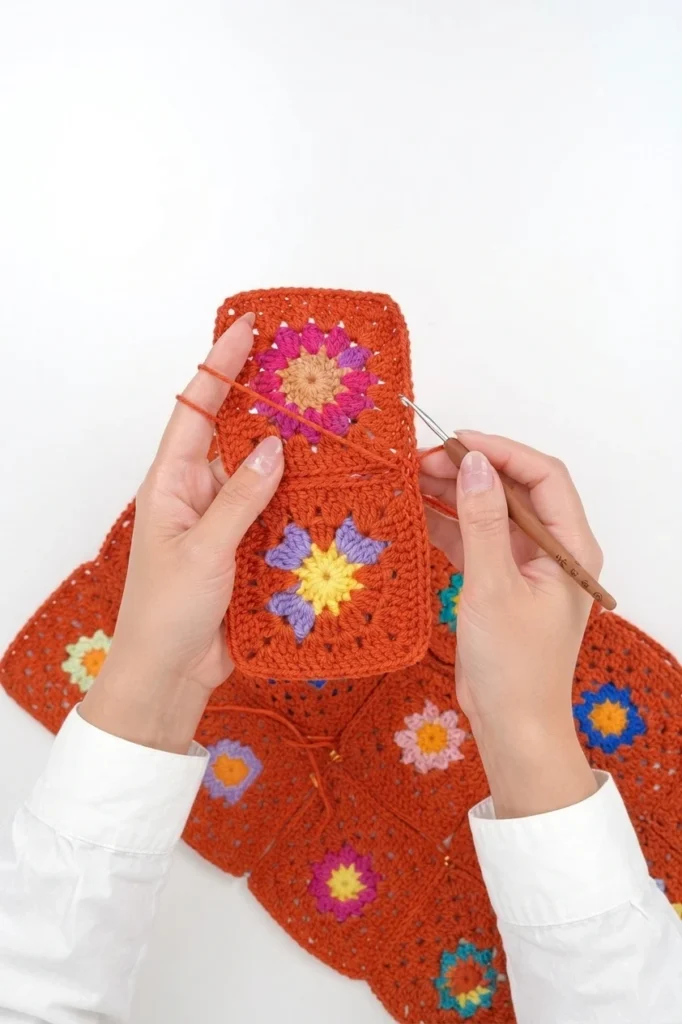
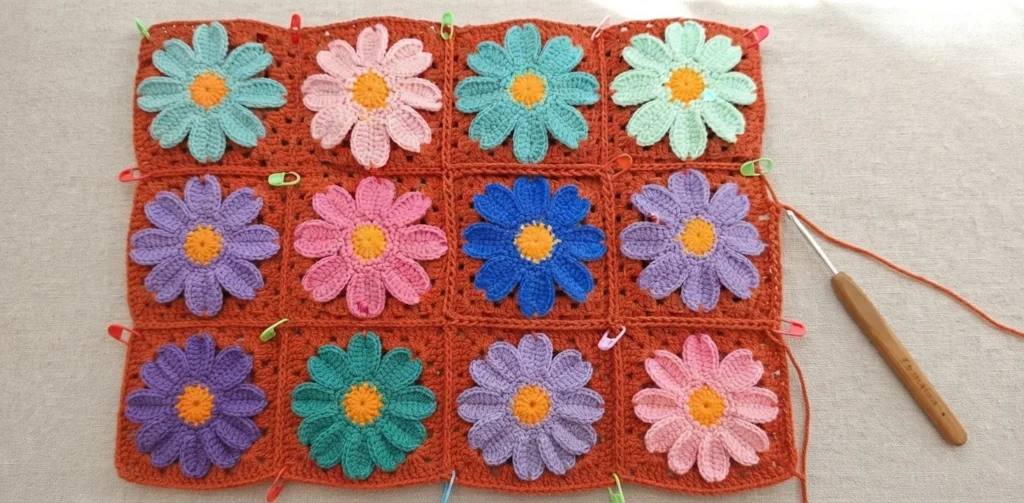
Lay the squares out in the pictured arrangement and hold them in place with stitch markers, following the seaming order shown in the diagram. The designer joins with single crochet and 3 chain stitches, while noting that other joining methods can work too. Place two squares face to face, starting at the diagonal braid position, then match stitches as you work across.
Keep the working yarn loose while seaming so the bag holds its shape, working 2 single crochets directly at crossing points. Seam the horizontal and vertical lines, check your work after two long vertical seams, fold at the center point, shape with markers, and single crochet along each edge. Seam the final horizontal line the same way and weave every loose end in on the back.
How to Crochet Bag Opening
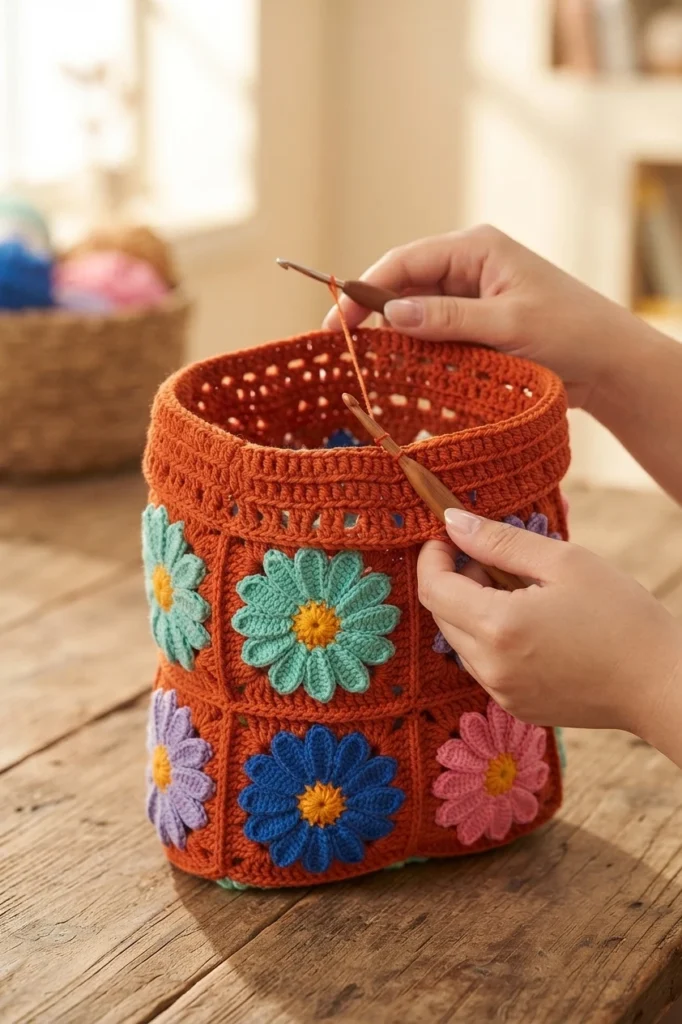
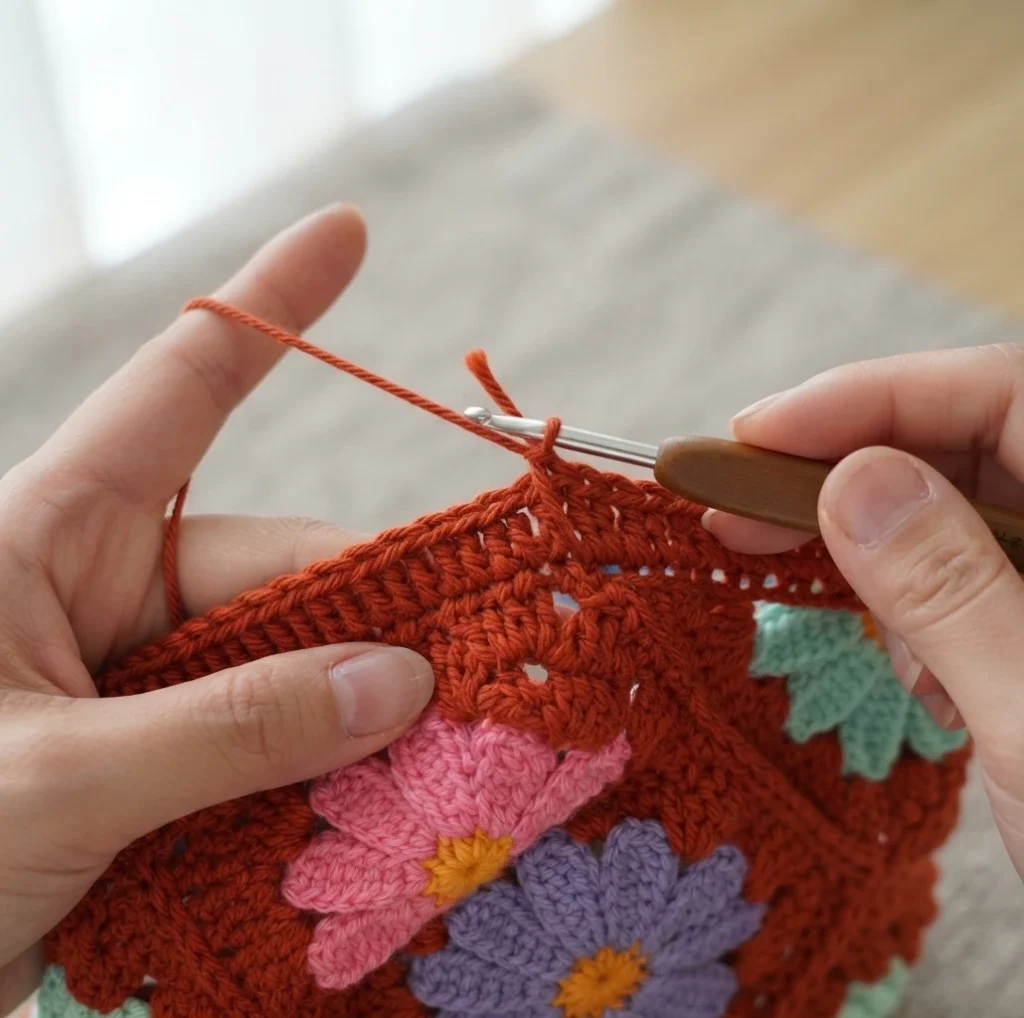
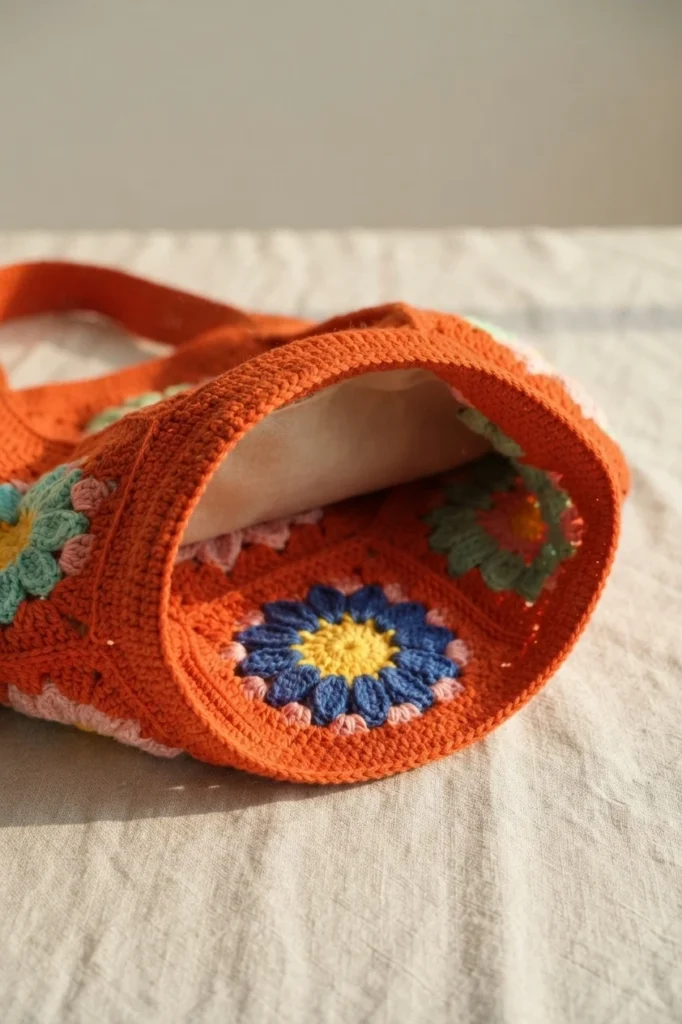
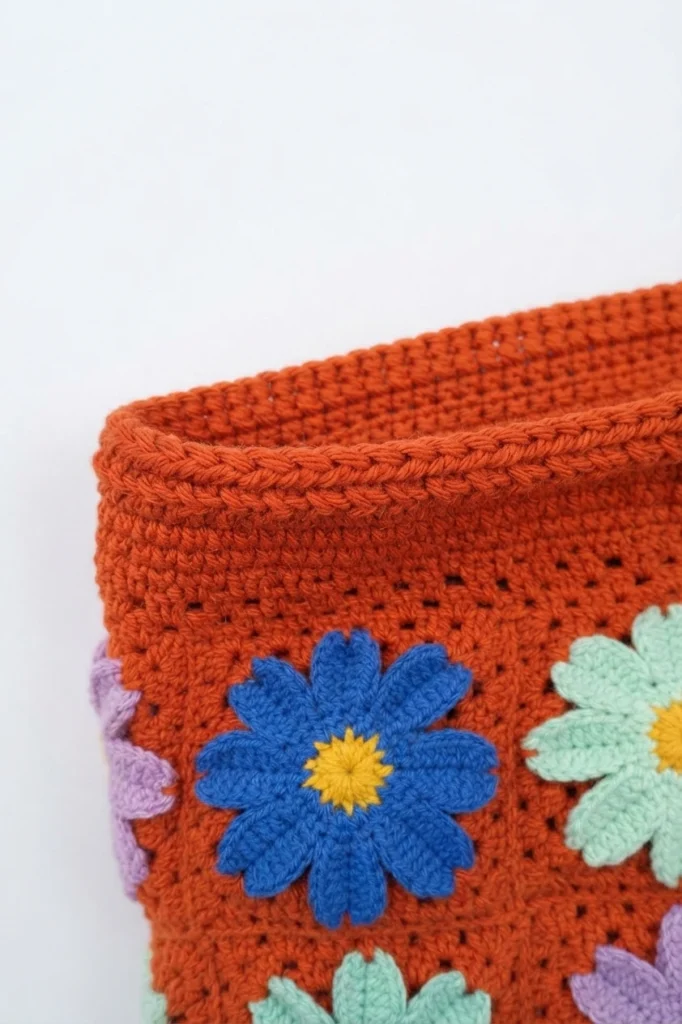
The opening is worked in the round above the joined body. It begins with double crochet rounds built on chain spaces, then continues with double crochet matched to previous stitches and worked into chain spaces for three rounds. Seven rounds of single crochet in each stitch build a firm band, and a final round of reverse single crochet gives the edge a tidy finish before fastening off.
How to Attach Leather D buckles
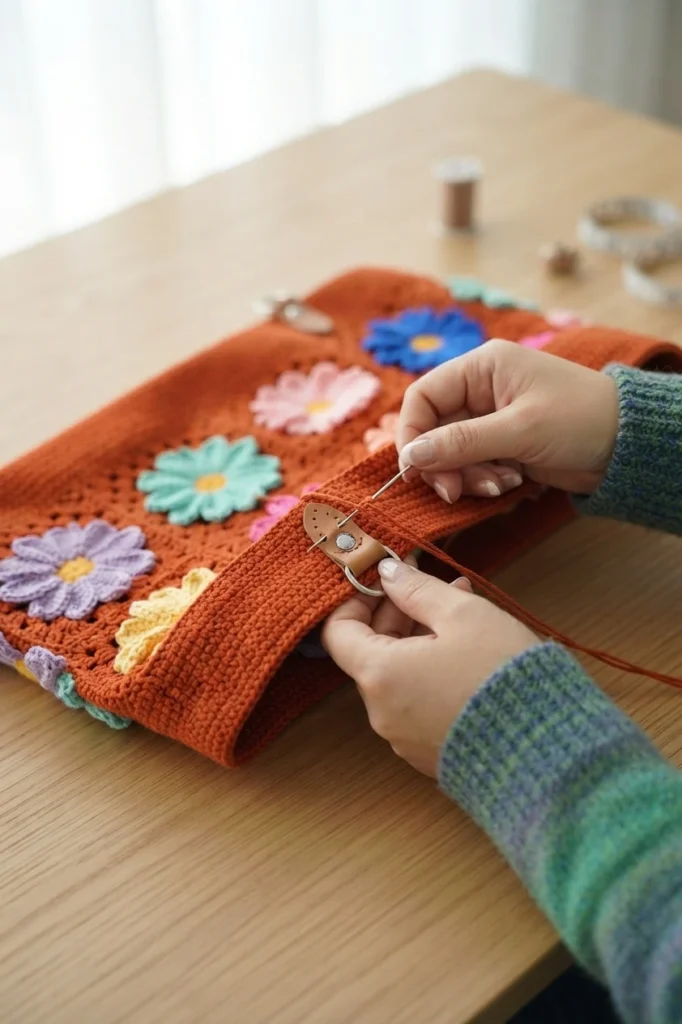
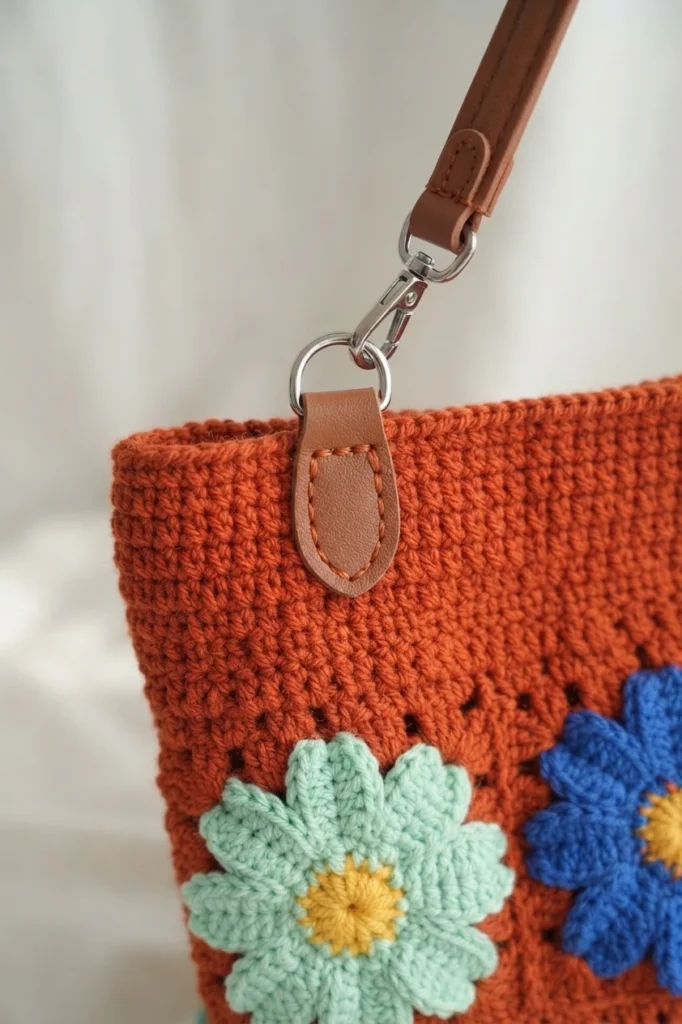
Split the main color yarn into two strands, thread a needle, and secure the tail. Set each leather D buckle about 16 single crochets from both sides. The source stresses that this spacing is a reference only and can be adjusted, so shift the buckles until the placement looks right, then sew them on firmly and weave the ends in well.
Repeat for the remaining buckles, then fit two leather shoulder straps onto the D buckles to finish the bag. The designer’s assembly advice: use plenty of stitch markers, keep seaming tension loose for good shaping, hold even tension across the opening rounds, and fasten the buckles extra securely since they carry the straps.
How to Join Granny Squares
The pattern itself uses one simple joining method, but the designer notes that another technique might suit your style better. She points readers to a separate guide covering 11 ways to join granny squares, saying each method brings its own special touch to the finished piece.
How to Weave in Ends Crochet Granny Square
Neat ends are what give granny squares a professional finish. The designer shares three methods for weaving in ends, described as techniques refined over years of crocheting and used across all her projects. The aim is secure, polished work that lasts, which matters in a tote that will be carried and handled often. Weave every tail in thoroughly on the back of the work.
Daily Care Tips
A little routine care keeps the tote looking fresh. After use, brush the surface lightly with a soft cloth to lift dust and debris, giving extra attention to the textured flower motifs. Check the seams and handles now and then for loose threads, and avoid overloading the bag so the squares and the overall shape stay true.
Washing Methods
For light soiling, spot clean with a white cloth dampened with cool water and a mild wool detergent. Deeper cleaning calls for hand washing in cool water with a gentle detergent. Never twist or wring the bag; press the excess water out between clean towels instead. Reshape while damp, dry flat away from direct sunlight, and let the bag dry fully before carrying it again.
Storage Suggestions
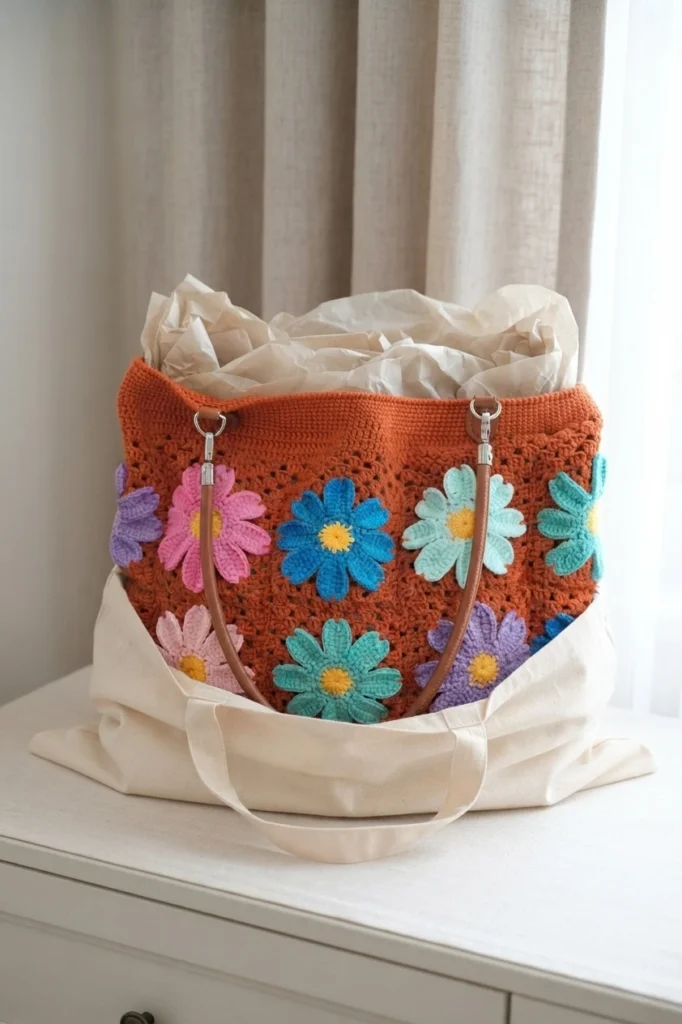
Store the bag clean and dry. A gentle stuffing of acid free tissue paper helps it hold its shape and avoids creases. Keep it flat or standing upright in a clean, dry spot away from direct sunlight, and choose a cotton storage bag over plastic so the fibers can breathe. For long term storage, do not hang it by the handles.
Crochet Large Granny Square Bag
On the designer’s page, this project shows a community rating of 2.7 stars from 6 users, a small snapshot of reader response. The page also offers share buttons for Twitter, Facebook, Pinterest, and WhatsApp, making it easy to pass the pattern to a friend or pin it for later.
Category
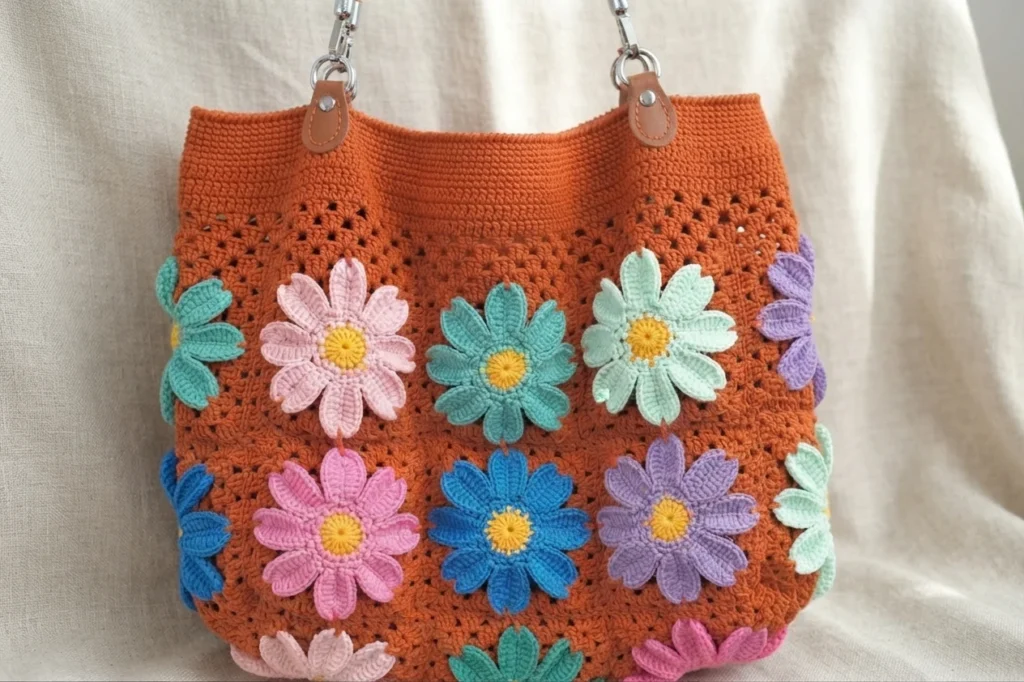
This project belongs to the Crochet Granny Square Bag category: a retro inspired granny square tote. Vibrant flower squares play against the warm terracotta background, blending vintage charm with practical, modern use. The designer presents it as a spacious companion for shopping, crafting, or everyday adventures, and the pattern comes from Loopara.
Materials Needed
Use this consolidated checklist as a final gather-everything pass before you start. It covers the yarn, hooks, tools, and leather findings named in the source, plus the stitch markers the assembly stage relies on.
- Loopara 4ply combed cotton yarn: terracotta base, assorted flower colors, yellow centers, mint green leaves
- 2.3 mm crochet hook for the daisy granny squares
- 3.0 mm crochet hook for joining and finishing
- Scissors
- Yarn needle for weaving in ends and sewing the buckles
- Stitch markers for layout and shaping
- Leather D buckles
- Leather shoulder straps
How to Crochet Large Granny Square Bag - Step by Step
In short, each motif runs from a magic ring center with 16 double crochet stitches, through an eight petal round and a shaping round, into a back post round that starts the square. The granny square rounds follow with corner groups and petal anchors, closing with a final squaring round.
How to Seam Bag
Arrange the squares per the layout, secure with stitch markers, and join face to face with single crochet and 3 chain stitches from the diagonal braid position. Keep the yarn loose for shaping, work 2 single crochets at crossings, seam the horizontal and vertical lines, fold at the center, and weave all ends in on the back.
How to Crochet Bag Opening
Begin the opening in a chain space and work the double crochet rounds, then three more rounds matched to previous stitches and chain spaces. Follow with seven rounds of single crochet in each stitch and one round of reverse single crochet for a clean edge.
How to Attach Leather D buckles
Sew each leather D buckle with doubled main color yarn, placing it about 16 single crochets from both sides as an adjustable reference. Secure the buckles firmly, weave the ends in thoroughly, repeat for the rest, then install the two leather shoulder straps on the D buckles.
Notes
A few practical reminders from the source: start the daisy squares with a tight magic ring, keep tension consistent for even petals, and count stitches carefully in the flower center. During assembly, use plenty of stitch markers and a loose seaming hand for good shaping. Hold even tension across the opening rounds for a sturdy edge, fasten the buckles extra securely since they support the straps, and always weave ends in thoroughly.
The designer presents this pattern as free on her page, which also lists print and video options. This overview makes no claim about printable or PDF formats. For more granny square bag ideas, see Crochet Granny Square Crossbody Bag (Pattern): Pattern Overview and Crochet Granny Square Bucket Bag Pattern (Pattern): Pattern Overview.
Recent Post
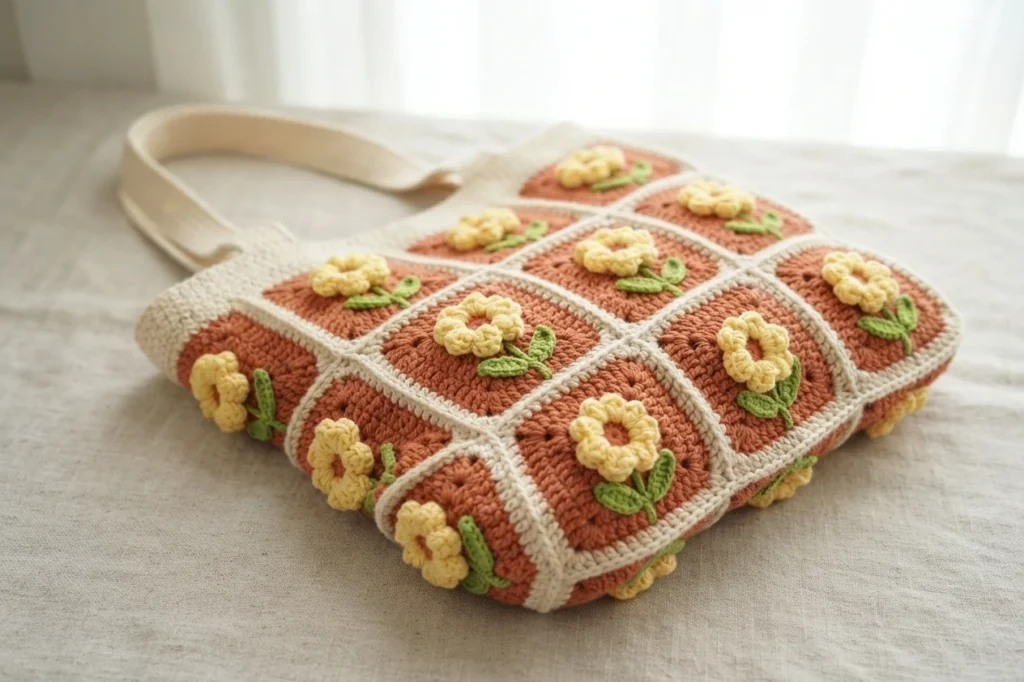
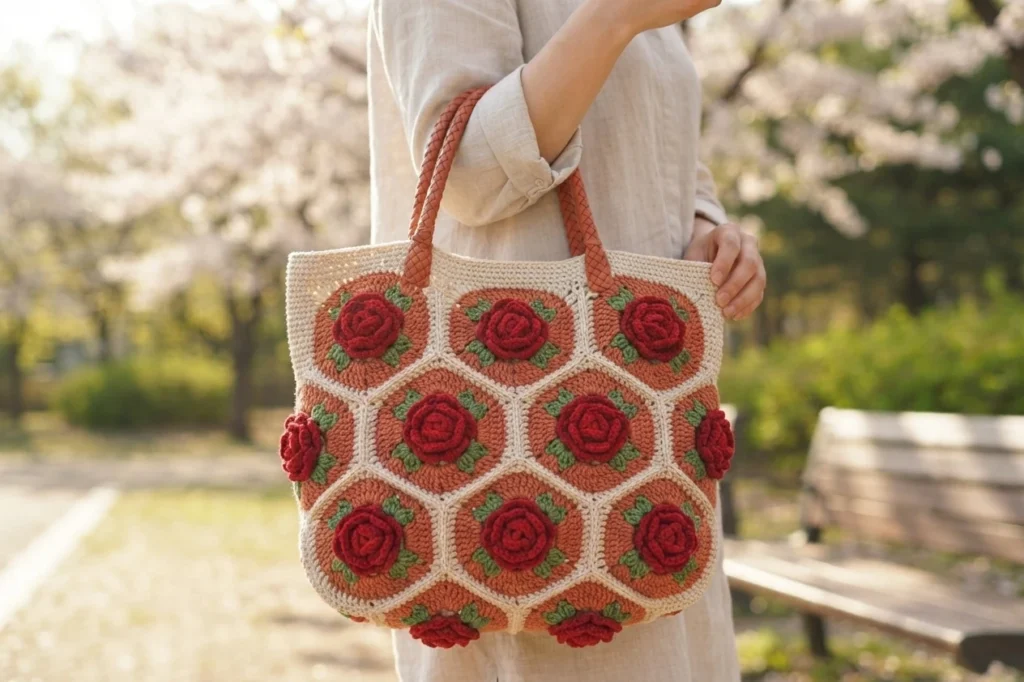
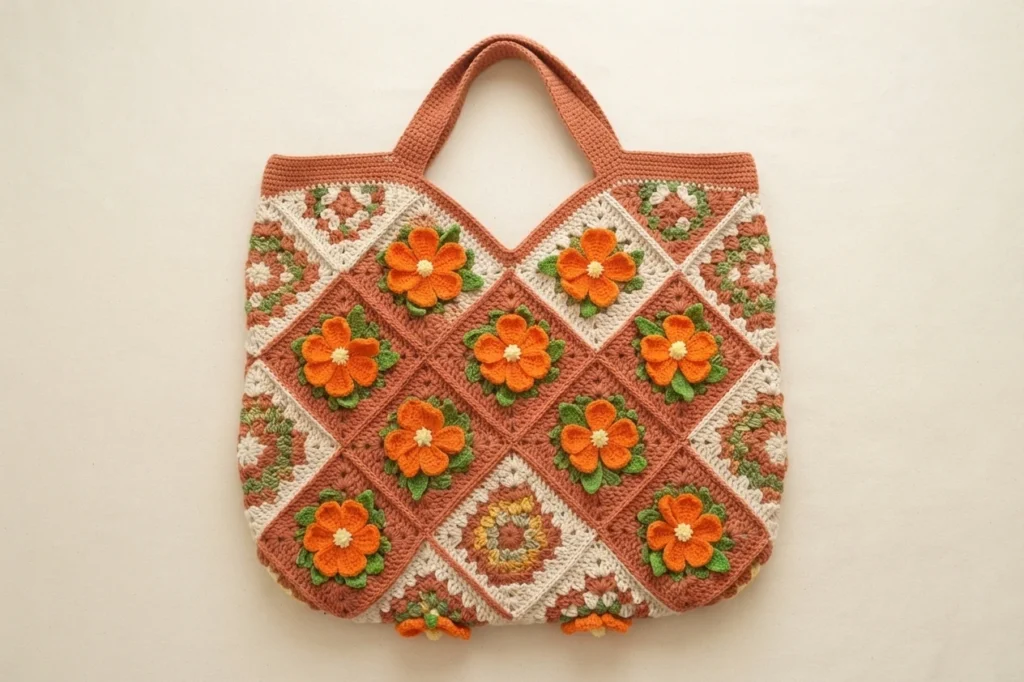
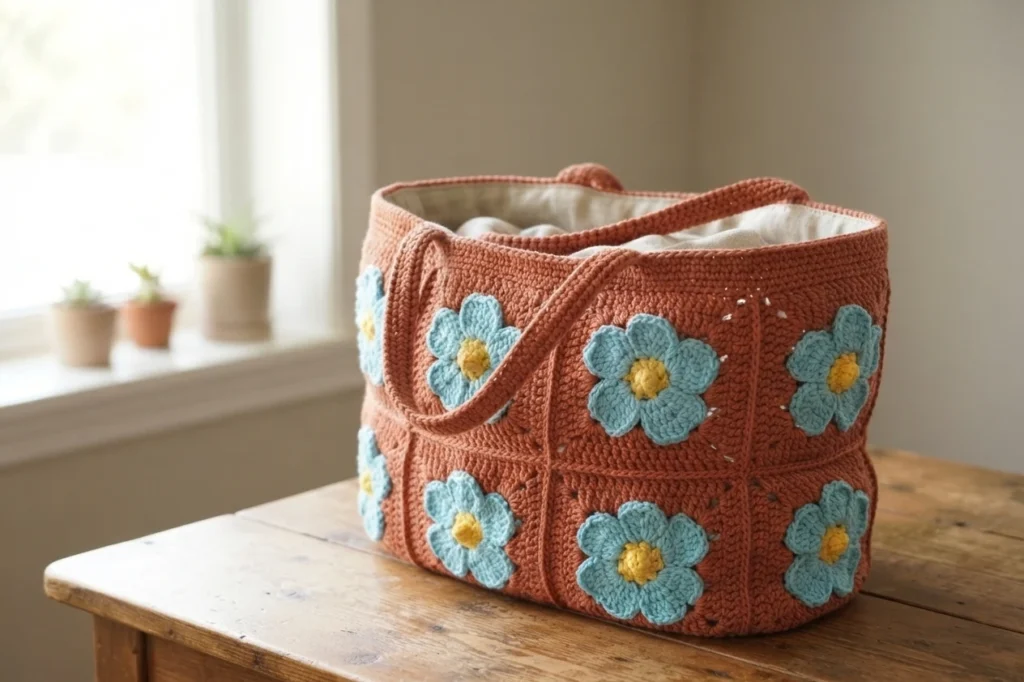
The designer also shares other free flower patterns with beginner tutorials. If you want more blooms to pair with this tote, her recent posts cover a winter jasmine, a rouge rose, a hibiscus flower, dried violet flowers, and a Lafitte rose, each offered as a free pattern with a PDF and beginner tutorial.
Crochet Granny Square Crossbody Bag (Pattern): Pattern Overview
Crochet Granny Square Bucket Bag Pattern (Pattern): Pattern Overview