Project introduction
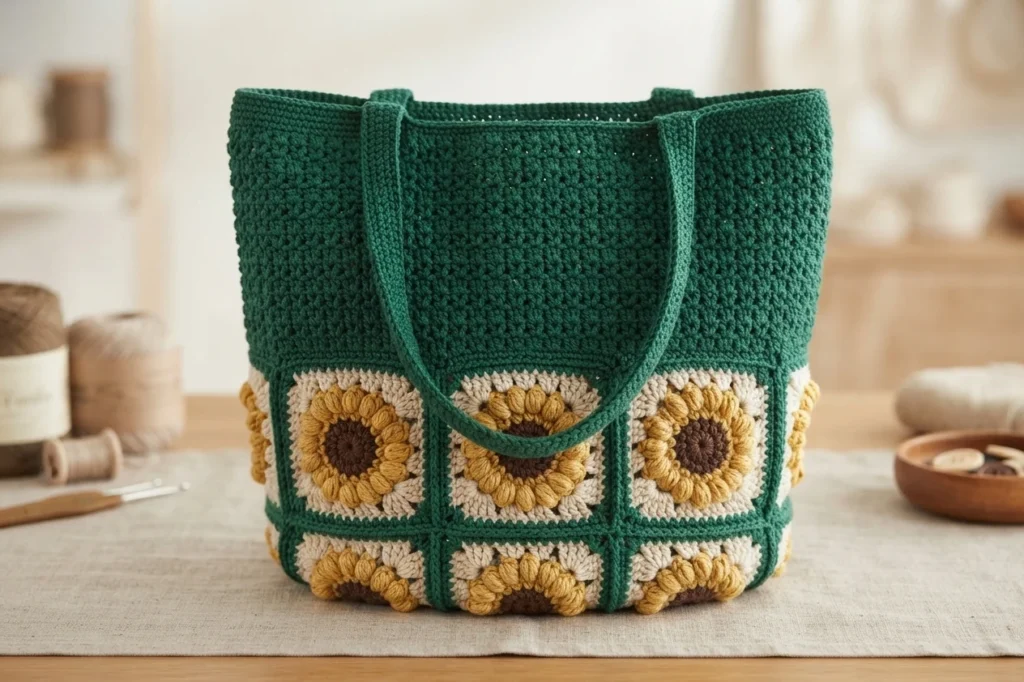
This overview introduces a crochet bag project from Loopara, built from cheerful sunflower granny squares. The sections that follow walk through the finished details, the full materials checklist, and the construction stages in general terms. Exact stitch-by-stitch instructions live with the original designer, linked below.
Crochet Granny Square Bucket Bag Pattern ( Pattern Overview)
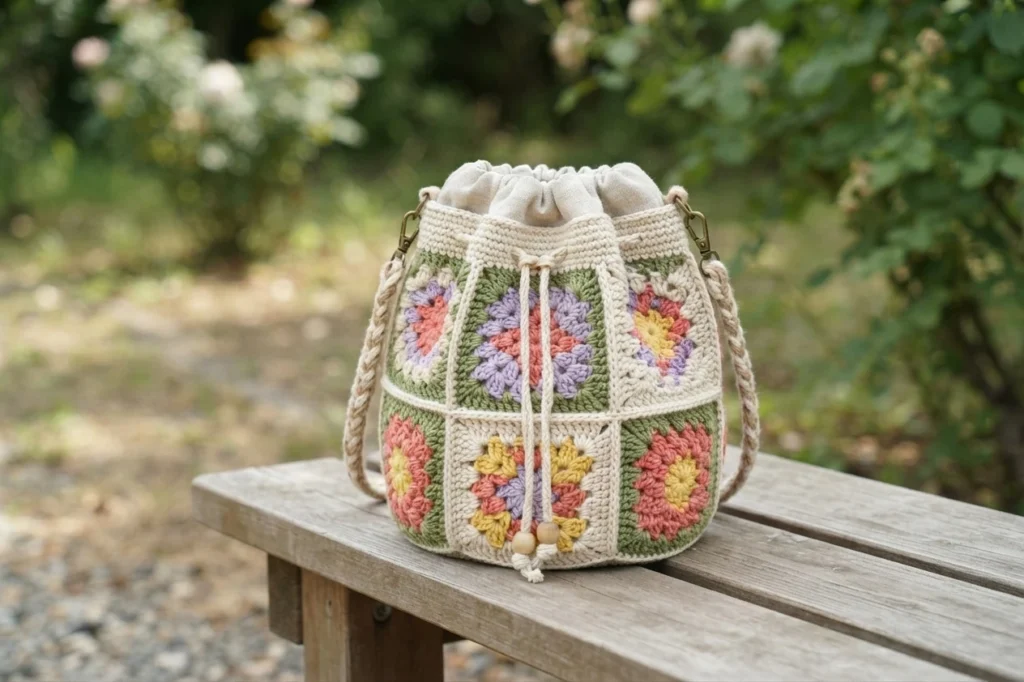
Please note that this is a pattern overview, not a full tutorial. It summarizes a free crochet pattern for a granny square bucket bag by Loopara, blending classic granny square motifs with a modern bucket bag silhouette. Colorful flower motifs and a roomy shape make it a cheerful everyday accessory. For the complete instructions, visit the Original designer’s pattern and instructions.
The designer’s page presents the project with clear guidance and helpful tips, plus a print option and a video. This overview covers the finished size, the materials list, and how each part comes together, so you can decide if the project suits your hook and stash.
Pin for later
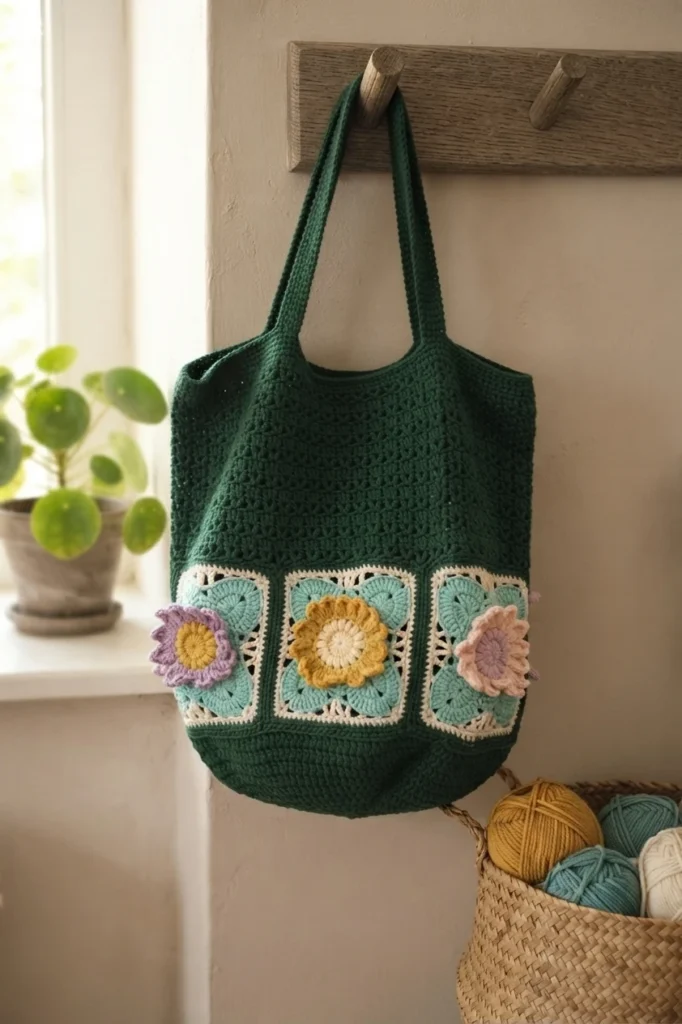
Save this pattern before you pick up your hook. Pinning it now keeps the granny square bucket bag project easy to find later, right when your yarn and hooks are ready. A saved link lets you return to the overview and jump to the designer’s full instructions whenever inspiration strikes.
Details About Granny Square Bucket Bag Pattern Overview
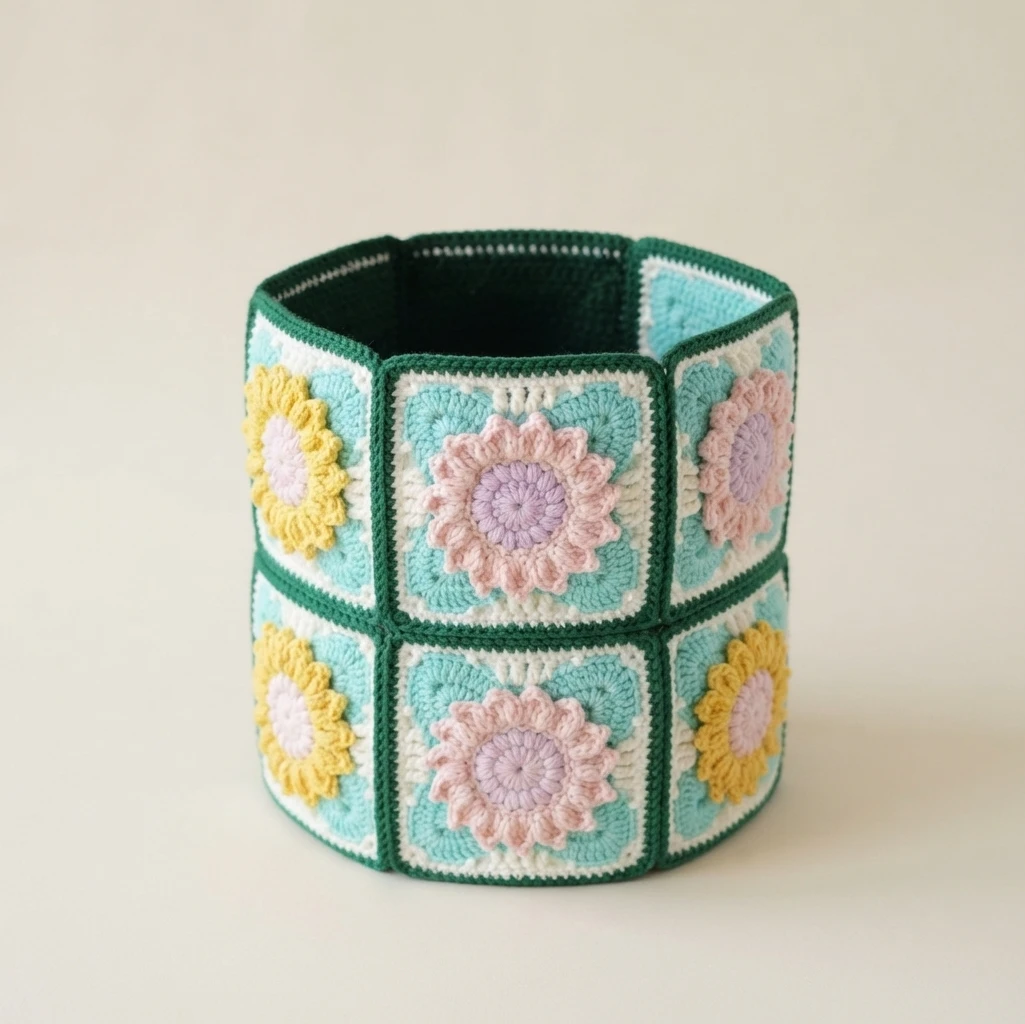
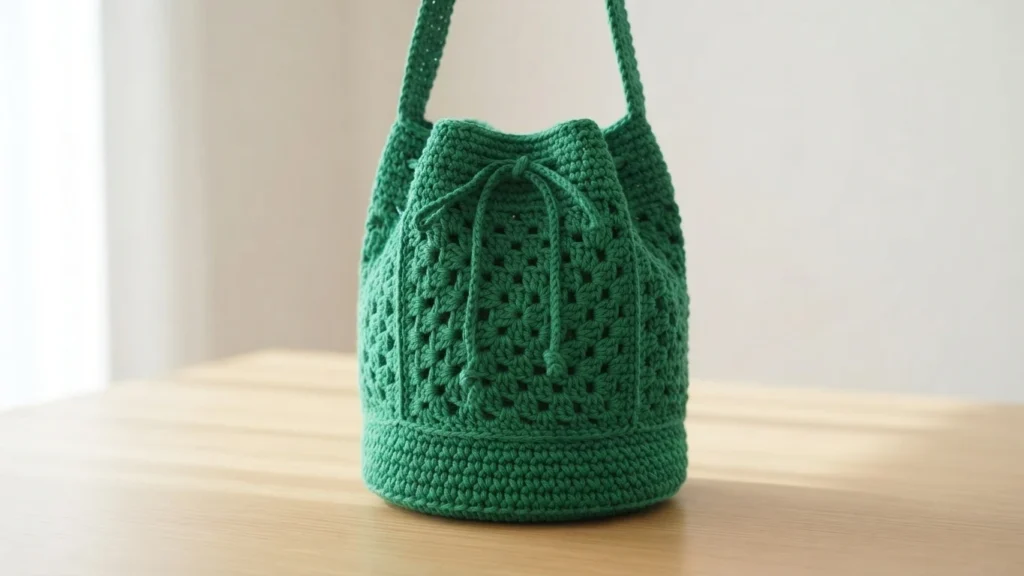
The bag is made from six sunflower granny squares, each measuring 4 inches (10 cm) across. Joined together, they form a bucket bag that finishes at 13 inches (33 cm) tall and 10.6 inches (27 cm) wide. The sample pairs a deep forest green base with mint, yellow, and soft pink flowers.
Those colors are only a starting point. The designer encourages you to choose your own favorite yarns and shades, so plan a palette that matches your wardrobe or the season. Granny squares show off color beautifully, making this a lovely way to use shades you already love.
Materials needed for Granny Square Bucket Bag Pattern Overview
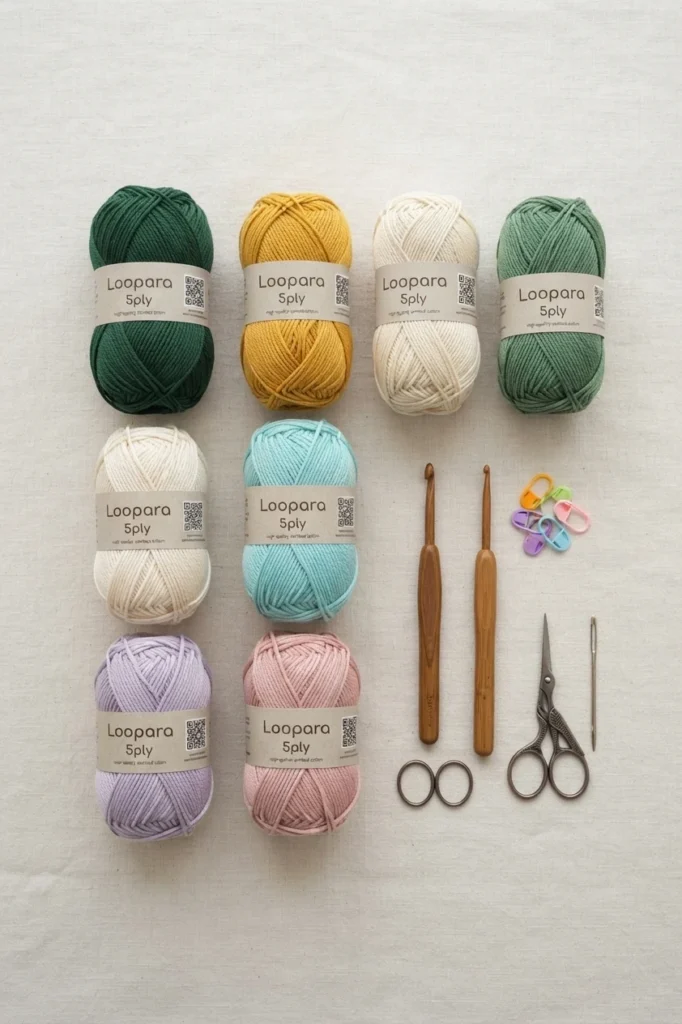
Gather these items before you begin. The list below covers everything the source names for the project, including the two hook sizes used in different parts of the bag. Having each tool within reach keeps the motifs, the joining, and the finishing steps moving smoothly.
- Loopara 5-ply combed cotton yarn
- 3.0 mm crochet hook
- 3.5 mm crochet hook
- Stitch marker
- Scissors
- Yarn needle
Abbreviations (US Terms)
The pattern uses standard US crochet terms. Keep this quick glossary nearby while you read the construction summaries or work from the designer’s full instructions. Every abbreviation follows the fixed technical meaning used across US patterns, matching what you will see on the designer’s page.
| Abbreviation | Meaning |
|---|---|
| ch | chain |
| sc | single crochet |
| dc | double crochet |
| hdc | half double crochet |
| tr | treble crochet |
| sl | slip stitch |
| inc | increase |
| dec | decrease |
| bobble st | bobble stitch |
| picot | picot stitch |
| dc2tog | double crochet 2 together |
| dc3tog | double crochet 3 together |
| sc3tog | single crochet 3 together |
Granny Square Bucket Bag Pattern Layout
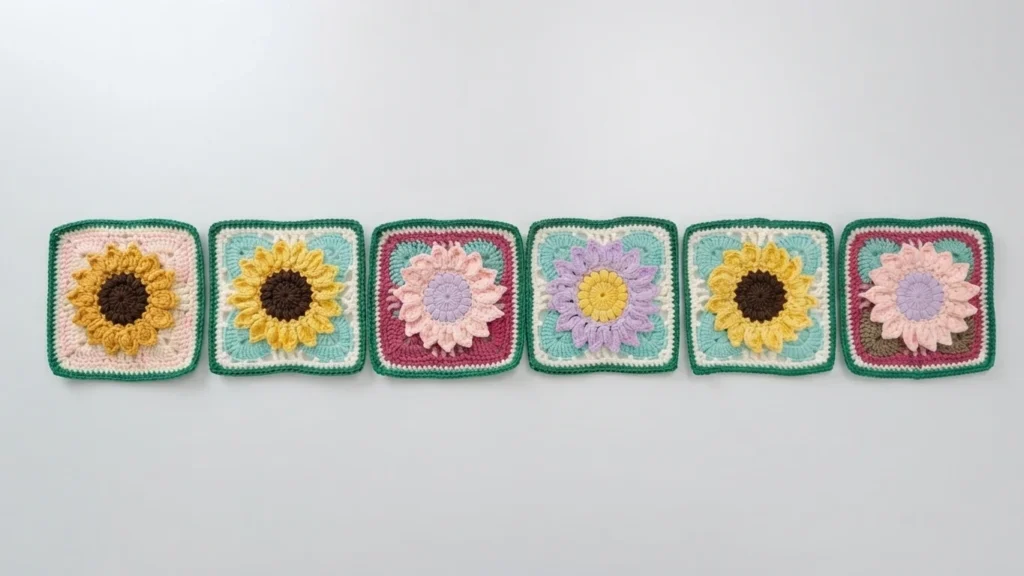
A layout diagram on the designer’s page shows how the six squares come together to form the bag body. Treat it as your map for assembly: it guides the arrangement and the joining order before a single seam is worked. Checking it first helps the panels line up evenly.
How to Crochet Granny Square Bucket Bag Pattern - Step by Step
The tutorial uses different yarn colors for the crocheting and assembly stages, which makes each part easier to follow. You may choose any colors you like, so plan a palette that feels like you. Two color-changing techniques are included to keep your joins tidy when switching shades.
How to Crochet a Sunflower Granny Square (Make 6)
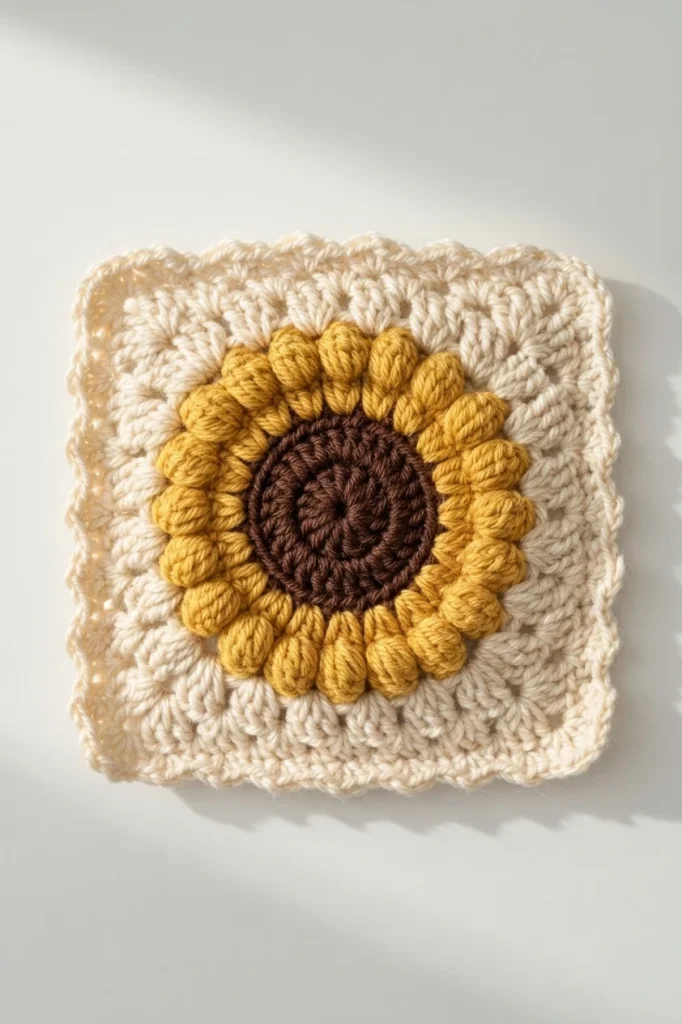
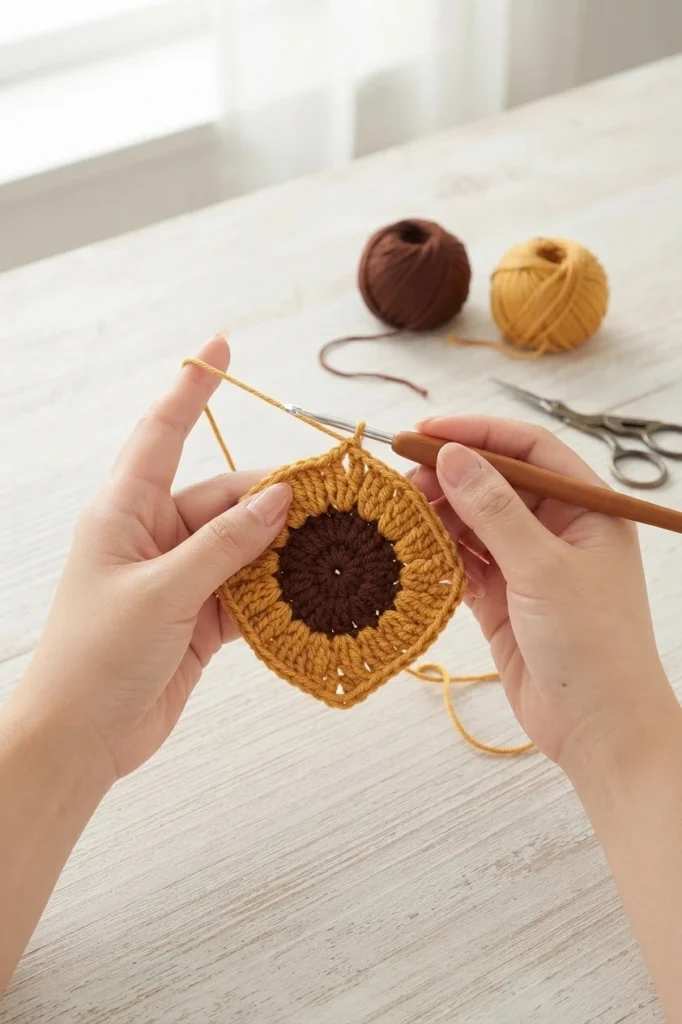
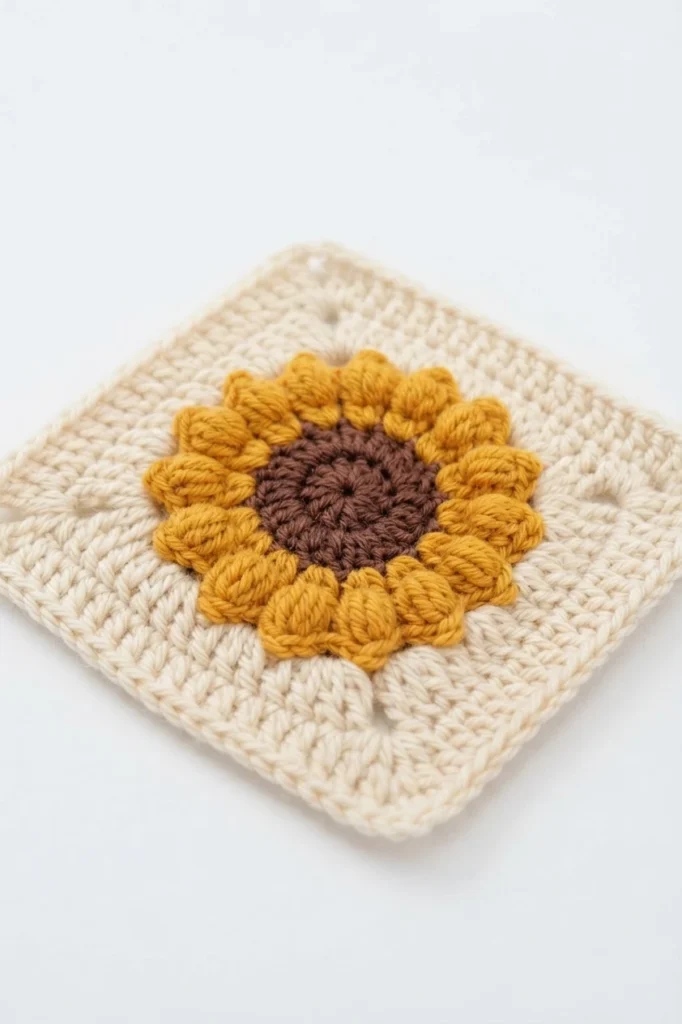

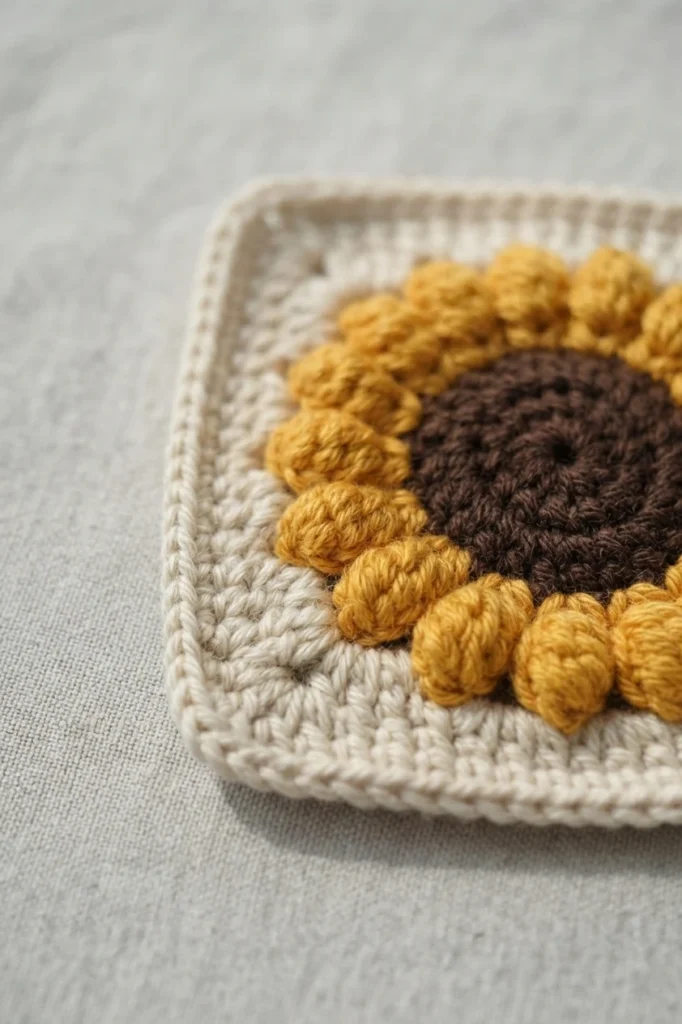
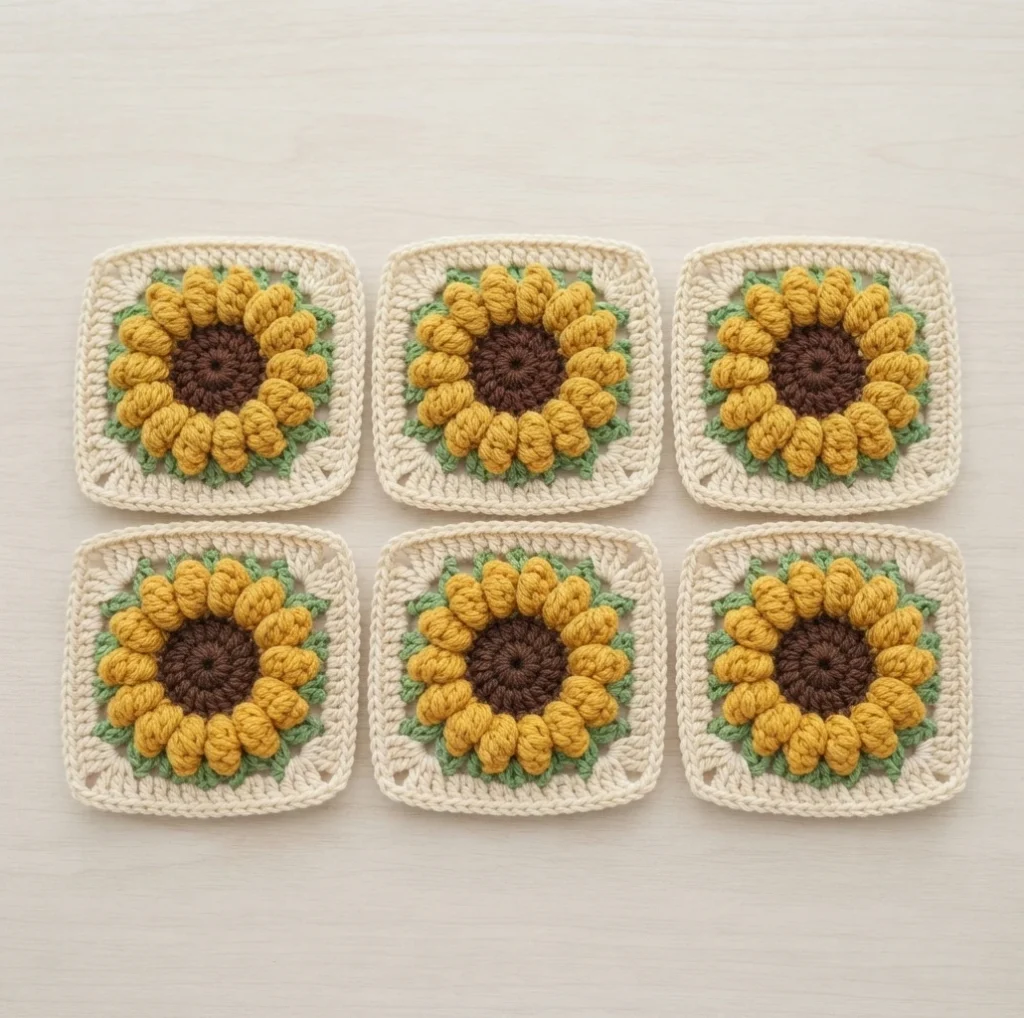

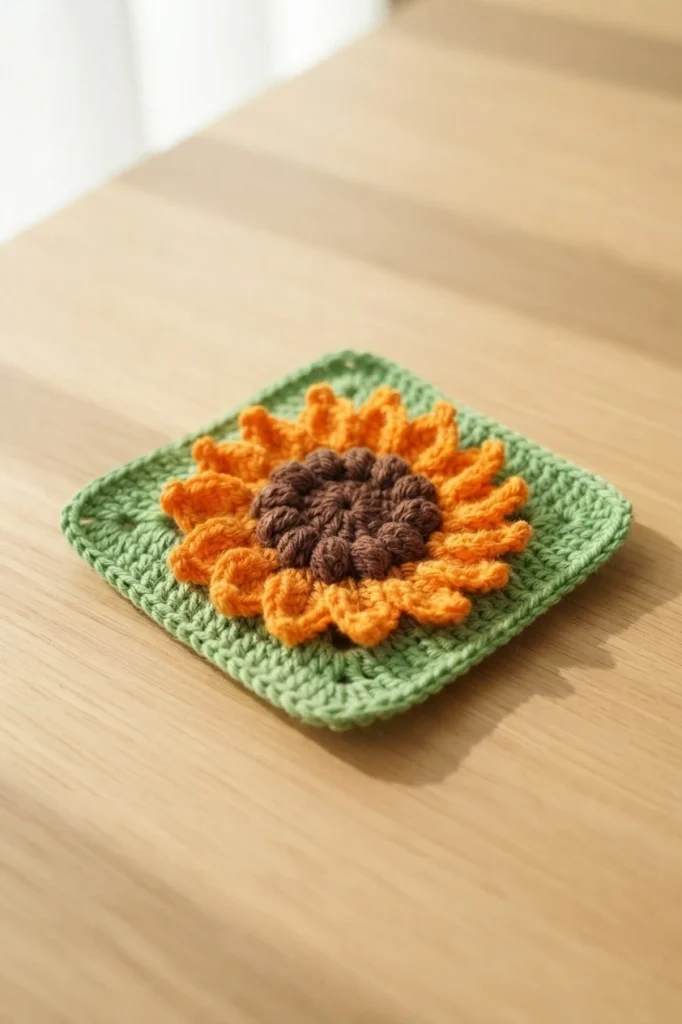
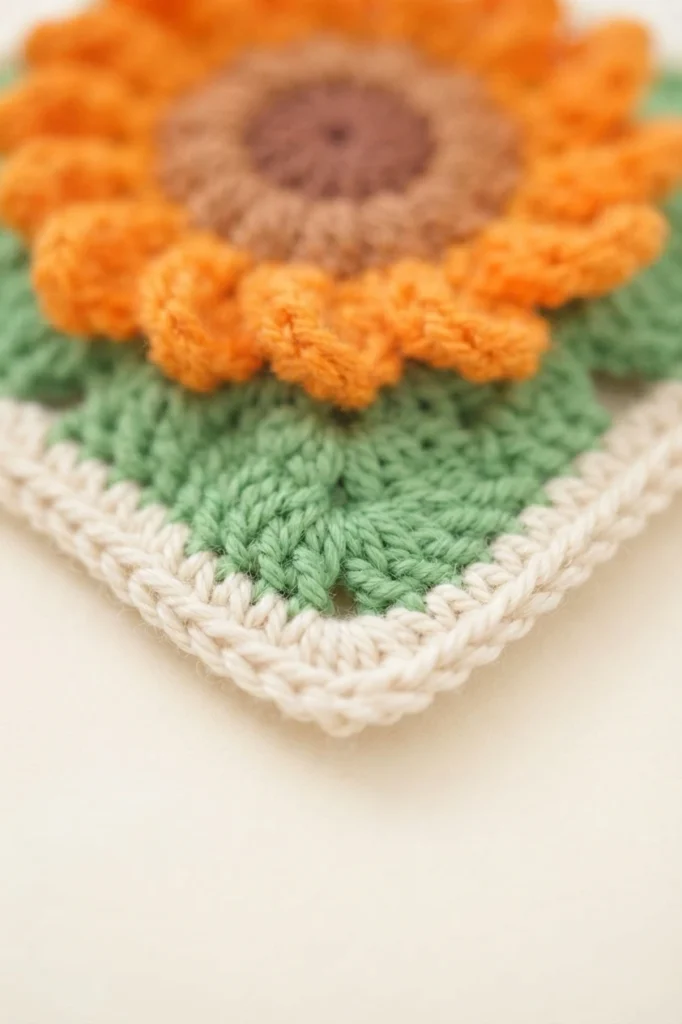
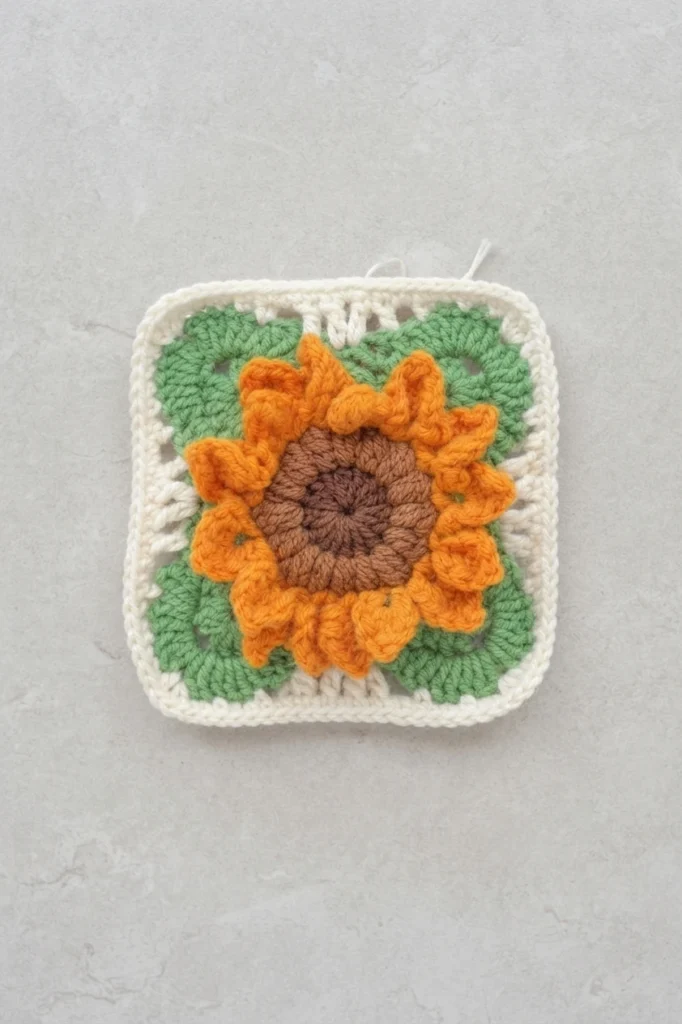
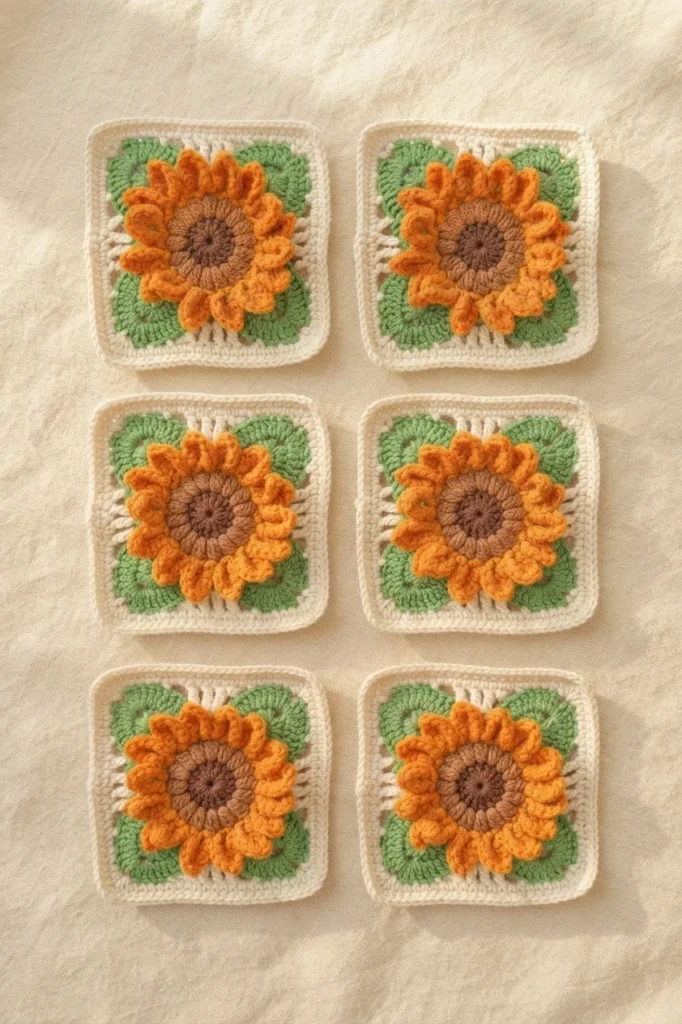
Each of the six motifs starts with a magic ring and grows outward over eleven rounds. Early rounds shape a round flower center with textured bobble stitches and small picots. Later rounds add the corner shaping that turns the circle into a neat square, and blocking evens out the finished motifs.
How to Join Granny Squares
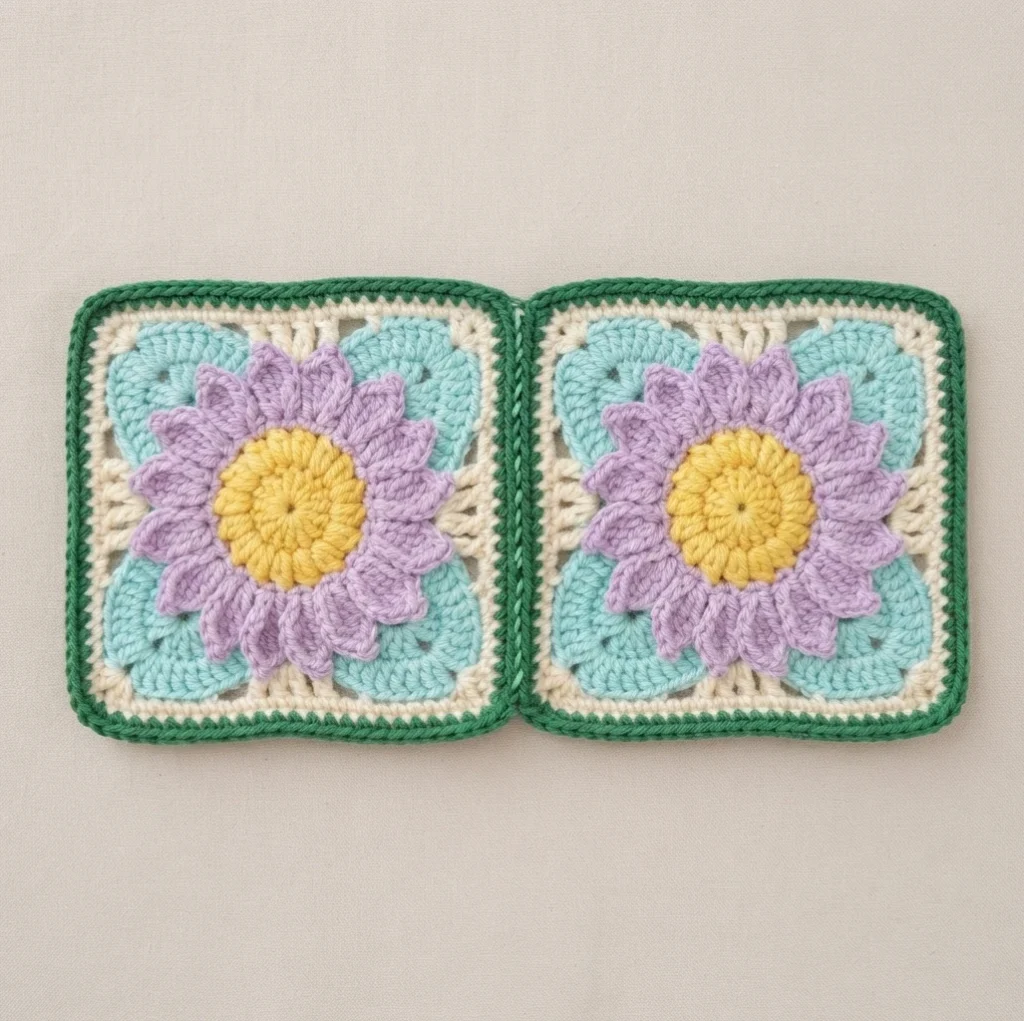
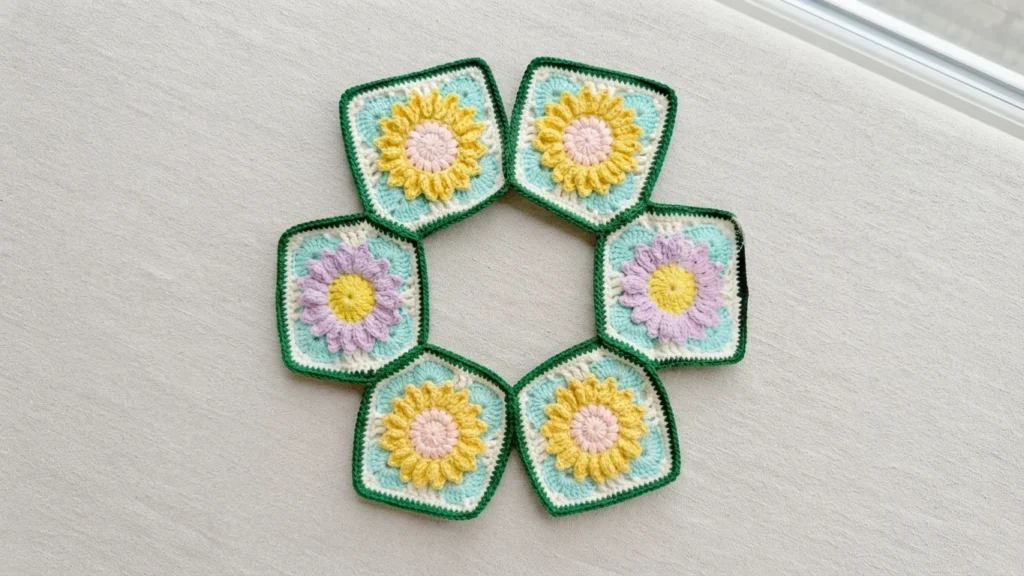
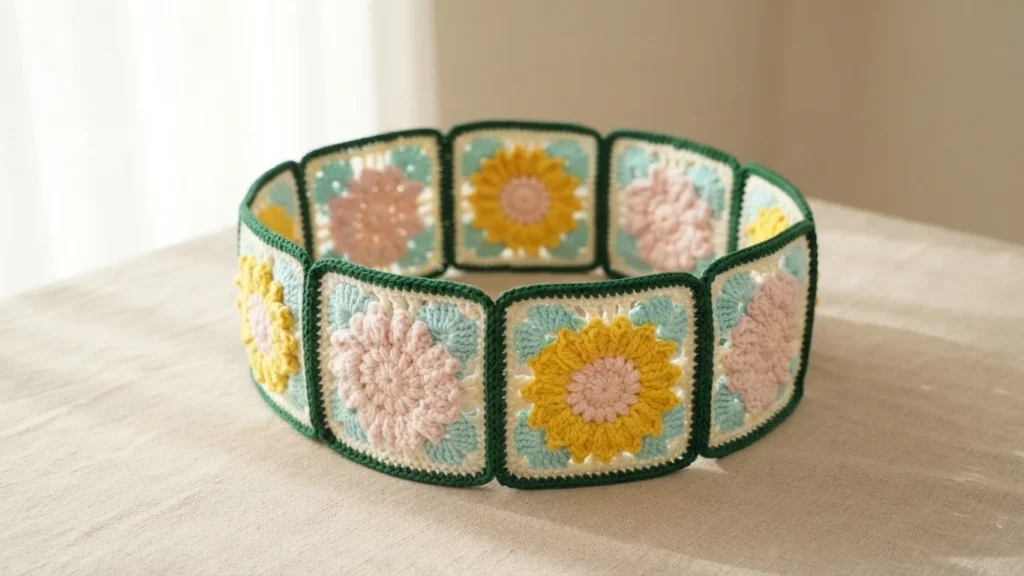
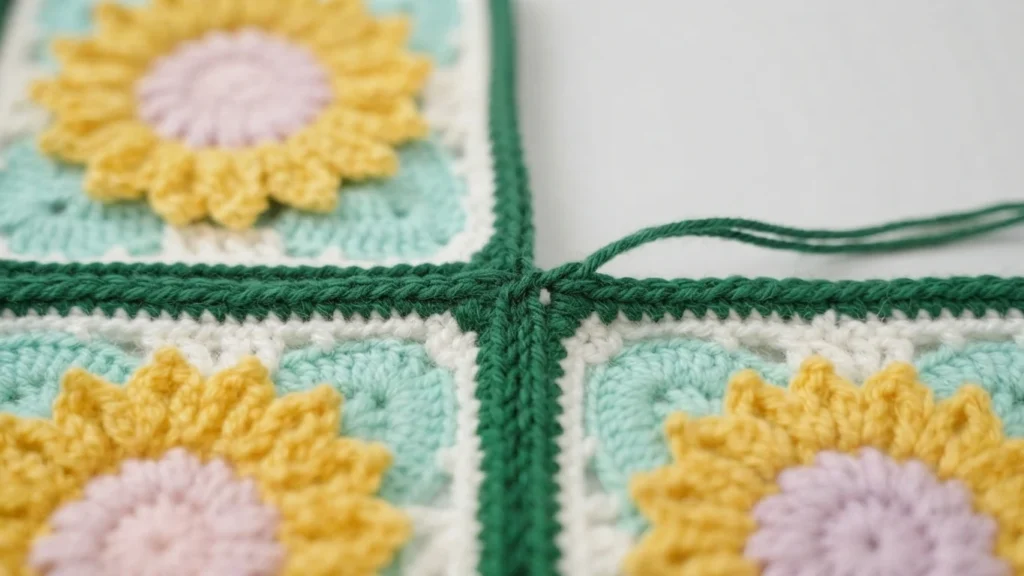
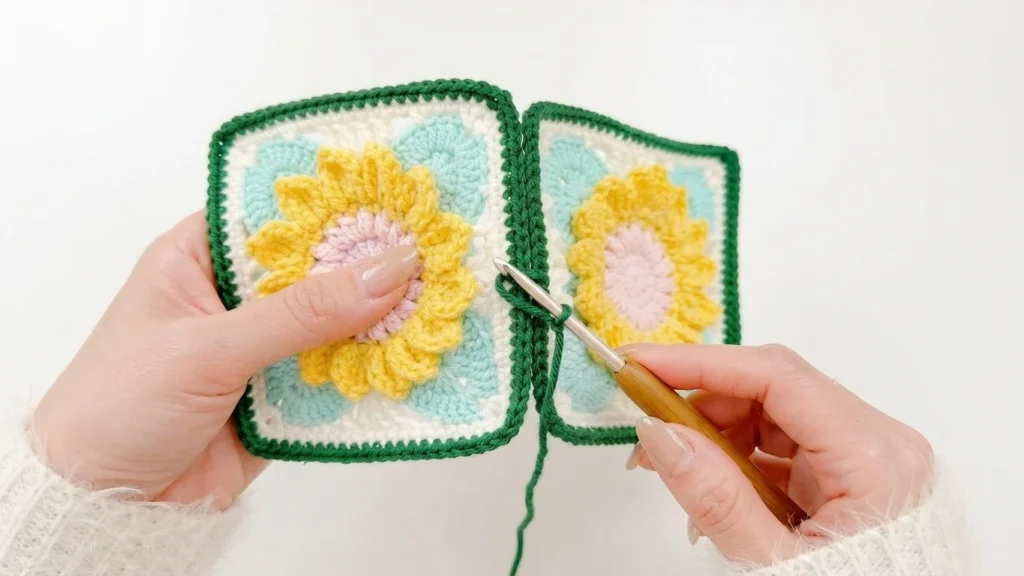
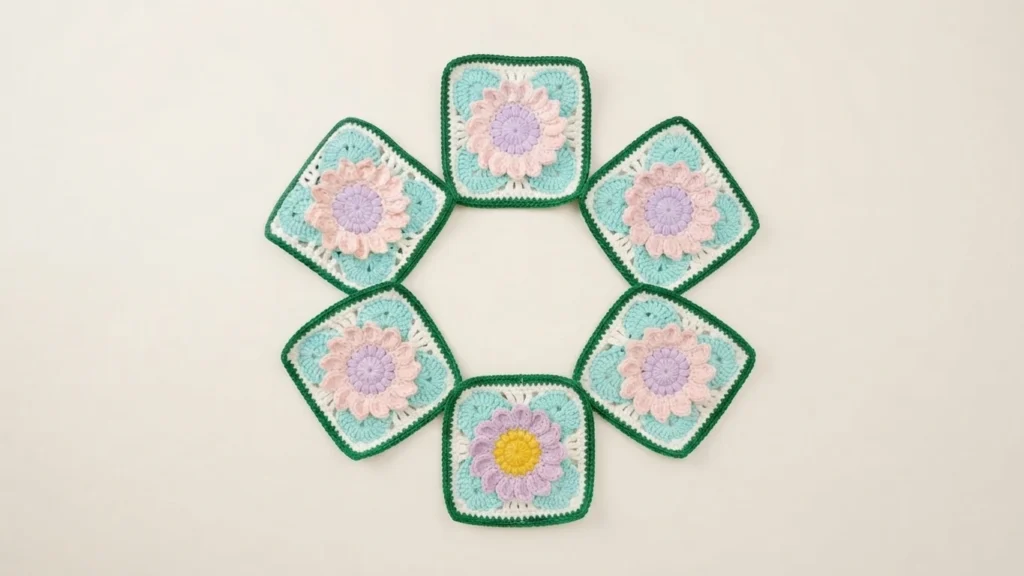
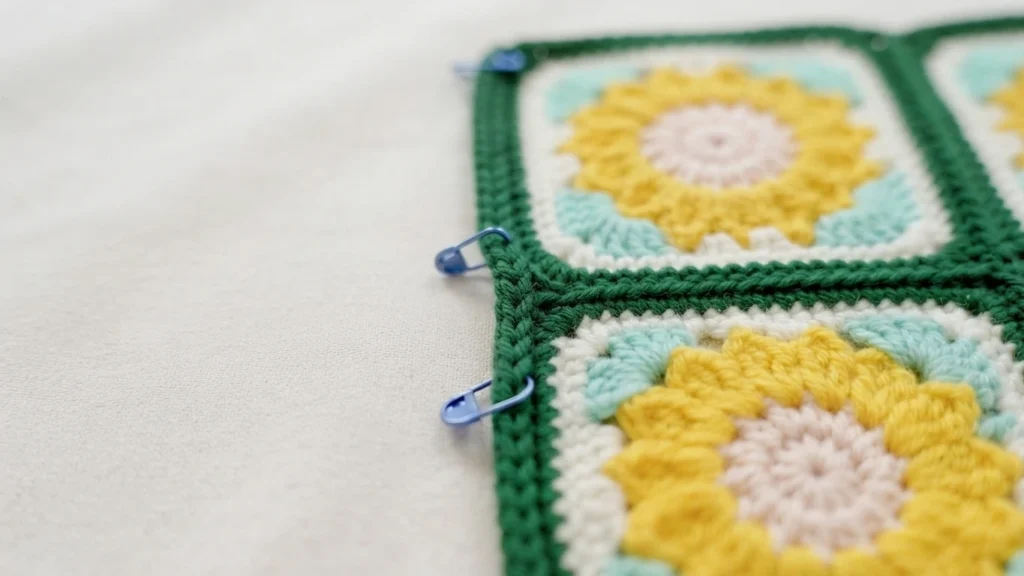
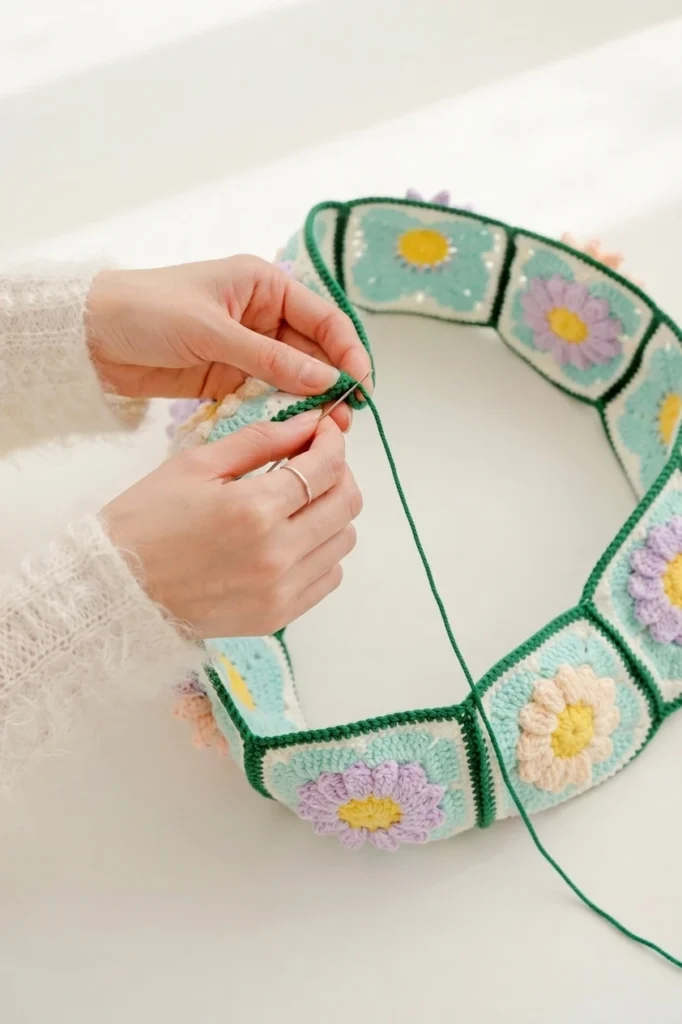
Six squares are joined into a ring following the flat layout diagram. Held back to back, they are connected with a slip stitch through the inner half of each stitch along the edges. The join is reinforced at the starting and ending points, and ends are woven in on the wrong side.
How to Crochet the Bag Bottom
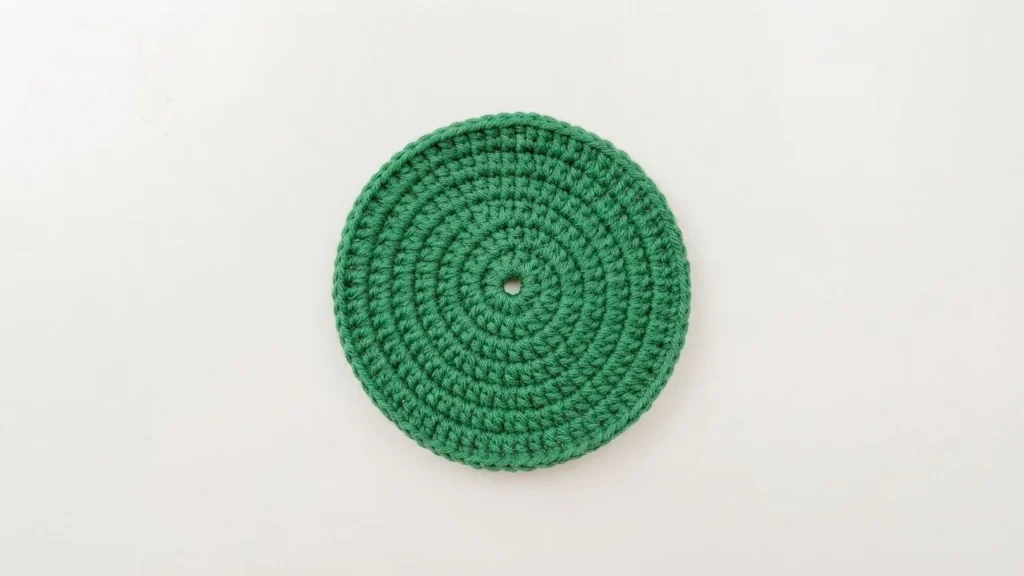
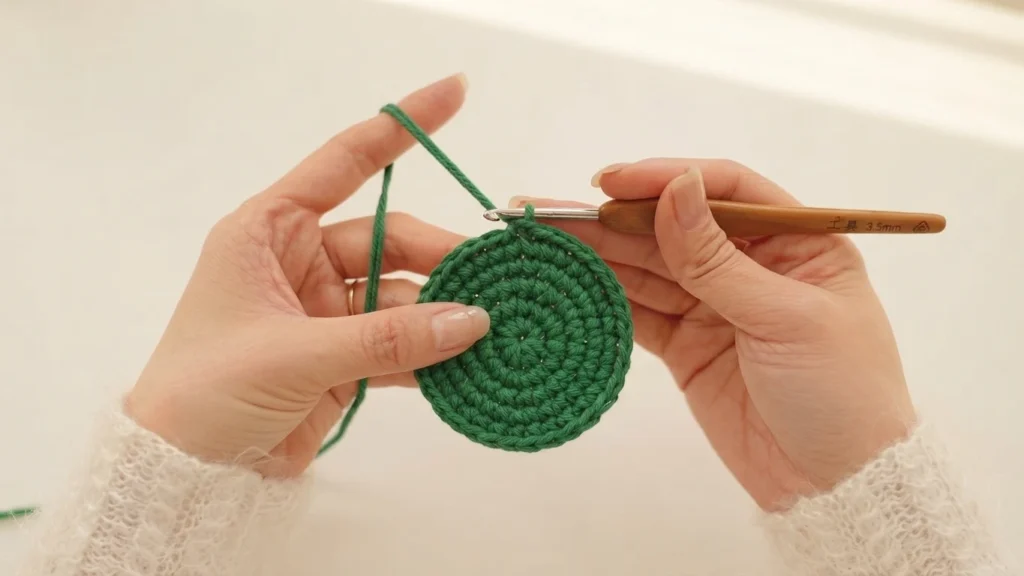
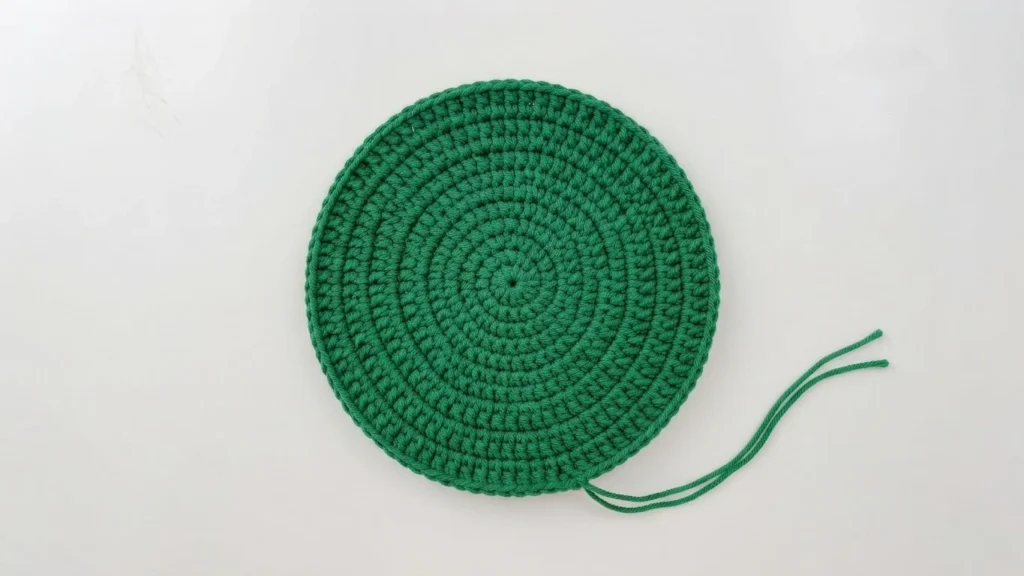
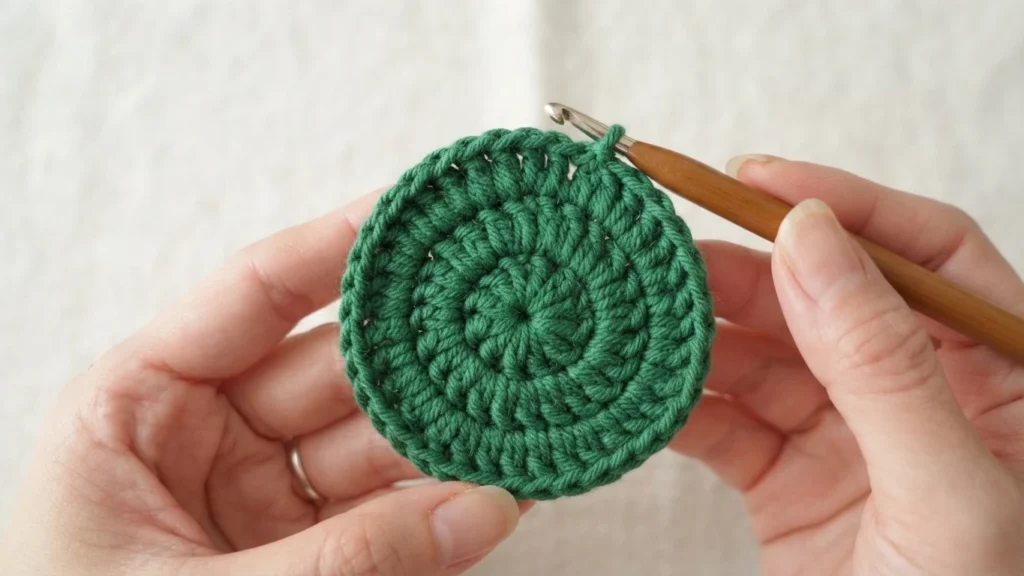
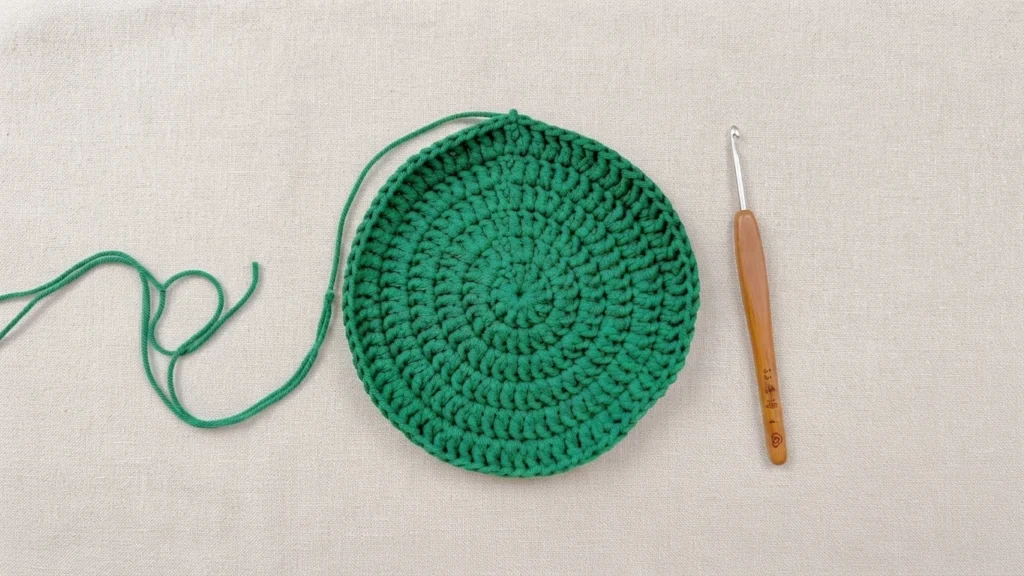
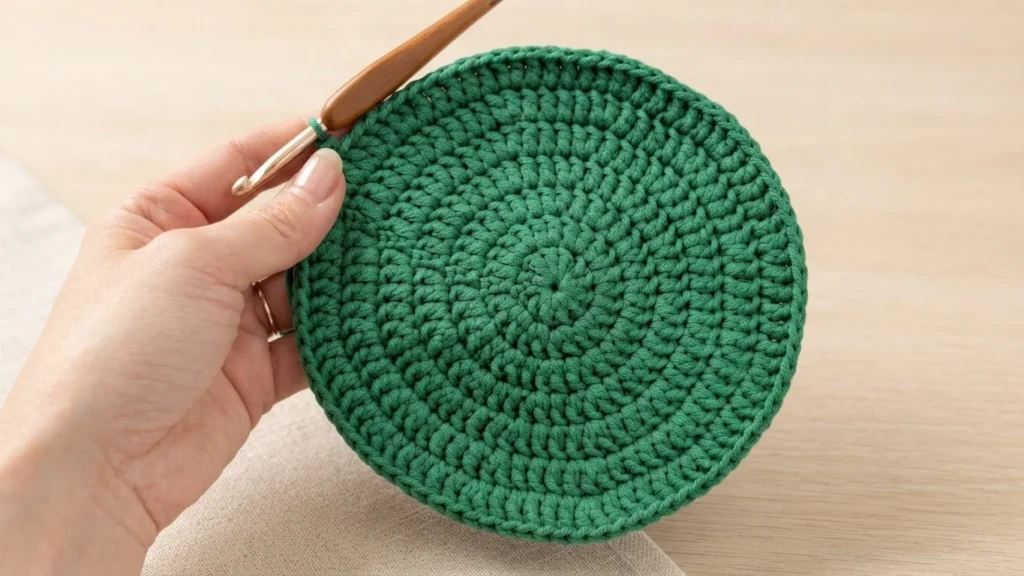
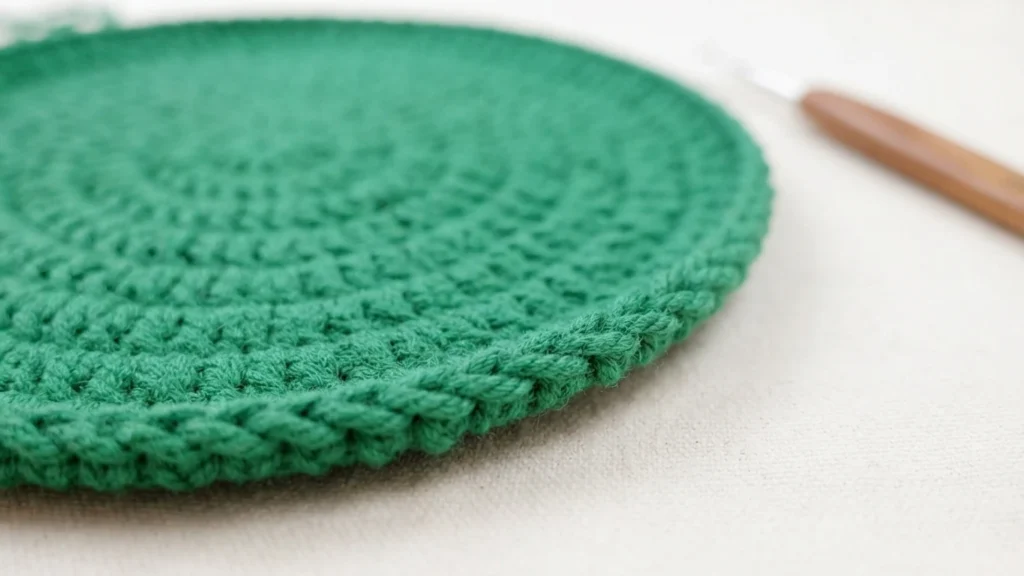
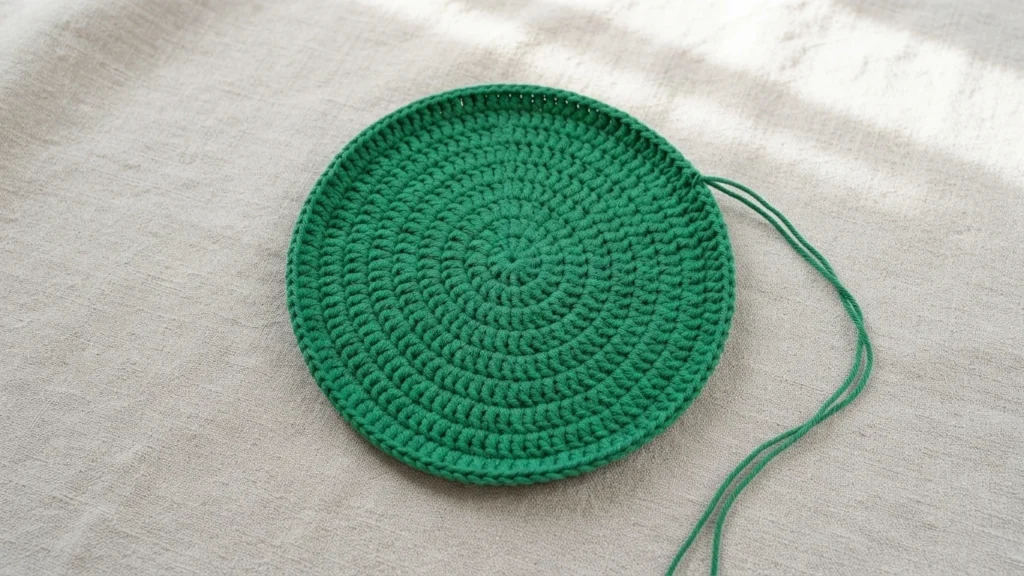
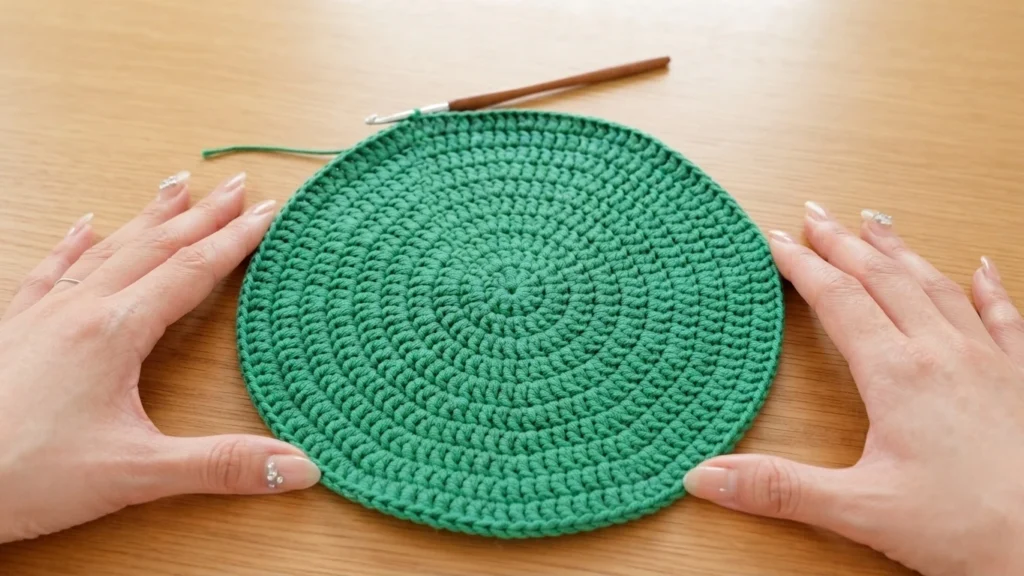
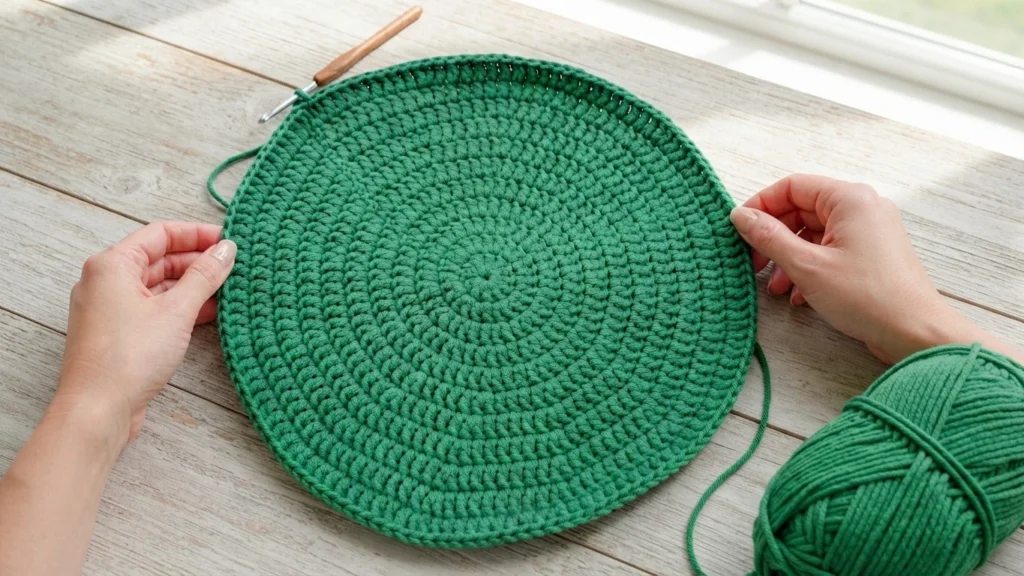
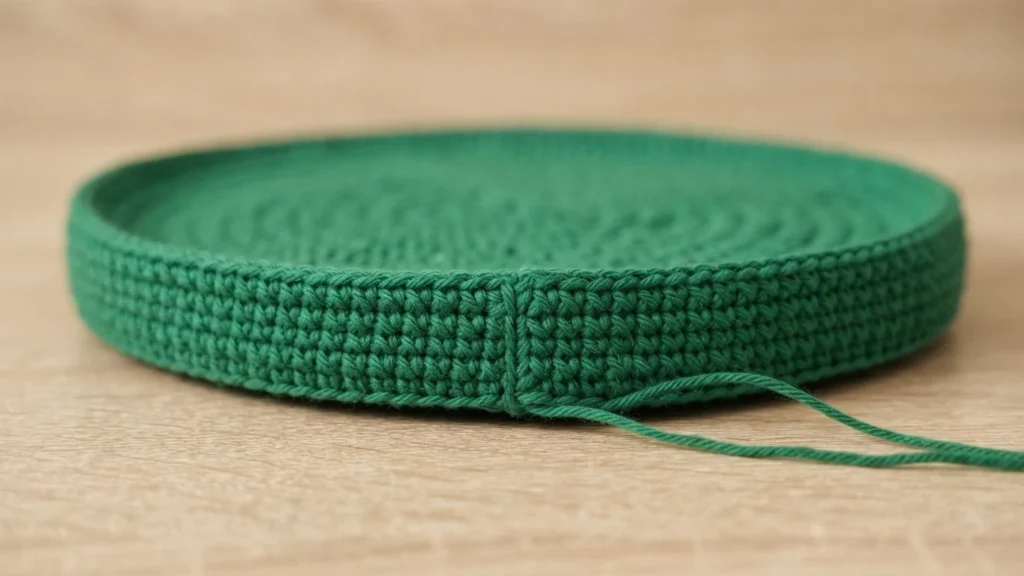
The bag bottom is a flat disc worked in joined rounds from a magic ring, using double strands of yarn with a 3.5 mm hook. Even increase rounds grow the circle to full size, leaving a long tail for sewing. Count stitches at the end of each round to catch missed increases.
How to Connect the Bag Bottom to the Body Panels
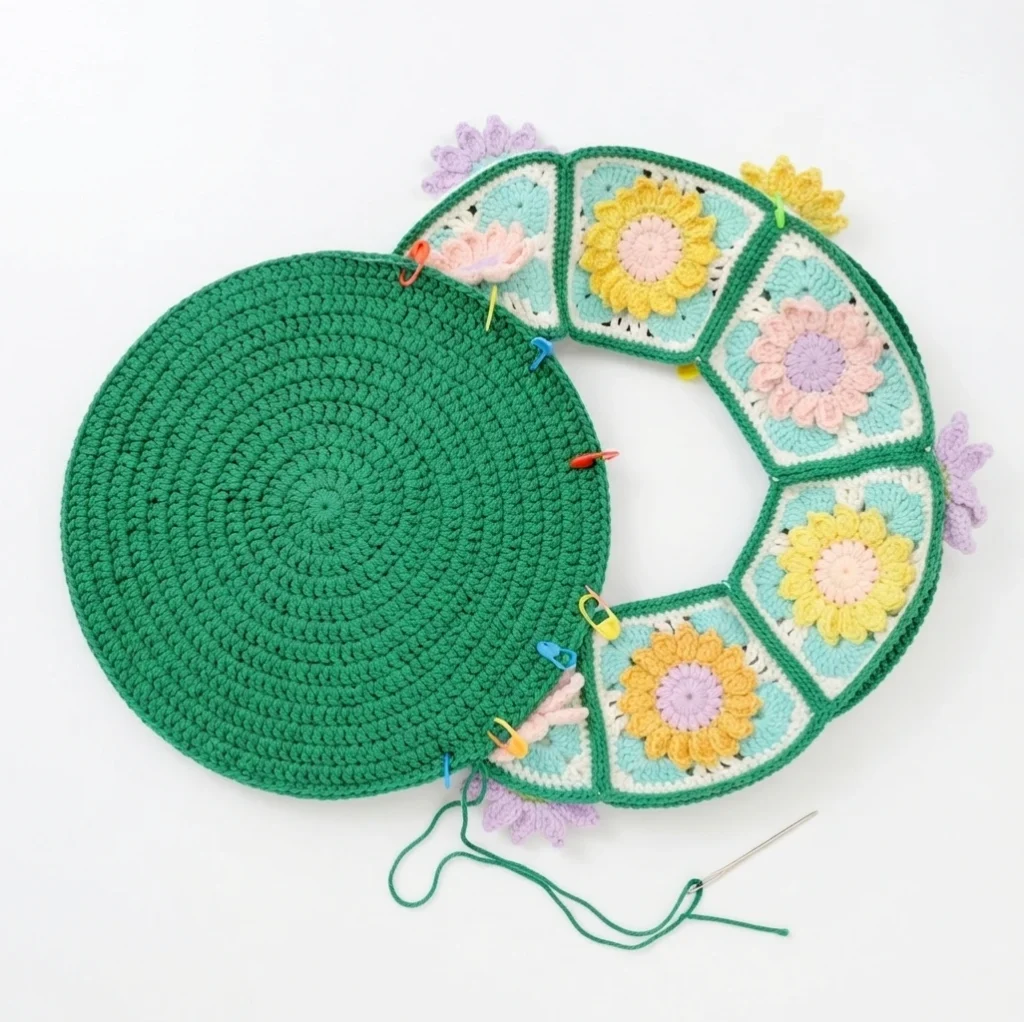
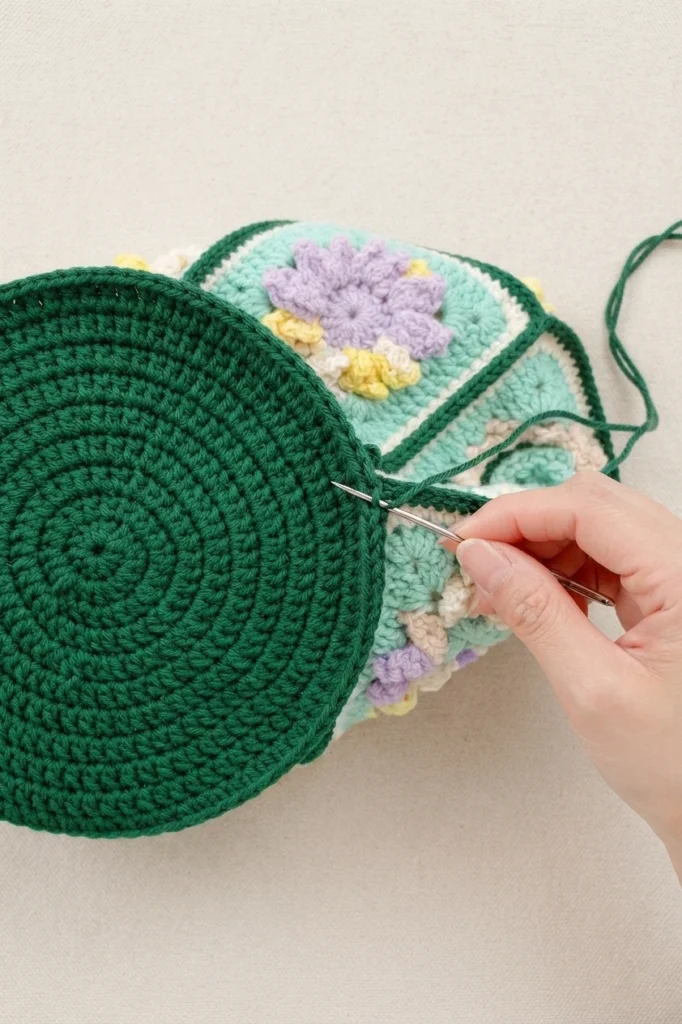
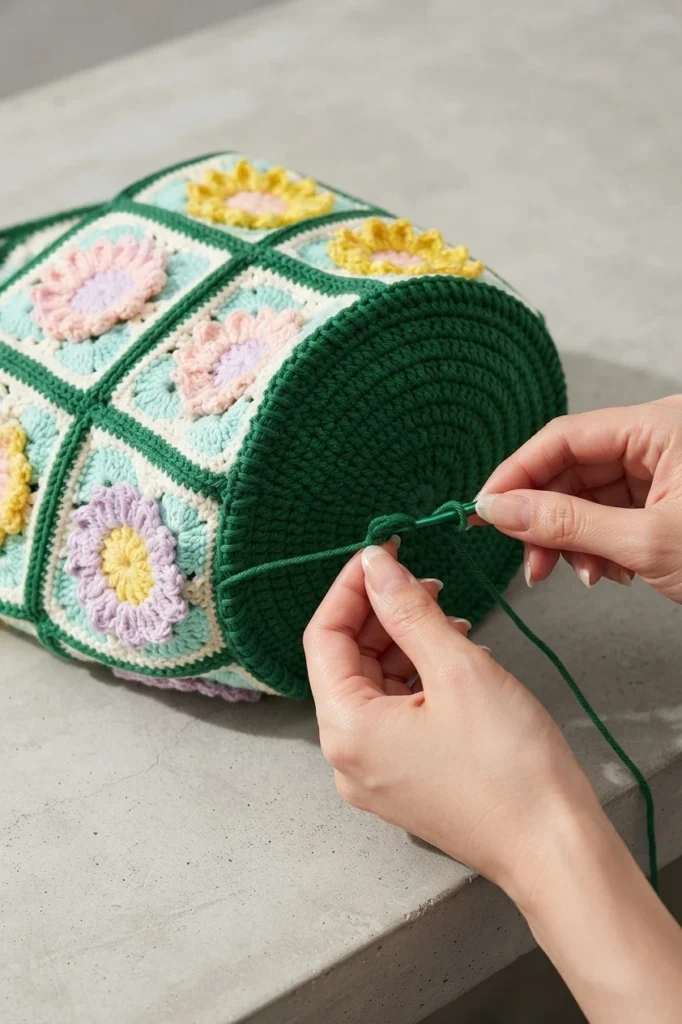
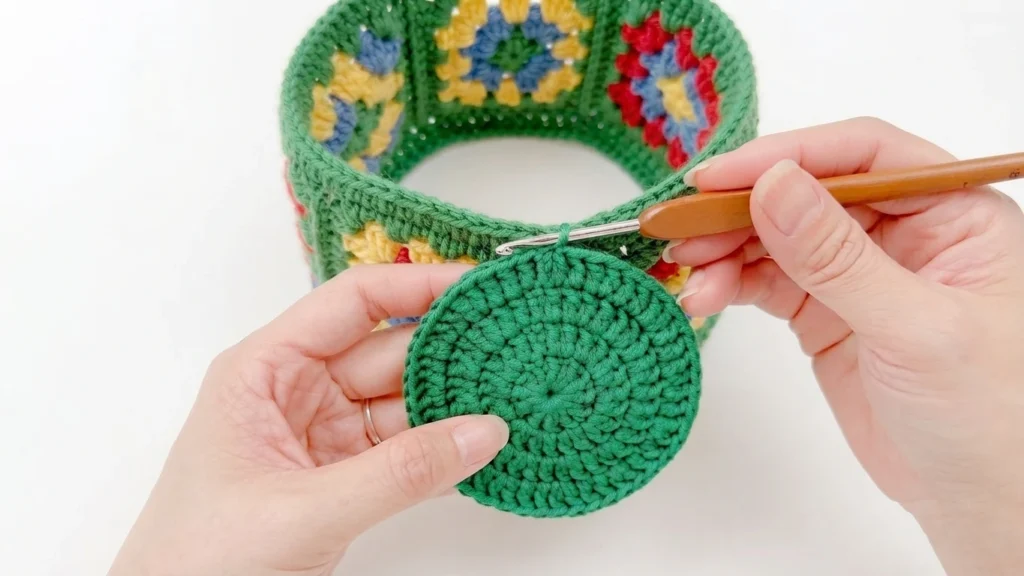
To attach the bottom, place it face down and pin it to the body panels with stitch markers so nothing shifts while you sew. Whipstitch the pieces together through the inner halves of the edge stitches around the full circumference. Exact stitch-for-stitch matching is not required, and a relaxed tension keeps the bottom flat.
How to Crochet the Bag Body
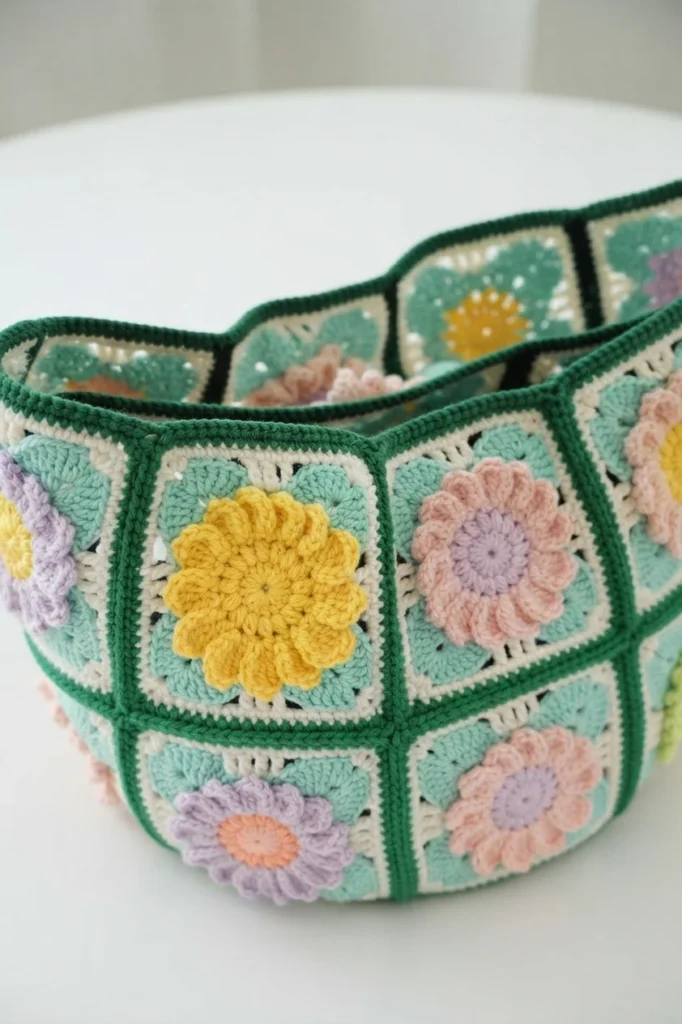
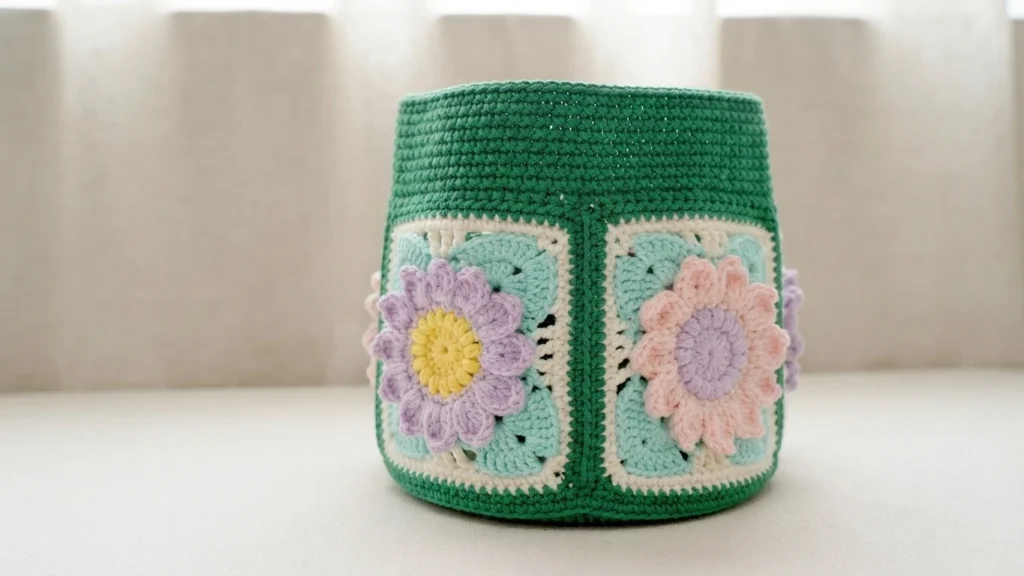

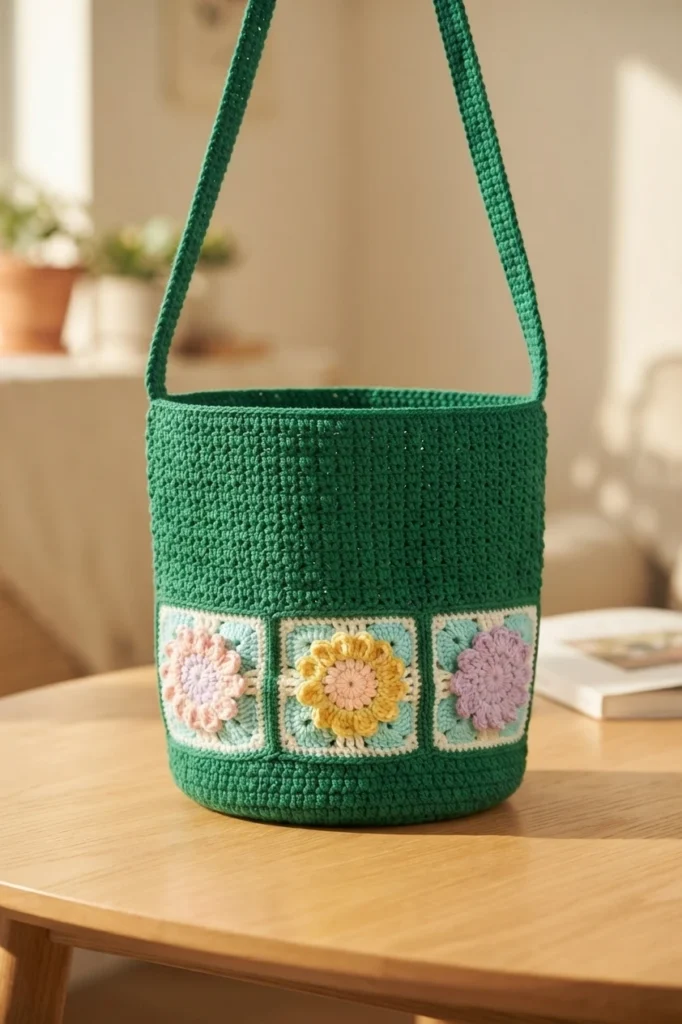

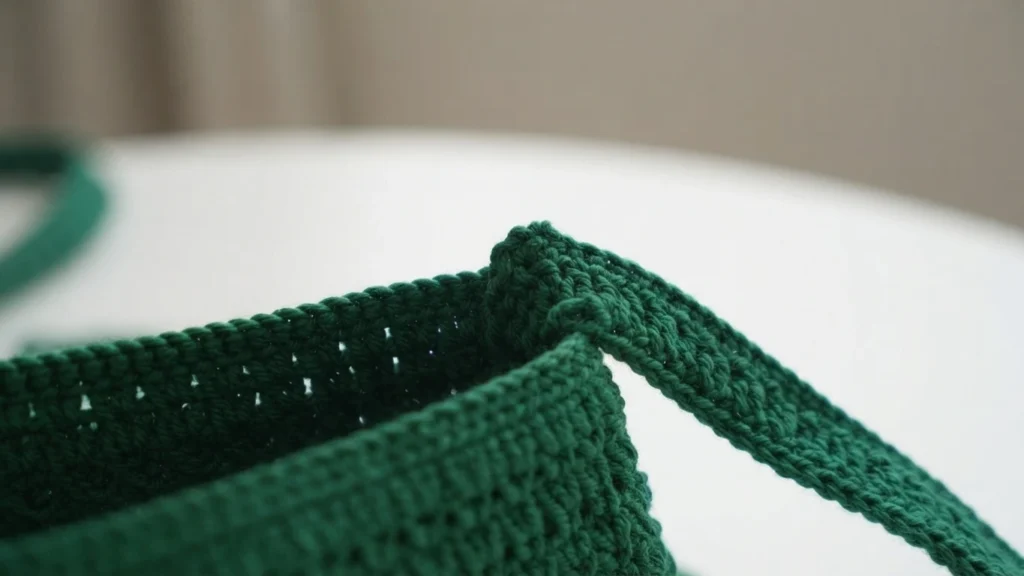
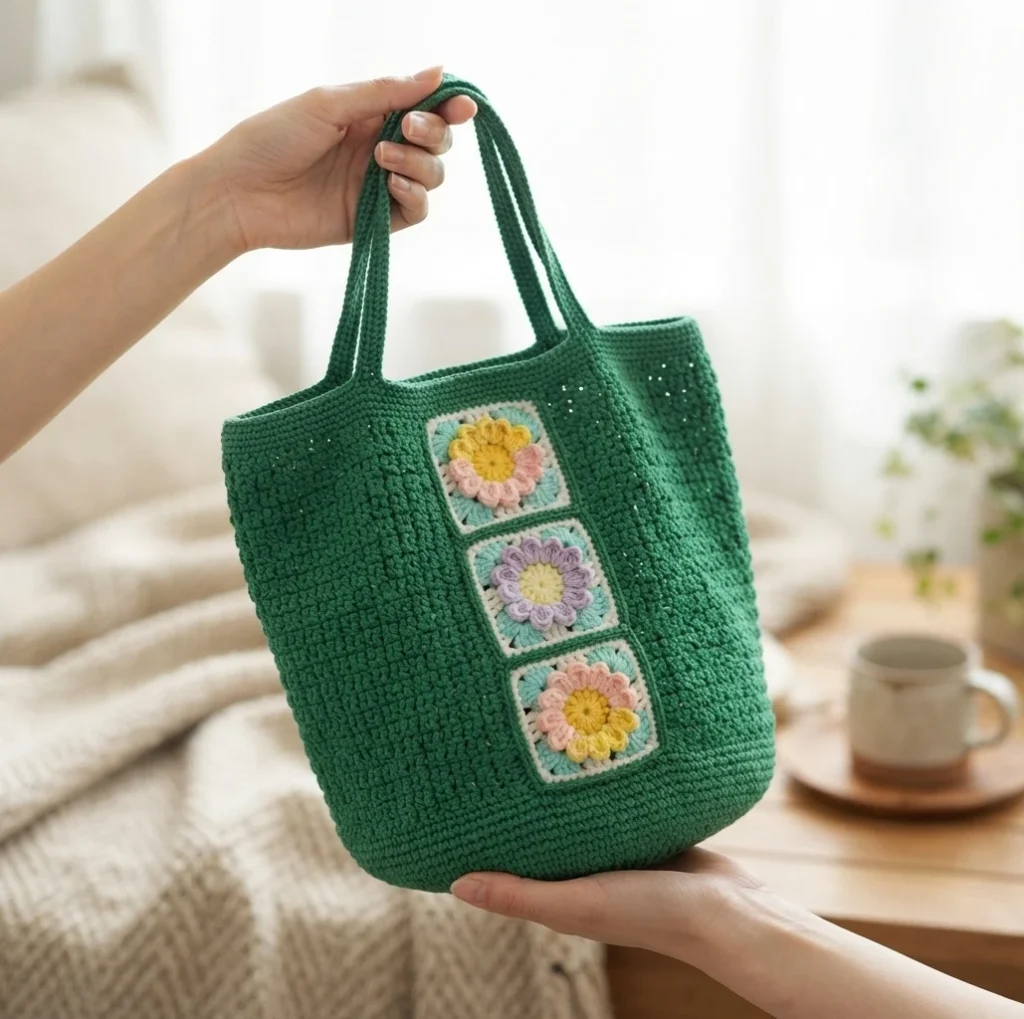
The body is worked in the round with a 3.0 mm hook. A single crochet foundation round, worked in a multiple of three, grows into an alternating texture: open V-shaped groupings of double crochet alternate with solid double crochet clusters. A plain single crochet round firms the top edge, and long chains worked into the next round form the handles.
How to Join Granny Squares
The pattern joins its squares with one simple method, so assembly stays approachable. If you prefer to explore, the designer also offers a separate comprehensive guide detailing eleven ways to join granny squares. Each method brings its own look, so choose the one that best suits your style.
How to Weave in Ends Crochet Granny Square
The designer calls weaving in ends the secret to professional-looking granny squares. The pattern points you to three weaving-in methods refined over years of crocheting and used in every project. They secure the ends so the squares stay sturdy and polished, ready for joining.
Daily Care Tips
A little prevention keeps the finished bag looking its best. Avoid setting it on rough or dirty surfaces, and tuck a small pouch inside for messy items on outings. If a stain appears, dab it gently with a damp cloth instead of rubbing.
Washing Methods
For a deeper clean, check the yarn label first and follow its specific instructions. Hand washing is the safest general choice: cool water with a little mild detergent, a gentle swish, and a rinse until the water runs clear. Squeeze without wringing, reshape, and air dry flat.
Storage Suggestions
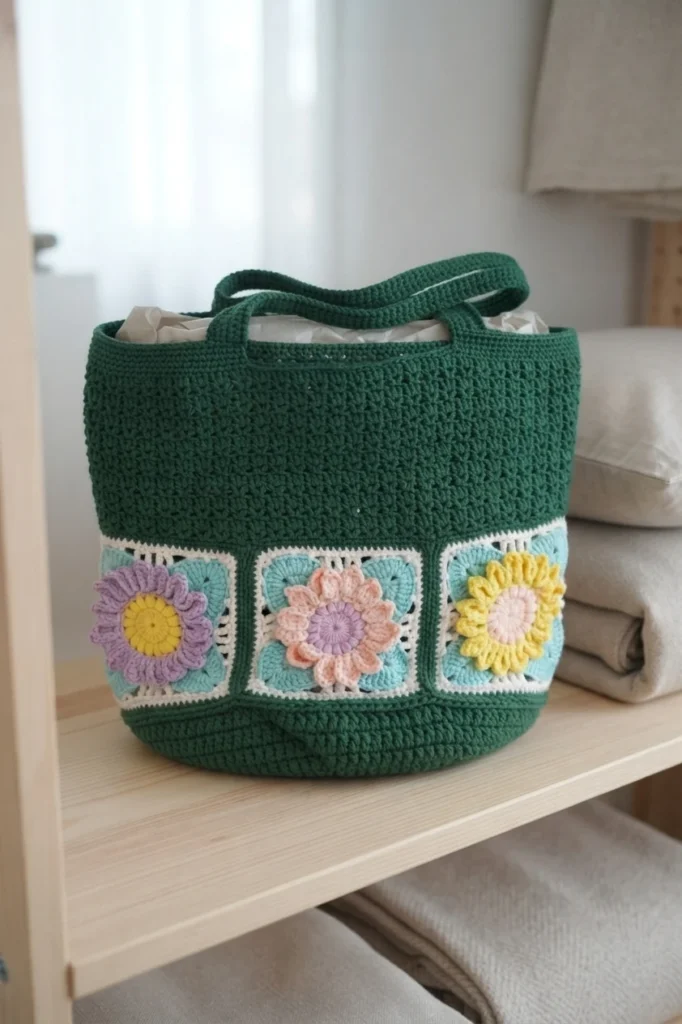
Store the bag clean and completely dry so it holds its shape. Stuff it lightly with acid-free tissue paper and keep it in a cool, dry place away from direct sunlight. A dust bag is ideal, with a plain pillowcase as an alternative. Keep heavy items off the top.
Crochet Granny Square Bucket Bag Pattern Overview
The pattern page shows a rating of 5.0 stars from four users, a warm sign that makers have enjoyed this project. Share buttons for Twitter, Facebook, Pinterest, and WhatsApp also appear on the page, making it easy to send the pattern to a friend.
Category

This project is categorized as a Crochet Granny Square Bag: a cozy, handcrafted bucket bag of colorful granny squares and soft yarn, blending retro charm with modern style. It works as an everyday bag or a unique beach tote, depending on your colors.
Materials Needed
The materials list is short and simple: Loopara 5-ply combed cotton yarn, a 3.0 mm hook for most of the work, and a 3.5 mm hook for the bottom. A stitch marker, scissors, and a yarn needle complete the kit, covering marking, trimming, and finishing.
How to Crochet a Sunflower Granny Square (Make 6)
The motif section calls for six sunflower-style granny squares. Each begins with a magic-ring start, then moves through textured rounds with bobble stitches. A later round spaces chain-4 picots between single crochets, and finishing rounds add corner increases that square the motif before the ends are woven in.
How to Join Granny Squares
The six squares are connected edge to edge into a ring, following the flat diagram. The join is a slip stitch that picks up the inner half of each stitch, reinforced at the starting and end points. Loose ends are woven in on the wrong side and secured multiple times.
How to Crochet the Bag Bottom
The bag bottom is a round circle of double-strand yarn worked from a magic ring in continuous increase rounds. Two strands held together give the base firmness to support the bag. When the disc is complete, a long tail is left for sewing it to the ring of squares.
How to Connect the Bag Bottom to the Body Panels
The finished bottom is aligned with the body panels using stitch markers, then whipstitched through the inner loops of the matching stitches. The sewing continues around the full circumference. Once the join is complete, the yarn is brought to the wrong side and the ends are woven in.
How to Crochet the Bag Body
The bag body is worked in rounds with a 3.0 mm hook. A repeated textured stitch pattern forms the main length, then finishing rounds shape the upper edge and include long chain sections that become the handles. The work is fastened off once the top is complete.
Notes
A few habits make this project go smoothly. Block the squares after all rounds are complete so the stitches even out and joining is easier. Check stitch counts each round, and count the strap chains carefully so both handles match. Use stitch markers to align corners and midpoints while joining.
If you enjoy granny square projects, these related overviews may inspire your next make. Both use the same cheerful granny square technique in different forms, so they pair naturally with this bucket bag and give you fresh ways to use your growing motif skills.
- Crochet Granny Square Top Short Sleeves: Pattern Overview
- GRANNY SQUARE MOOD CROCHET LAP BLANKET: Pattern Overview
Recent Post
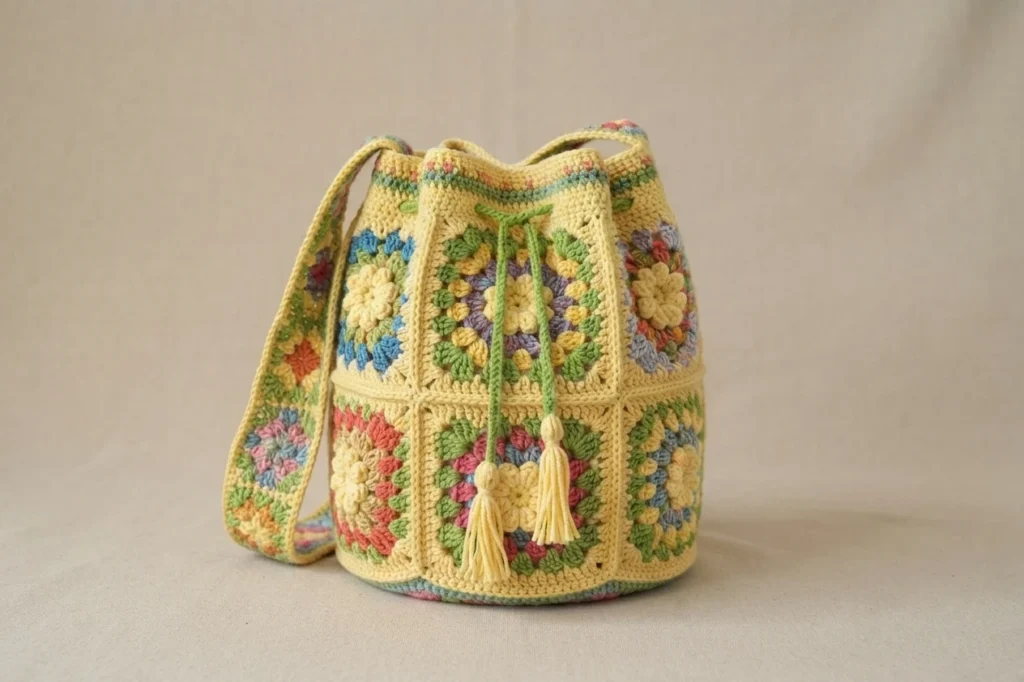
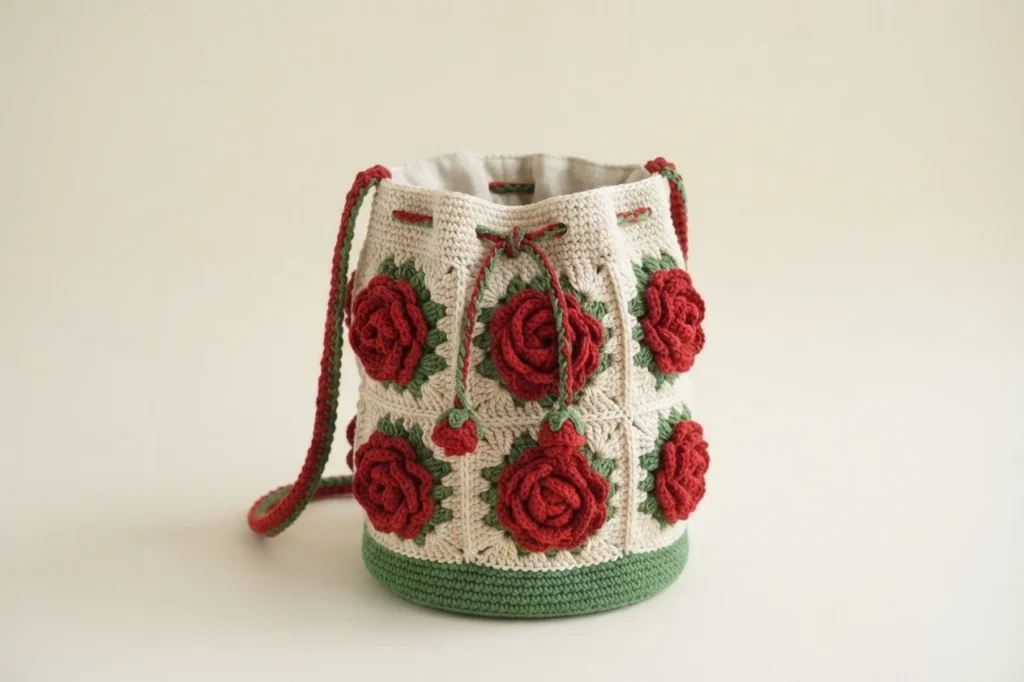
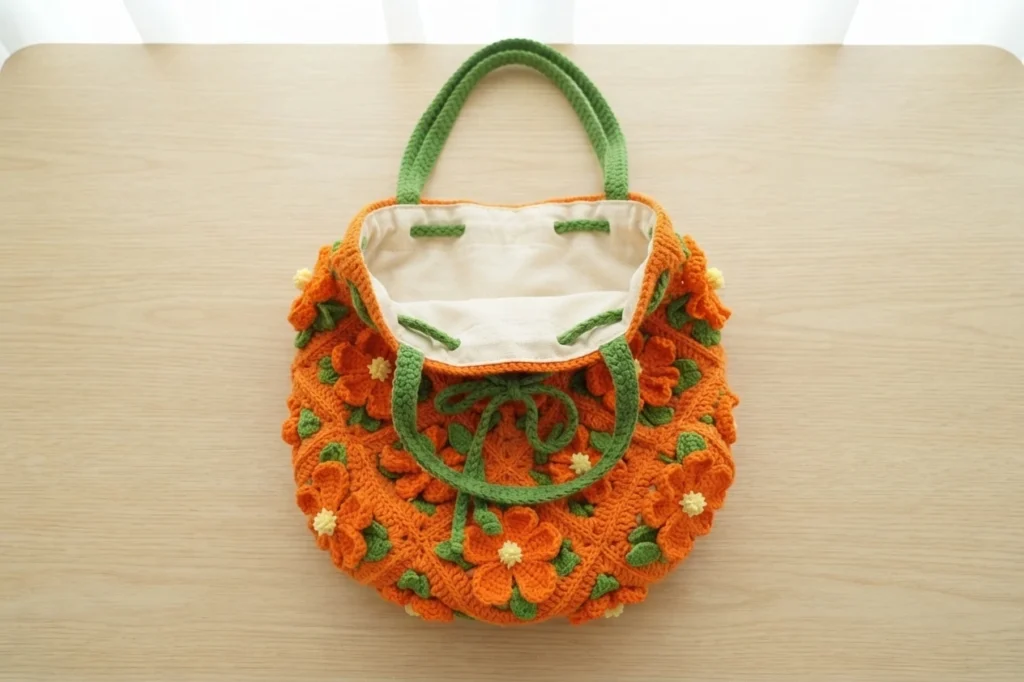
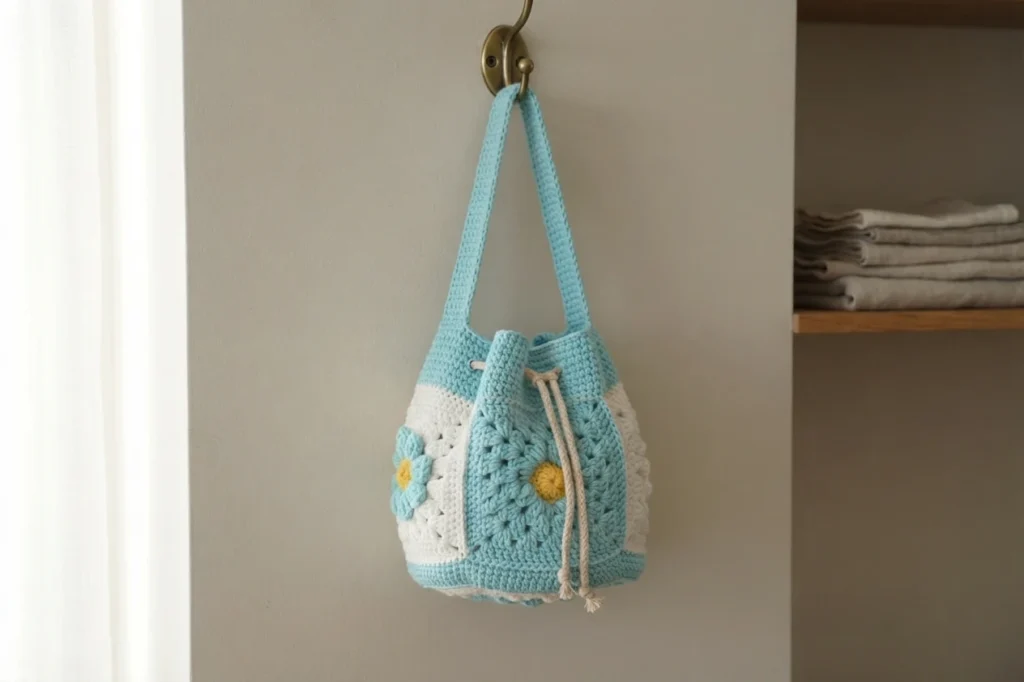
Looking for your next floral project after this granny square bucket bag? Explore our latest free crochet flower patterns, including the Crochet Winter Jasmine, Rouge Rose, Hibiscus Flower, Dried Violet Flowers, and Lafitte Rose. Each pattern includes a free PDF and a beginner-friendly tutorial to guide you stitch by stitch through every petal. Click through to find your favorite bloom and start crocheting today.
Categories
On the source site, this project sits among categories like crochet flower, crochet leaf, granny square, crochet bag, crochet stitch, crochet hat, and crochet animal themes. These labels describe the site’s broader pattern library rather than this bag’s materials or instructions.

2 thoughts on “Crochet Granny Square Bucket Bag Pattern (Pattern): Pattern Overview”