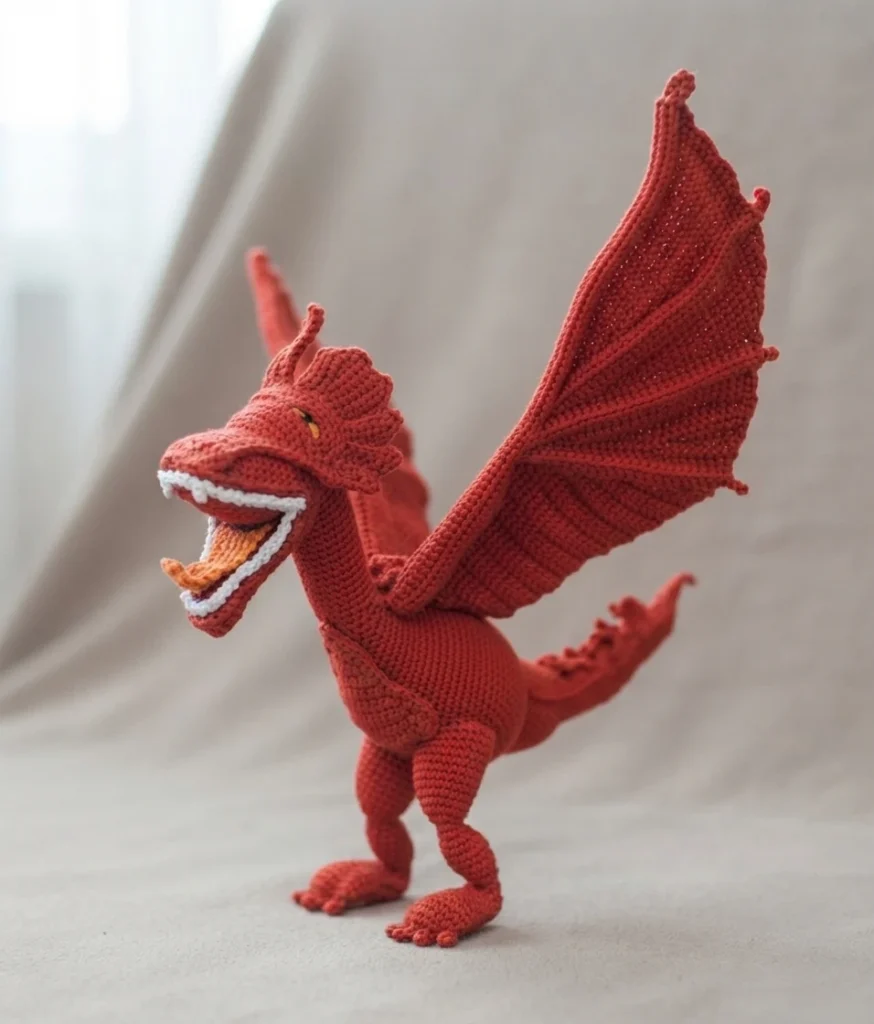
Project introduction

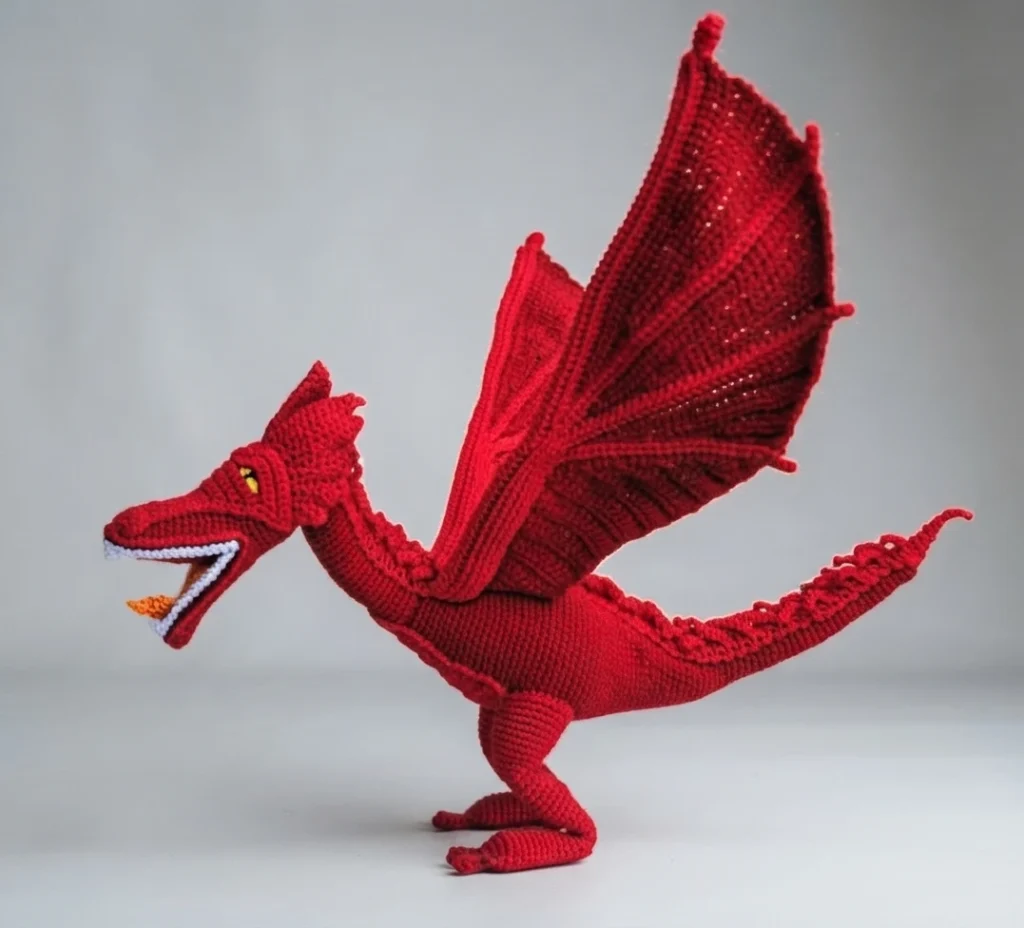
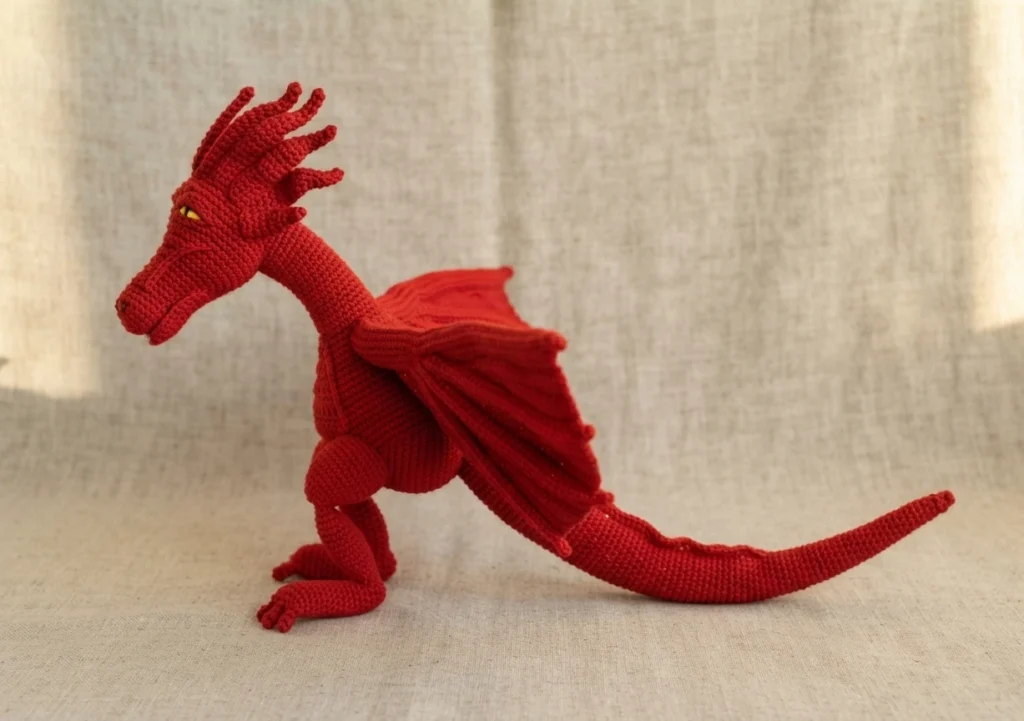
This post is a pattern overview, not a full tutorial. It introduces the Red Flame Dragon amigurumi designed by Ella Kovalyova and helps you decide whether the project suits your skills and materials. The design is a three dimensional softie animal worked in the round. You can get the complete instructions through the Original designer’s pattern and instructions, which is a free Ravelry download. No stitch by stitch directions appear here.
Red Flame Dragon amigurumi
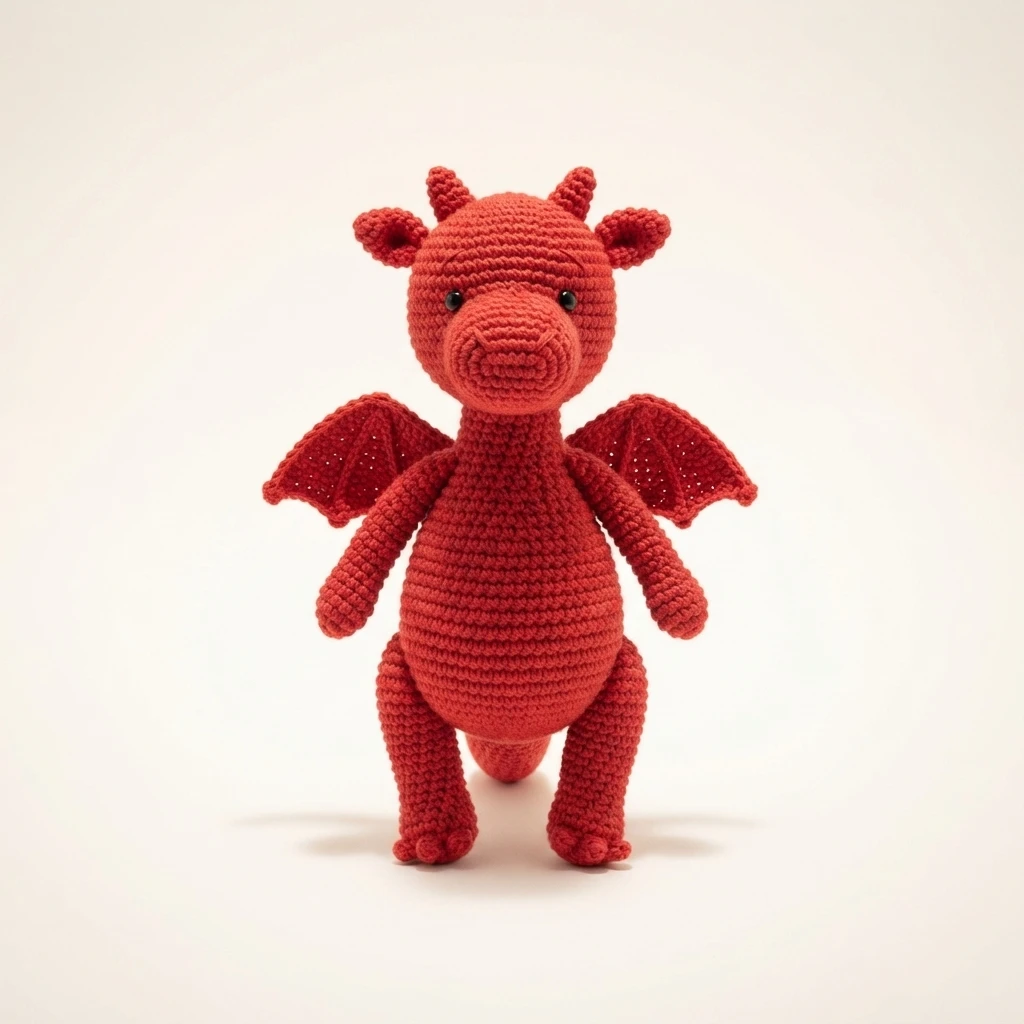
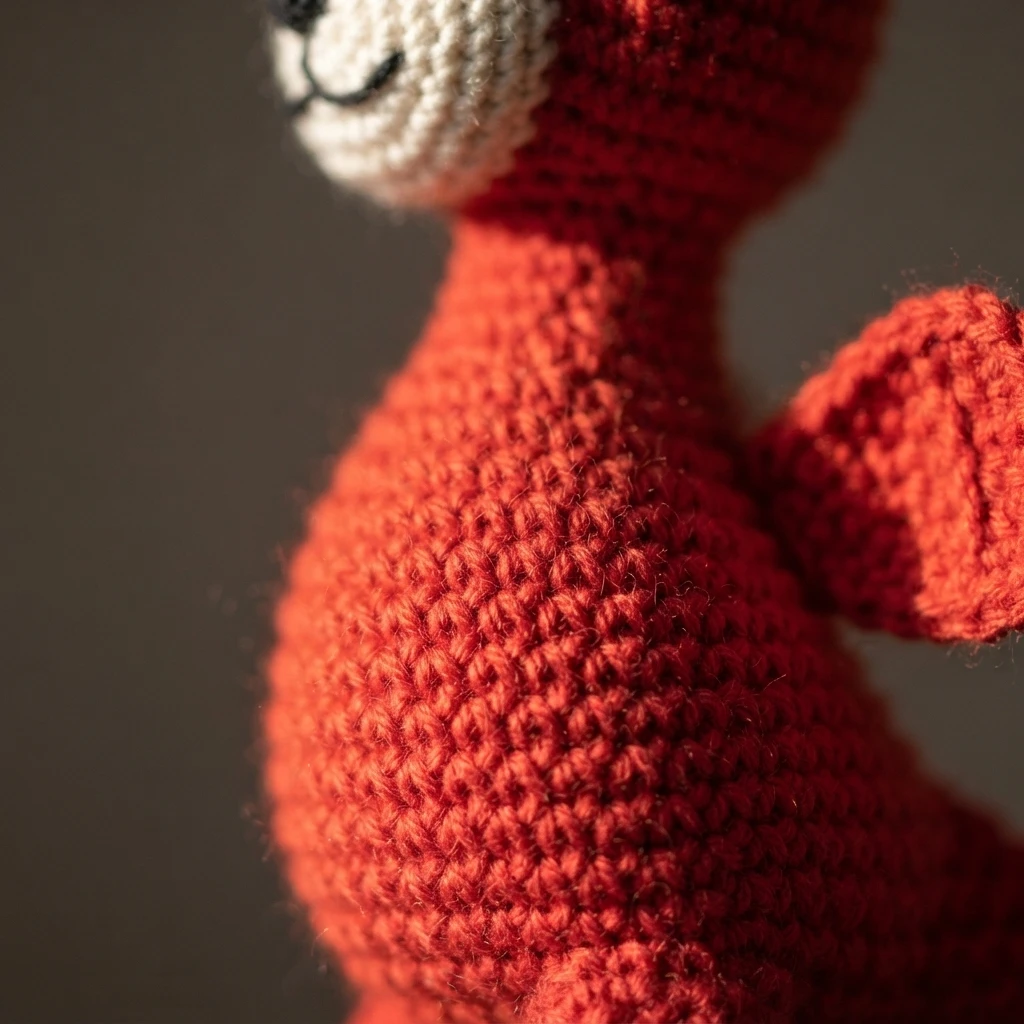
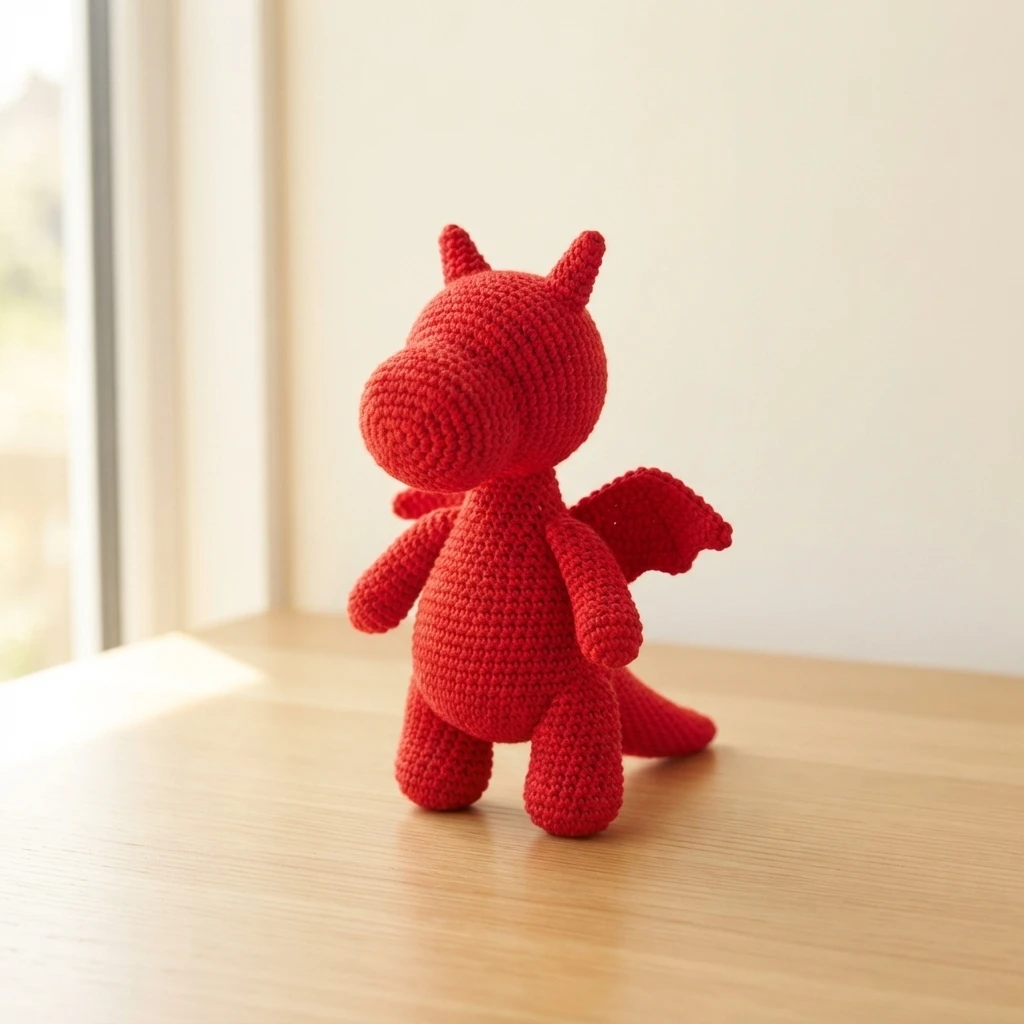
The finished dragon measures 11 cm tall with an impressive 46 cm wingspan and a 31 cm body measured from the horns to the tail. Despite the wide wings, the finished piece stands well on its own without resting on its tail. That stability comes from three internal aluminum wireframes placed in the wings, the body and the legs, so you can bend the dragon into almost any pose you like.
Construction is thoughtfully planned. The wings need no sewing at all and are worked entirely with a crochet hook, with the wireframe inserted only in the upper finger of each wing. If you choose a thicker yarn that the single frame cannot support, the pattern lets you place the frame in all of the fingers in the same way. The head is crocheted separately and sewn to the body. Some parts require sewing together, while many others join easily with just a hook.
The pattern package is generous. It runs to 33 pages of text with 60 step by step photos, and the trickiest original techniques are also shown in four linked YouTube videos. You therefore get a written pattern, a photo tutorial and video support in one download.
Gather these supplies before you begin:
- Acrylic yarn or an acrylic and cotton blend; the red sample used acrylic in 30g/130m
- 1.75 mm crochet hook for the red yarn
- Filler of your choice
- Aluminum wire, 1.5 - 2 mm diameter, about 1- 2m depending on your yarn
- Sewing thread
- Row markers for marking
- Safety pin or row marker for saving a work loop during a crocheting pause
- A piece of cardboard or plastic for the foot insoles
- Yarn needle for sewing
- Tools for working with wire
Skill wise, the designer asks for basic crocheting skills plus the ability to join doll details, though some experience is desirable for a smooth result. The pattern itself is a free Ravelry download, so you can access the full instructions without payment. For more softie inspiration, browse Freaky Mummy Amigurumi Doll: Pattern Overview and Turkey Amigurumi: Pattern Overview.