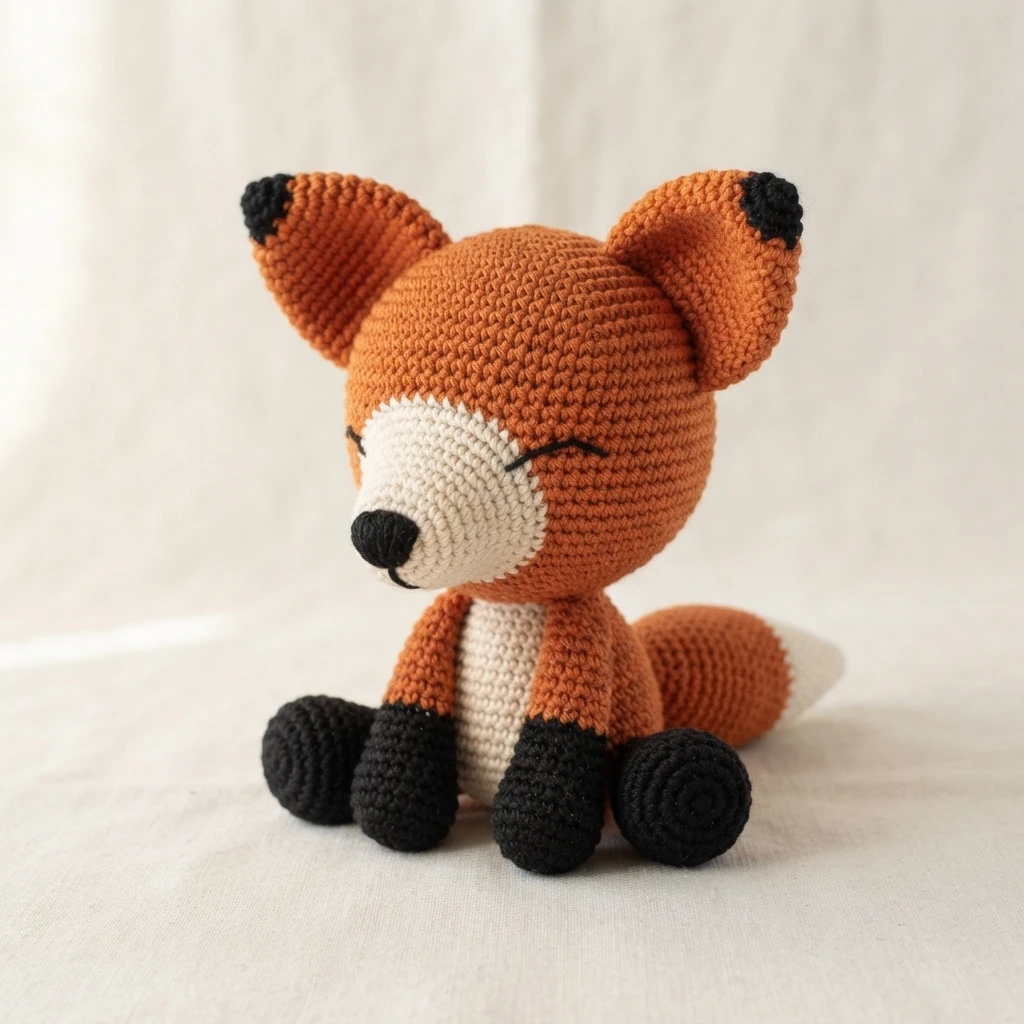
Project introduction
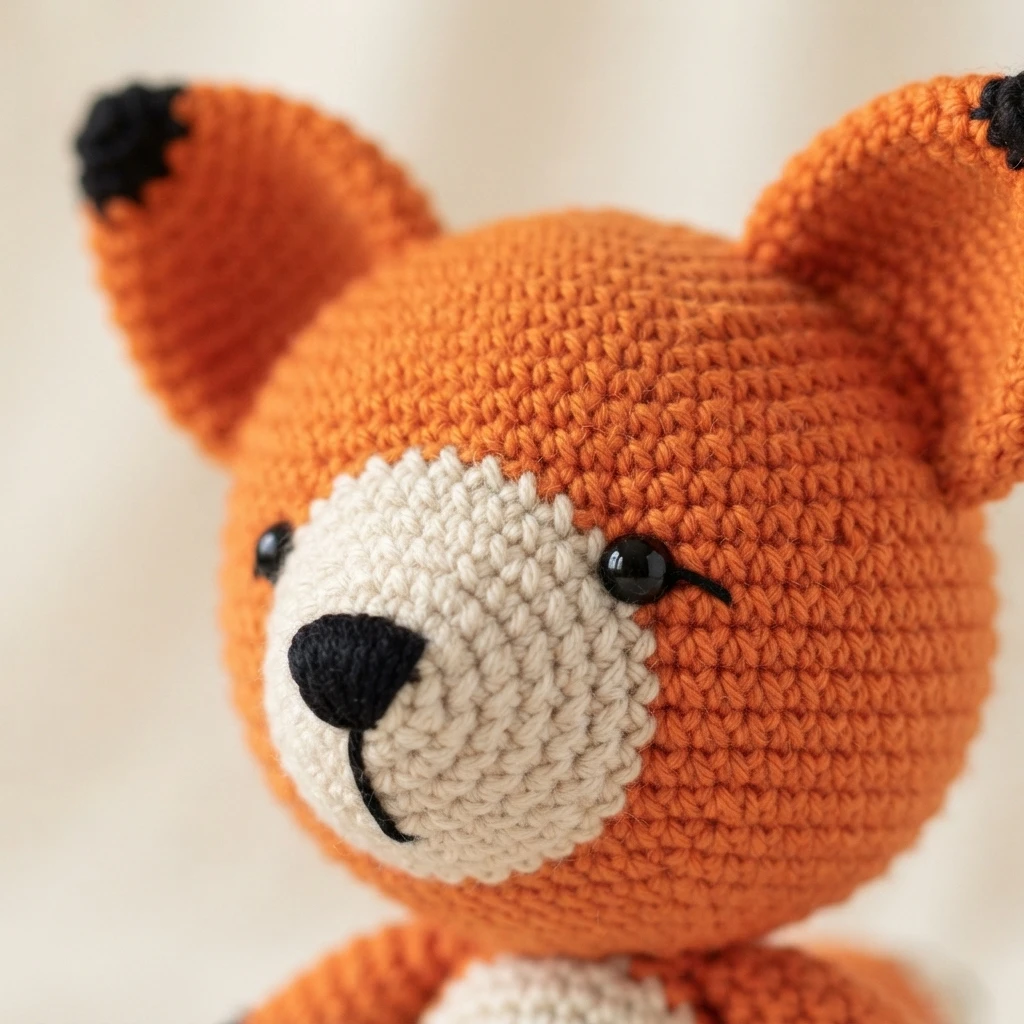
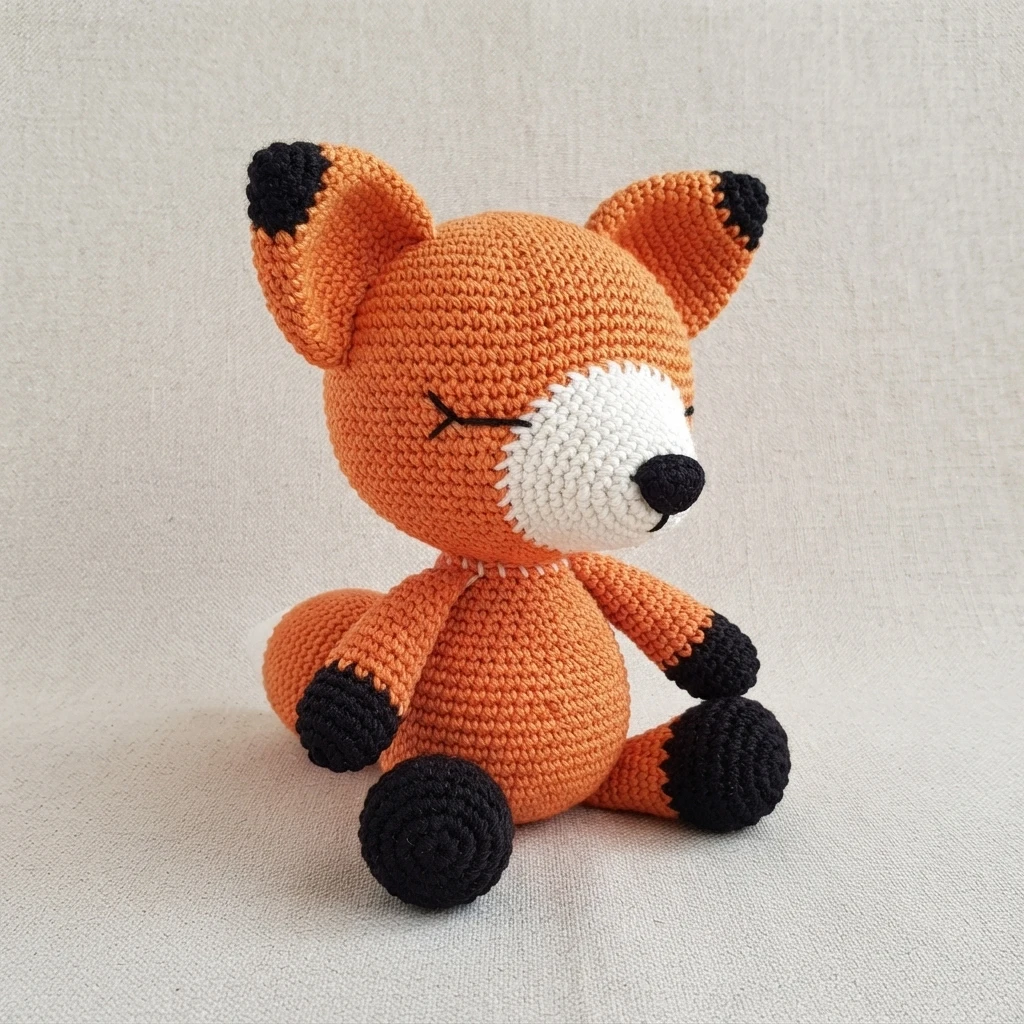
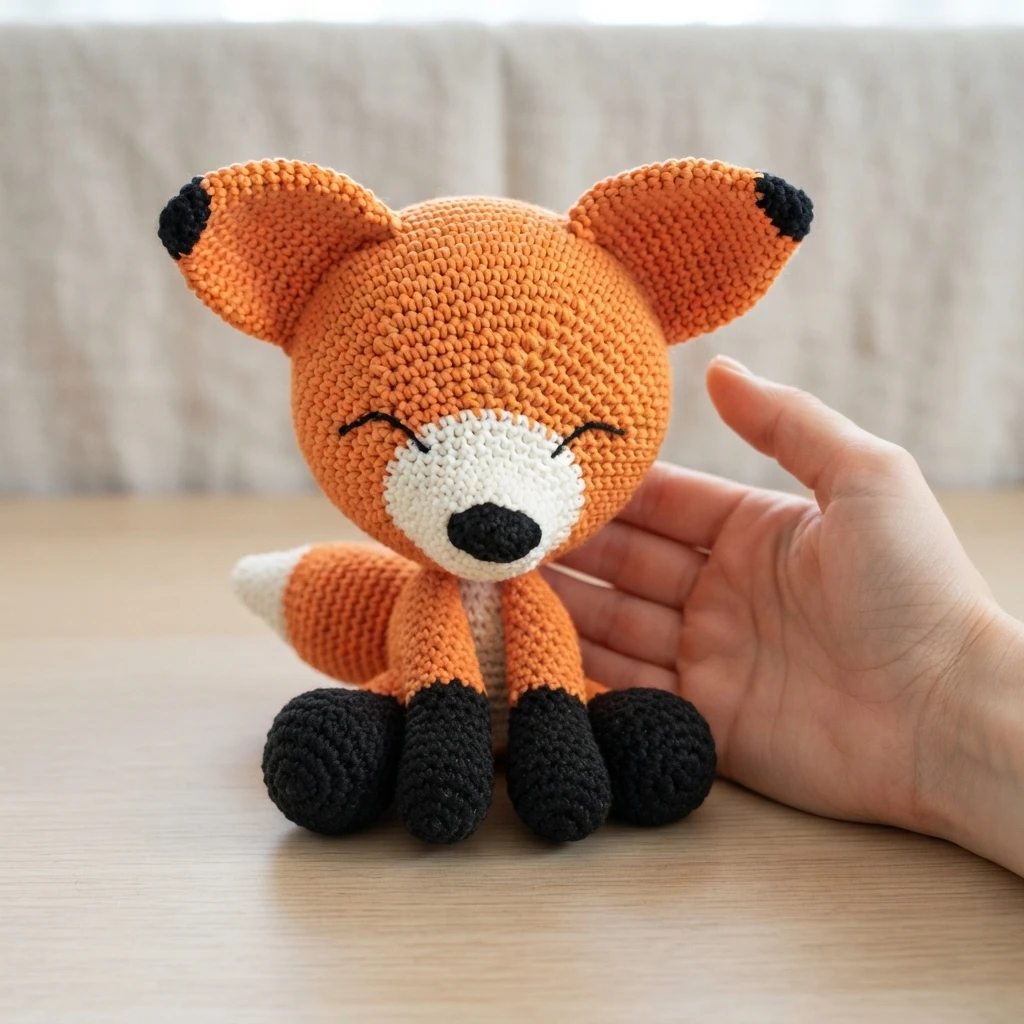
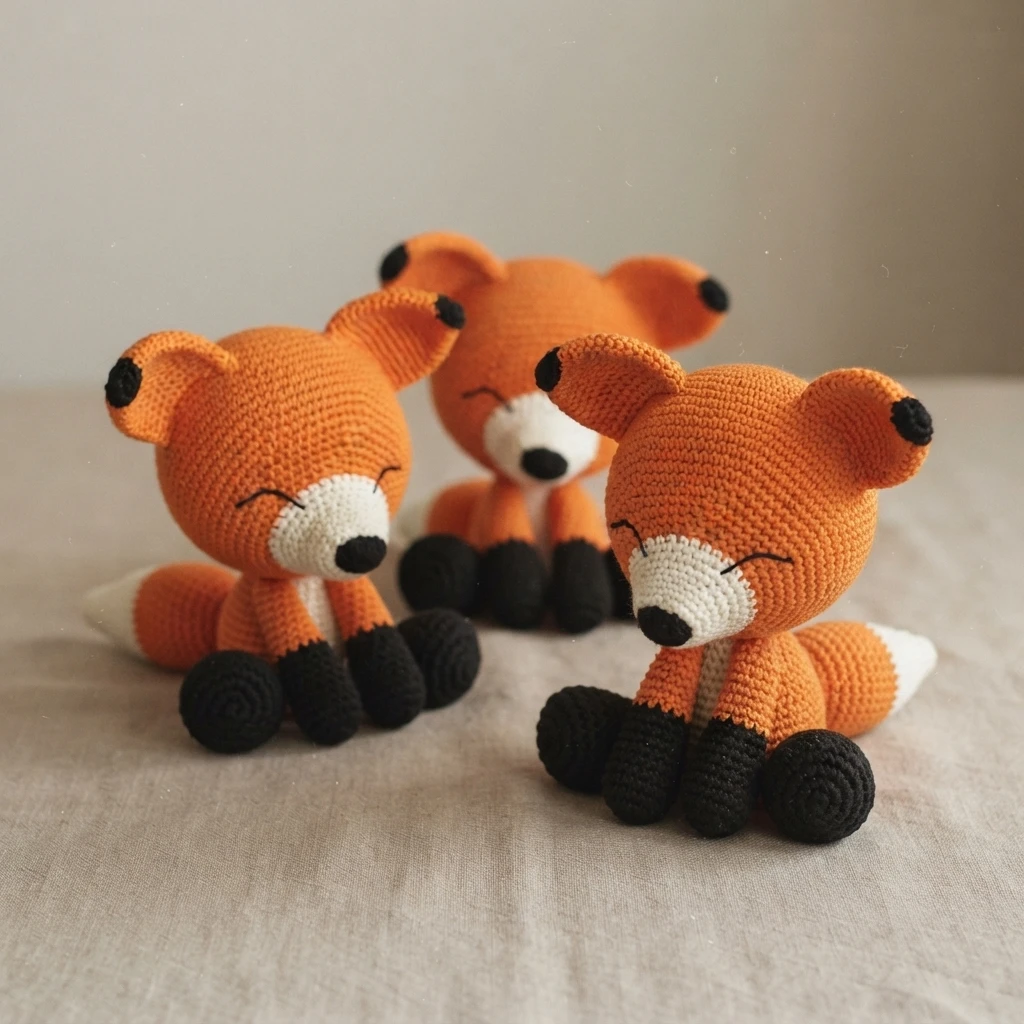
This article is a pattern overview, not a full tutorial, so it explains what the Sleepy Fox is, how it is built, and what to expect before you start. The design is an amigurumi fox with a sleepy expression, a very large head, and smaller body parts sewn on afterward. For the complete directions, use the Original designer’s pattern and instructions from the source blog, where the designer presents the project and its photos.
The designer says any yarn and any color can be chosen, which makes the fox easy to match to a nursery, a gift theme, or yarn already at home. The pictured sample uses a thin yarn and is described as about 17 centimeters high, with the ears included in that height. Because most of the finished fox is head, its proportions feel gentle and top heavy in a charming, childlike way.
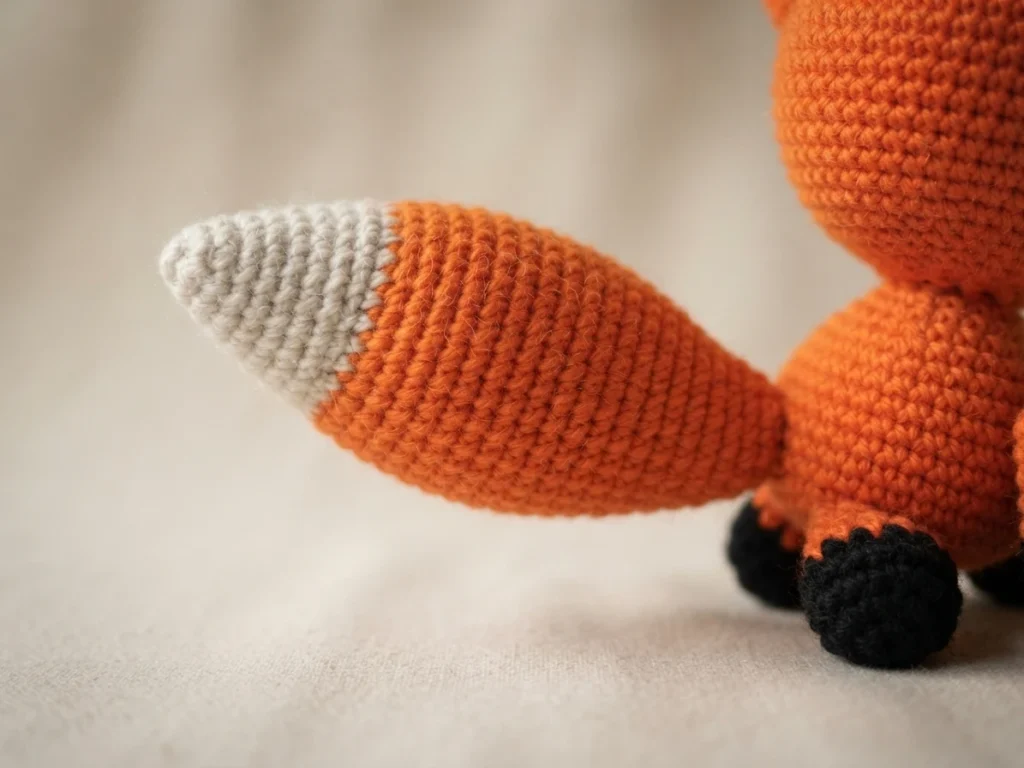
The pieces are worked as separate parts and joined at the end, beginning with the head and moving through the body, ears, legs, arms, and tail. Each part starts in its own way: the head from the back toward the muzzle, the body from the belly toward the back, and the smaller pieces from the ear top, foot, hand, or tail tip. Single crochet shaping and planned color changes create the contrasting muzzle, paws, and tail.
Color placement gives the fox much of its character without any complicated stitch pattern taking over the project. The muzzle turns white, other pieces include their own color changes, and the tail also changes color as it grows from its tip. Those simple shifts help separate the face, limbs, and tail visually, even when you choose a completely different palette for your own version.
Stuffing is not an afterthought in this design, because shaping while stuffing is described as essential to the final result. Add filling little by little as each piece develops, paying attention to the form of every part rather than filling everything at the end. For the head, the designer aims for a face that is wider than it is tall, which helps give the fox its broad, sleepy, softly rounded look.
Pattern format and preparation
The original post is organized as a sequence of named parts, followed by assembly notes and an image based guide to joining the pieces. Process pictures show the fox from different sides, and later pictures added in May 2017 show its size in centimeters and held in a hand. That visual support is useful because the head scale can be surprising, and seeing finished examples helps makers judge placement before sewing begins.
Before you begin, gather everything in one place so the many separate pieces stay organized and the sewing stage does not interrupt the crocheting. The source names a specific sample yarn, but it does not give a yarn quantity, so plan your own amount around the yarn and colors you choose. Keep filling within reach throughout, since several pieces are stuffed before they are closed and before assembly starts at the end.
- Yarn in your chosen colors, with the sample made in Tilda from Svarta fåret
- Needle size 2,5, as named for the sample
- Stuffing for the head, body, legs, arms, and tail
- Black yarn for the detail on top of the nose and for the eyes
- Regular sewing thread for sewing on the eyes
- Long yarn tails left on pieces for sewing them together
Two handling details will affect the finished shape more than they may first appear. The muzzle is worked more firmly than the rest of the head, which makes that section narrower and helps it stand out from the broad face. Pieces are also finished with sewing tails, and the yarn tail for joining the body to the head is described as especially long, so leave generous lengths rather than trimming ends too early.
Assembly brings the separate pieces together, so lay the head, body, ears, legs, arms, and tail out first and check their positions against the designer photos before sewing. The dark detail on top of the nose is sewn with black yarn, and the eyes are also made with black yarn and regular sewing thread. Work slowly at this stage, because small shifts in ear or limb placement can change the expression noticeably.
Because this overview does not reproduce the row by row pattern, keep the designer page open while you work and follow its part by part sequence for the actual making. If a direction feels unclear, the designer invites beginners to leave a comment on the original post and ask for guidance. Enjoy the process one piece at a time, and consider making more than one fox once the first is finished.