Project introduction
This article is a pattern overview, not a full tutorial, for a cheerful bumble bee backpack designed for children. It summarizes the size, supplies, and construction so you can decide if the project suits your skills and yarn before you start. For the complete row by row instructions, use the Original designer’s pattern and instructions from Crochet For You by Erangi Udeshika, and follow that source as you work.
The overview approach is helpful here because the bag combines several parts: a striped body worked in rounds, a shaped flap with a face, paired wings, a drawstring opening, and straps. Seeing how those pieces fit together first makes the original pattern easier to follow, helps you gather every supply in advance, and reduces surprises during assembly when small details like eye placement and button position matter most.
Crochet Bumble Bee Backpack Pattern by Crochet For You
Crochet For You presents this project as a cute backpack for kids, described as easy and fast to crochet. The design leans into the busy, energetic character of bees, giving children a playful bag for carrying their own things during outdoor activities and everyday outings. It is sized for a child, with a friendly character look rather than a plain storage shape.
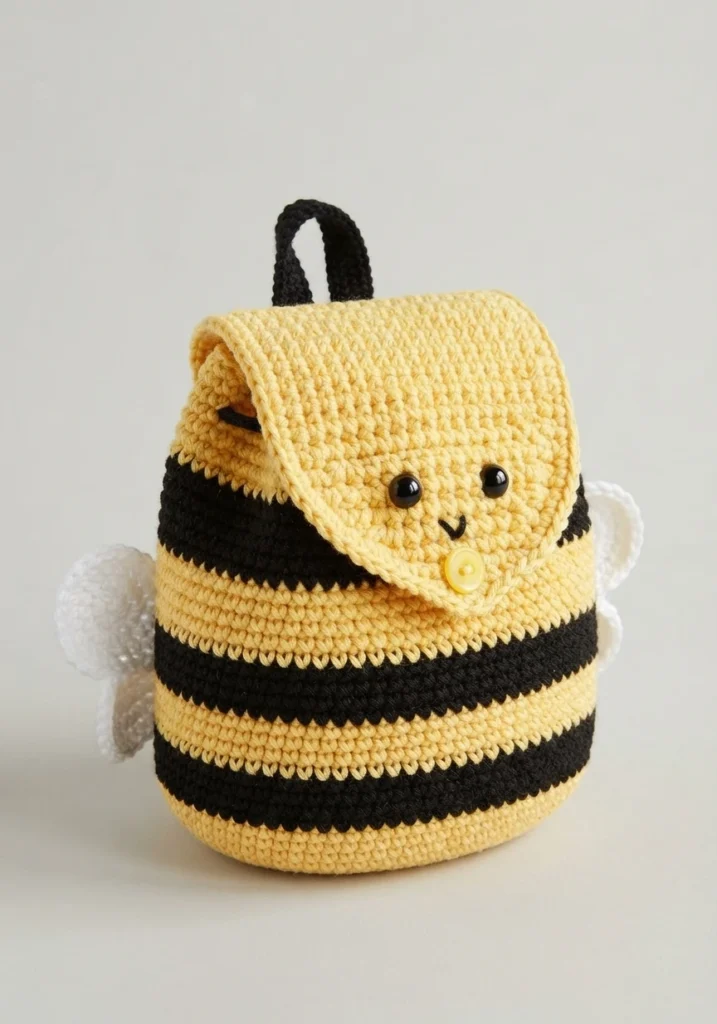
The visual details are what make the bag instantly recognizable. The body carries bold yellow and black stripes, while the flap features a smiling bumble bee face. Small wings attached at the sides complete the insect theme. Together, the stripes, face, and wings turn a simple drawstring backpack into a costume like accessory that still works as a practical small bag.
Add this pattern to Ravelry queue
The stated skill level is easy, and the finished size is 10.5 inches in height by 13 inches wide including the wings. Gauge is given as 13 single crochet by 14 rows equals 4 inches with the listed hook, so a quick swatch is worth making if your tension tends to run loose or tight and you want the finished bag to stay close to that size.
- Yarn: #4 Medium, Worsted, Cotton, approximately 135 yards total as used for the sample
- Color 1, black: 1 skein, 60 yards, of Soft Smooth Cotton Natural Double Knitting Wool Yarn Ball Baby Woolcraft 200g
- Color 2, yellow: 1 skein, 75 yards, of the same yarn in yellow
- Small amount of white yarn
- Crochet hook: I-9, 5.5mm
- 0.75 inch yellow button
- 2 safety eyes
- Stitch markers
- 20 inch long cord for the drawstring
- 50 inch long strap, with the sample using straps from an old school bag
- Tapestry needle for weaving in ends
The pattern uses standard US abbreviations including chain, single crochet, stitch, skip, slip stitch, chain space, and beginning, along with right side, wrong side, and color labels for Color 1 and Color 2. The special stitch is single crochet two together, a decrease that draws up a loop in each of two stitches and pulls through all loops at once. A useful note in the source is that the beginning chain does not count as a stitch.
Bumble Bee Backpack Pattern Overview
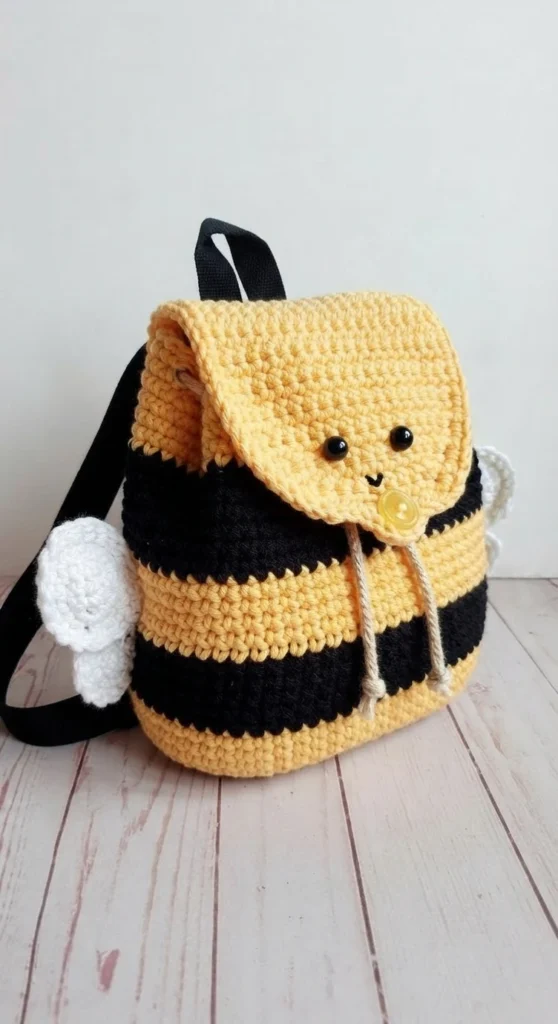
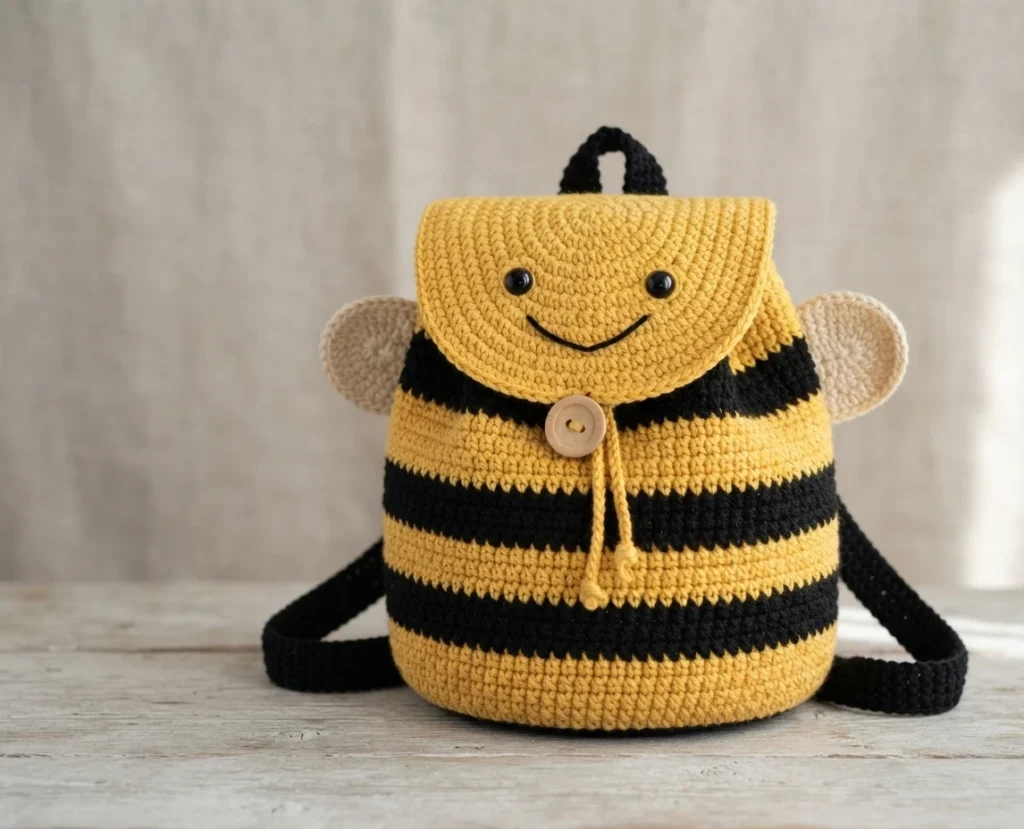
Construction begins at the base of the bag with Color 1. The body is built upward in joined rounds worked mainly in single crochet, starting from a foundation chain and increasing at the ends to form an oval base. Color changes between black and yellow create the striped bands as the sides grow straight, giving the bag its bee coloring without any separate colorwork panel to sew on later.
Near the top, a round with evenly spaced chain spaces forms the drawstring channel, producing 8 chain spaces in that round. Two plain rounds follow, and stitch markers are placed on the 8th stitch and the 51st stitch. Those markers define the width of the flap, which is then worked back and forth in rows in yellow between the marked points.
The flap starts straight, then decreases at both edges over several rows to create a rounded lower end. Single crochet two together shaping narrows the work step by step, and a small chain loop is formed near the final row to fasten over the button. An edging round of single crochet smooths the flap edges, including the curved side, before the yarn is fastened off and ends are woven in.
The wings are made separately in two sizes. Both the large wings and the small wings are made in pairs, worked in short rows in single crochet with increases and decreases shaping each piece. Each wing also receives a single crochet edging, with extra stitches placed on the curved side to keep the edge smooth. Making four small pieces may sound detailed, but each one is quick and uses the same basic stitches as the body.
Plan the assembly before you sew: lay the flap, wings, eyes, and button in place first, check the face looks centered, and only then attach each part securely.
For assembly, the safety eyes are placed between rows 15 and 16 on the flap, with a mouth stitched below them to create the smiling face. Large and small wings are sewn to the two sides of the bag. The cord is woven in and out through the chain spaces of the drawstring round, and the button is sewn between rows 20 and 21 in the middle of the front.
The sample straps were adapted from an old school bag, with about a 9 inch length forming a top loop and 19 inch lengths attached as shoulder straps. The source presents this as a free pattern on the blog, so refer to the designer link above for the full instructions and photos.