Project introduction
This article is a pattern overview, not a full tutorial. It introduces a crochet bag built from celestial granny squares, explains what the finished project involves, and points you to the original designer for the complete instructions, diagrams, and photographs.
Crochet Star Granny Square Bag Pattern ( Pattern Overview)
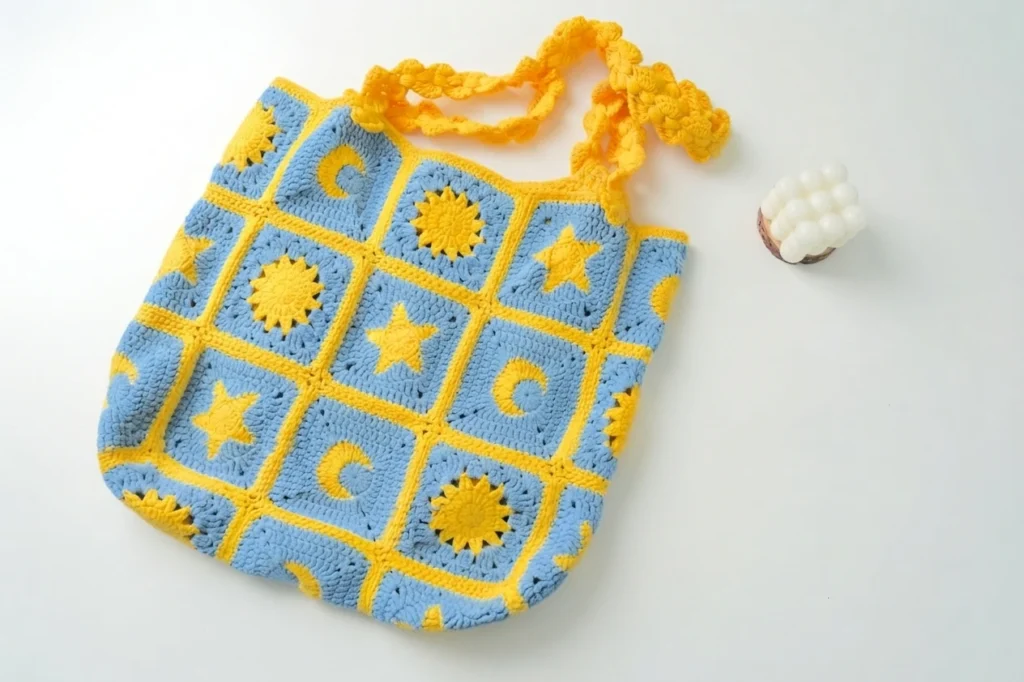
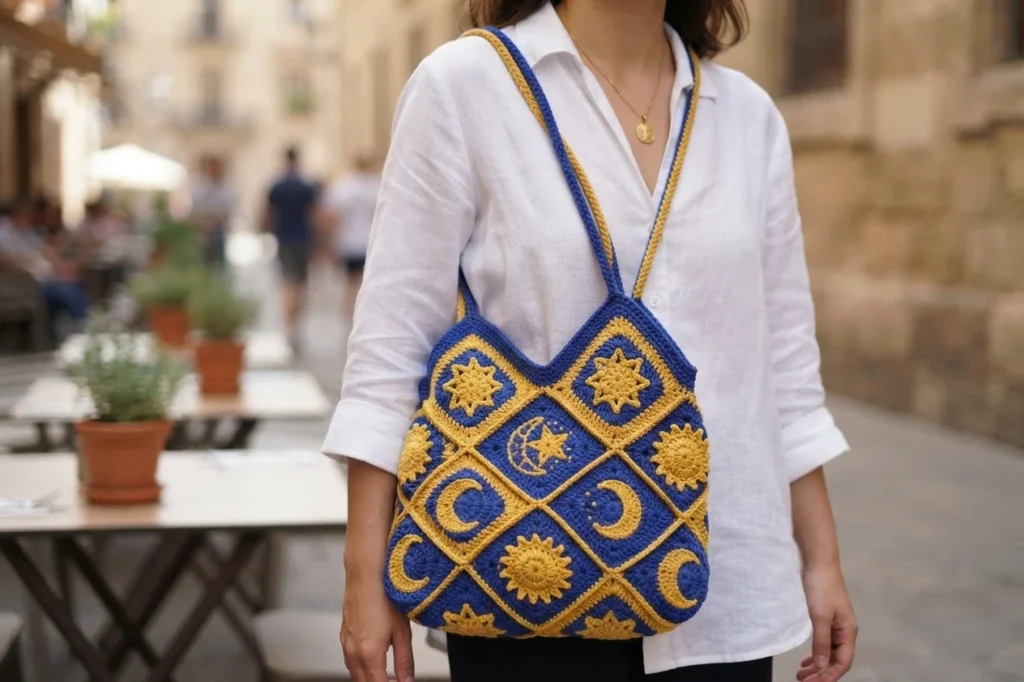
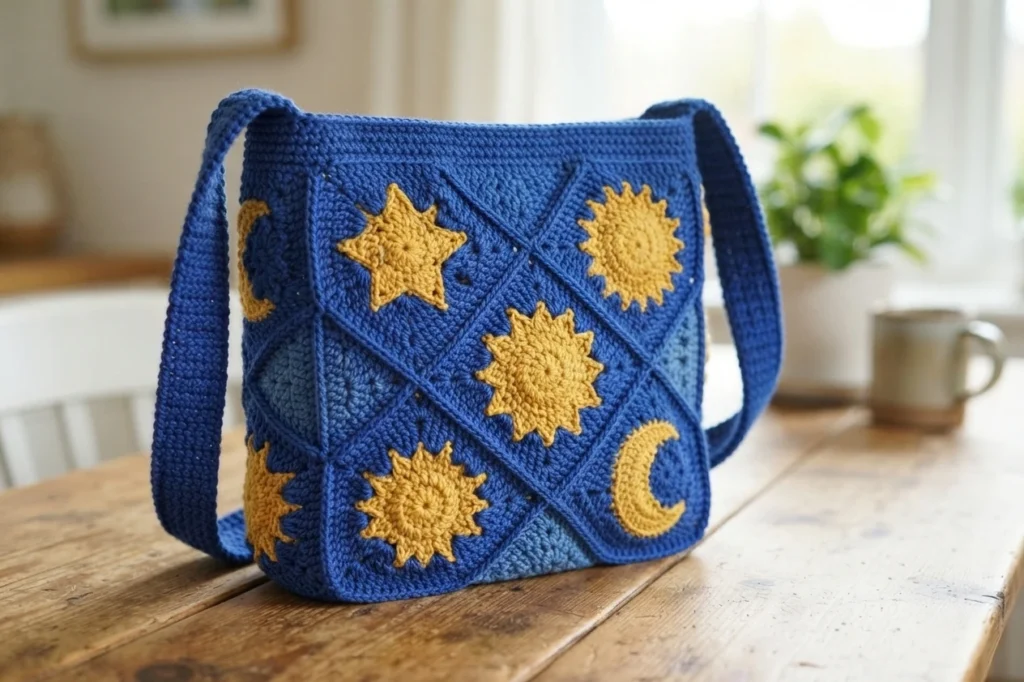
The Loopara design is a celestial themed tote decorated with stars, moons, and suns in blue and yellow. The source presents it for summer outings or everyday use and describes it as achievable for intermediate crocheters. Start with the Original designer’s pattern and instructions on Loopara, where the pattern is presented as a free pattern. That free access statement should not be taken to mean every possible format is free.
Pin for later
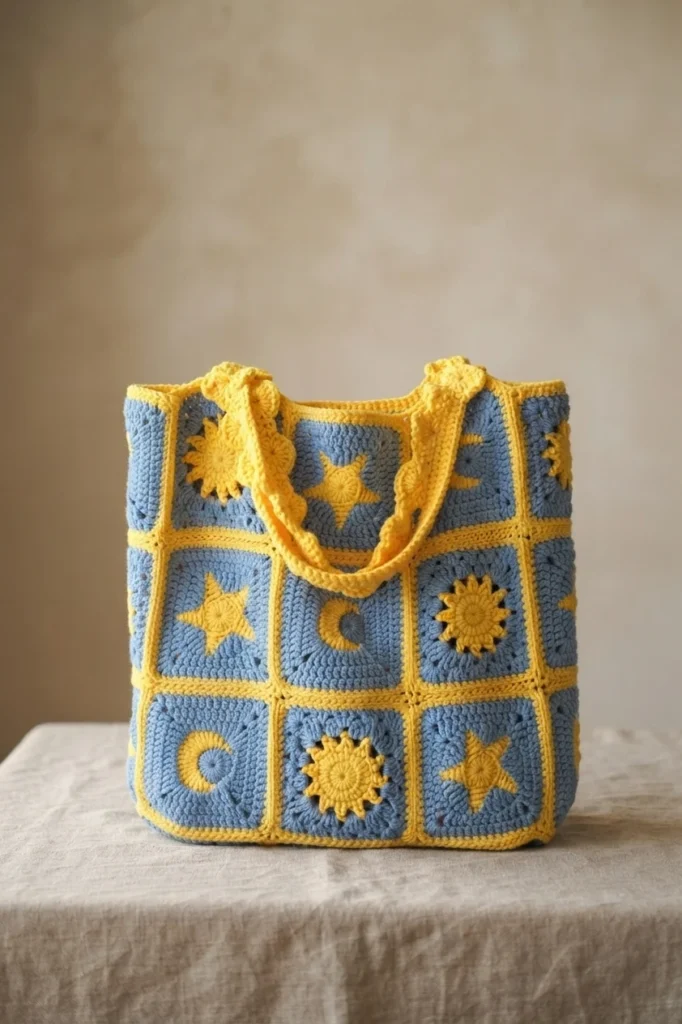
The source invites readers to save this celestial bag pattern for later, which suits a project made in stages. Because the squares, joining, shaping, and straps happen in separate phases, returning to the saved pattern between sessions is a practical approach.
Details About Star Granny Square Bag
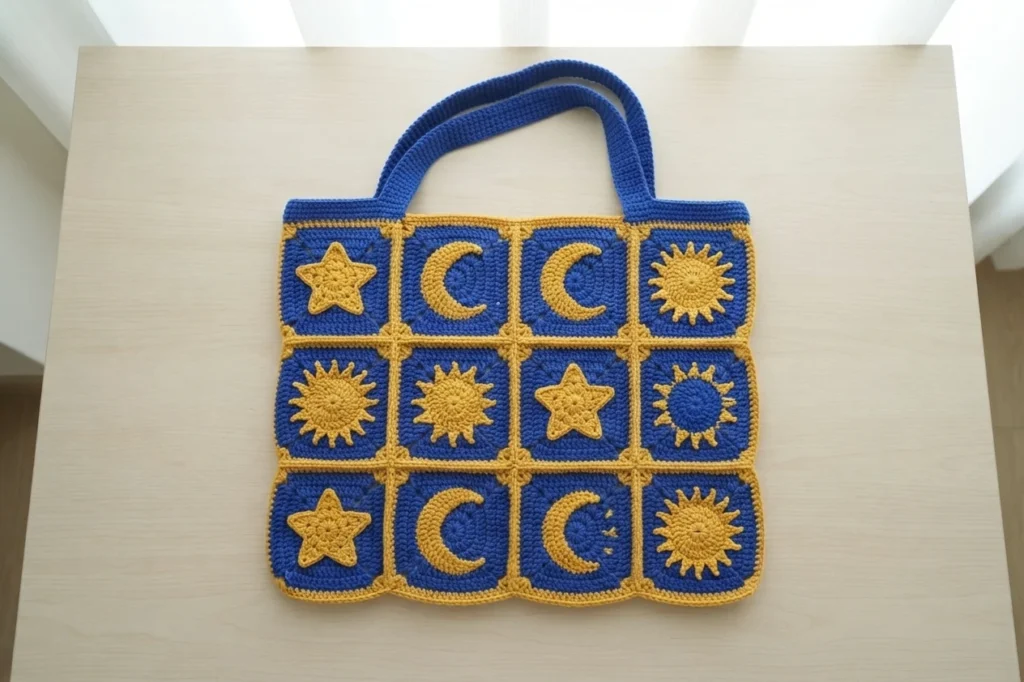
Each granny square measures approximately 3.7×3.7 inches (9.4×9.4 cm). The assembled bag measures about 15 inches (38 cm) in width and 13.4 inches (34 cm) in height. Royal blue with golden yellow gives the sample its night sky contrast, while the source also suggests navy blue with silver or dusty rose with cream. Strong contrast helps the celestial motifs stand out against the background color.
Materials needed for Star Granny Square Bag
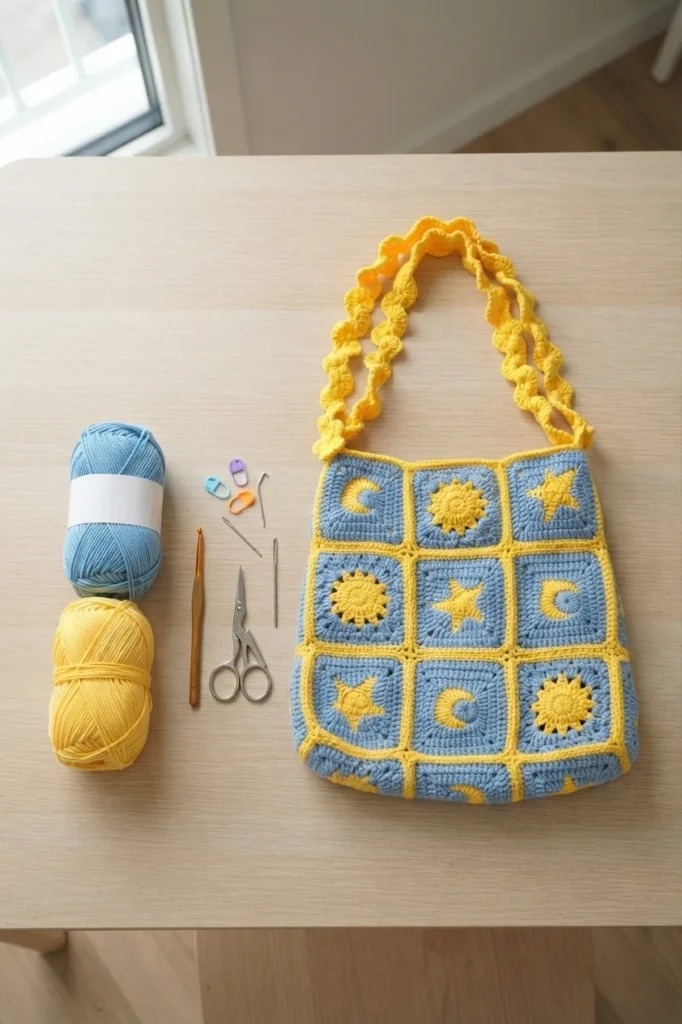
Gather everything on the source list before starting, and make a test square to check that your stitches are firm enough for a bag without making the fabric stiff. Tight crocheters may size up to a 3.5mm hook, as noted by the source, while the listed hook is 3.0mm.
- Yarn: Loopara 5ply combed cotton
- Hook: 3.0mm
- Scissors
- Stitch Marker
- Yarn Needle
Abbreviations (US Terms)
The pattern uses US terminology. Keep this glossary nearby while reading the designer instructions, especially for the increase terms that appear alongside the basic stitches in the motif rounds and in the shaping that turns round motifs into squares.
- ch: chain
- sc: single crochet
- dc: double crochet
- inc: increase
- sl: slip stitch
- tr: treble crochet
- hdc: half double crochet
- dc2tog: double crochet 2 together
- dc inc: double crochet increase
- hdc inc: half double crochet increase
- sc inc: single crochet increase
Star Granny Square Bag Layout
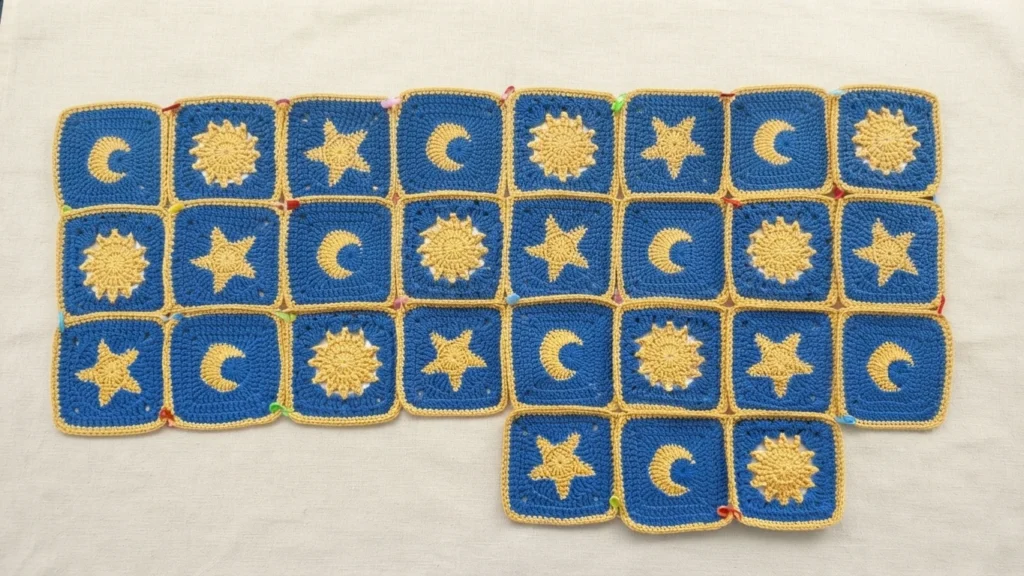
The layout arranges 27 squares in total, with 9 each of stars, suns, and moons. Following that planned placement keeps the celestial design balanced across the bag, and the source links the arrangement to keeping the finished piece sturdy and functional.
How to Crochet Star Granny Square Bag - Step by Step
This heading introduces the designer tutorial sequence. The source notes that different yarn colors are used for crocheting and for assembly, that makers may choose colors they prefer, and that it presents two color changing techniques intended to support smooth transitions.
How to Crochet a Sun Granny Square (Make 9)
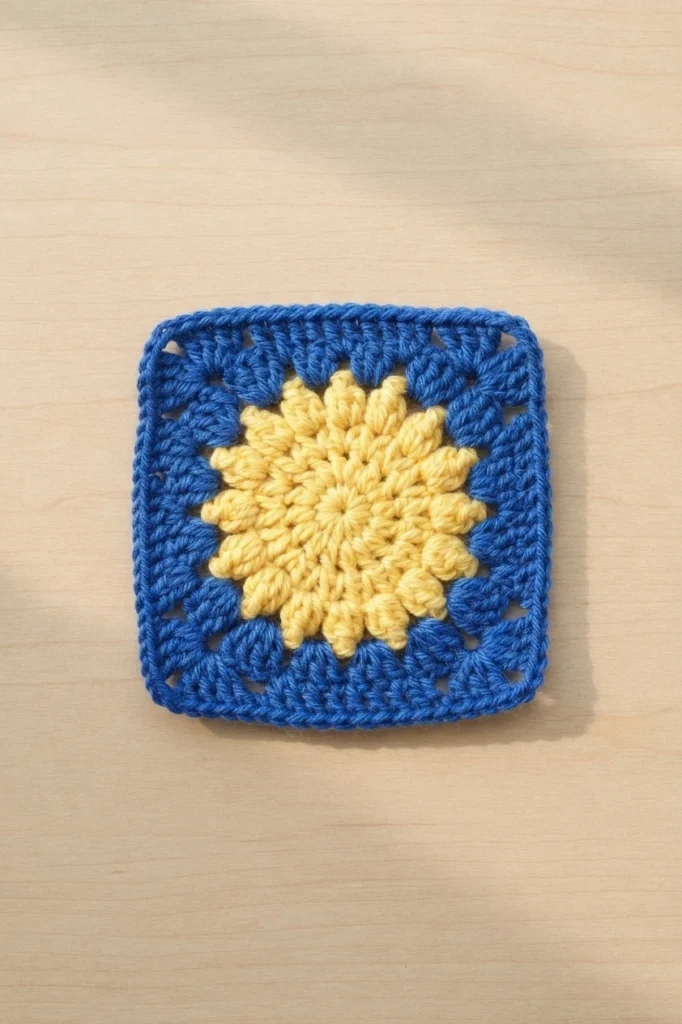
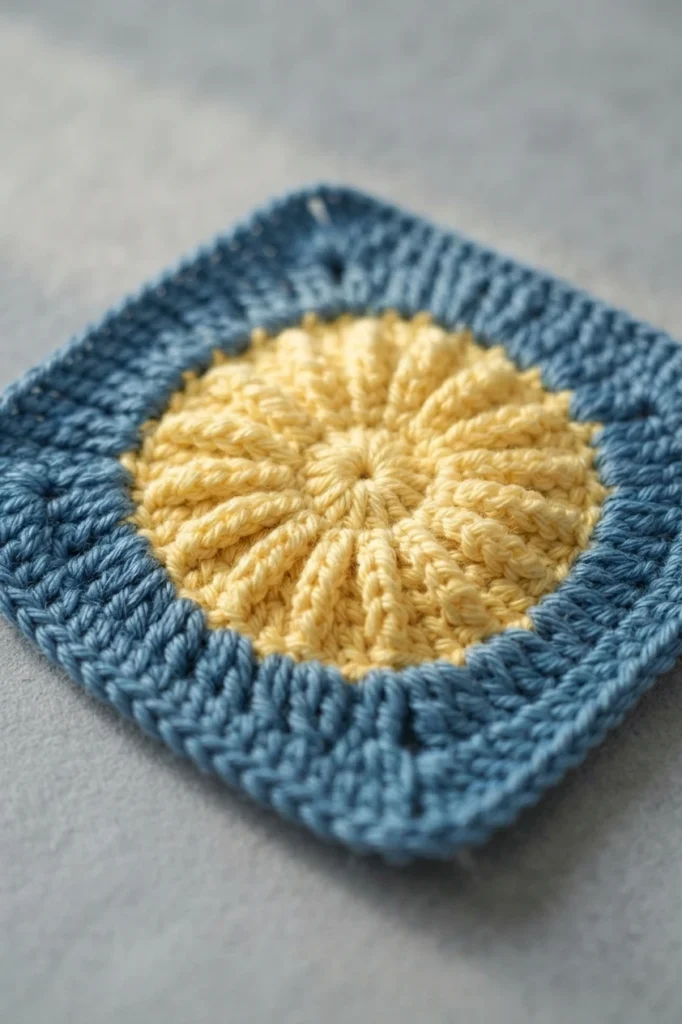
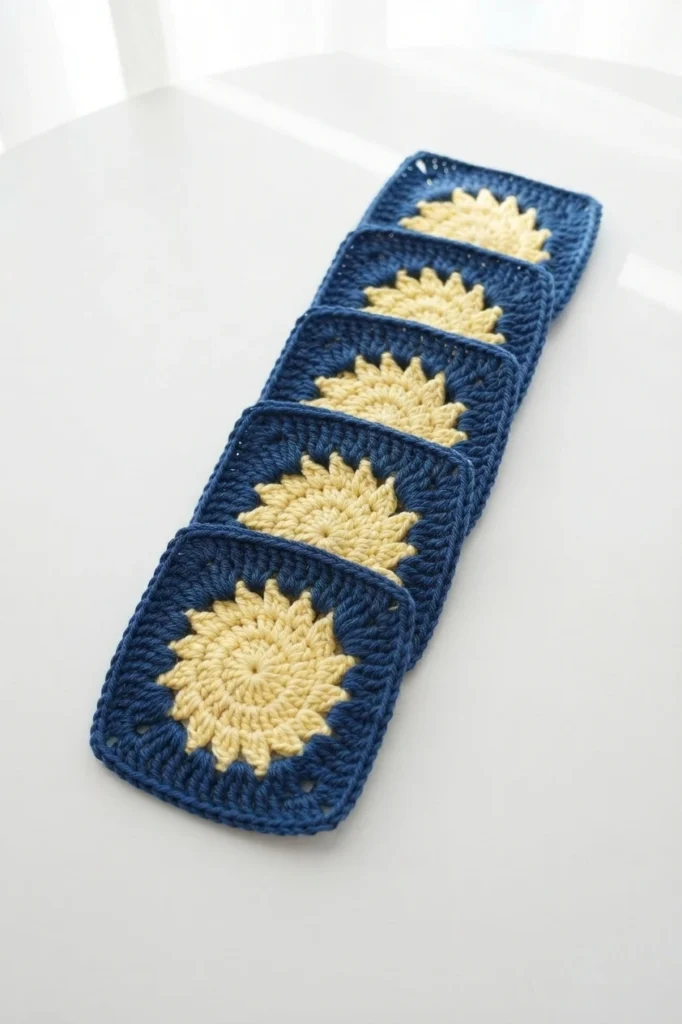
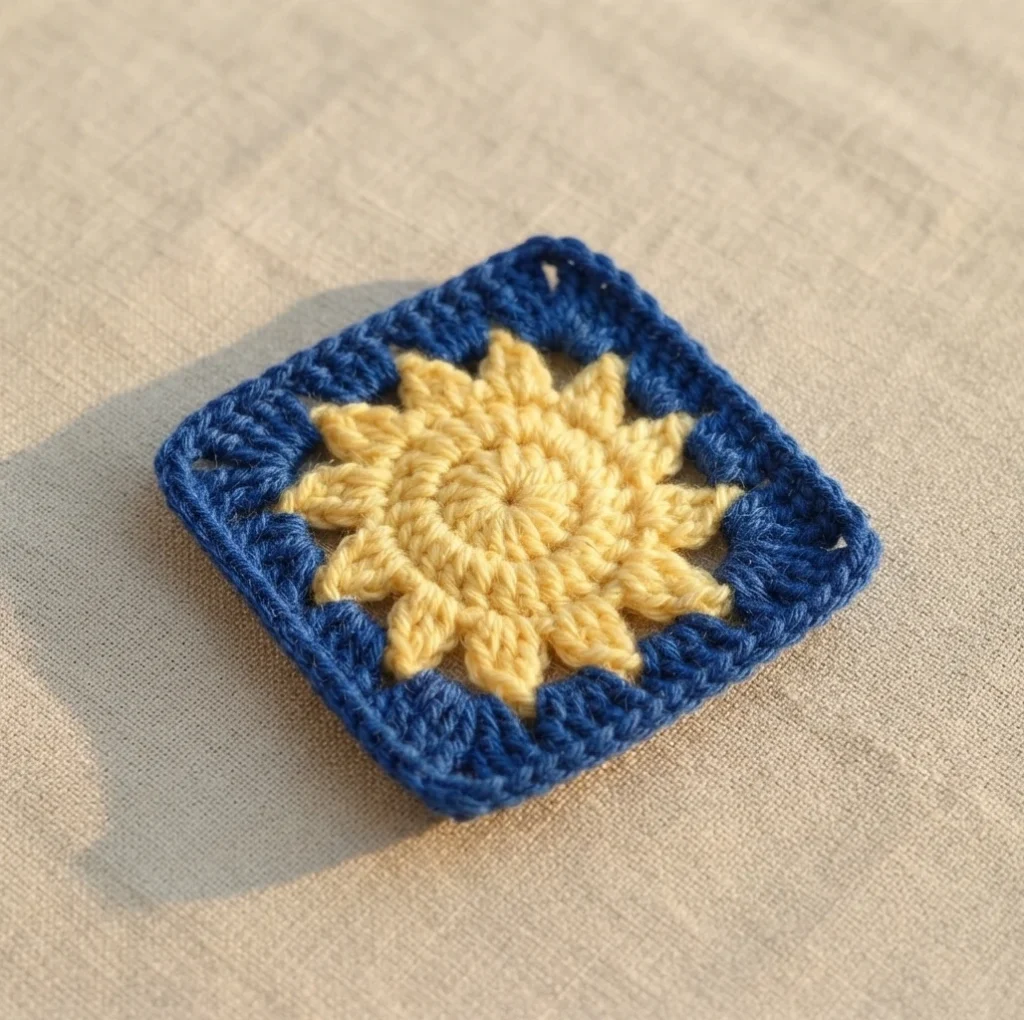
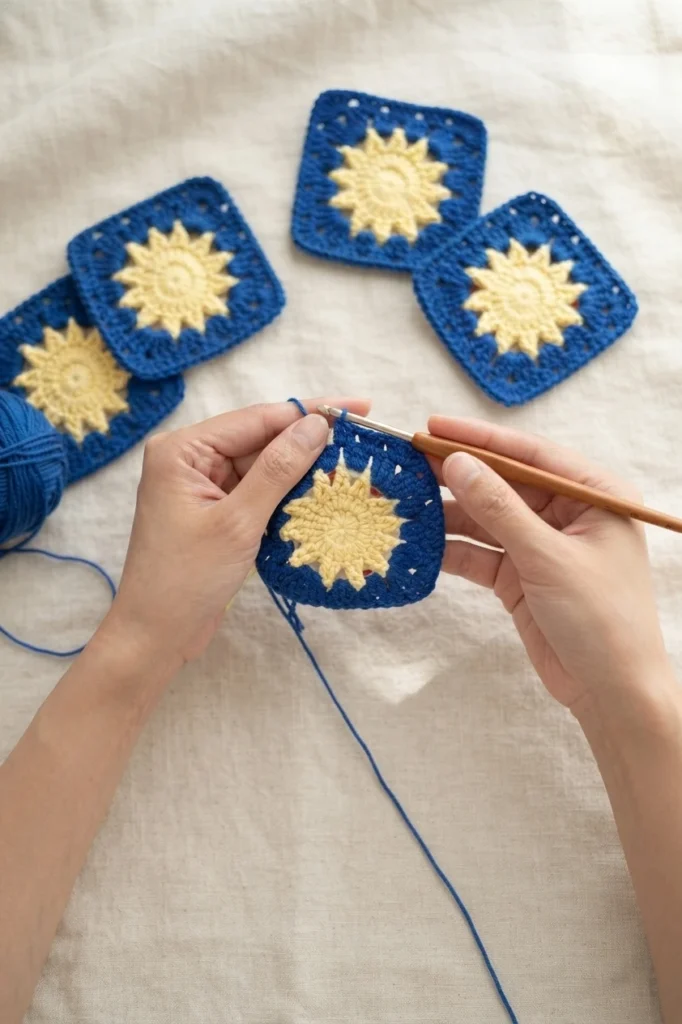
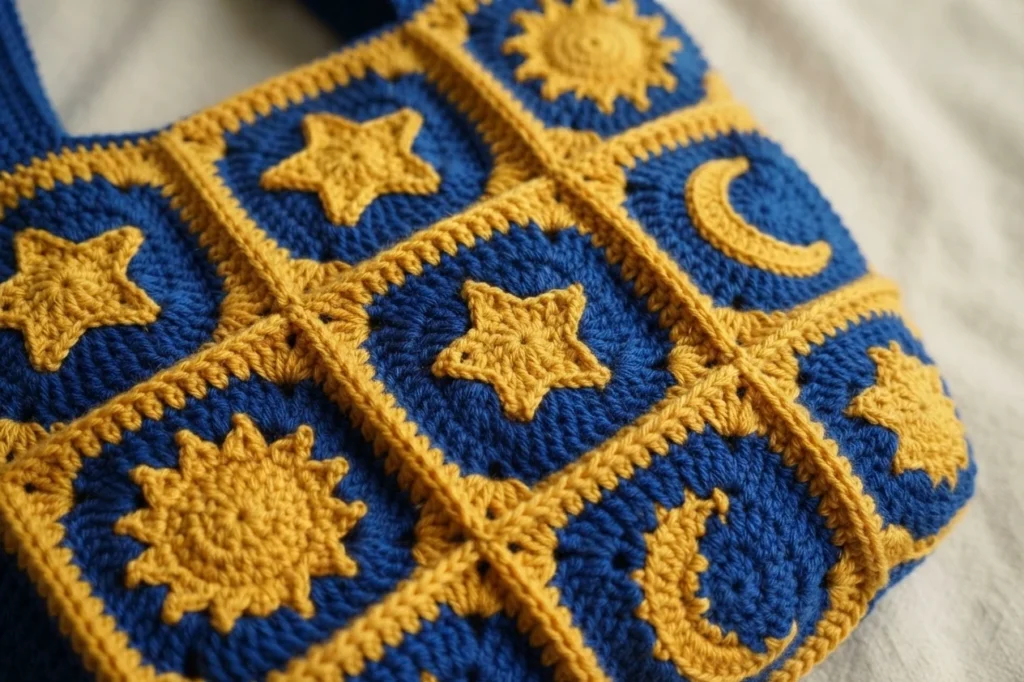
Make 9 sun squares. Each one begins in a ring and grows through five rounds, with treble crochet groups forming the rays and a color change in the final round as the motif is squared. The source tips stress consistent tension and even spacing so the sunburst stays clear and all nine squares match in size.
How to Crochet a Star Granny Square (Make 9)
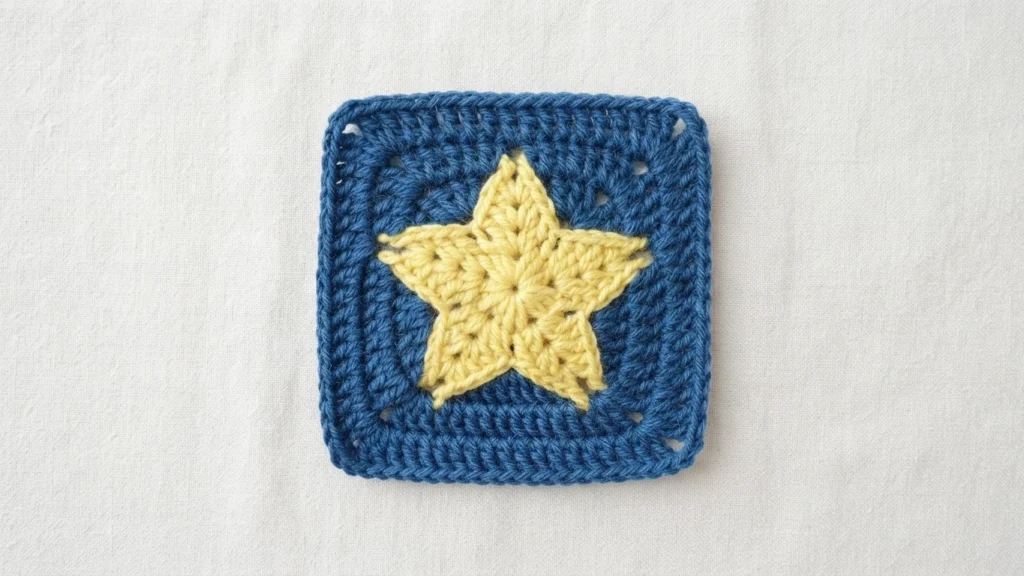
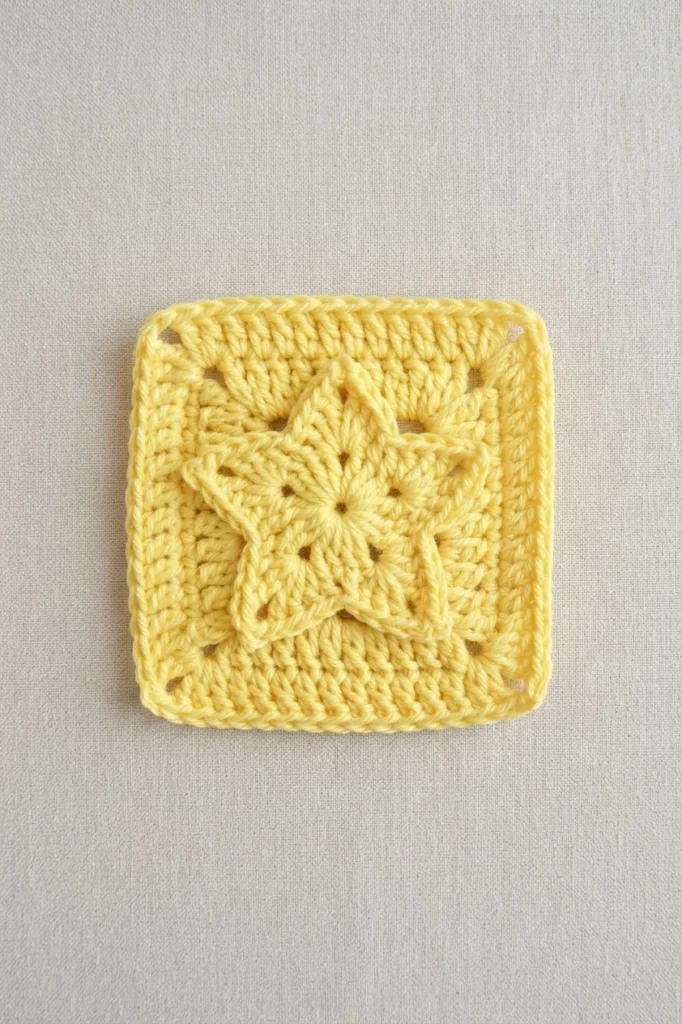
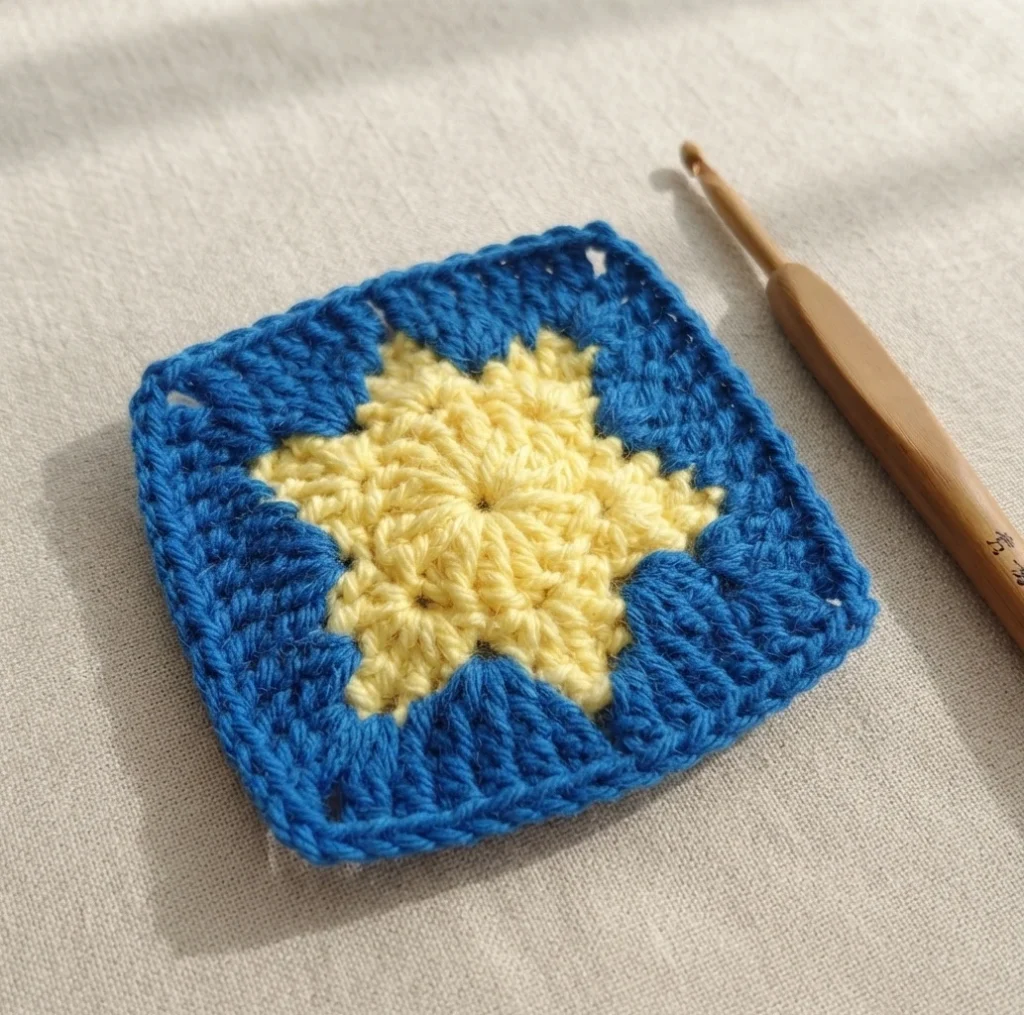
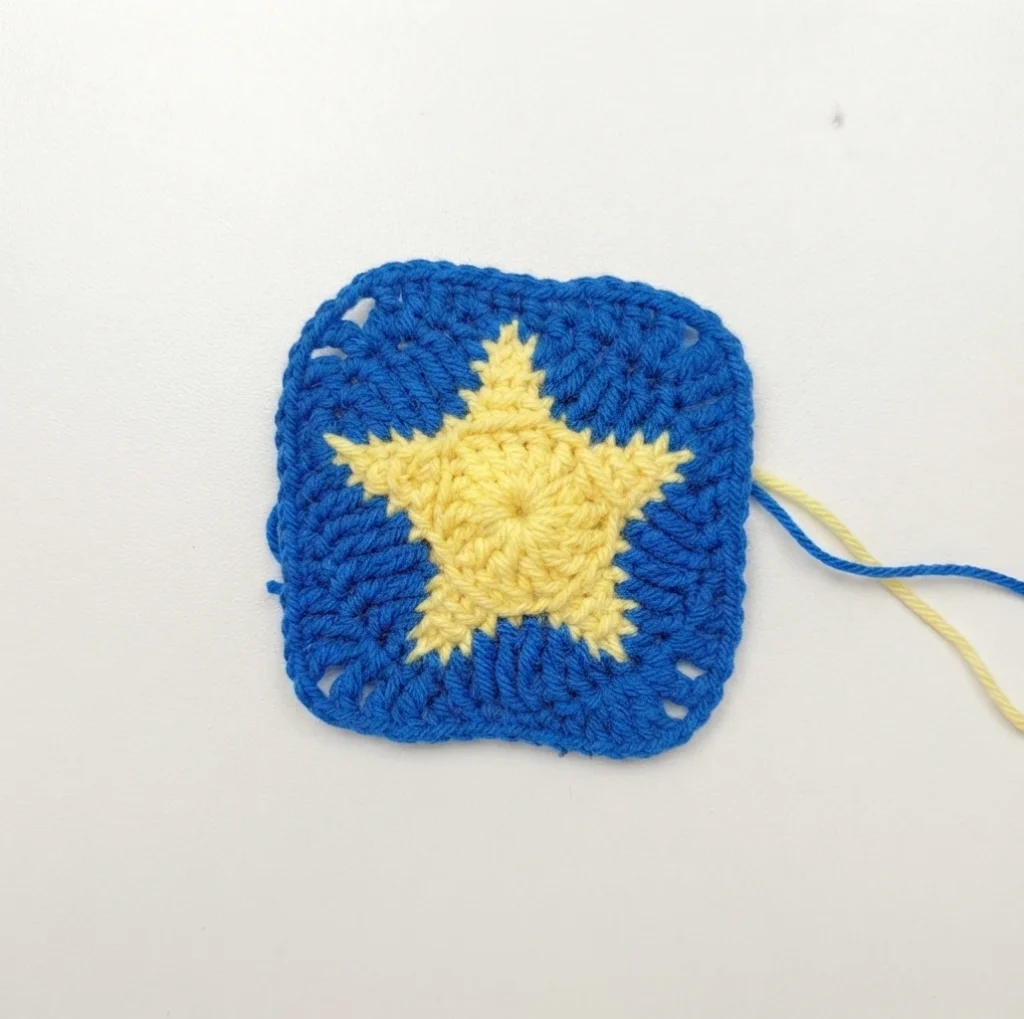
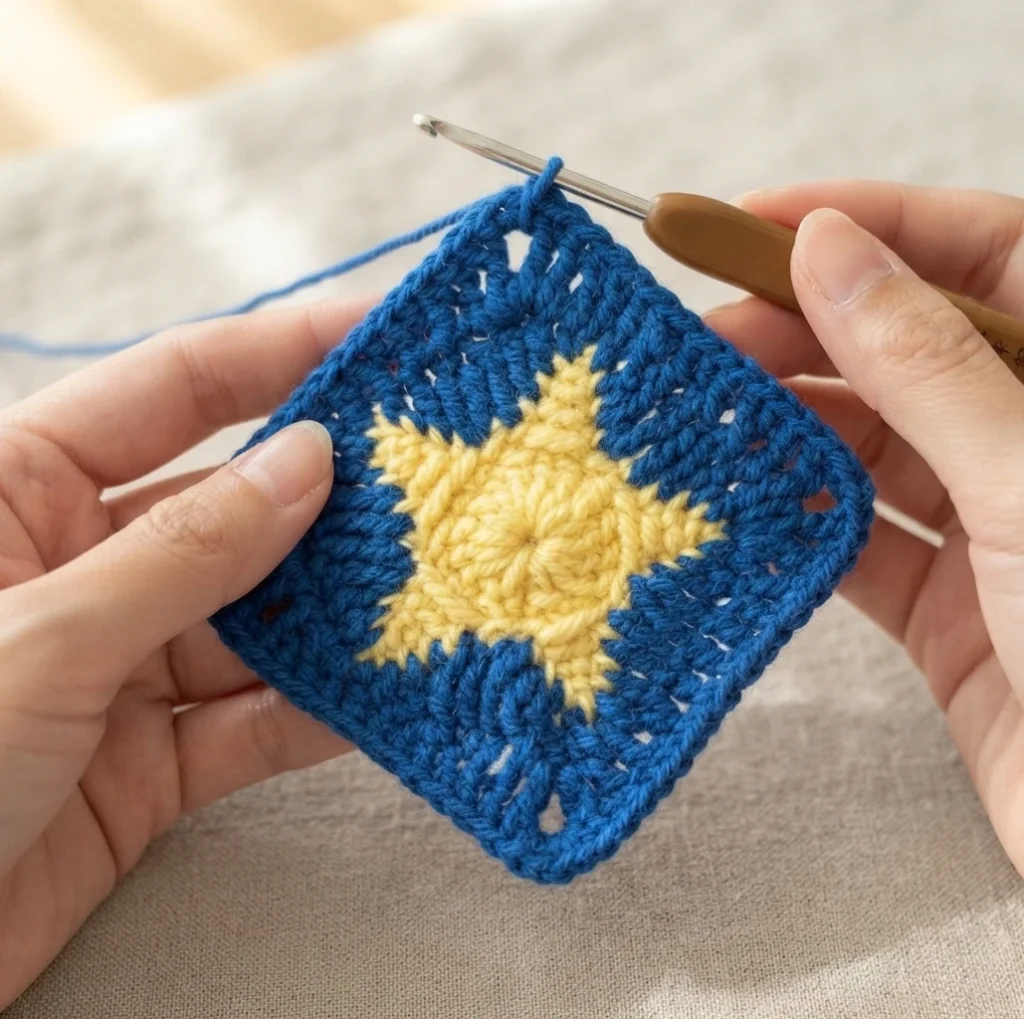
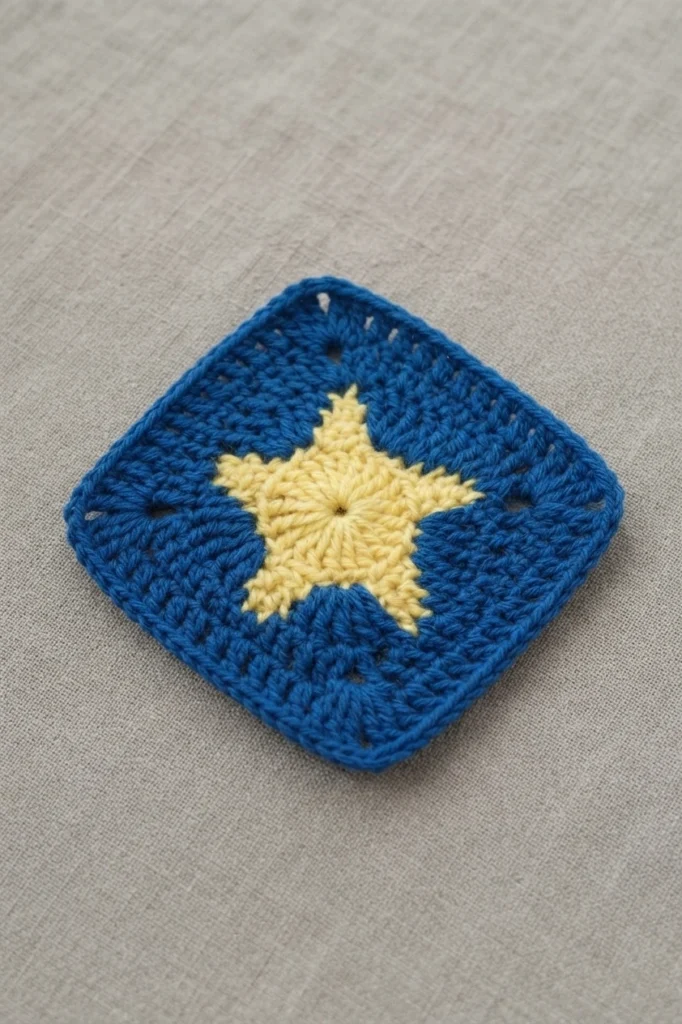
Make 9 star squares. Each starts with a chain ring and builds over six rounds, using a mix of single, half double, double, and treble crochet to form the points. A color change in Round 4 expands the star, and the later rounds shape the corners. Careful counting in the final rounds helps the circle become a tidy square.
How to Crochet a Moon Granny Square (Make 9)
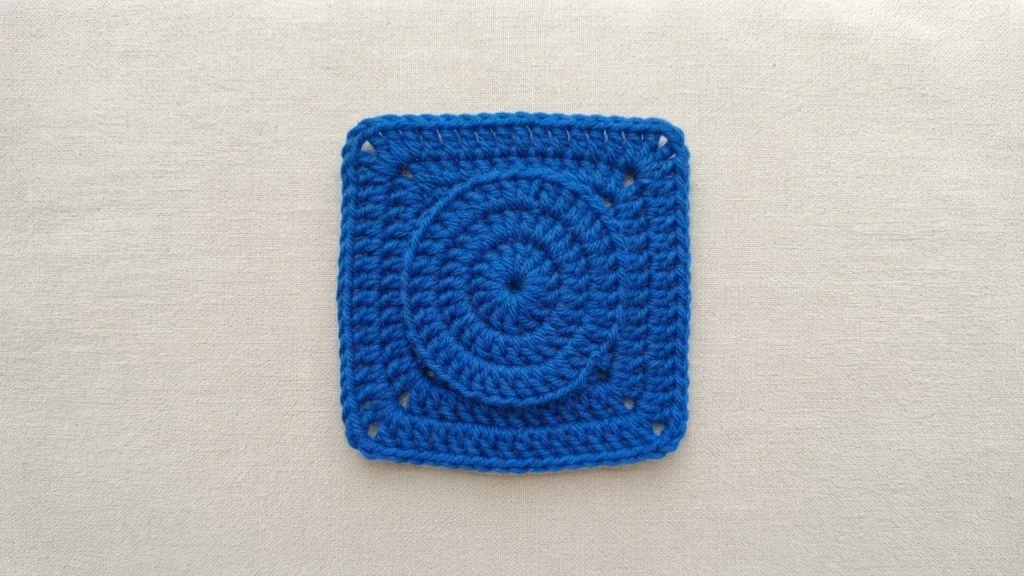
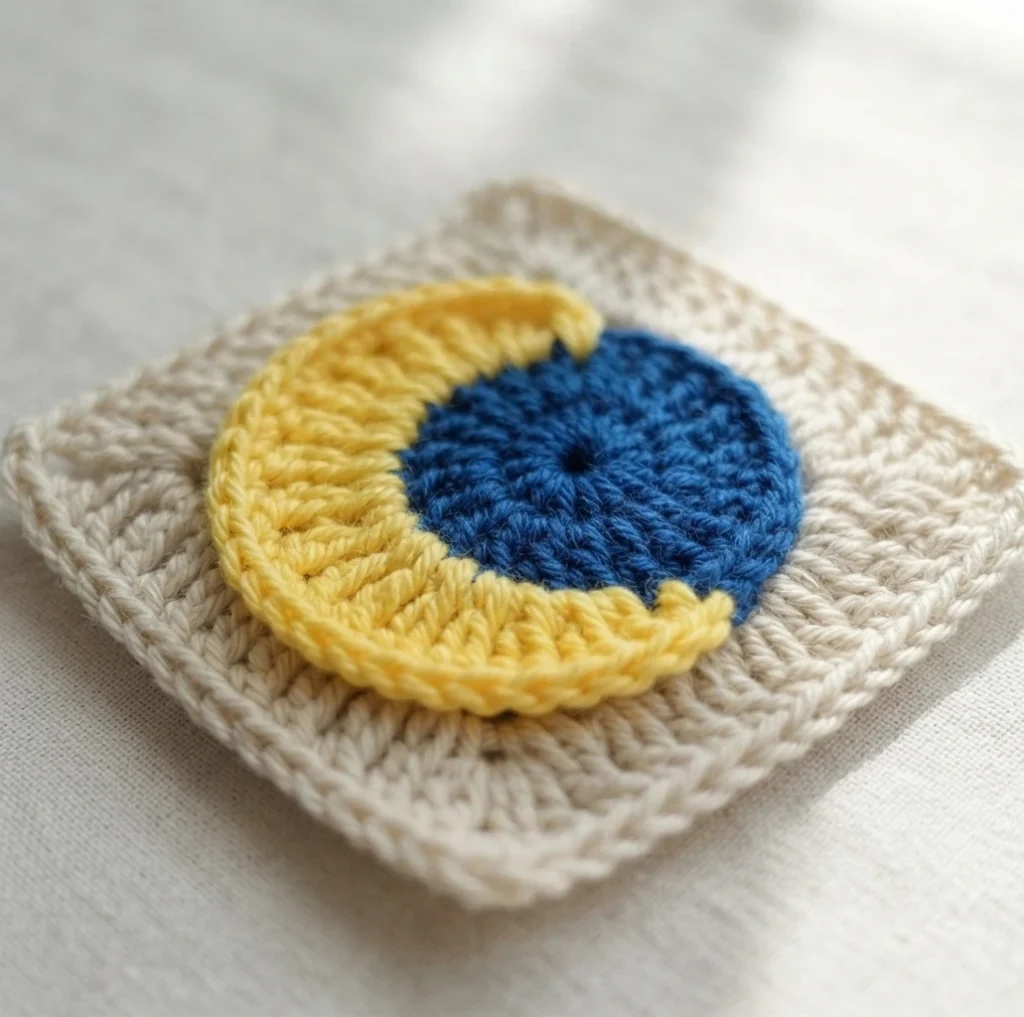
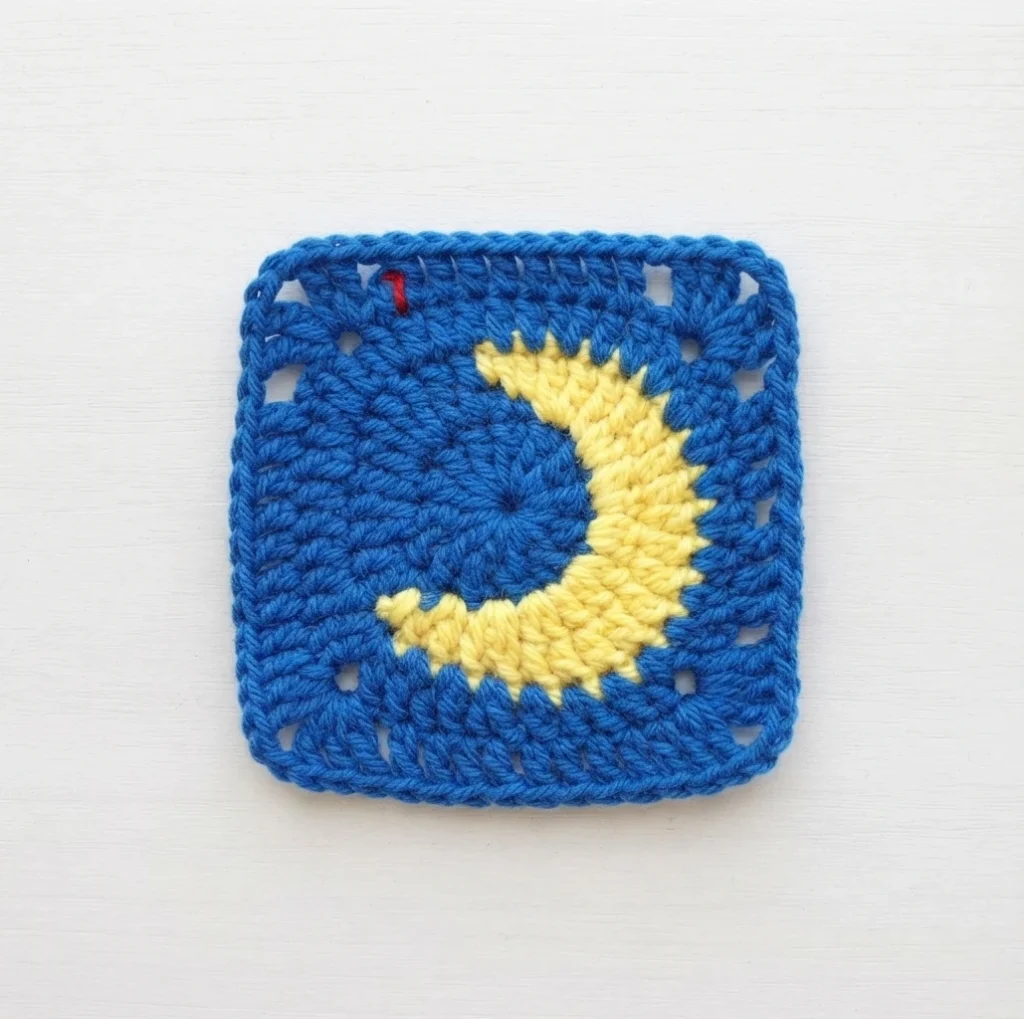
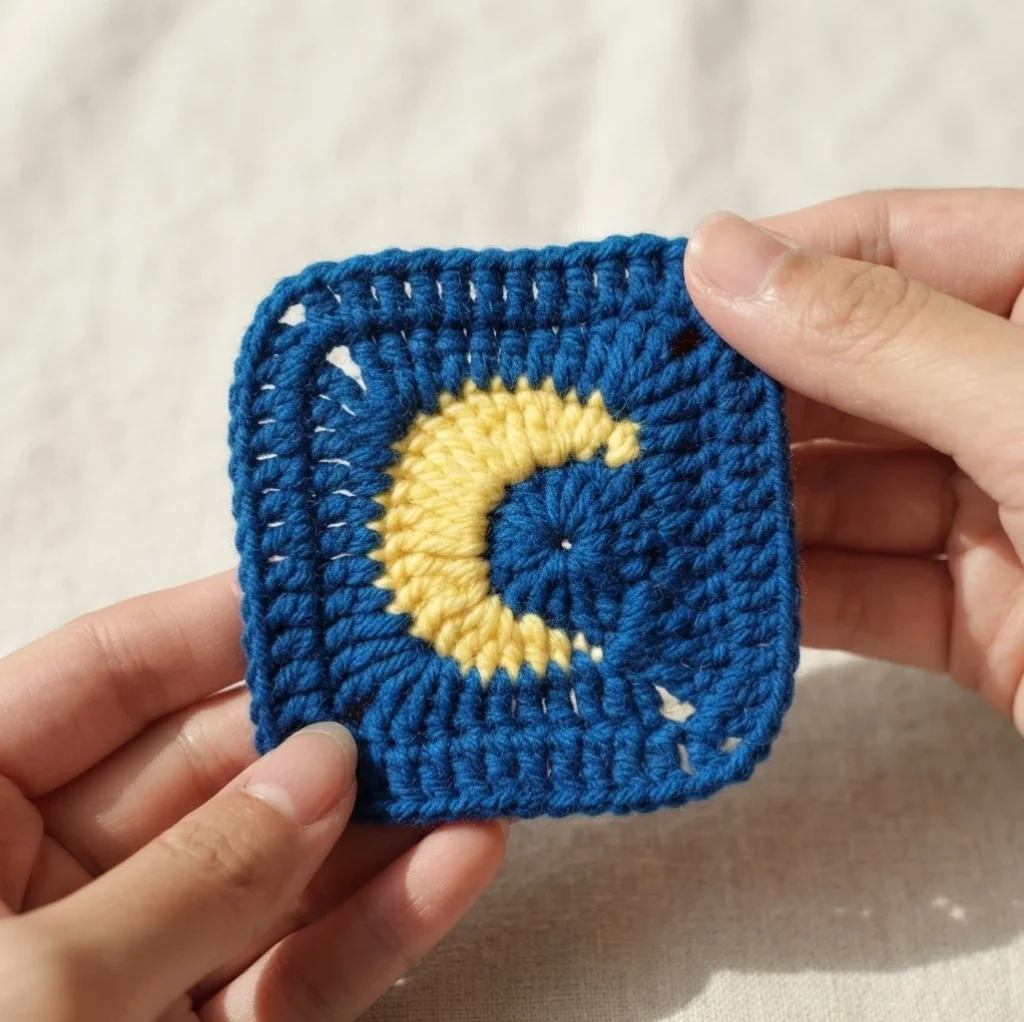
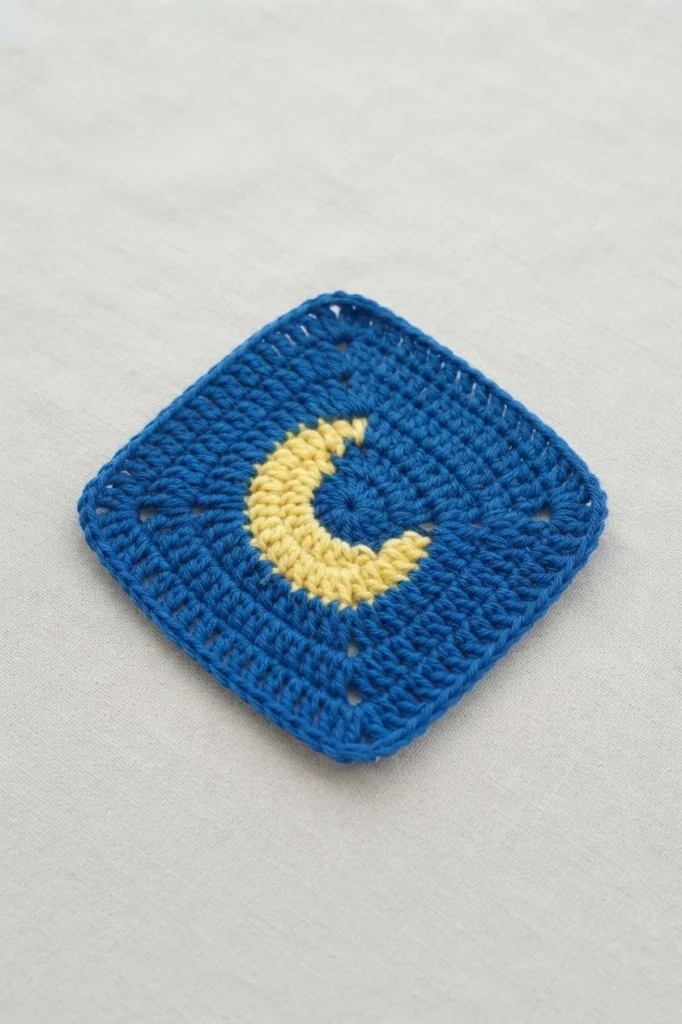
Make 9 moon squares. The crescent is shaped over five rounds with color changes after the early rounds, then worked into a square with double crochet and chain spaces before fastening off and weaving in ends. Keep the first round stitches evenly spaced, and watch final round tension, since tight work can pucker and loose work can look wavy.
Crochet Star Granny Square Bag Assemble
Assembly is a separate stage from making the motifs. Once all the squares are finished and checked against the layout, the body is joined, folded into shape, and finished, and then the straps are made and attached.
How to Assemble and Sew Bag Body
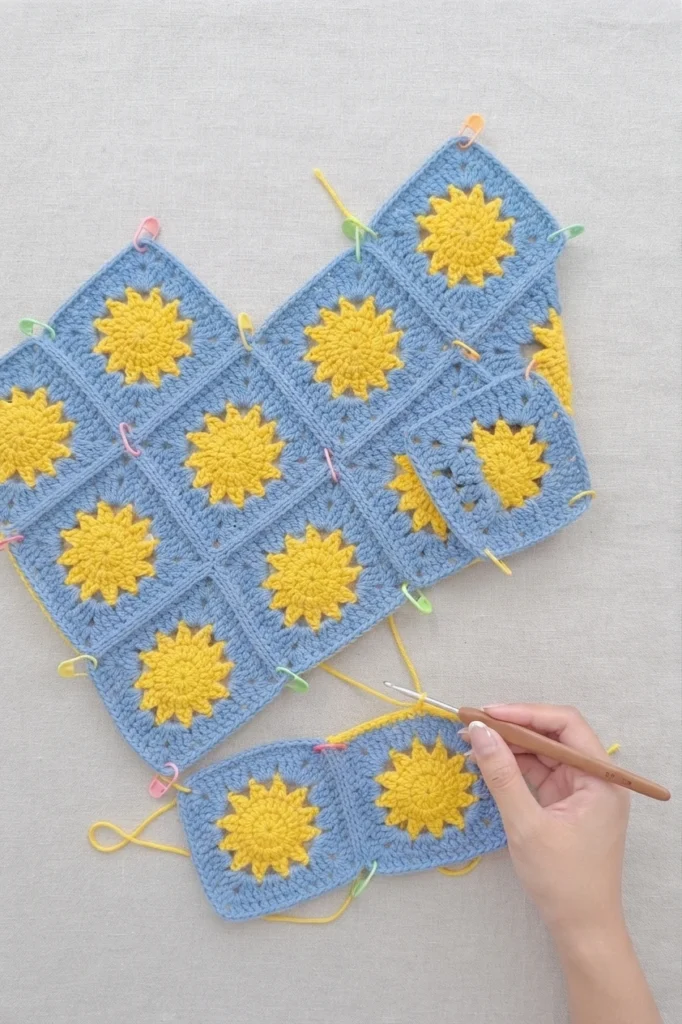
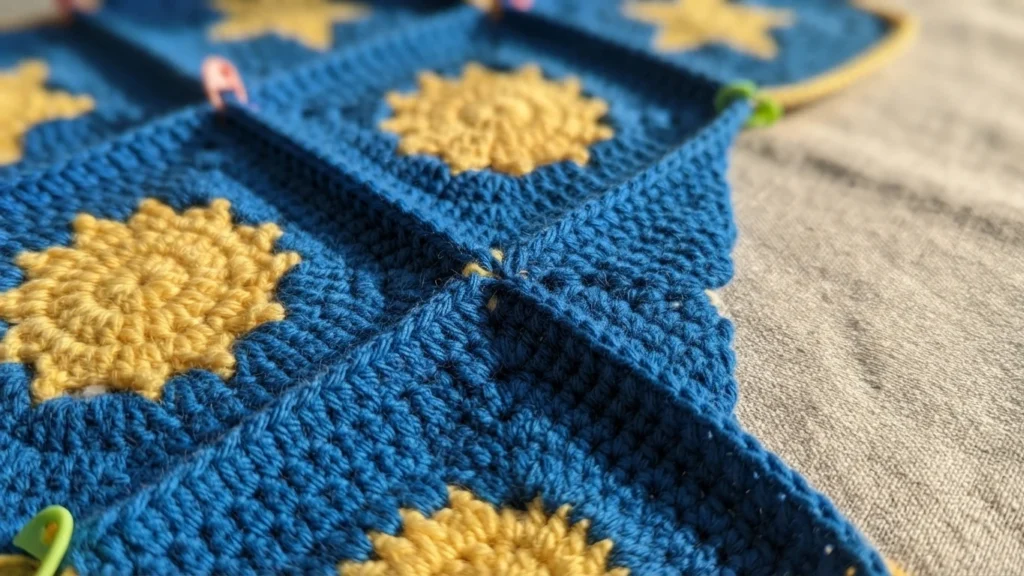
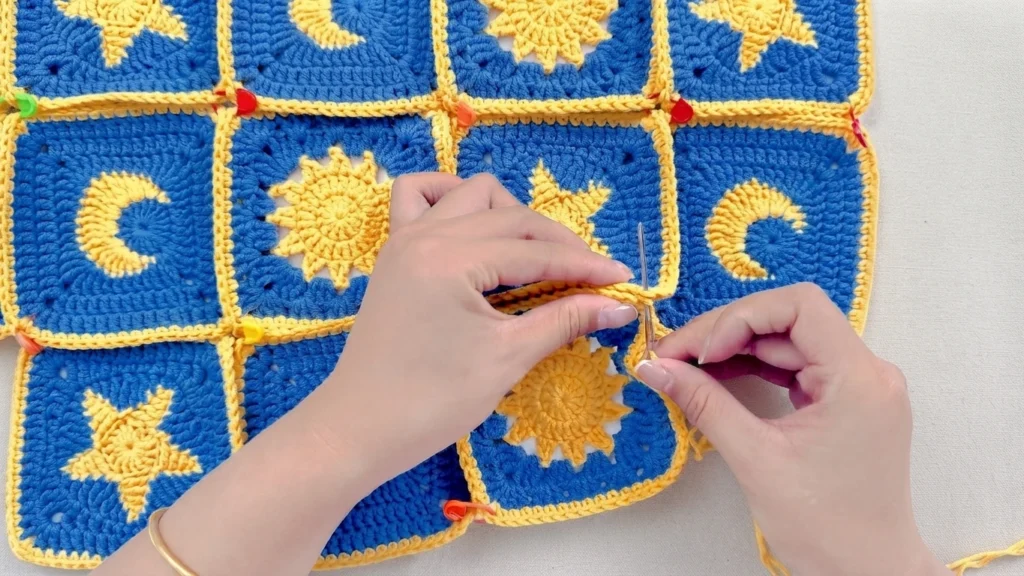
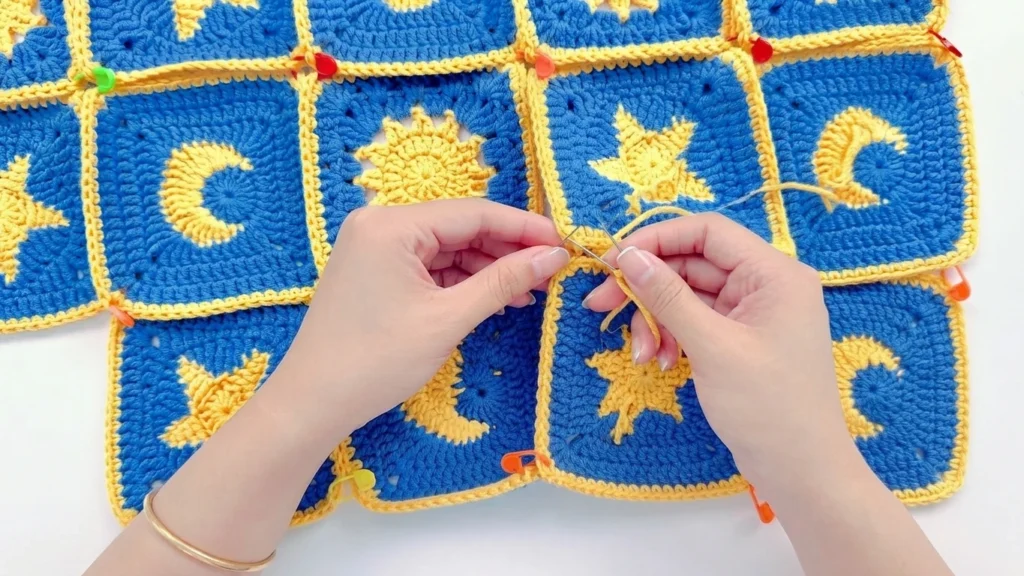
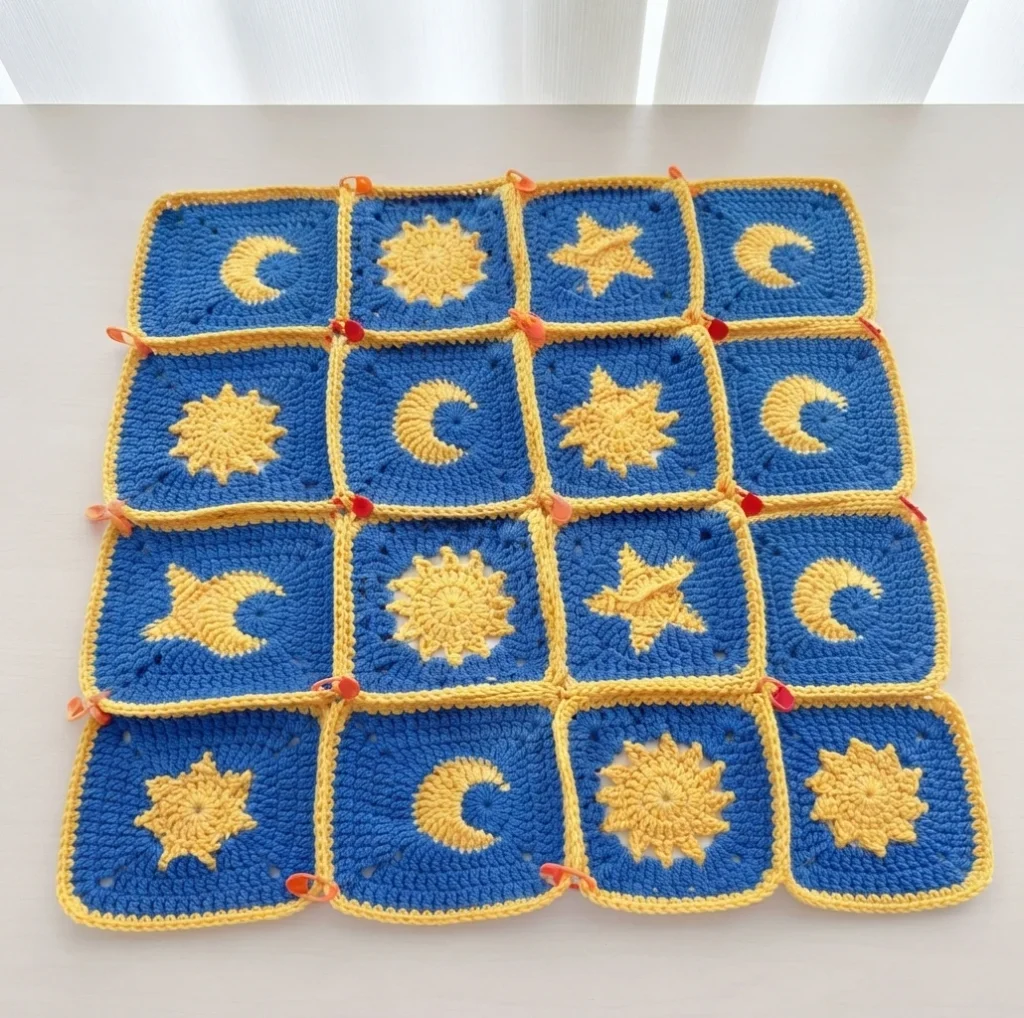
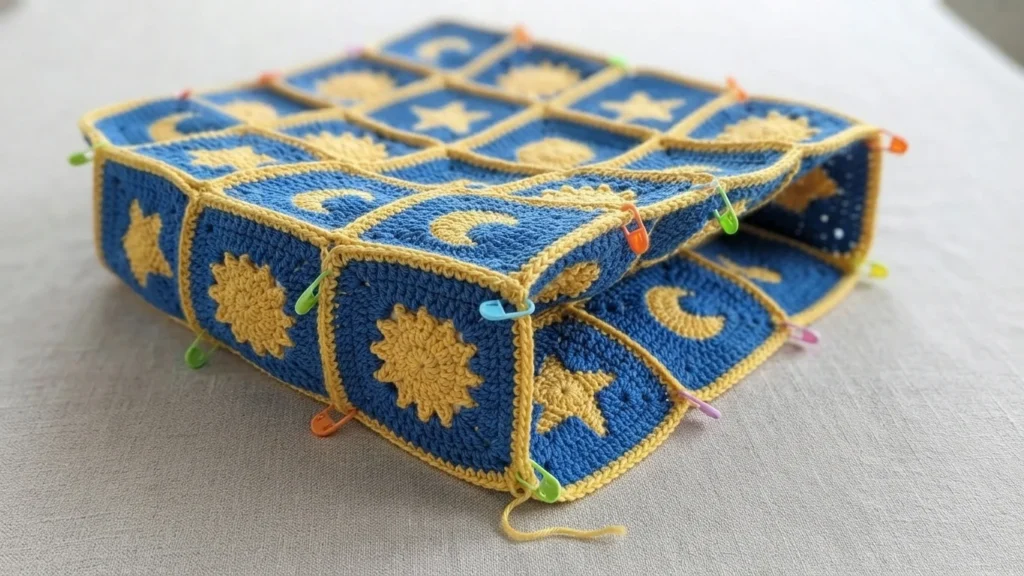
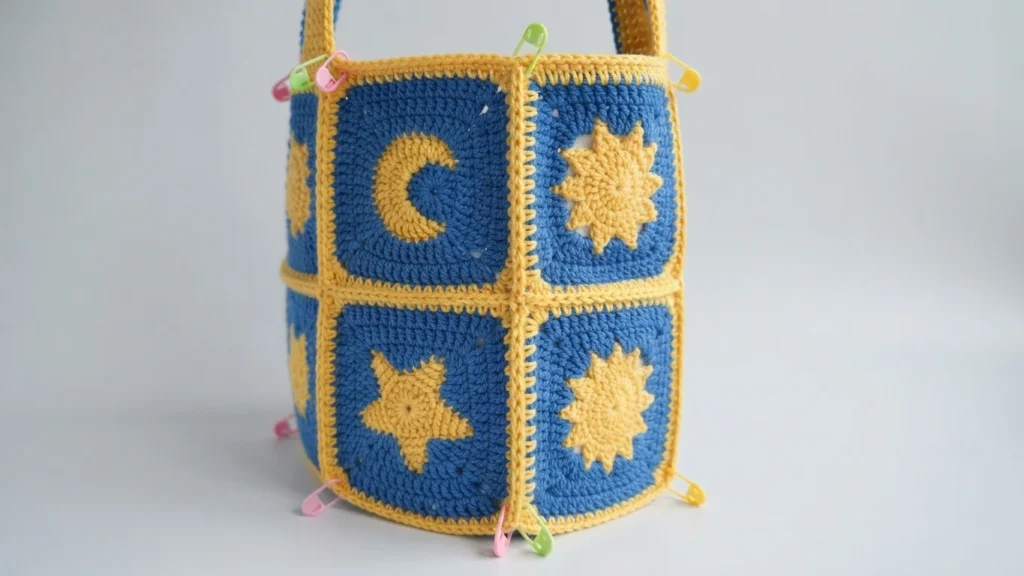
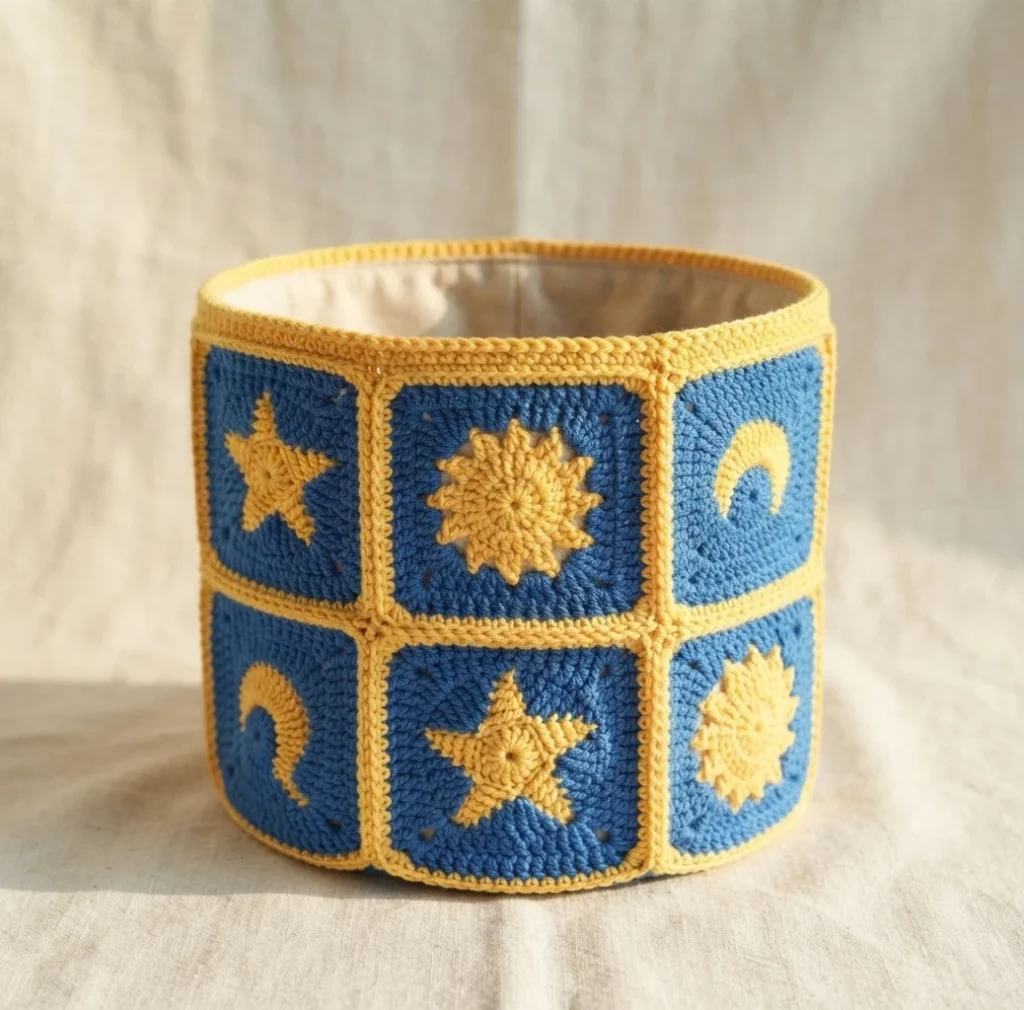
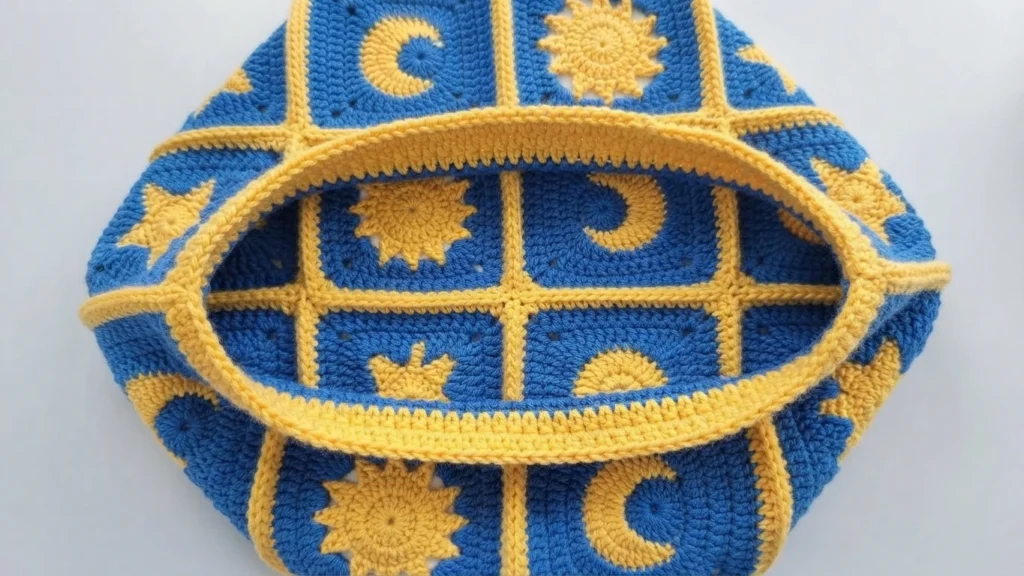
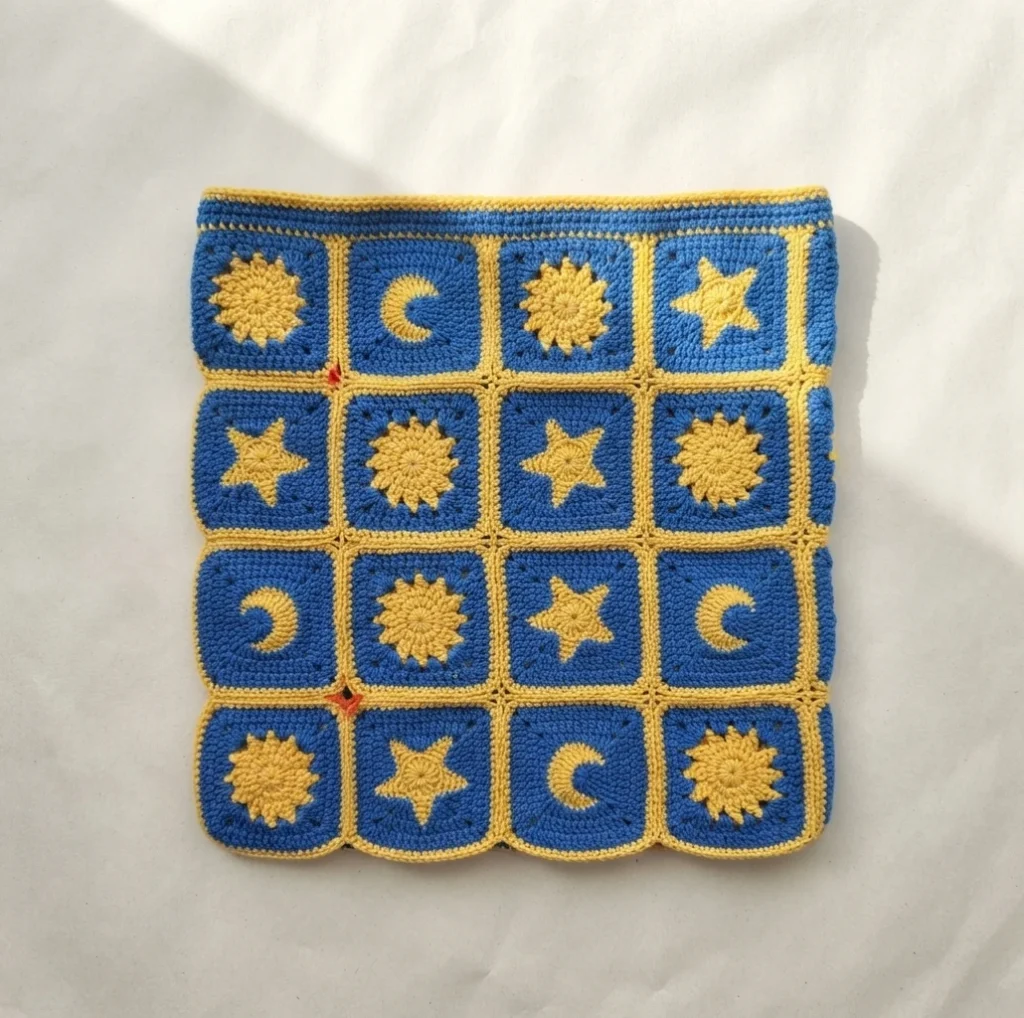
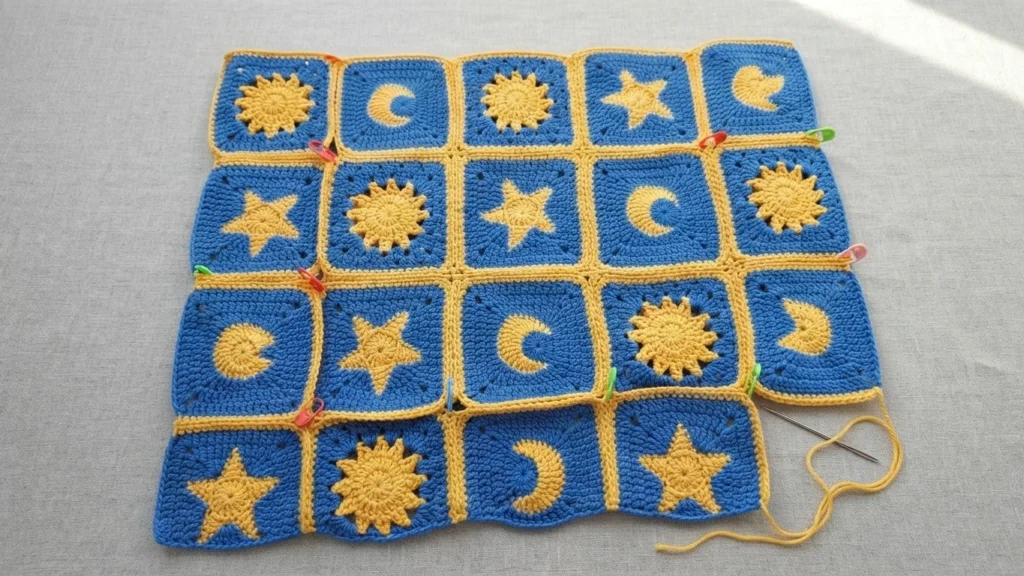
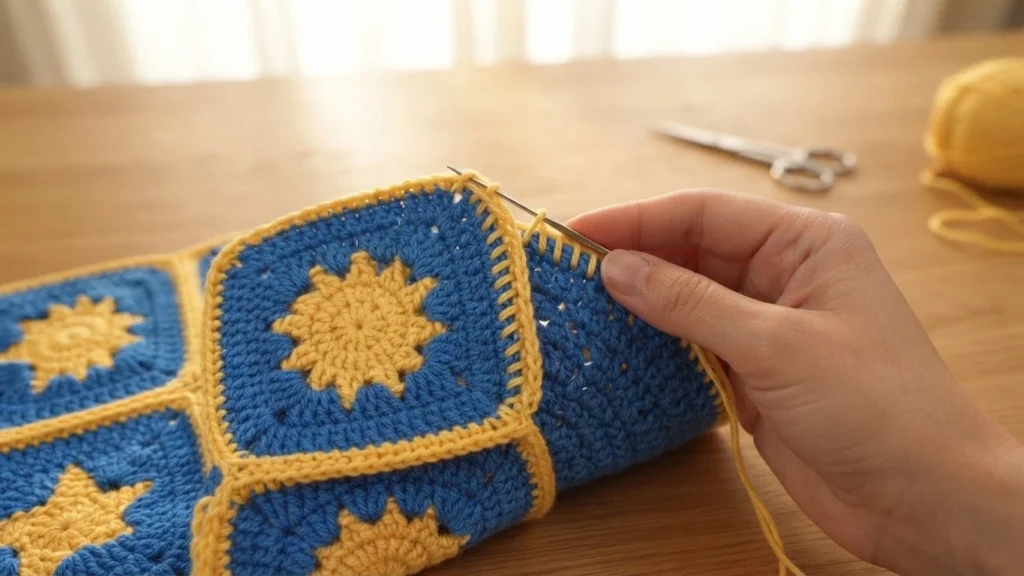
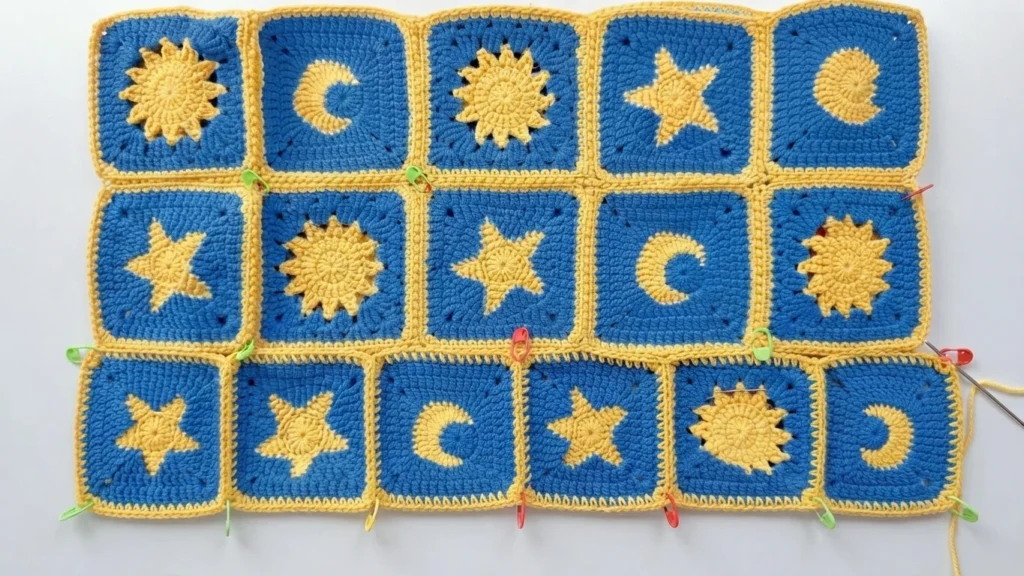
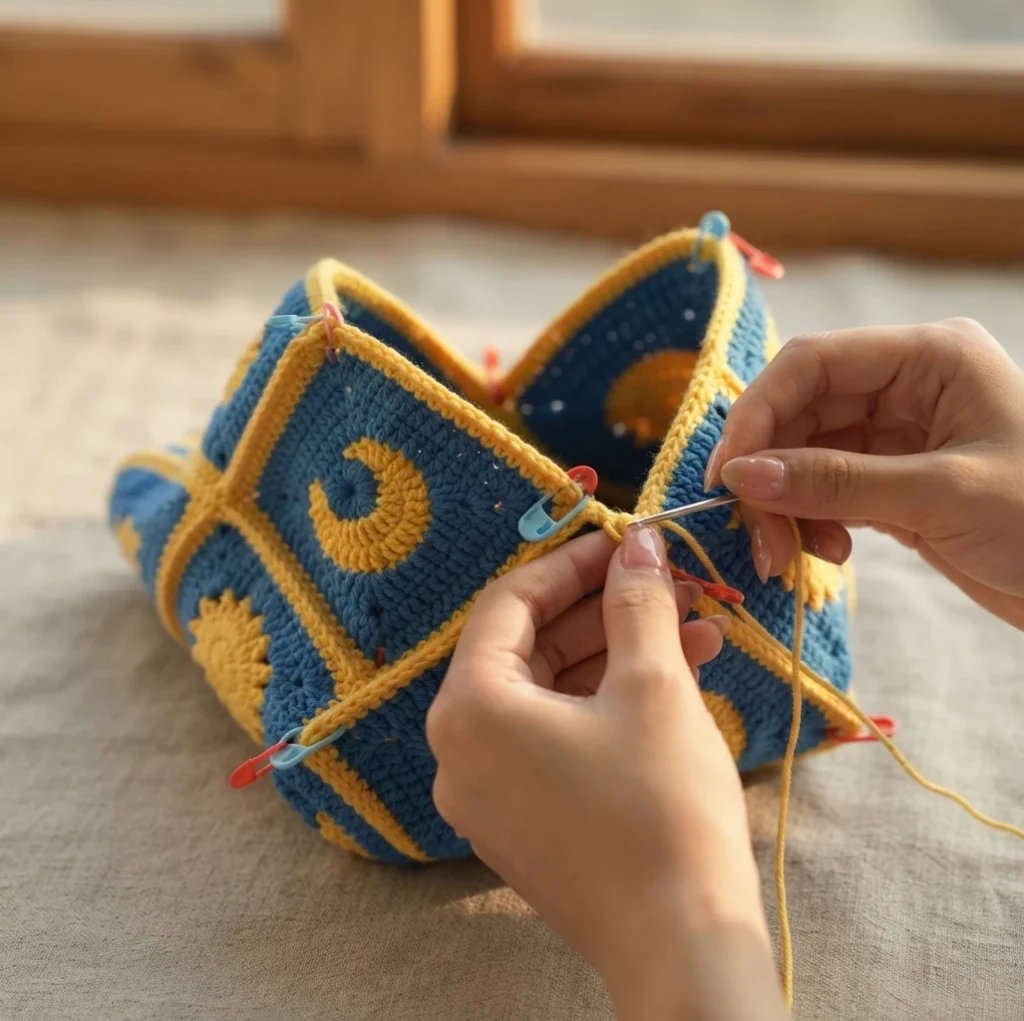
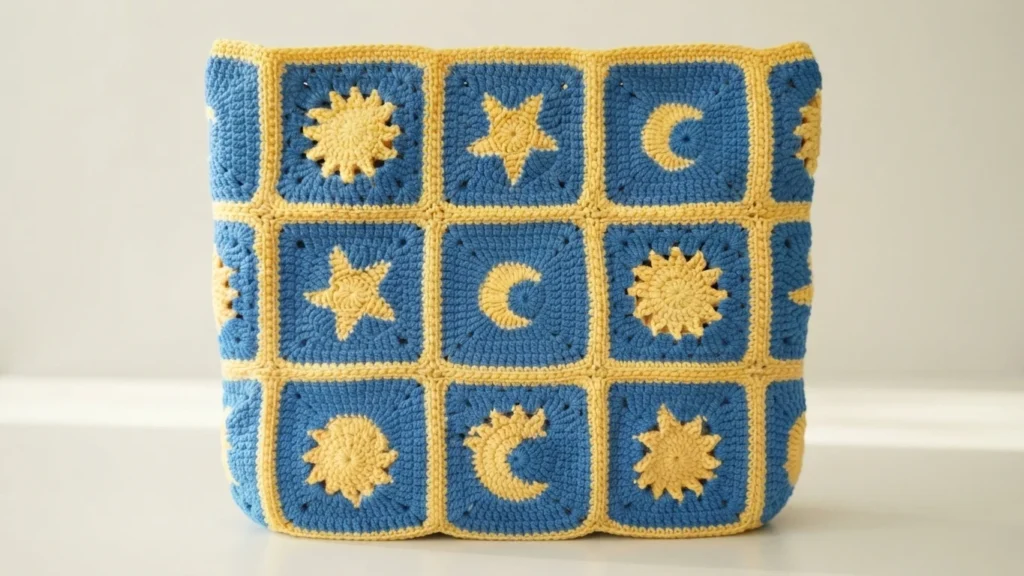
Place stitch markers according to the layout before sewing. Join squares with whipstitch, matching stitches one to one, with wrong sides together and picking up half a stitch from each side. Join horizontal and vertical rows, secure intersections and row ends, then fold the flat piece, mark the shaping, and sew it into the body. One round of single crochet finishes the bag opening.
How to Sew Bag Strap (Make 2)
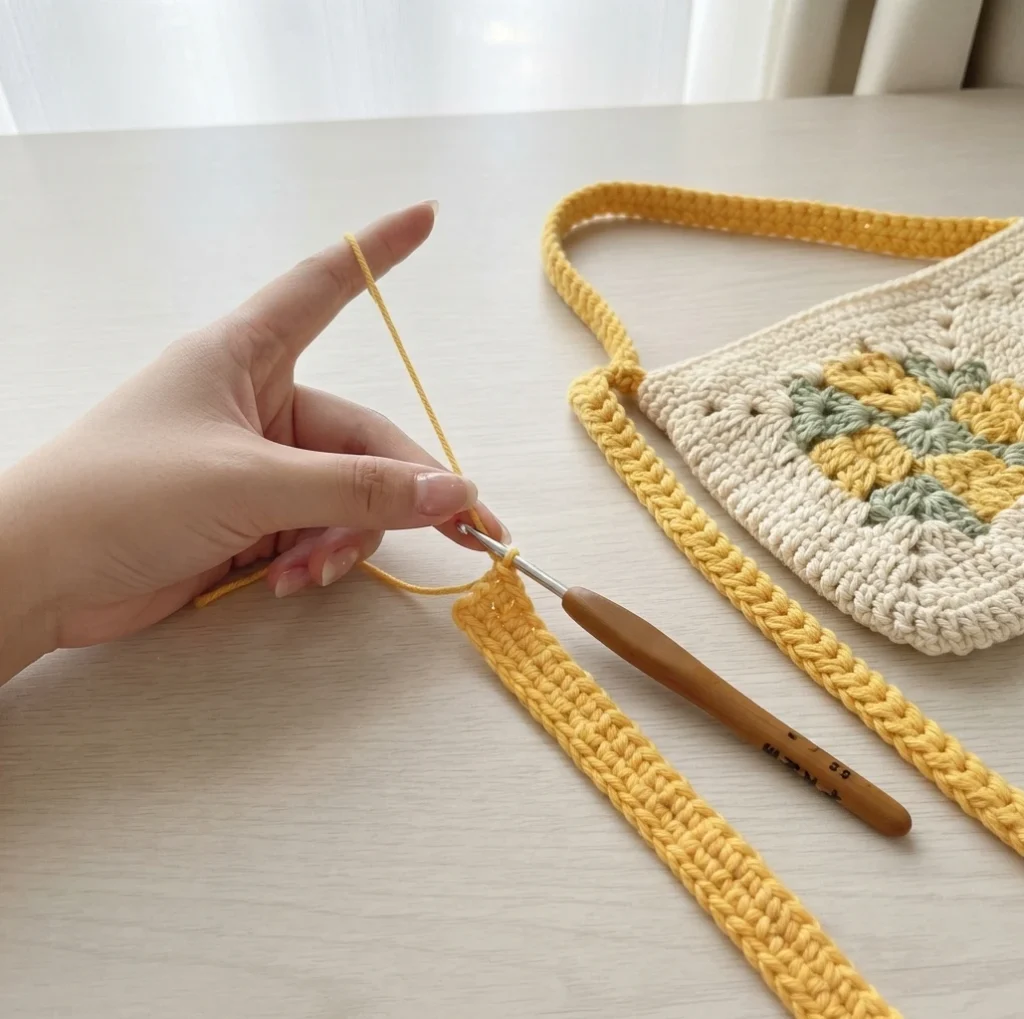
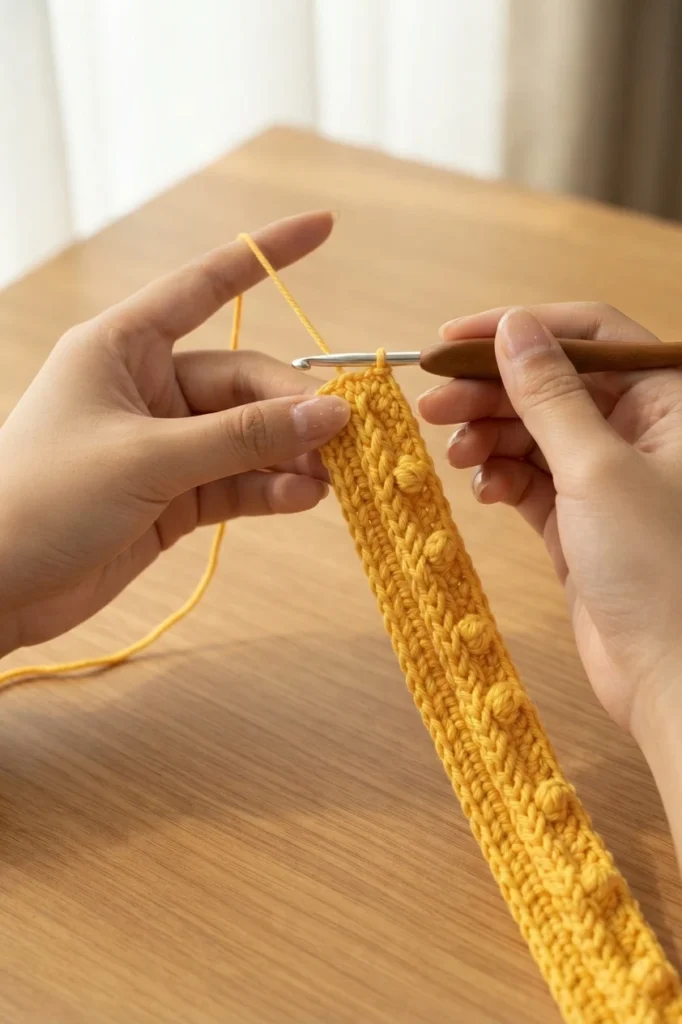
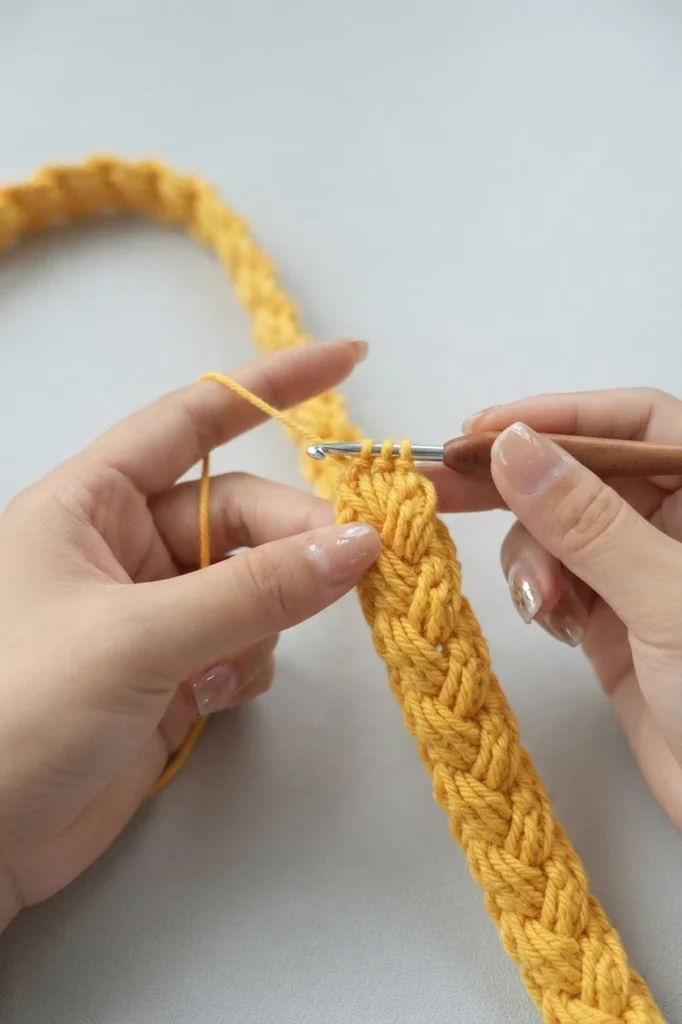
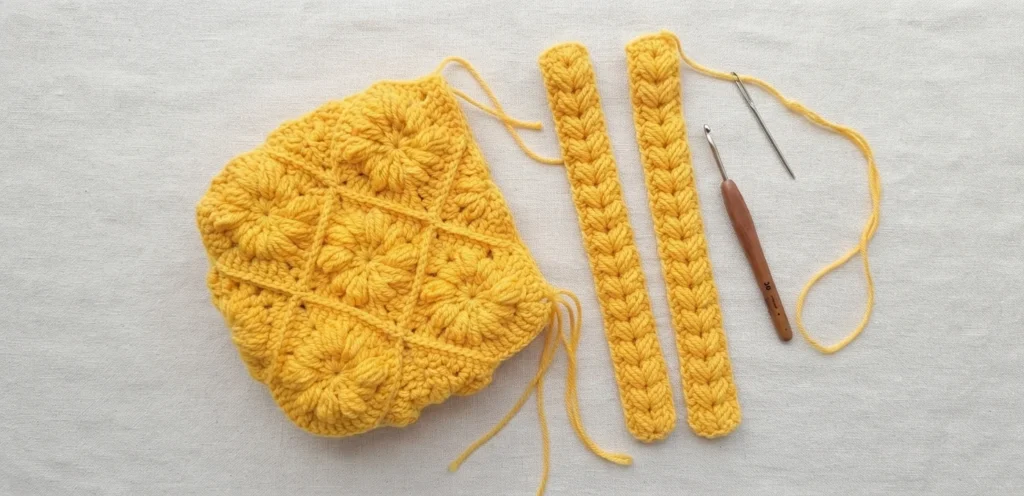
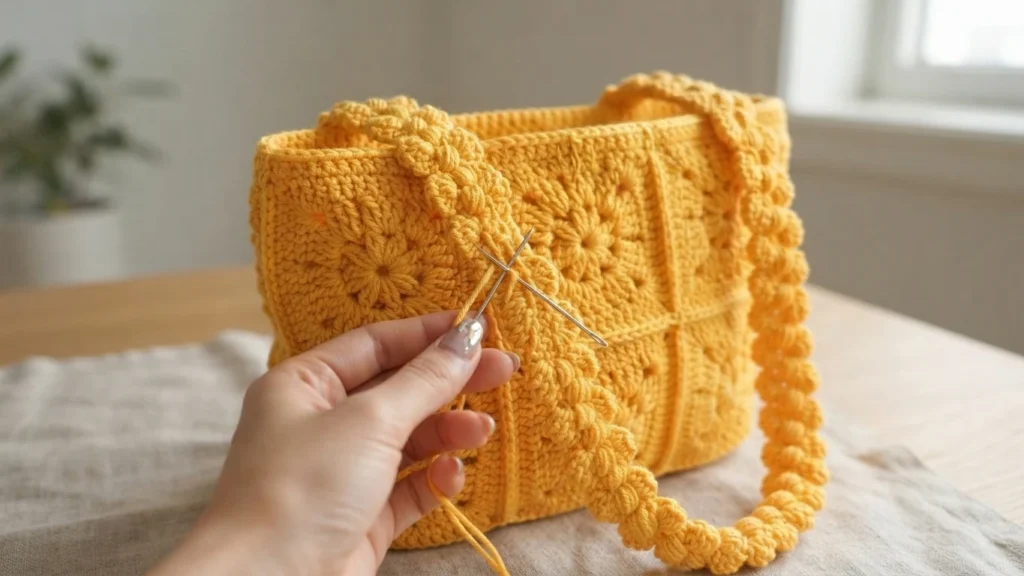
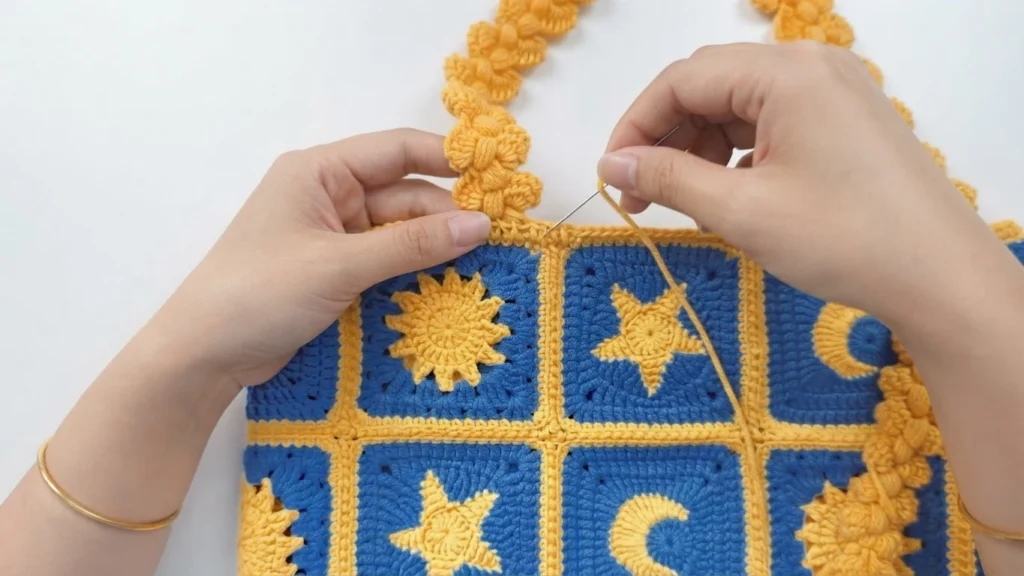
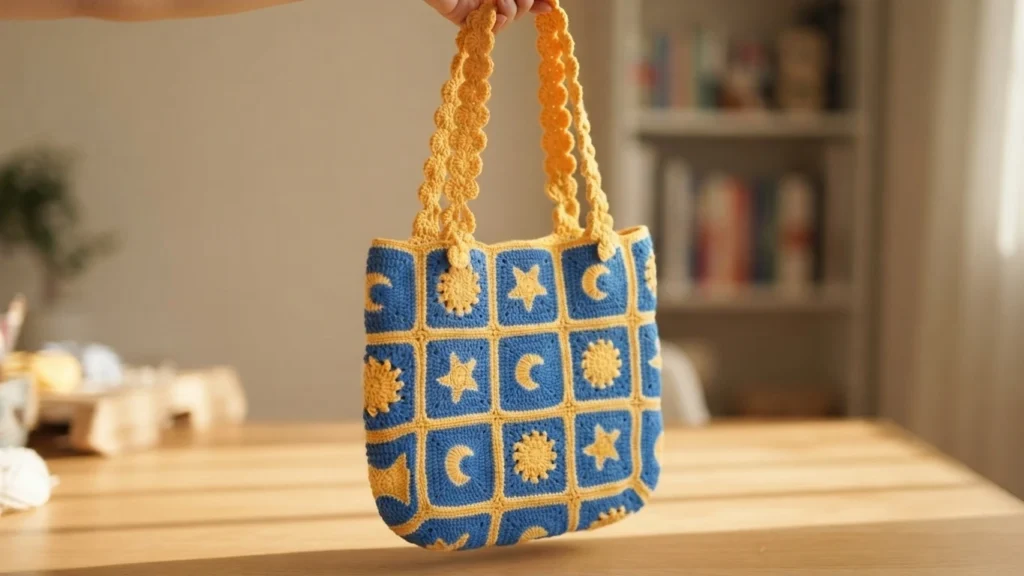
Make 2 straps by repeating the strap pattern until each reaches the desired length, then sew each strap to the bag with multiple securing stitches. Track the length as you work, check it against your body for comfortable carrying, and make both straps identical.
How to Join Granny Squares
The bag itself uses the whipstitch joining described for assembly, which the source calls one simple method. It also notes that another joining technique may suit a different personal style, and it points readers toward a broader guide covering 11 ways to join granny squares.
How to Weave in Ends Crochet Granny Square
Neat ends are presented as the finishing step that gives granny squares a polished look. The source shares 3 ways to weave in ends, describing them as methods for securing ends so pieces look tidy and hold up well across projects.
Care and Cleaning Construction Overview
Care for this bag focuses on gentle daily handling, careful hand washing when needed, and flat storage that protects its shape. The three sections below summarize the source guidance for daily care, washing, and storage.
Daily Care Tips
Spot clean small marks with a damp cloth, and empty the bag after use to help it keep its shape. When it is not being carried, stuff it lightly with tissue paper to help preserve the star, sun, and moon motifs.
Washing Methods
When the bag needs refreshing, the source recommends hand washing in cool water with mild soap. Squeeze gently and never wring, avoid harsh scrubbing that might disturb the stitches, then reshape the bag while damp and lay it flat to dry away from direct sunlight.
Storage Suggestions
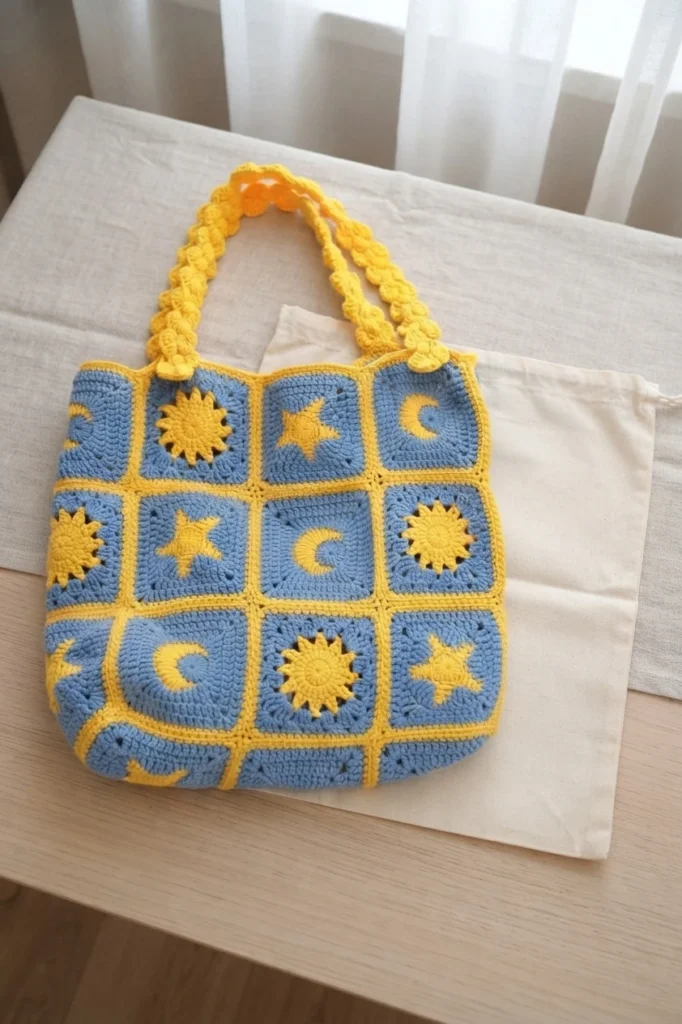
Store the bag in a cool, dry place away from direct sunlight to help prevent color fading. Stuff it with acid-free tissue paper to maintain its shape, store it flat rather than hanging to prevent stretching, and optionally tuck it into a cotton storage bag.
Crochet Star Granny Square Bag
This closing listing for the design gives the pattern a rating of 5.0 stars by 5 users. It repeats the project identification in the source catalog, separate from the tutorial sections above.
Category
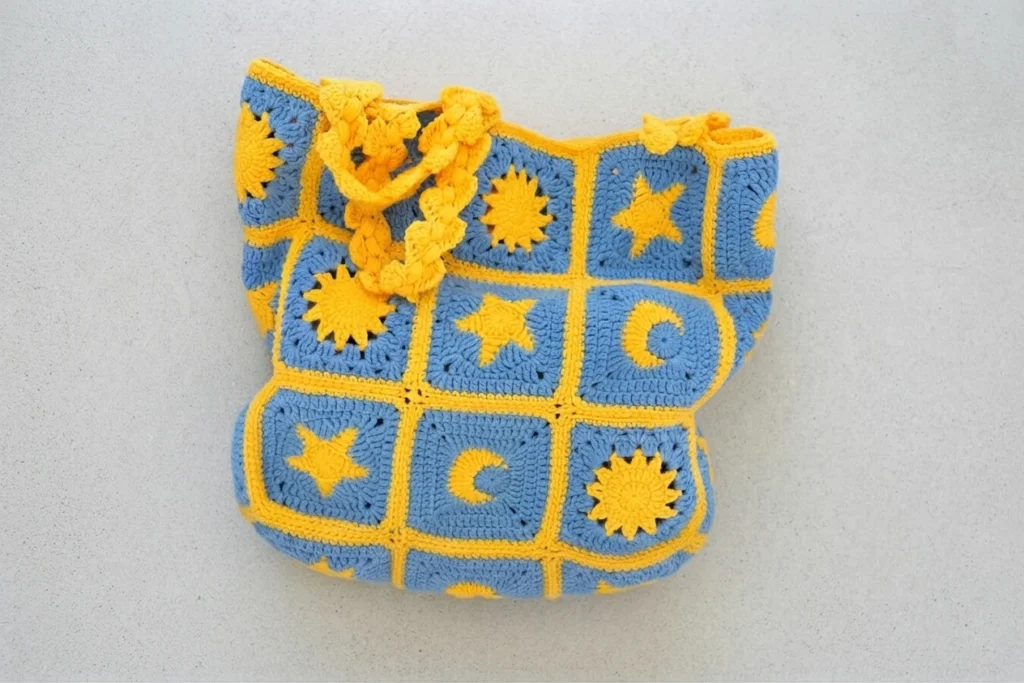
The project is listed under Crochet Granny Square Bag. For related reading on similar bag construction, see Crochet Large Granny Square Bag Pattern (Pattern): Pattern Overview and Crochet Granny Square Crossbody Bag (Pattern): Pattern Overview.
Materials Needed
The source catalog entry repeats the same materials list given earlier in this overview, with the same yarn, hook, scissors, stitch marker, and yarn needle. Use the checklist in the materials section above so the supplies are stated only once in full.
Step By Step Tutorial
The source also presents the work as a condensed step by step tutorial listing. The summaries below restate that sequence in overview form, without replacing the designer rounds, diagrams, or photographs.
How to Crochet a Sun Granny Square (Make 9)
In the tutorial listing, the sun square is worked through its rounds in sequence, with a color change at the start of Round 5, and it ends by fastening off and weaving in ends.
How to Crochet a Star Granny Square (Make 9)
In the tutorial listing, the star square begins from a chain joined into a ring, builds the star motif in rounds, introduces a color change partway through, shapes into a square, and ends by fastening off and weaving in ends.
How to Crochet a Moon Granny Square (Make 9)
In the tutorial listing, the moon square begins with double crochet worked into a ring, uses color changes and increasing stitches to shape the moon into a square, and ends by fastening off and weaving in ends.
How to Assemble and Sew Bag Body
In the tutorial listing, each of the 27 squares first receives one round worked according to the pattern diagram. Squares are then laid out with stitch markers and joined with whipstitch in rows, without pulling the thread too tight, with extra connection at the middle intersection. The flat piece is folded and seamed, and the opening is finished with single crochet.
How to Sew Bag Strap (Make 2)
In the tutorial listing, each strap starts with a chain for the braid stitch, the strap pattern is repeated until the desired length is reached, and the strap is then sewn to the bag and secured with multiple stitches.
Notes
The source notes bring together three practical reminders. Keep tension consistent so the squares for each motif set match in size for easier joining, double check square placement before sewing and use stitch markers freely during folding and shaping, and keep both straps identical while checking strap length against the body.
Recent Post
The source sidebar lists recent flower pattern posts, each presented as offering a PDF and a beginner tutorial. The titles shown are Crochet Winter Jasmine, Crochet Rouge Rose, Crochet Hibiscus Flower, Crochet Dried Violet Flowers, and Crochet Lafitte Rose patterns.
Categories
The source categories include Crochet Flower, Crochet Leaf (23), Granny Square (125), Crochet Bag, Crochet Stitch, Crochet Hat, and Crochet Animals. This bag sits naturally among the granny square and bag listings.