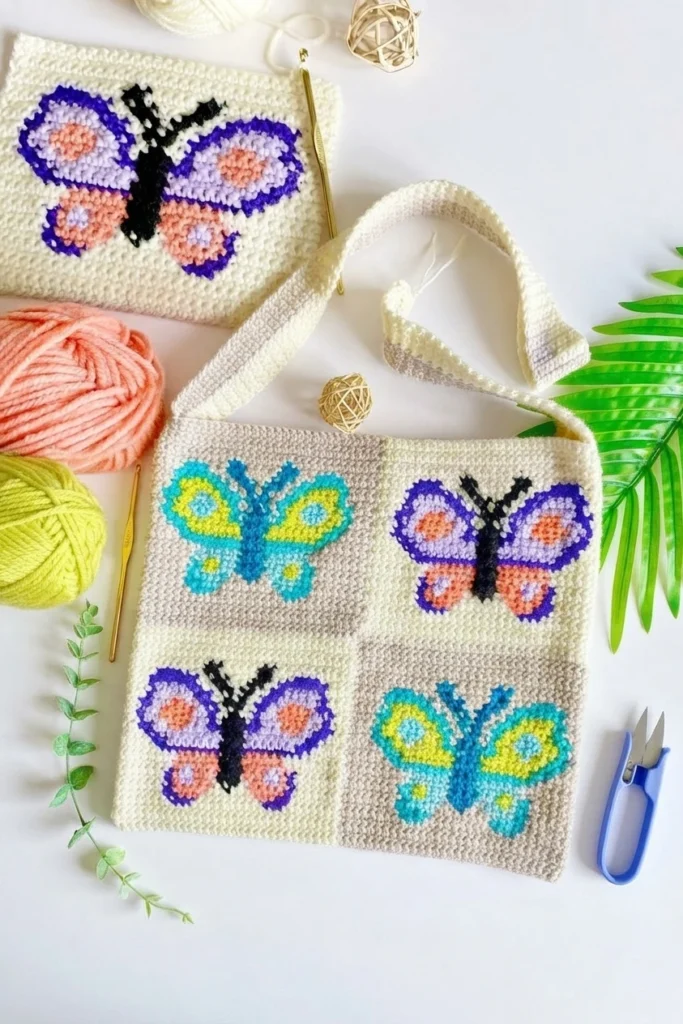
Project introduction
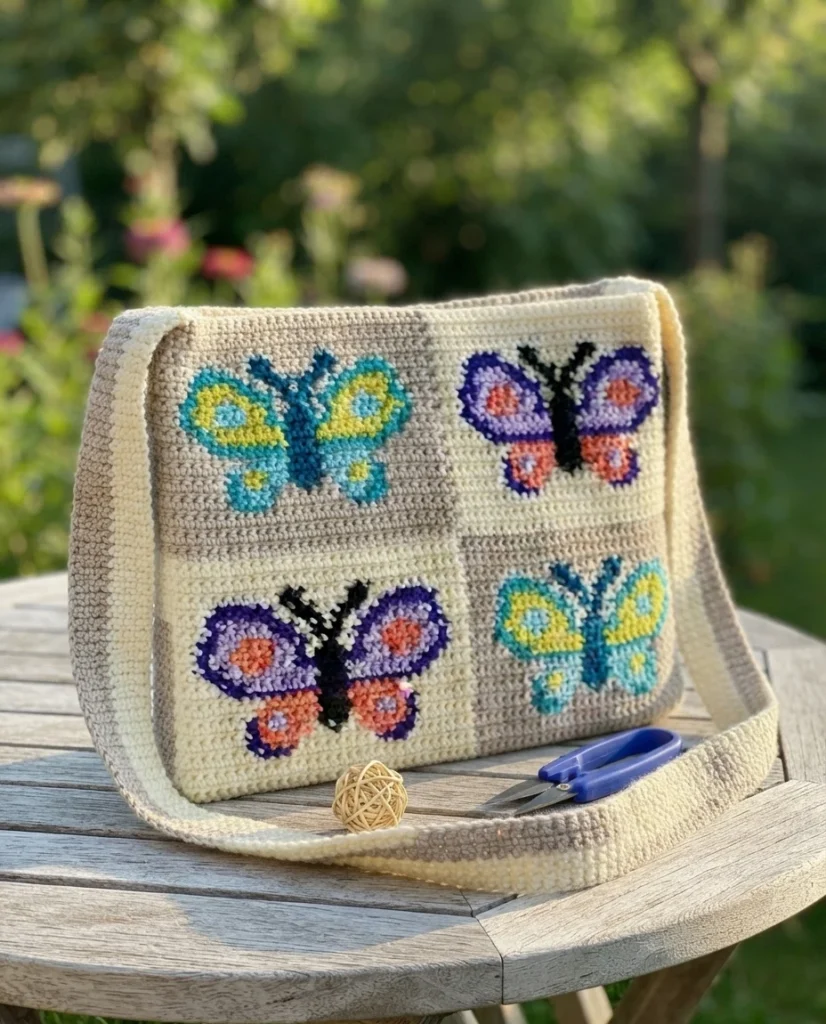
This article is a pattern overview, not a full tutorial, for the Retro Butterfly Day Bag from Love and Stitch. It explains what the project is, what you need, and how the construction comes together so you can decide if it fits your plans before following the full instructions on the designer site.
The bag is presented as a cute and functional choice for summer, made to carry everyday warm weather essentials in a handmade piece with vibrant colors. It is suggested as something to make for yourself or for a friend. Start with the Original designer’s pattern and instructions for the charts and complete pattern.
Materials
Keep this checklist together before you begin so the panels, strap, and finishing steps can move in order. The source lists one hook size, a worsted weight yarn, and basic sewing and finishing tools, with two optional items for shaping and lining if you want a more finished interior.
- 4.50 mm crochet hook
- Weight 4 worsted weight yarn
- Yarn needle
- Scissors
- Stitch markers, used when attaching the strap
- Hand steamer, optional
- Cotton fabric, optional, for lining the bag
Yarn Choice
For most patterns the designer prefers a thicker and tighter spun worsted weight yarn because it gives more definition and helps details stand out. The designer also steams every project, which softens the work and makes it more flexible and flowy, a point noted as especially helpful for tighter crocheters.
The sample used Loops and Threads Impeccable. Other brands the designer tends to gravitate toward are Red Heart Super Saver and We Crochet Brava Worsted, but the amounts below are sample specific and are listed as approximate.
- Putty, approx. 150 yards
- Sea Green, approx. 35 yards
- Glacier, approx. 45 yards
- Citron, approx. 50 yards
- Teal, approx. 10 yards
- Aran, approx. 150 yards
- Plum, approx. 30 yards
- Peach Pink, approx. 35 yards
- Petunia, approx. 50 yards
- Black, approx. 10 yards
Color Abbreviations
The pattern uses short codes in place of full color names, so keeping this key nearby will make the charts and color sections easier to read. Each code matches one of the sample colors listed above.
- P = Putty
- SG = Sea Green
- G = Glacier
- CT = Citron
- T = Teal
- AR = Aran
- PL = Plum
- PP = Peach Pink
- PE = Petunia
- BL = Black
Stitch Key (US Terms)
The stitch key is short because the project is written around a small set of US terms. Review these abbreviations before you start so the chart notes and color counts read clearly as you work.
- Ch = Chain
- St/sts = Stitch(es)
- Sc = Single Crochet
Special Notes
The bag panels and strap are worked in rows, and the panels are worked from the bottom up. The first stitch of each row goes into the same stitch as the turning chain, and the turning chain does not count as the first stitch. Color work is written as a stitch count followed by a color code, for example 8 (P) means 8 sc in Putty.
Odd rows are the right side rows and even rows are the wrong side rows. The panels and strap are made separately and then seamed together. The finished size is given as 15 inches wide x 12 long, with a strap of 35 inches, and gauge is 14 sts x 19 rows = 4 inch square worked in single crochet.
Color Changing
Clean color changes are central to this design because the butterfly image is built from many small sections of color. The designer points readers to tutorials on the Love and Stitch YouTube channel for seamless changes, covering tapestry, cut and tie, and intarsia techniques that you can review before starting the panels.
Pattern Overview
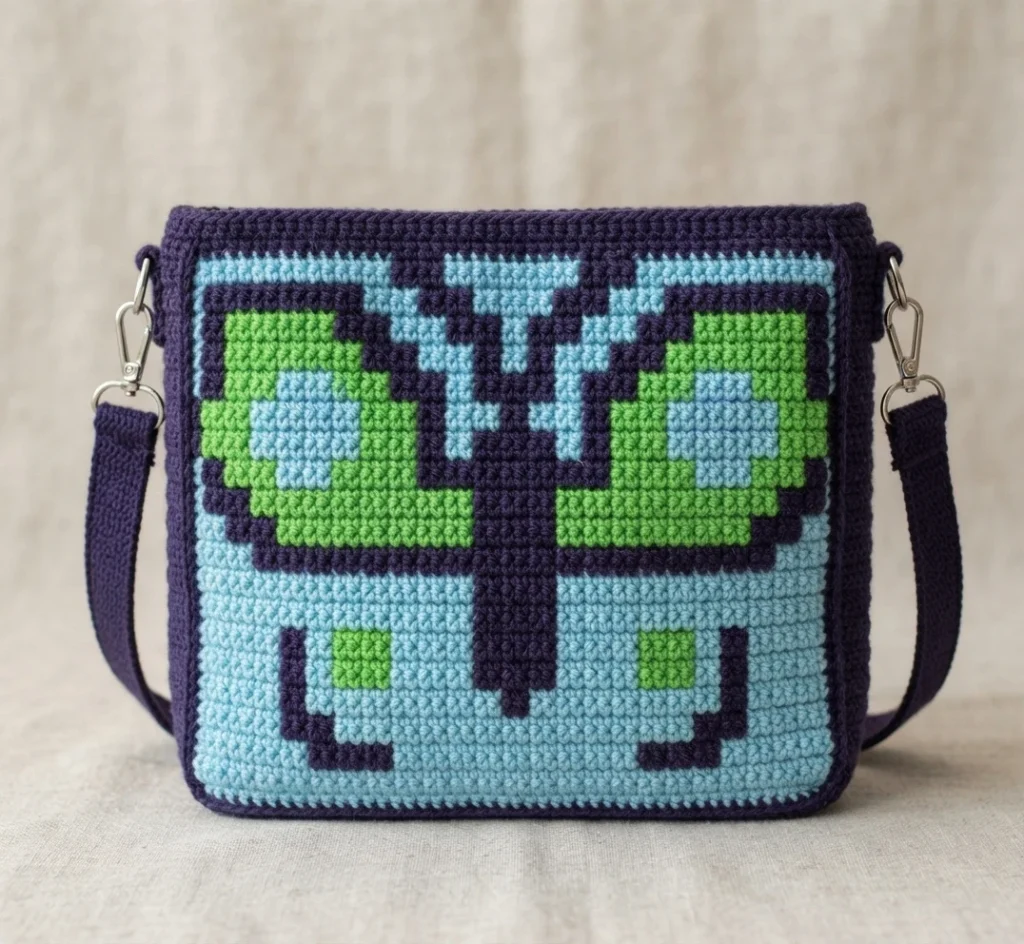
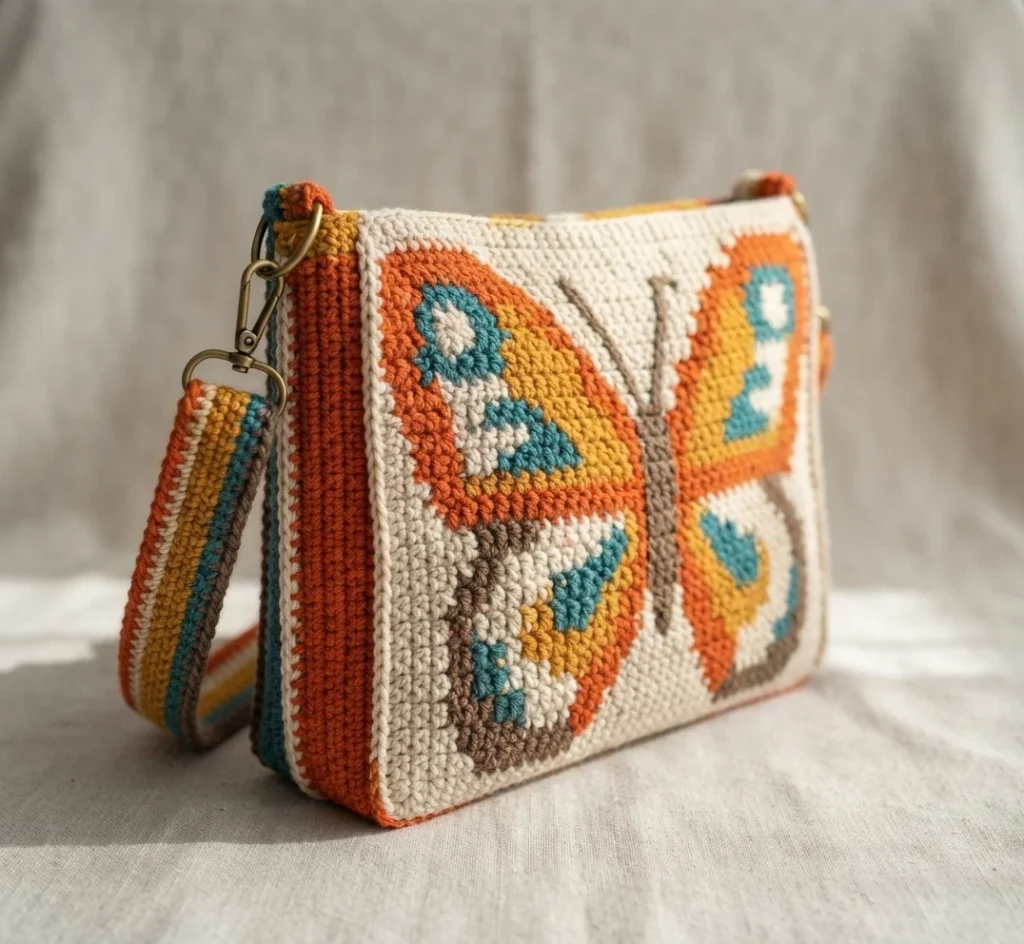
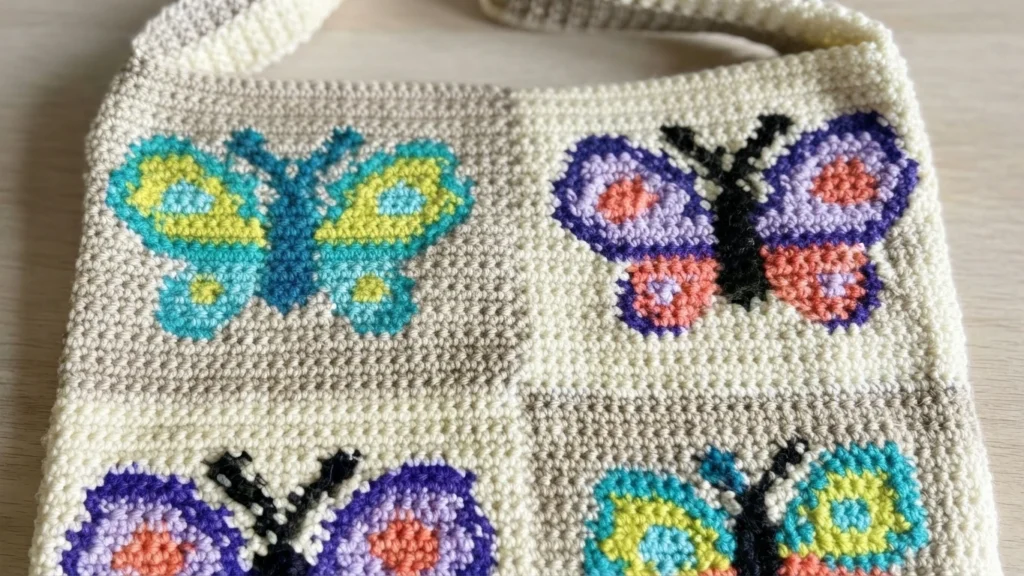
The front and back panels follow pixel charts, with the color codes above showing where each shade belongs. The front panel begins in Putty, early rows set up broad alternating color areas, and then the chart guides the detailed butterfly sections. When the back panel is finished, you leave a tail long enough to seam both panels together.
For access, the free online pattern includes printable versions of the Retro Butterfly Front Panel and Retro Butterfly Back Panel for download. A separate printable PDF format is paid, as the source notes you can purchase the Printable PDF on Etsy, and that download includes both the written pattern and the chart. A video tutorial is also offered: Click here
How to Follow a Crochet Pixel Chart
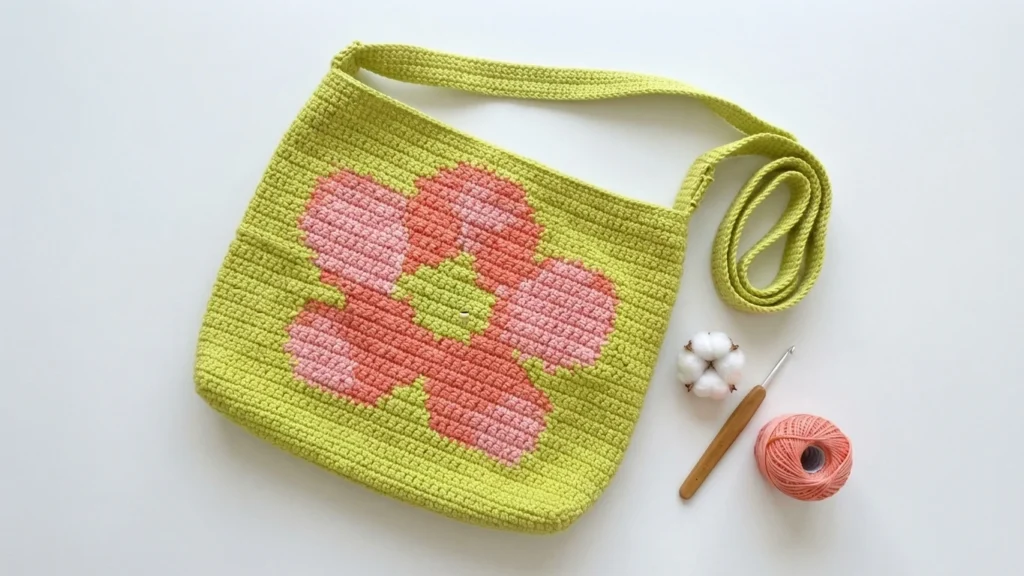
If pixel charts are new to you, or you want a refresher before starting the panels, the designer has a YouTube tutorial devoted to that skill. Watch it alongside the color key so each square and code feels familiar: Click Here
Creating the Strap
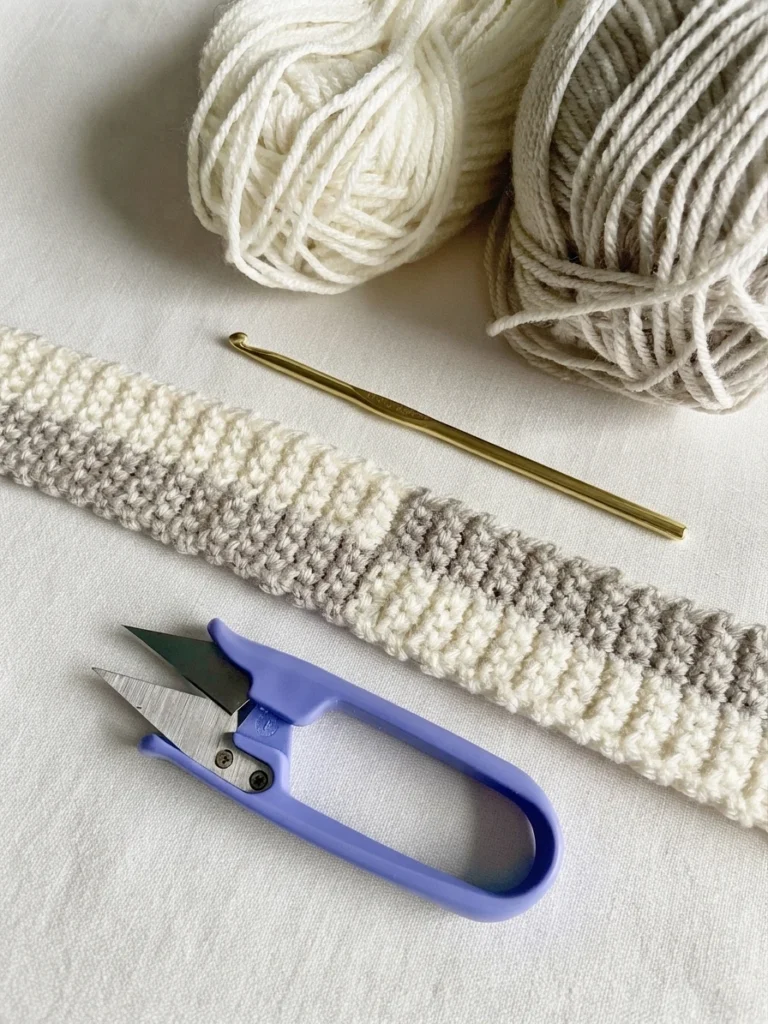
The strap is a long, narrow piece worked in rows in Putty and Aran, with the two colors alternating in blocks across the width. The color pattern switches after Row 87, which changes the rhythm for the second half. At the end, leave a tail long enough to attach the strap securely to the bag.
Seaming Together The Front and Back Panels
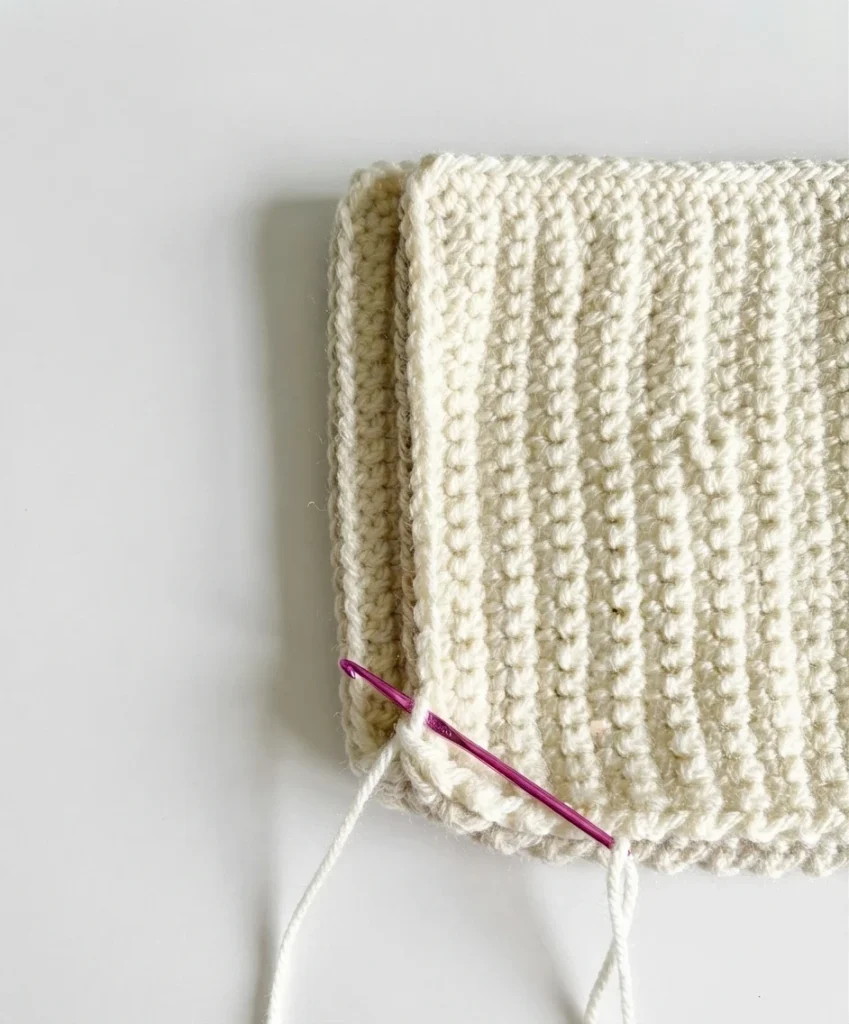
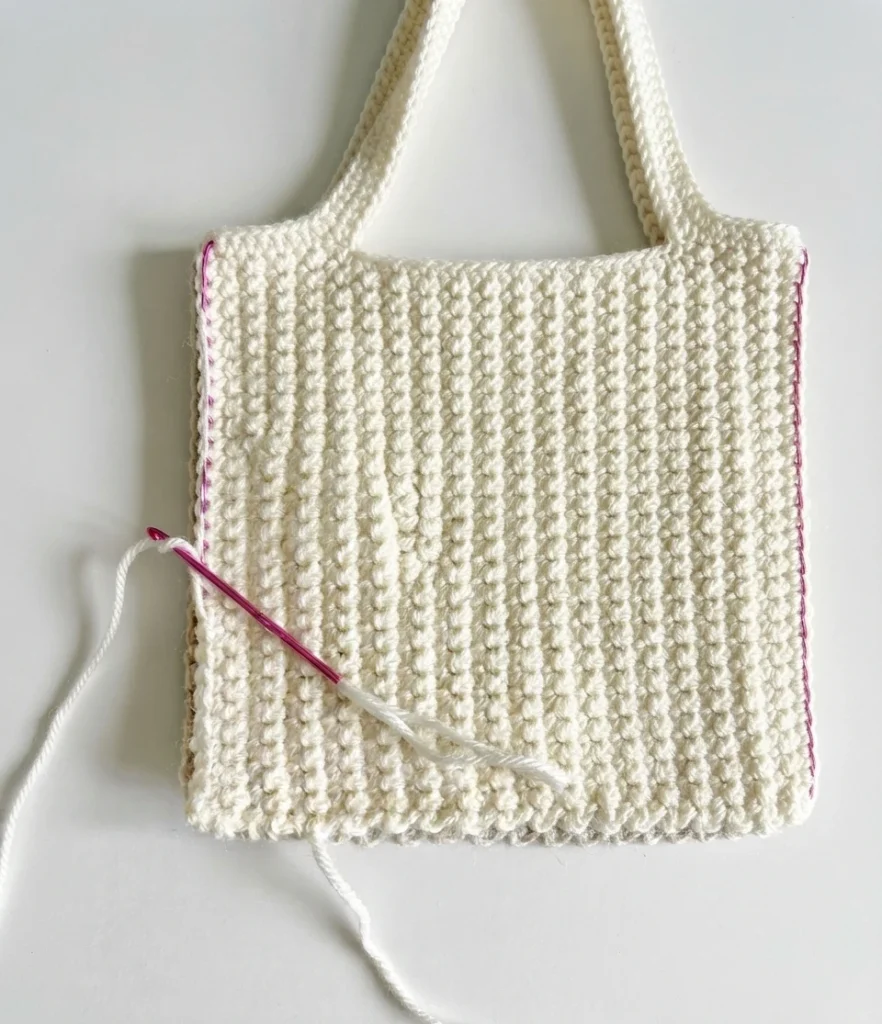
Lay the front and back panels together with right sides facing each other, then thread the tail left from the back panel through a yarn needle. Seam the right, bottom, and left sides while keeping the top of the bag open, then knot off, weave in ends, and turn the bag so the right sides face outward.
As an option, the source notes you can join the panels with a crochet hook using slip stitch or single crochet instead of a yarn needle, still leaving the top open.
Attaching The Strap
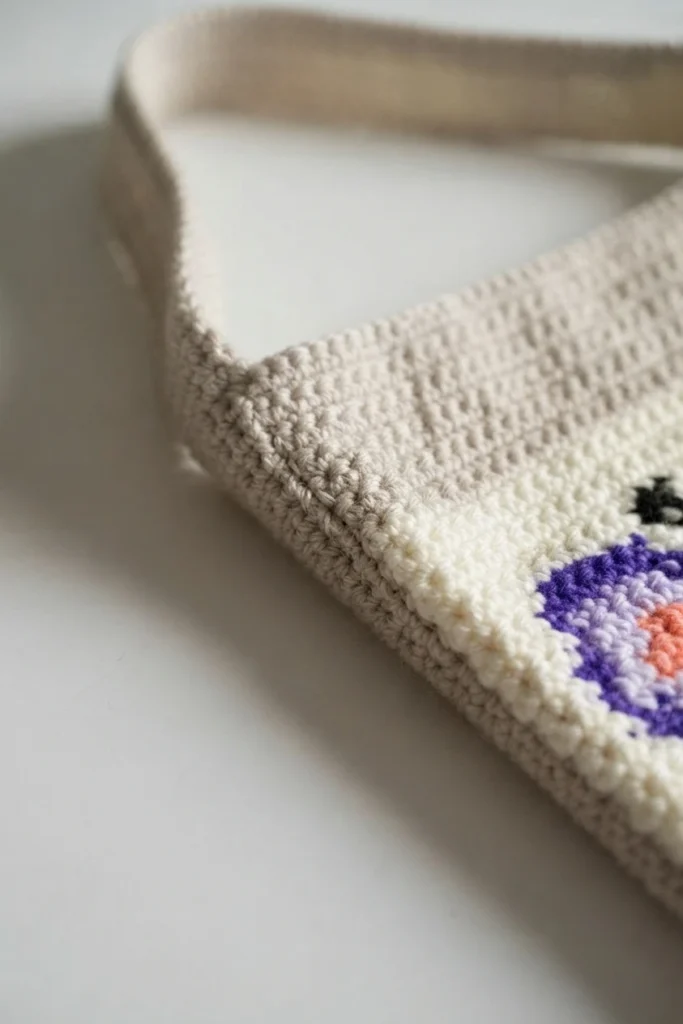
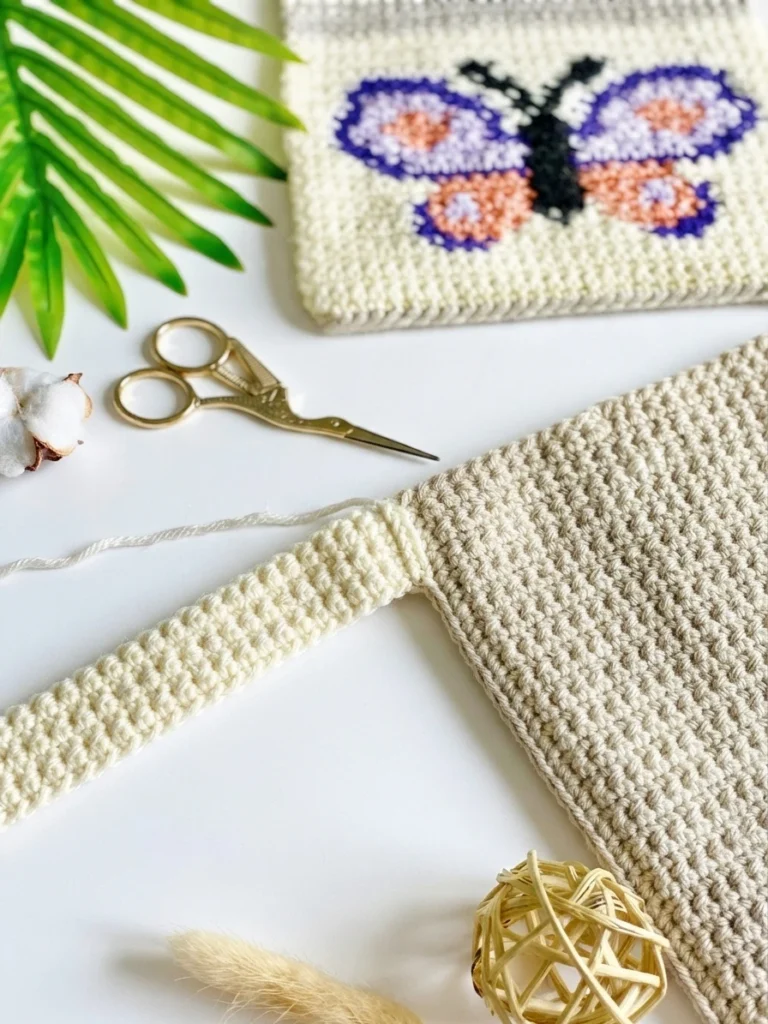
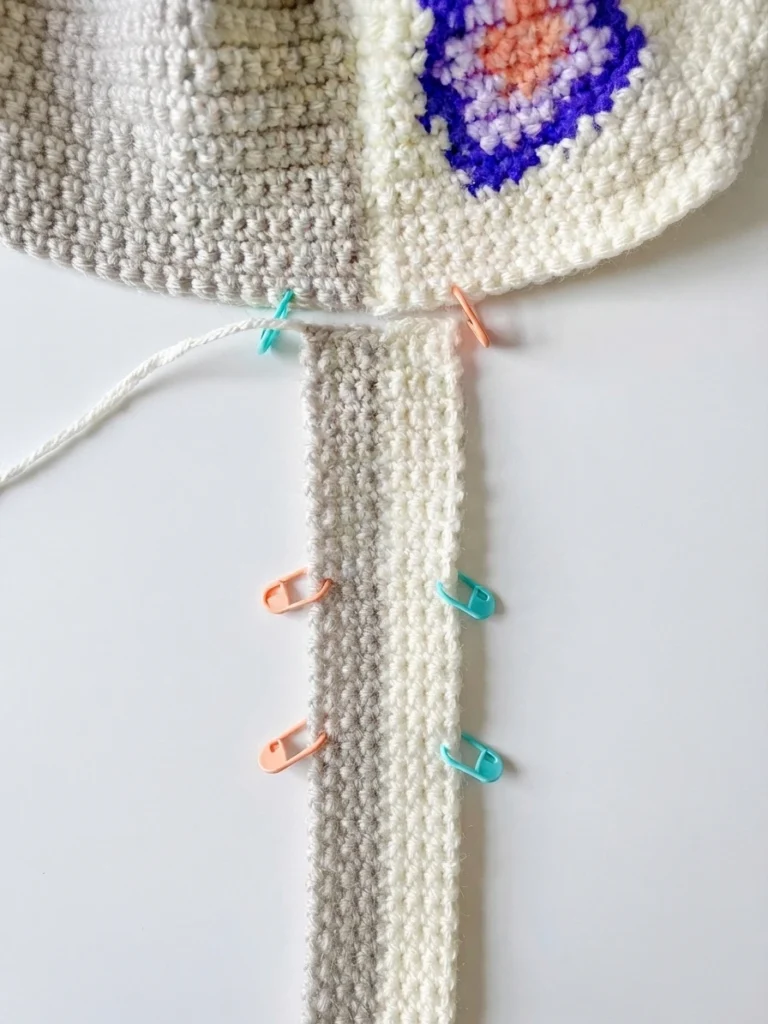
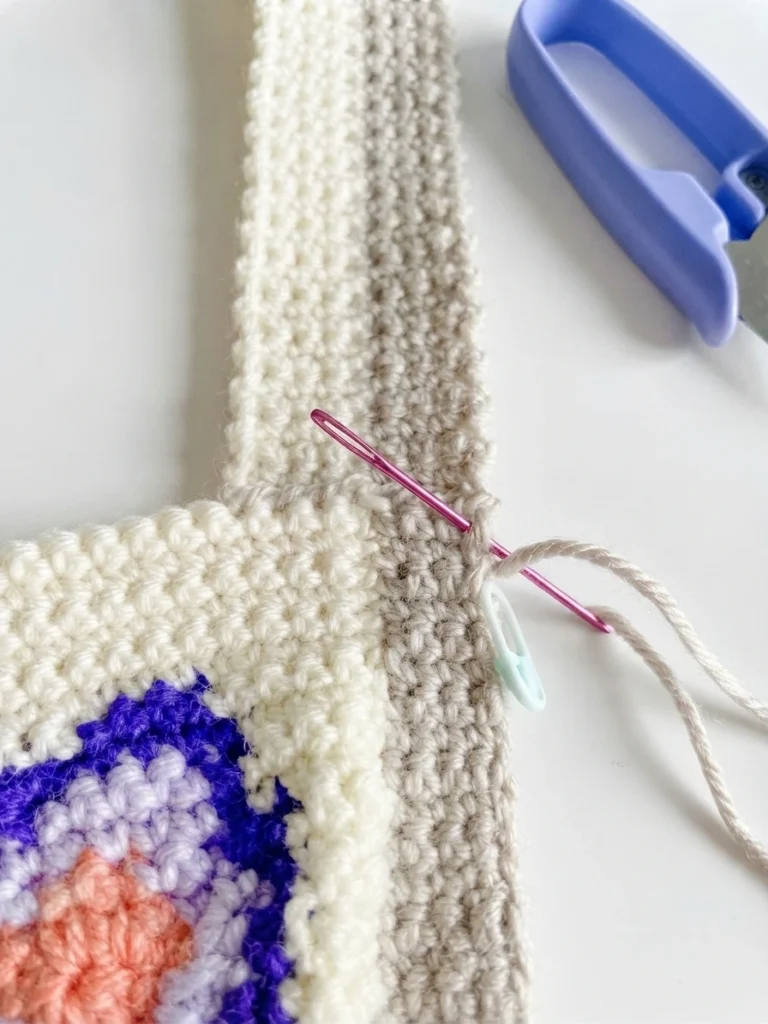
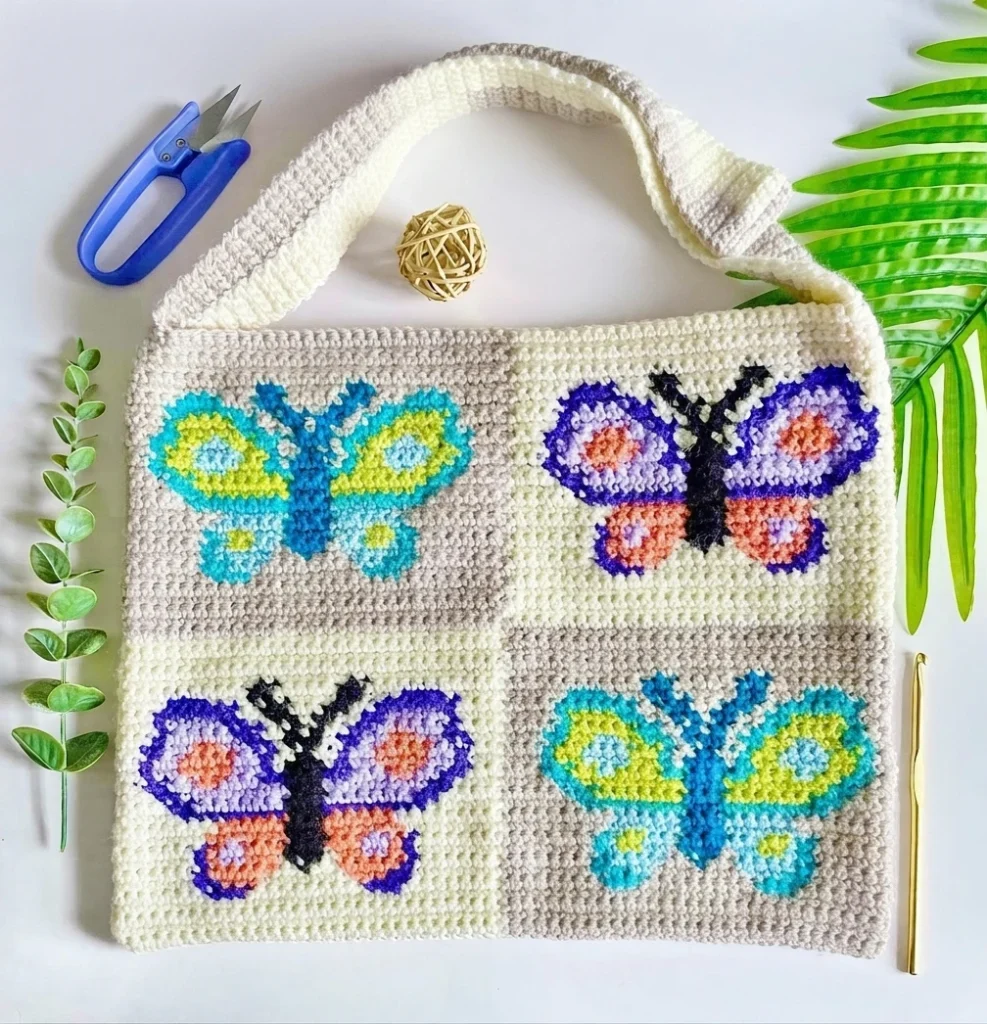
Line the finished strap up to one side of the bag so the color patterns match, using markers placed 4 stitches from the center on each side as a guide. Seam with the long tail, weaving through stitches of both the strap and the bag and tightening as you go, then repeat on the other side and weave in all ends.
The source also gives a hook option with slip stitch or single crochet for attaching the strap. For related butterfly inspiration, see Crochet Butterfly Pattern for Beginners: Pattern Overview and Crochet Butterfly: Pattern Overview.