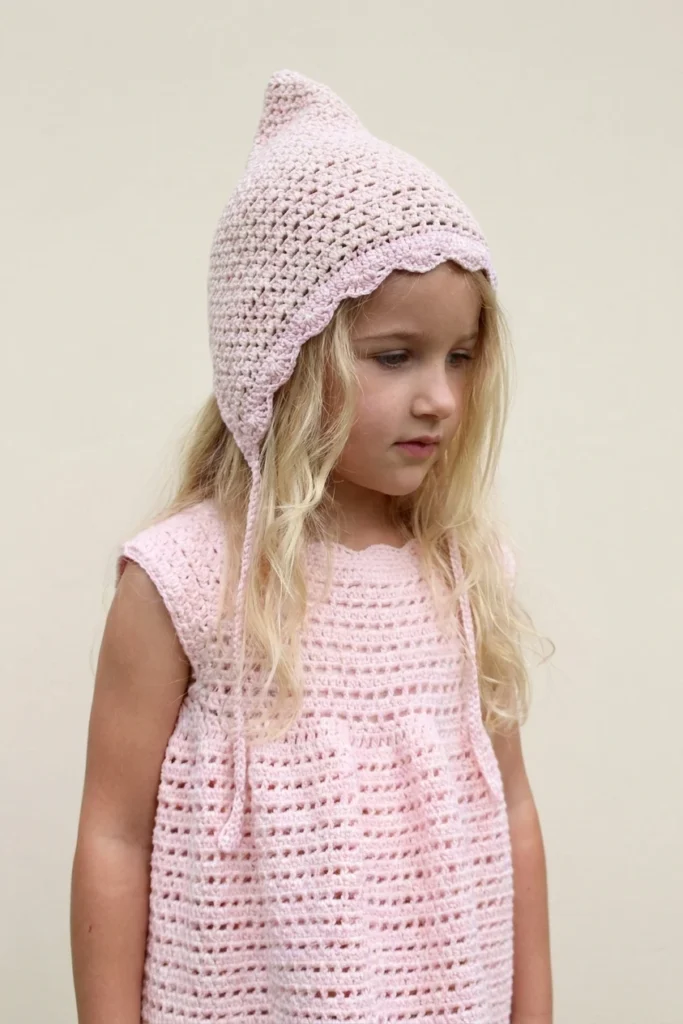
This article is a pattern overview, not a full tutorial. It introduces a sweet pixie style bonnet from The Moule Hole, explains how the piece is built, and helps you decide if you want to make it for a baby or young child in your life. For the complete row by row work, use the Original designer’s pattern and instructions on the designer site, where the bonnet pattern is shared for free.
The Inspiration
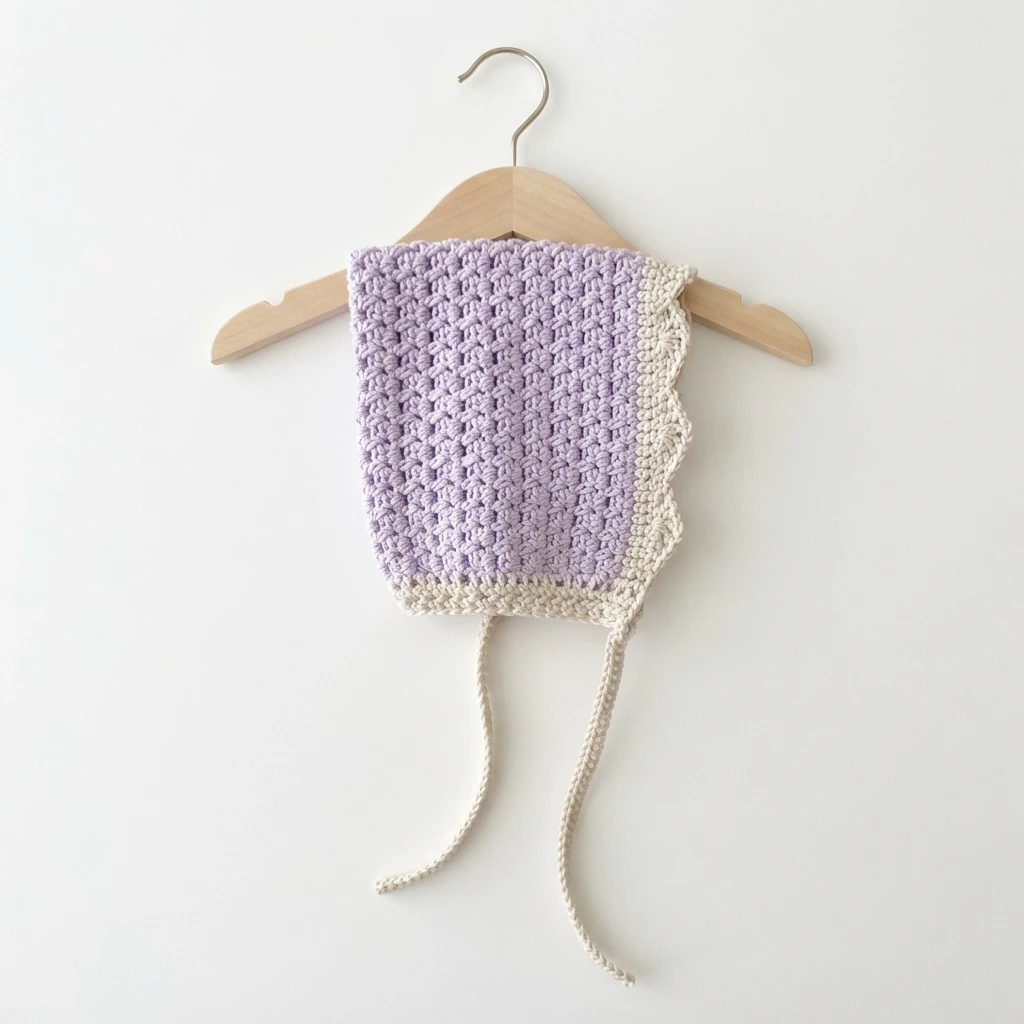
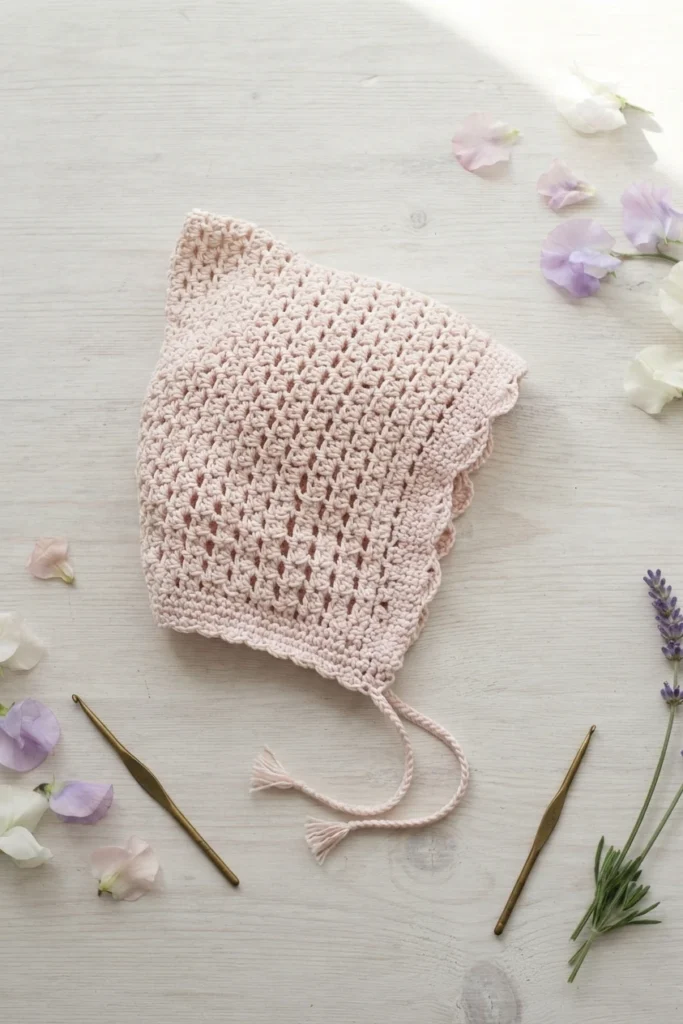
The design started in a quiet, playful way. The designer was trying out pretty crochet edgings she had spotted on Pinterest, practicing the stitches just to see how they looked. That small experiment kept growing, and before long the edging had turned into work on a dress, using a soft pale pink cotton that reminded her of roses growing in her own garden.
Those garden roses were a David Austin variety called St. Cecilia, and the colour match felt too lovely to ignore. The dress took the name Sweet Cecilia, and the same stitch pattern soon suggested more pieces to go with it. A cardigan followed, and then this bonnet, which the designer chose to share as a free pixie bonnet for other makers to enjoy.
The Details
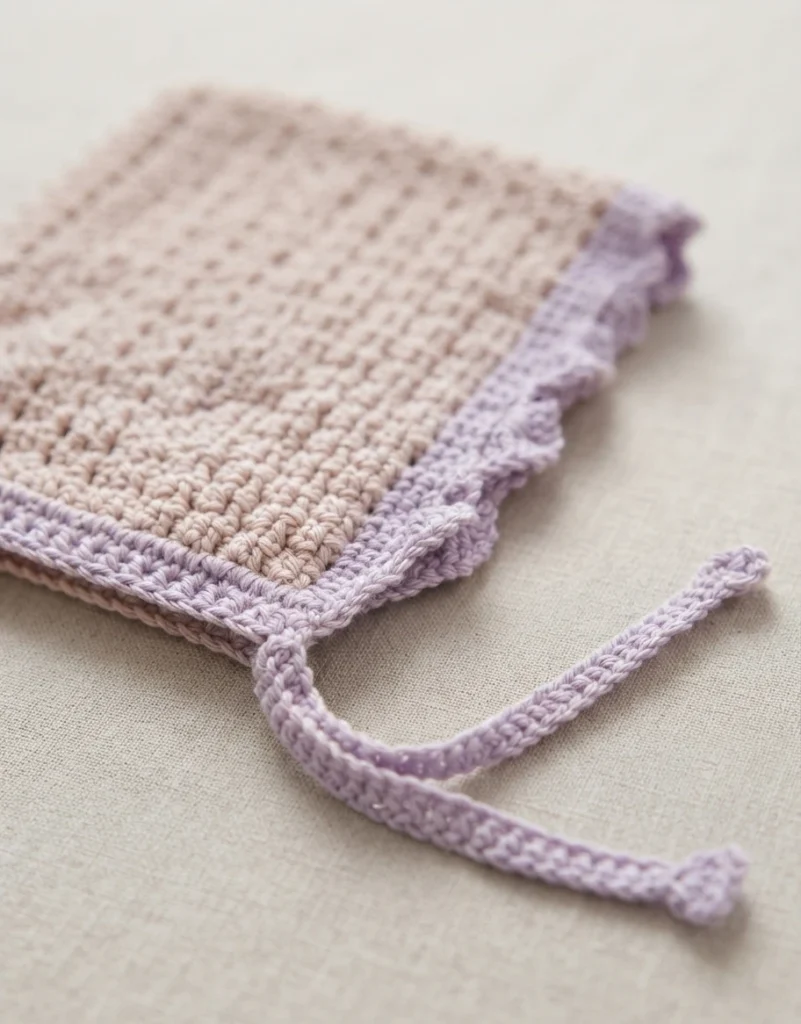
Construction begins with the scalloped edging, worked before anything else. In the sample, that edging uses a contrasting colour against the main body, which helps the pretty edge stand out right away. Once the edging is complete, the yarn is broken, then rejoined at the bottom of the edging so the body of the bonnet can be built upward from there.
The body itself relies on a simple rhythm. One type of row pairs half double crochet with a chain 1 and skip 1 stitch approach, while the next type of row is worked in half double crochet alone. The placement of those half double crochet stitches, tucked beneath the loops from the row before, is what gives the fabric its neat, clean texture.
The Yarn
The designer has made this bonnet in two cotton yarns, and she reports that both versions turned out beautifully. The bonnet pictured with the child model uses Rico Essential Cotton DK. She loves that yarn for its gorgeous colours, though she does note a small drawback: it can split a little, and that tendency shows up more when a small hook is in use.
Her other bonnets used Paintbox Yarns Cotton DK, another range she praises for beautiful colours. In her experience, that second option does not tend to split while she works. If splitting yarn frustrates you, that practical note may help you choose between the two cottons for your own bonnet, especially since the look of both samples pleased the designer.
The Pattern Overview
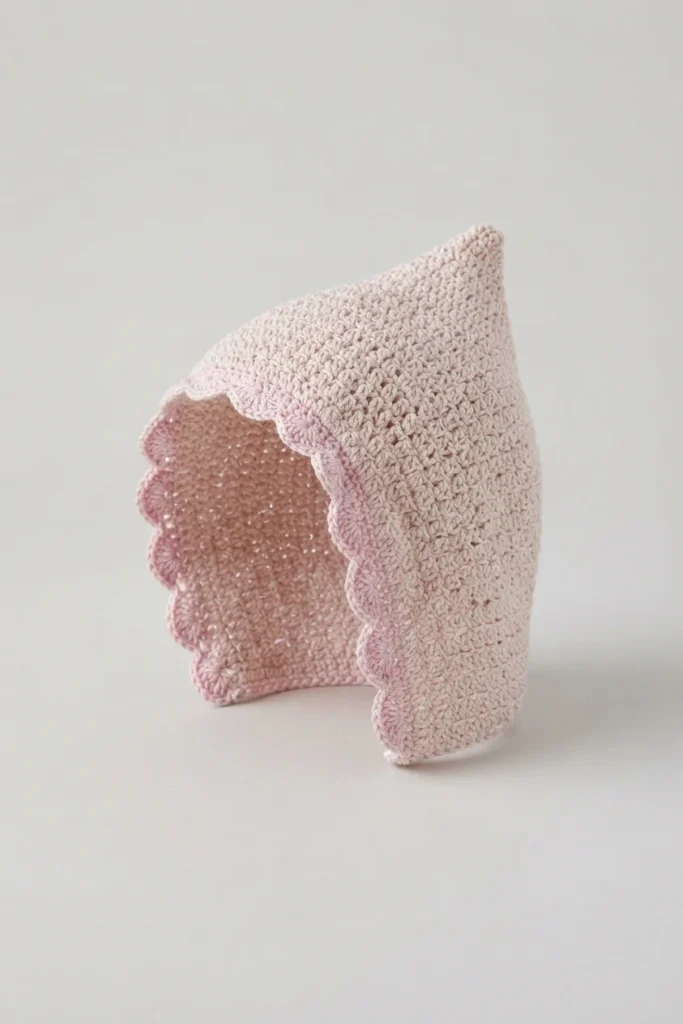
This overview gathers the key facts you need before you start: what to gather, how gauge is described, what sizes are offered, and how the main parts fit together. It does not replace the designer pattern. A video tutorial is also available from the designer, linked at the bottom of her post, which is helpful if you learn best by watching each stage.
Materials
Gather your supplies first so you can work without stopping to hunt for basics. The designer sample used DK, also called Lightweight number 3, cotton yarn in two colours for the trim and body, with specific shades named in her pattern. Use this concise checklist before you begin, and adjust the hook if needed to match gauge.
- DK or Lightweight number 3 yarn, in Colour A for the trim and Colour B for the body
- Paintbox Yarns Cotton DK in Vanilla Cream (408) and Dusty Rose (442), as used by the designer
- Rico Essential Cotton DK in Nude (52) and Pale Pink (30), as used by the designer
- 3.5mm crochet hook, listed as U.S E-4, or the size needed to obtain gauge
- Your usual finishing tools for weaving in ends and seaming the back
Gauge
Gauge is given in the Sweet Cecilia Stitch, the alternating pattern used across the body. The designer lists 20sts over 16rows for her gauge swatch. That swatch alternates a plain half double crochet row with a row that combines half double crochet and the chain 1, skip 1 stitch sequence. She also points makers to video help for learning how the stitch pattern is placed.
Sizing and Yarn Requirments
Four sizes are offered, and the designer gives an approximate head circumference and an approximate yarn amount for each one. For the smallest size, described as 0-6 months, the circumference is listed as 41cm, and the yarn estimate is listed as 165m and 60g. Those figures are for the sample approach, so treat them as a planning guide rather than a promise.
The next size covers 6-12 months. Its circumference is listed as 46cm, with a yarn estimate of 220m and 80g. After that comes the 1-2 years size, where the circumference is listed as 48cm, and the yarn estimate rises to 250m and 90g. The largest size covers 3-5 years, with a circumference listed as 51cm, plus a yarn estimate of 276m and 100g.
Stitches and Abbreviations
The pattern uses US terms and a short set of familiar abbreviations. Reading them through before you start will make the designer instructions feel much smoother, especially where the chain and skip combination appears in the body and trim.
- st or sts: stitch or stitches
- ch: chain stitch
- sl st: slip stitch
- sc: single crochet
- sp: space
- sk: skip
- ch1/sk1: chain 1 and skip 1 stitch
- hdc: half double crochet
- dc: double crochet
- RS: right side
- WS: wrong side
- hdc2tog: half double crochet two stitches together
Special Construction Overview
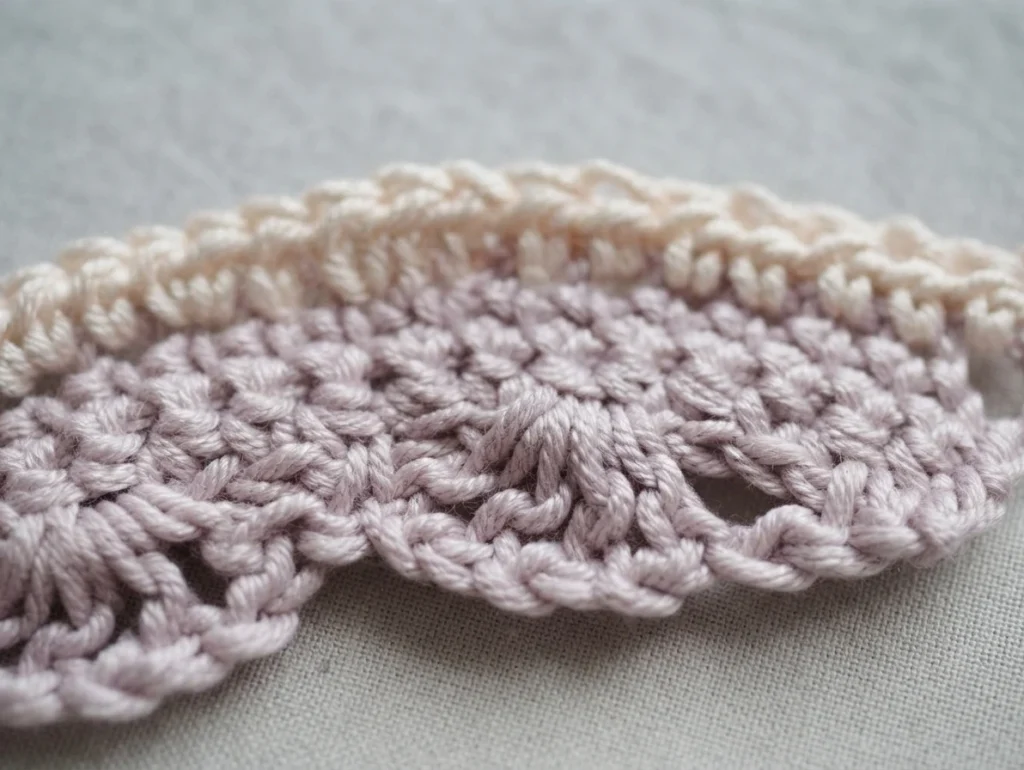
One technique matters throughout this bonnet, and it is worth practicing on a swatch first. Every half double crochet is worked underneath the three loops of the previous row, between the posts, rather than in the more usual top loops alone. The designer supports this point with photos in her post and with the video tutorial at the end, so you can compare your placement carefully.
Scalloped Bonnet Trim (Colour A)
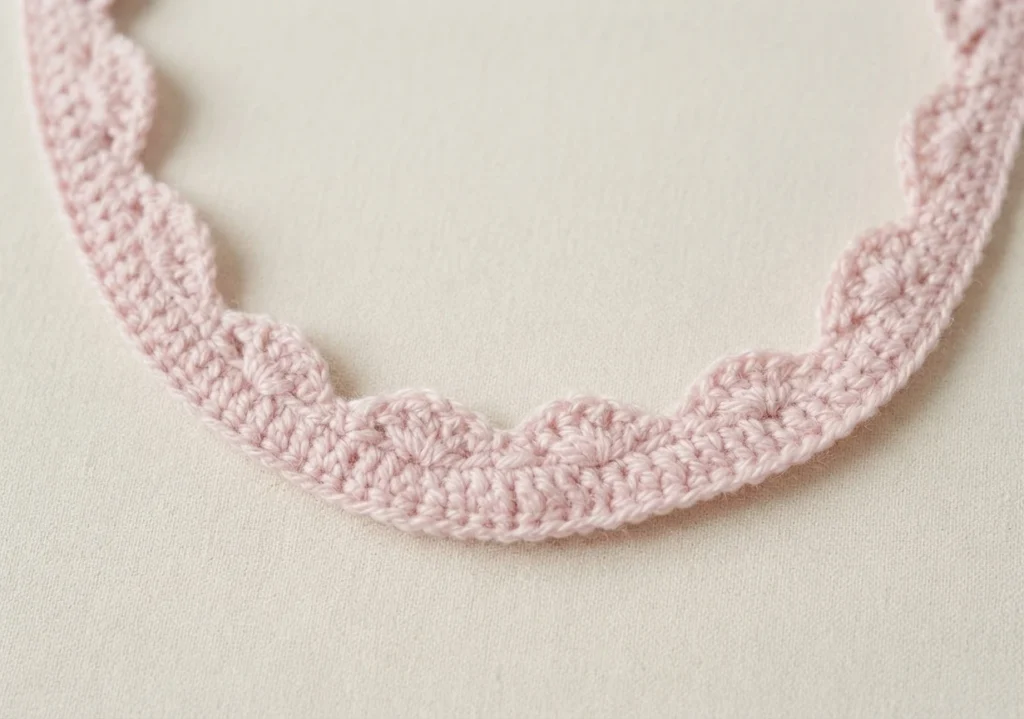
The trim is the decorative starting point, worked in Colour A before the body begins. For the smallest size, the foundation starts with Ch 60, and the early rows build a firm single crochet base across that chain. One row then introduces the chain 1, skip 1 stitch rhythm on the right side, setting up spaces that will shape the fancy edge in the following work.
The final trim row forms a series of shells using double crochet and chain stitches, spaced across those prepared openings, with single crochet points anchoring the pattern between shells. Each shell should measure about 4cm, or 1.5in., which gives you a quick visual check as you finish. When the trim is complete, the yarn is broken, leaving the scalloped edge ready for the body to be joined below it.
Bonnet Body (Colour B)
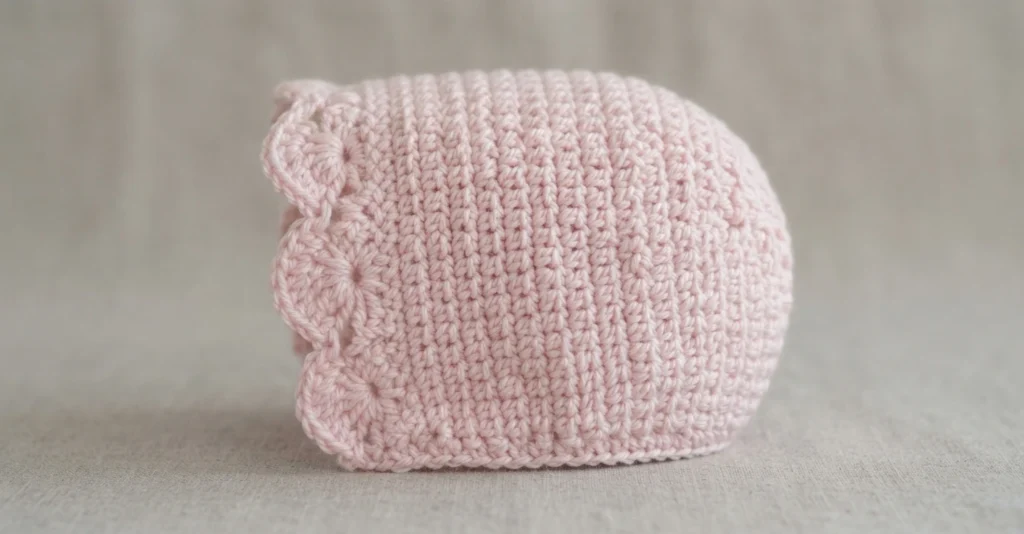
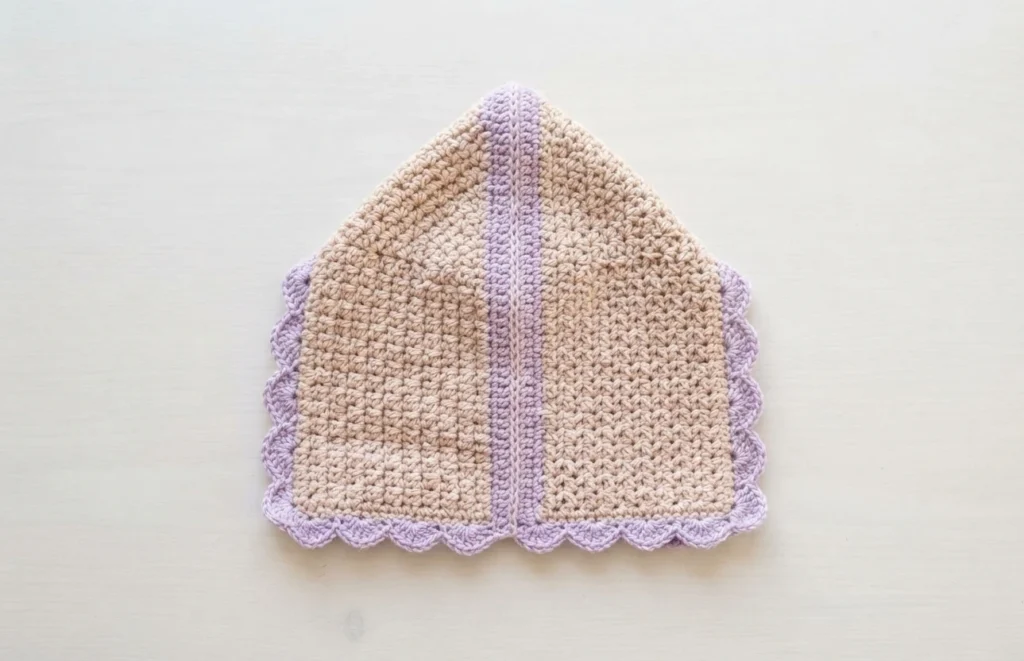
The body is joined in Colour B at the last stitch of the starting chain, below the point where the trim yarn was broken. From there, the work settles into the two row repeat described earlier. The right side row alternates the chain and skip sequence with half double crochet, while the wrong side row works half double crochet under the loops across, placing extra stitches into the chain spaces as directed.
Those two rows are repeated until the piece, including the scalloped trim, reaches the length given for your chosen size. As examples from the designer list, the smallest size is worked to approximately 15cm, and the next size to approximately 16.5cm. The body should end on a row 2, leaving a long tail. The bonnet is then turned to the wrong side, folded in half, and seamed up the back before ends are woven in.
Bottom Edging & Straps (Colour B)
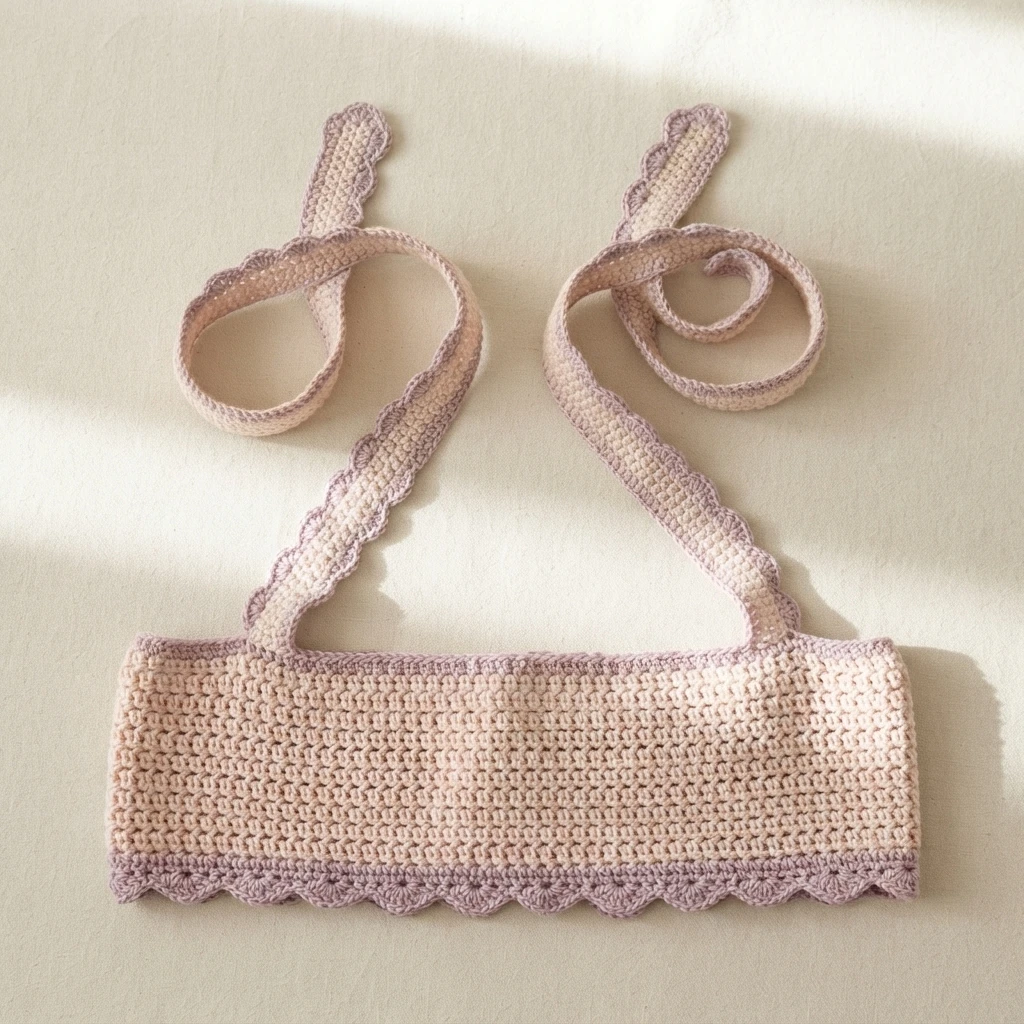
Finishing returns to Colour B along the lower edge. With the bonnet turned to the right side, yarn is joined at the bottom left, as if the bonnet were being worn. The first edging row places one half double crochet at the end of each row along that bottom. The next row shapes the edge with hdc2tog decreases worked between single half double crochet stitches across the row.
A final edging row works half double crochet across, and at the end the first strap is chained out and worked back with slip stitches. For the smallest size, that strap starts with ch 45. Yarn is then joined on the other side so the second strap can be made the same way. Once both straps are done, weave in the remaining ends. If you enjoy bonnet projects, you may also like Crochet Baby Bonnet: Pattern Overview for related reading.
Chunky Crochet Bomber Cardigan with Pockets! Pattern + Video Tutorial: Pattern Overview