Project introduction
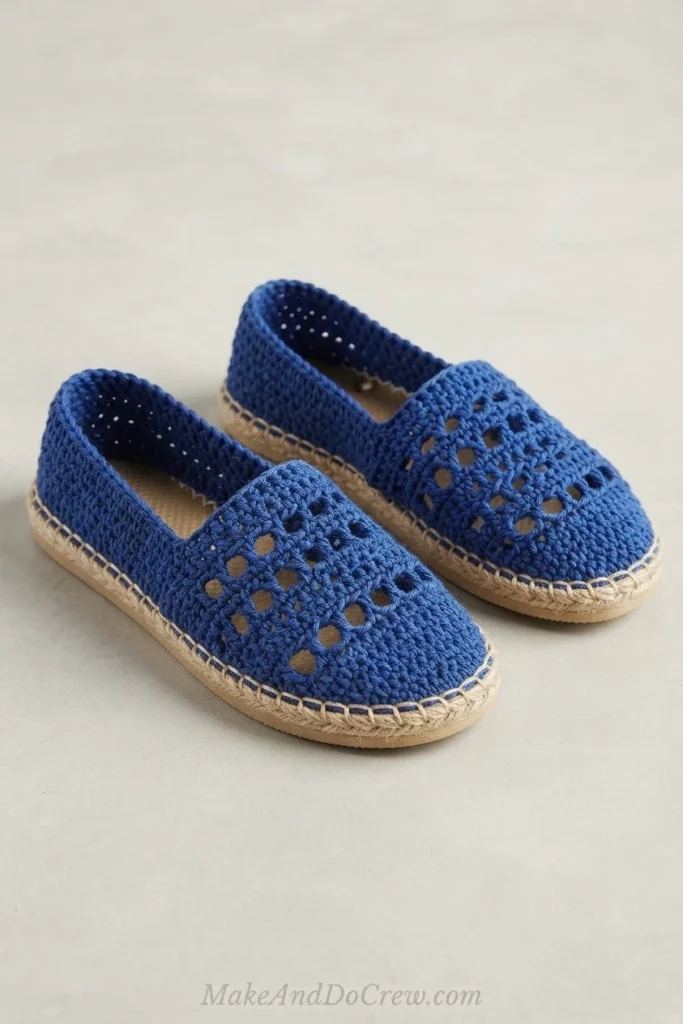
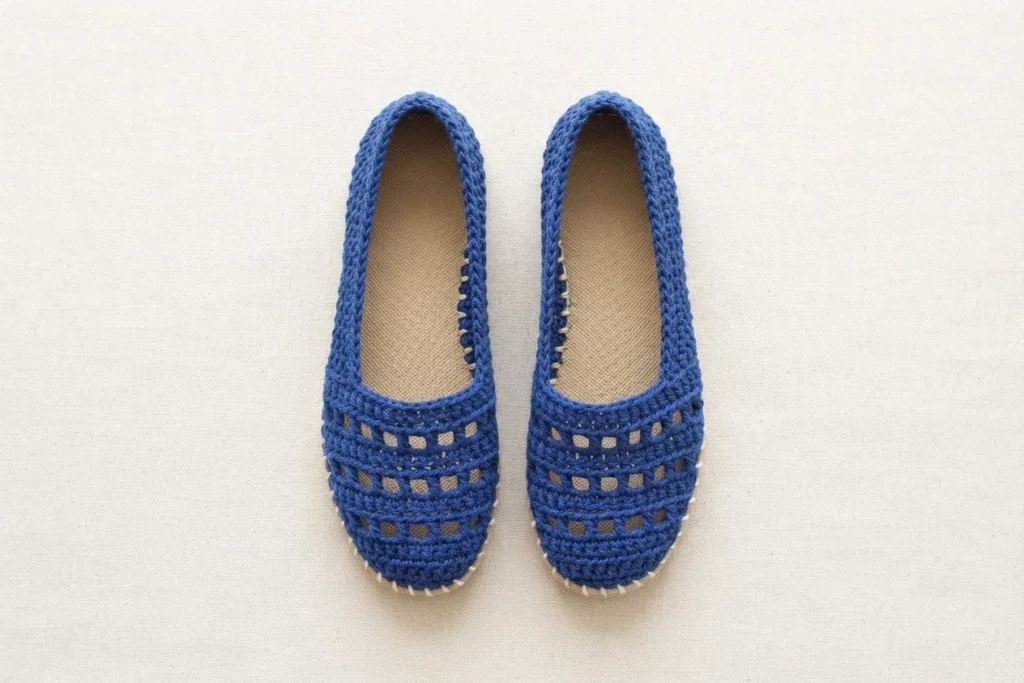
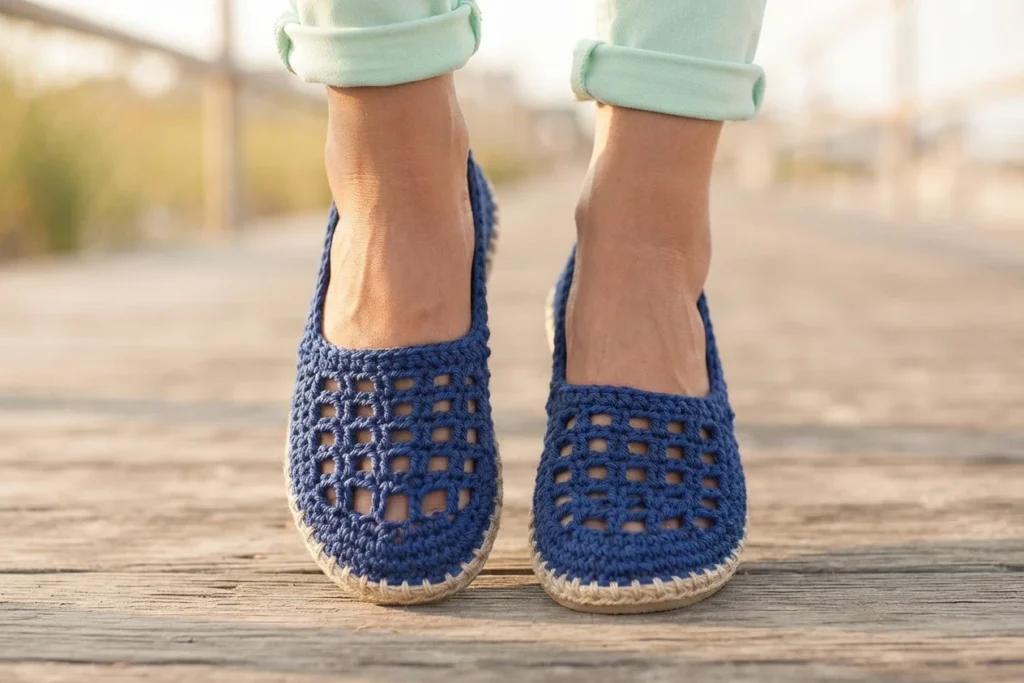
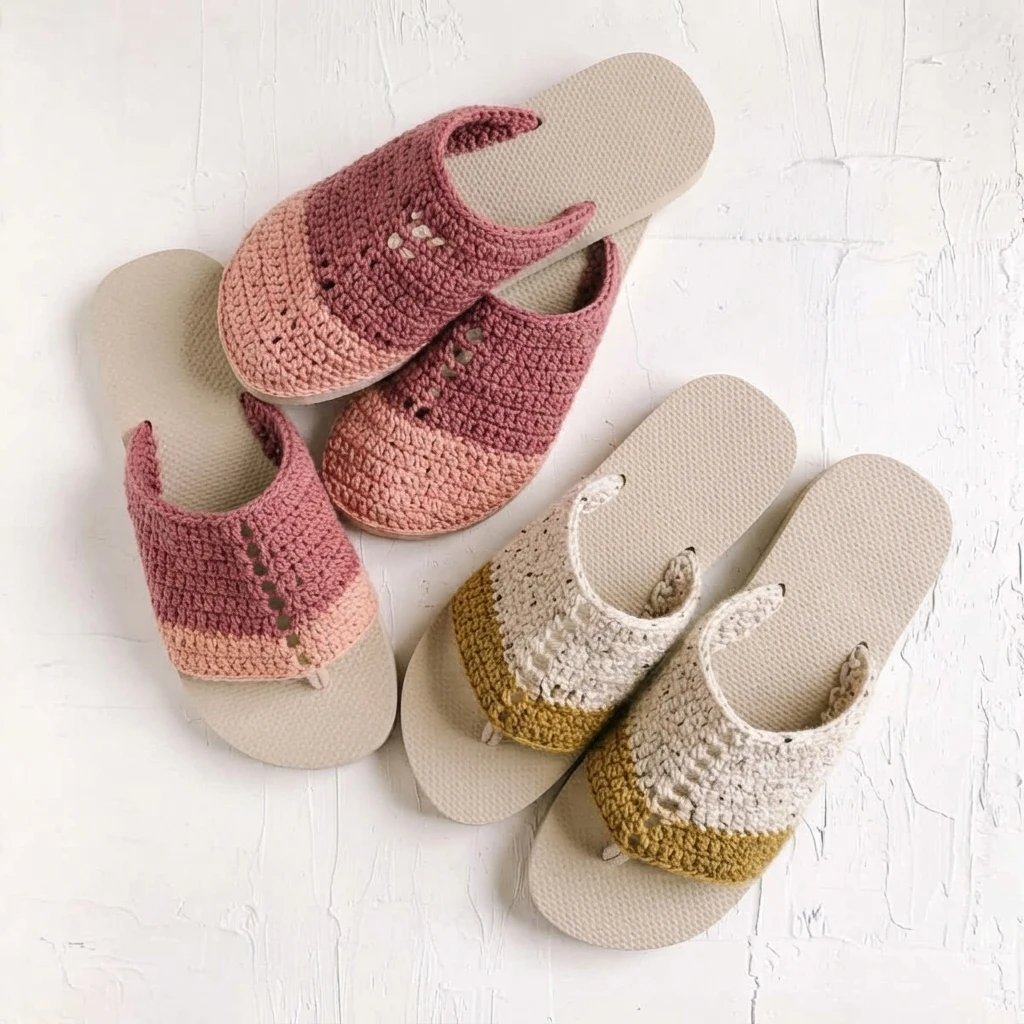
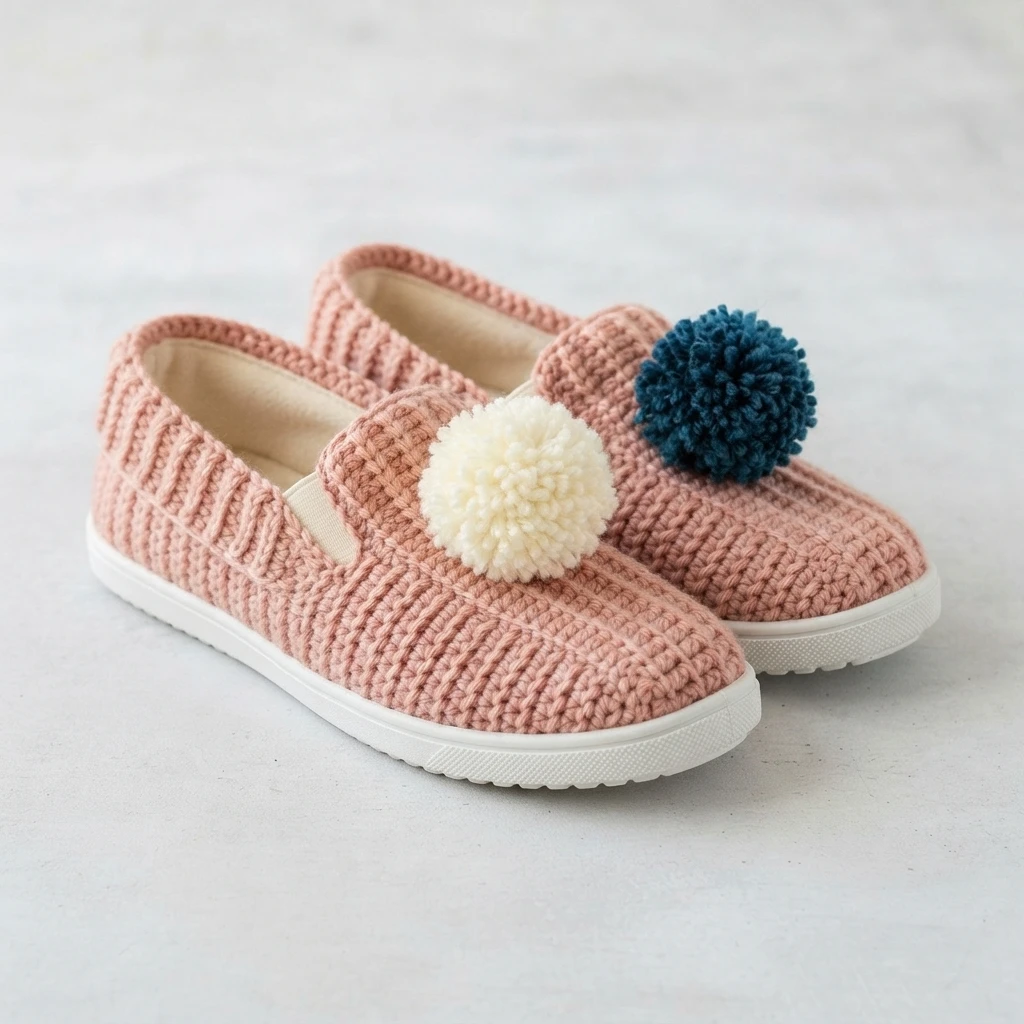
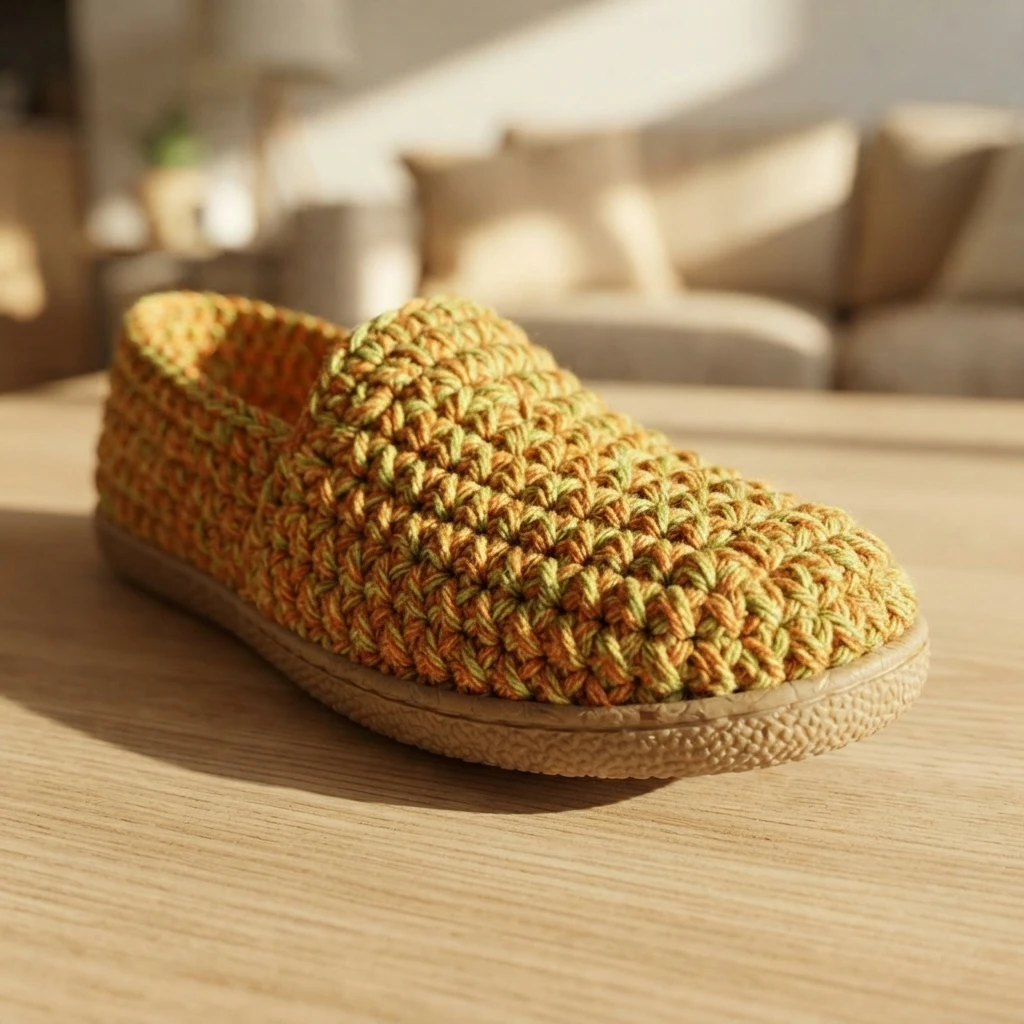
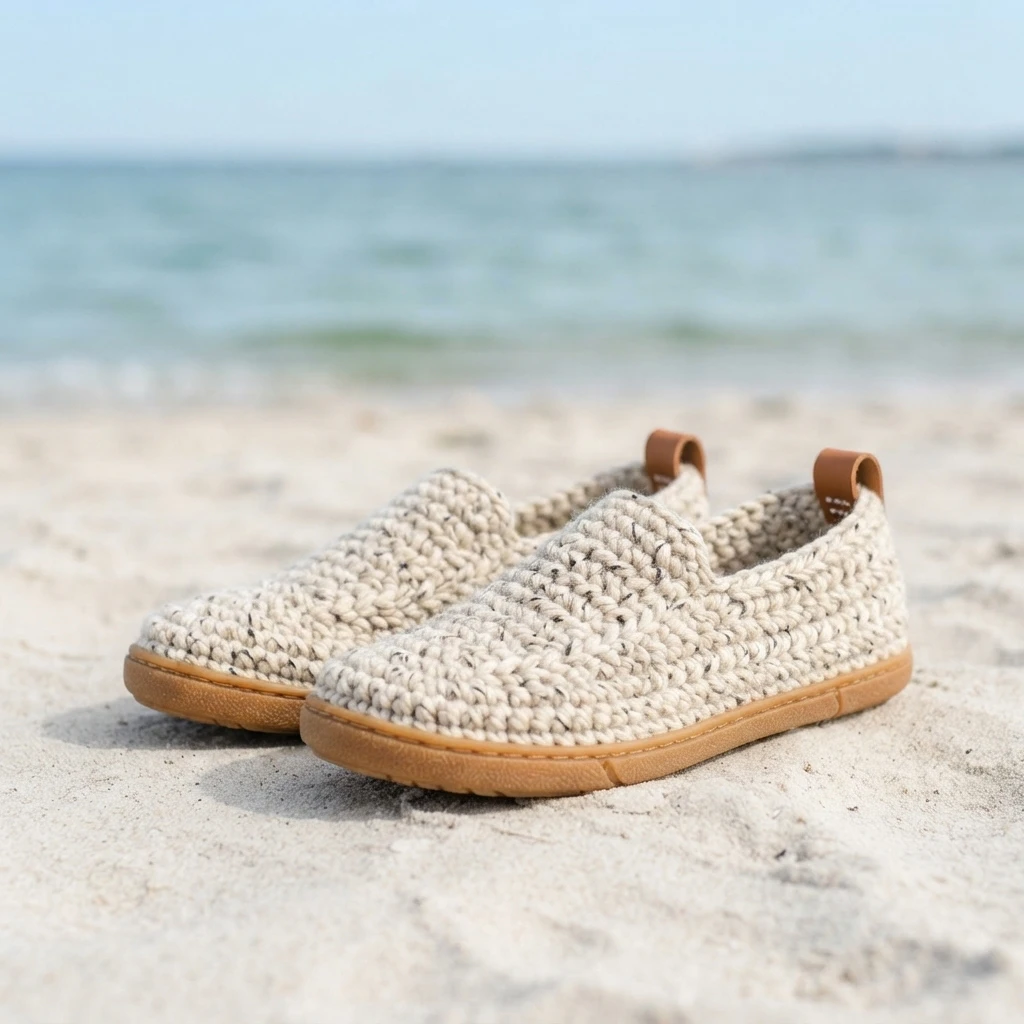
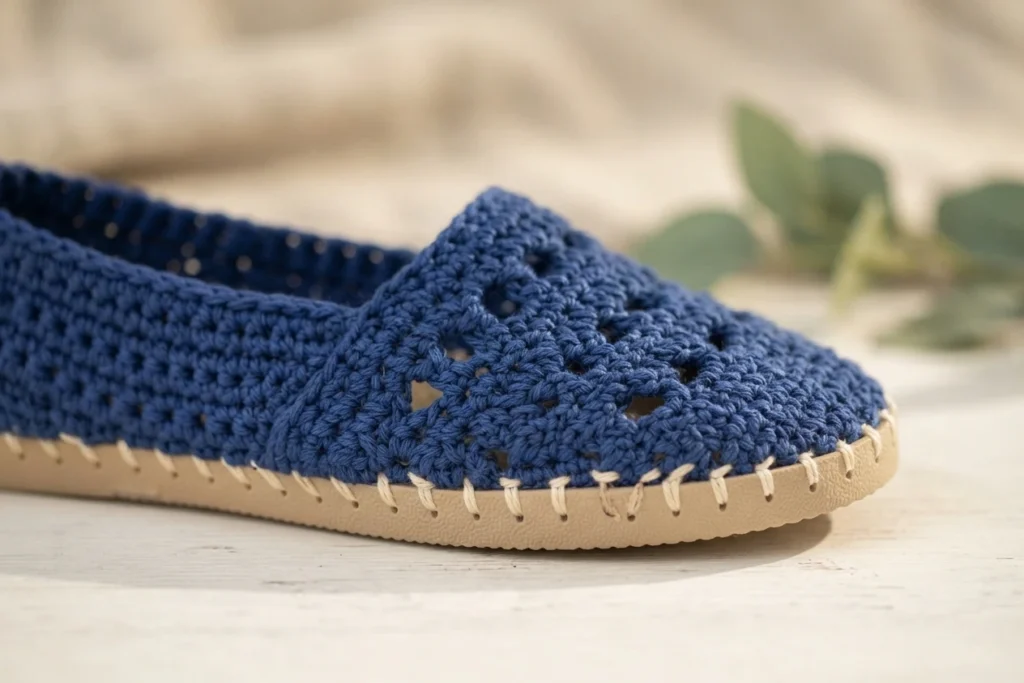
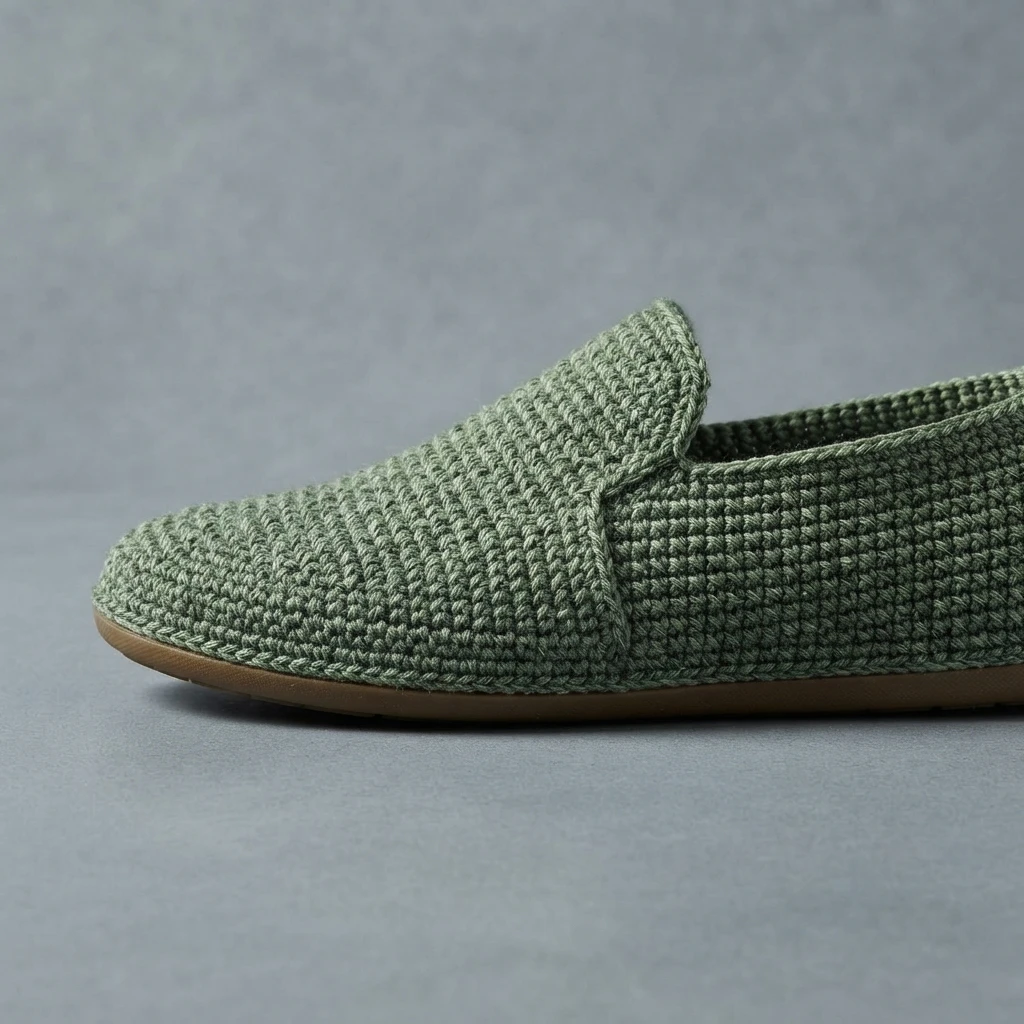
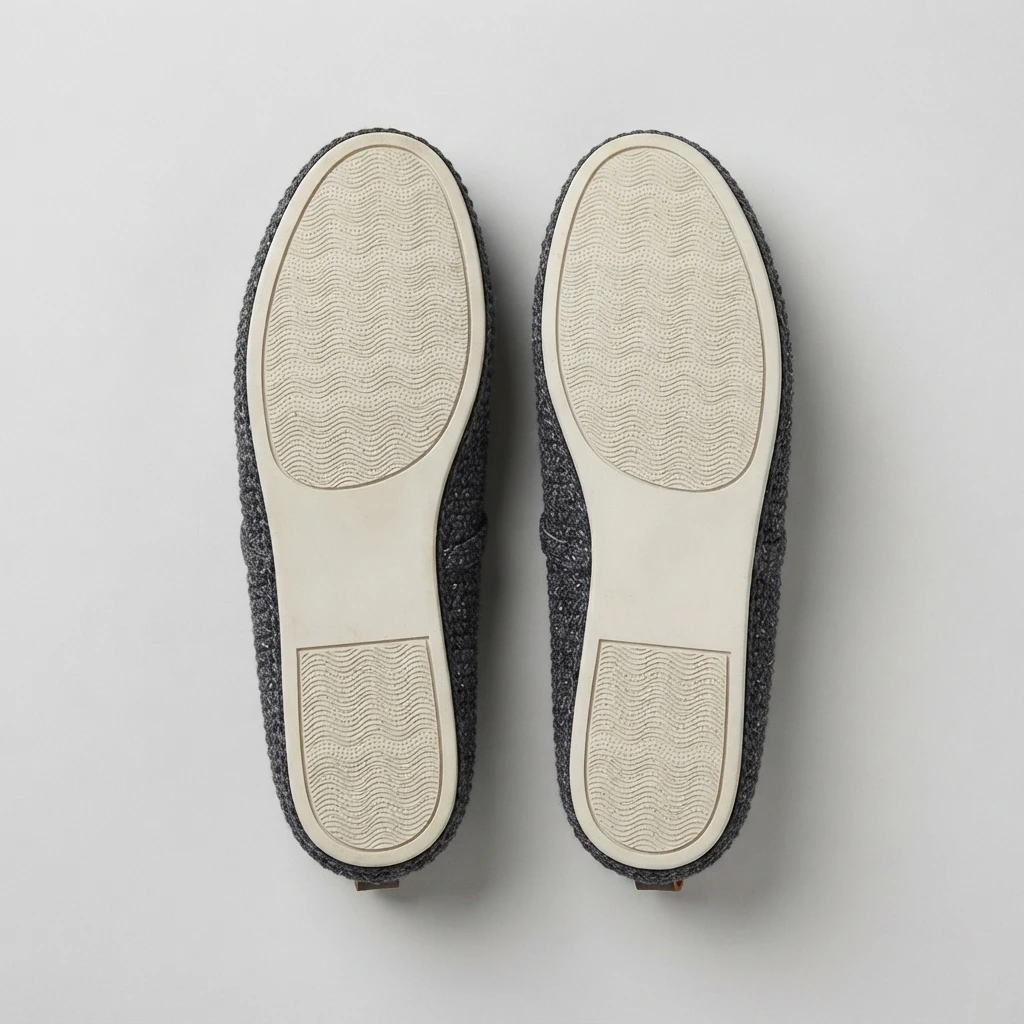
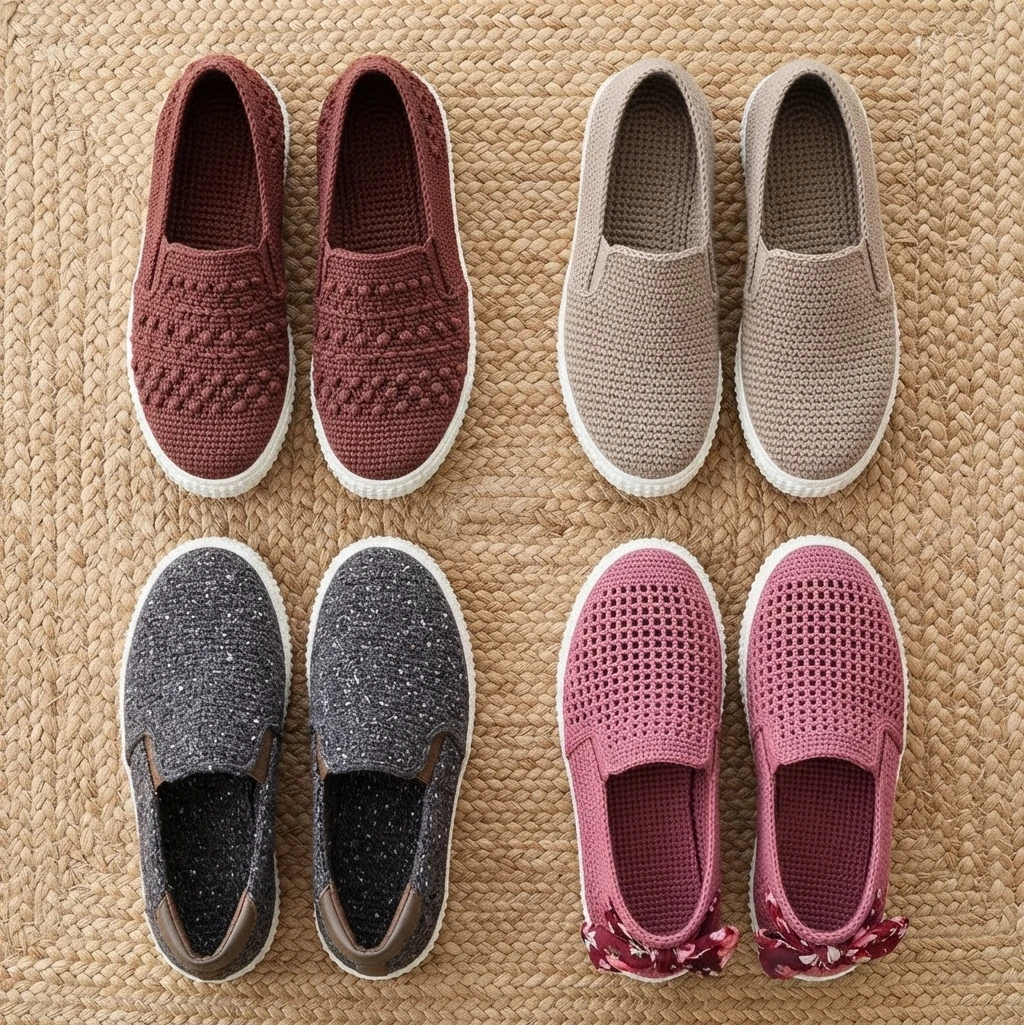
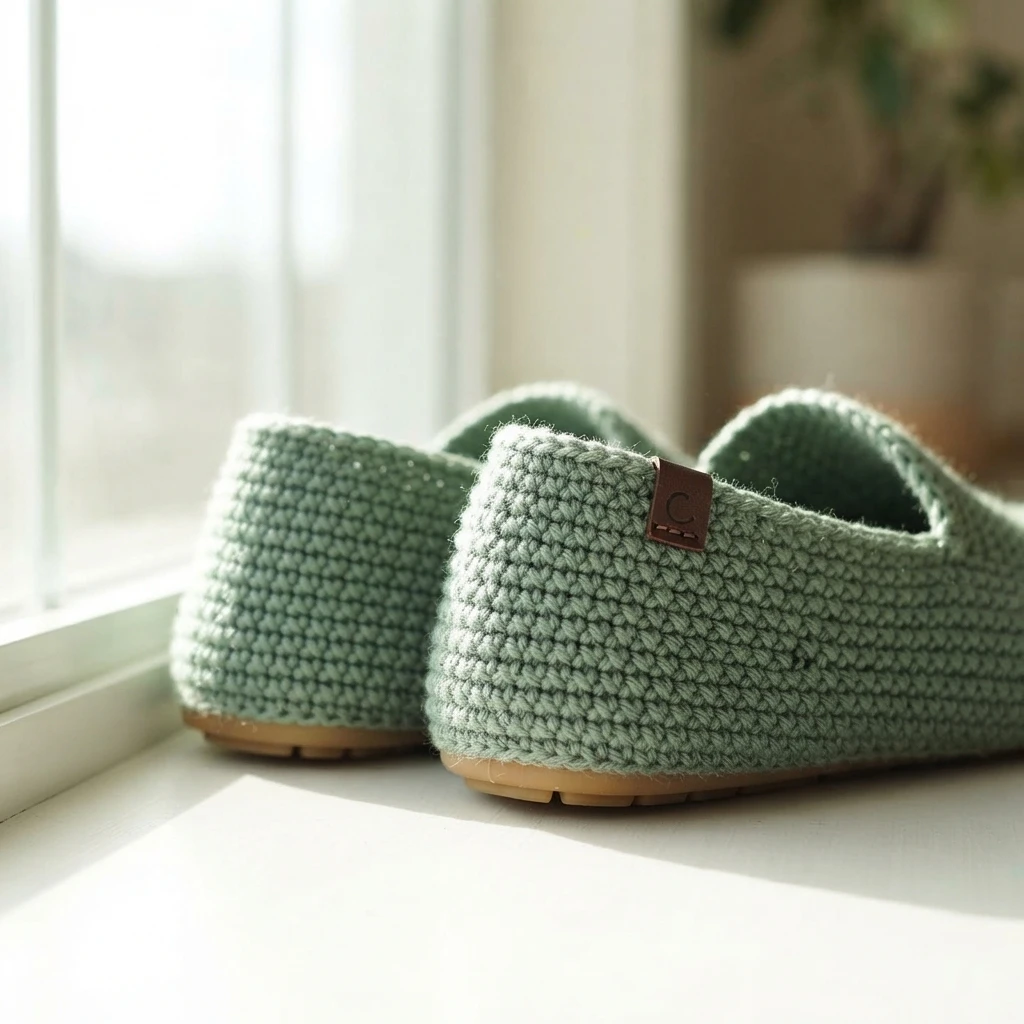
This is a pattern overview of the Seaside Slip-Ons, women’s crochet shoes on rubber flip flop soles by Make and Do Crew. It is not a full tutorial; the designer’s original pattern, linked below, holds the row-by-row instructions. The shoes look modern and summery, with espadrille flair from the contrasting sole and jute-style stitching.
The free pattern is published on the designer’s website; the ad-free printable PDF with hole-poking ruler is sold separately. Lion Brand 24/7 Cotton is the suggested yarn, a mercerized cotton that holds its shape with little stretching and a slight sheen. A Lion Brand kit with the yarn, printed pattern, and hole-poking guide is also available. Find it all at the Original designer’s pattern and instructions.
Find Your Next Crochet Pattern on Flip Flop Soles
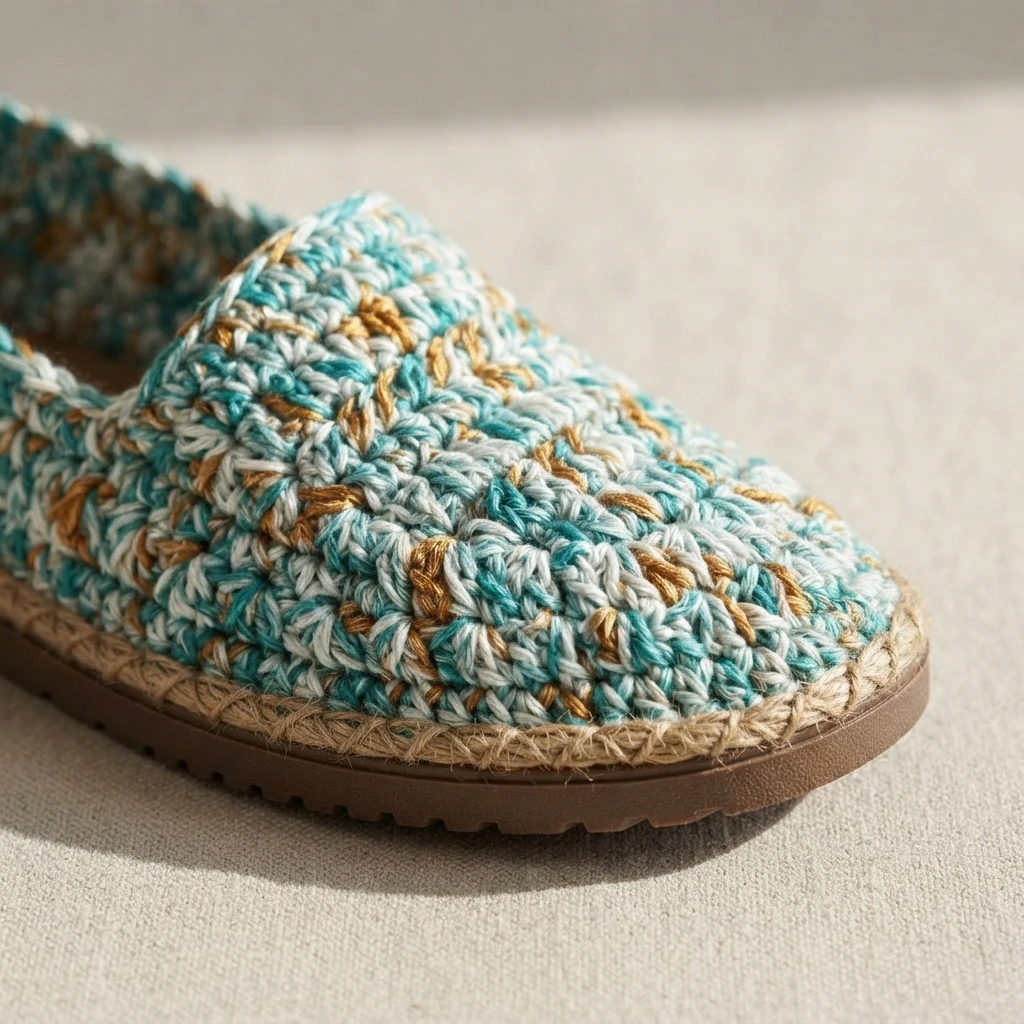
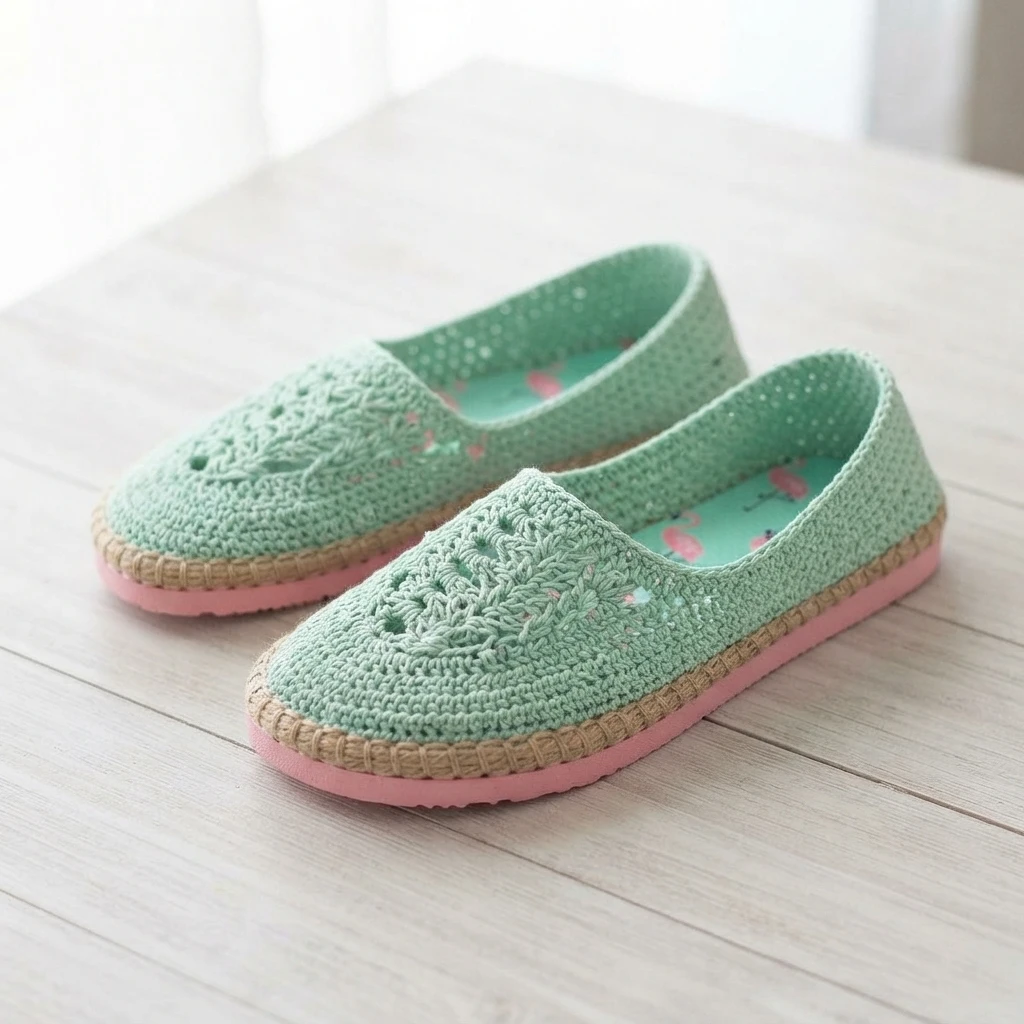
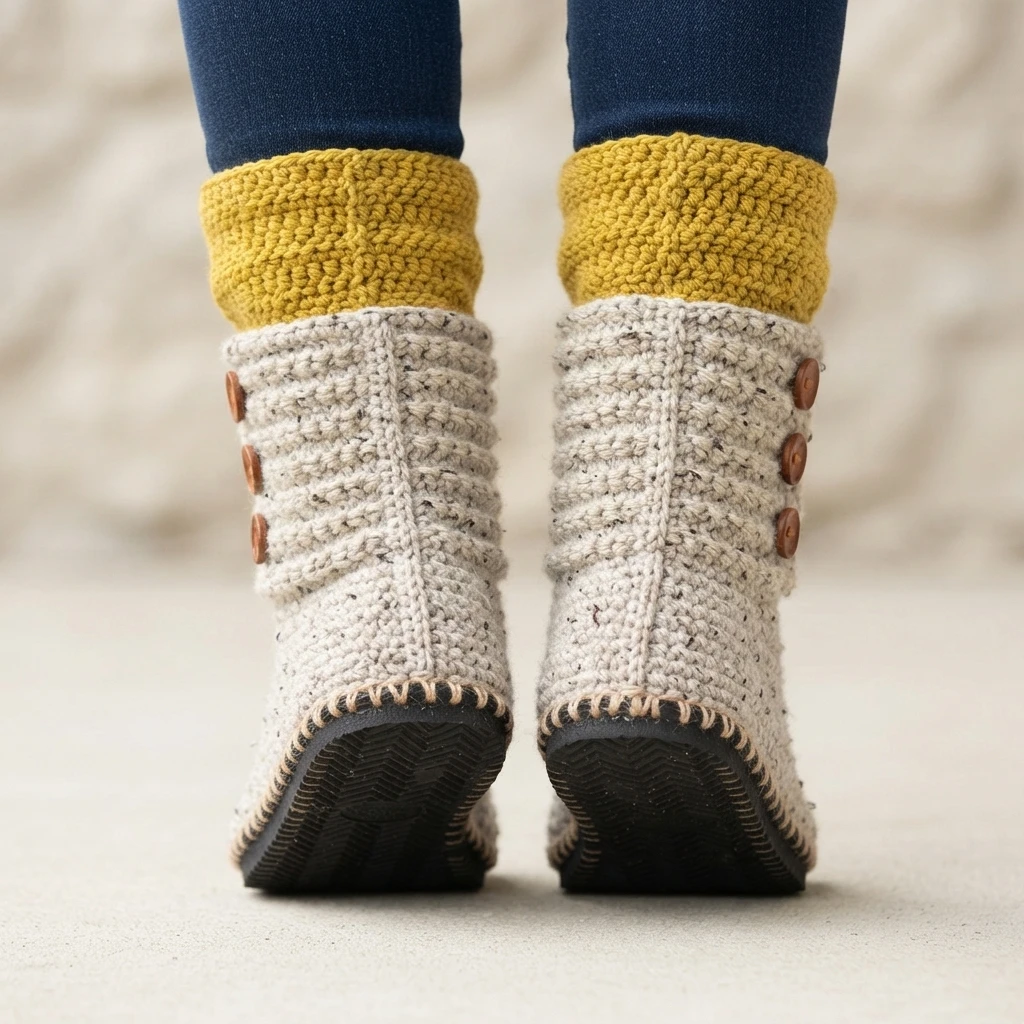
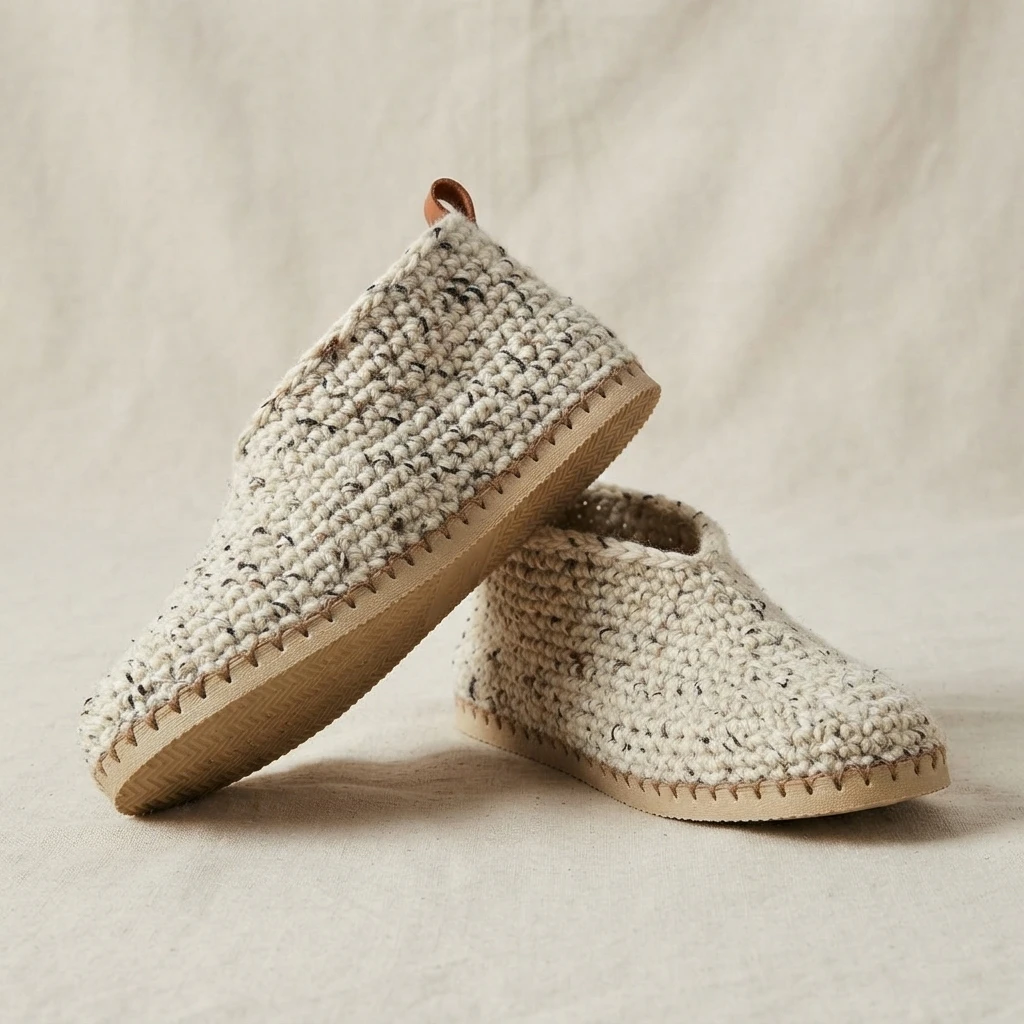
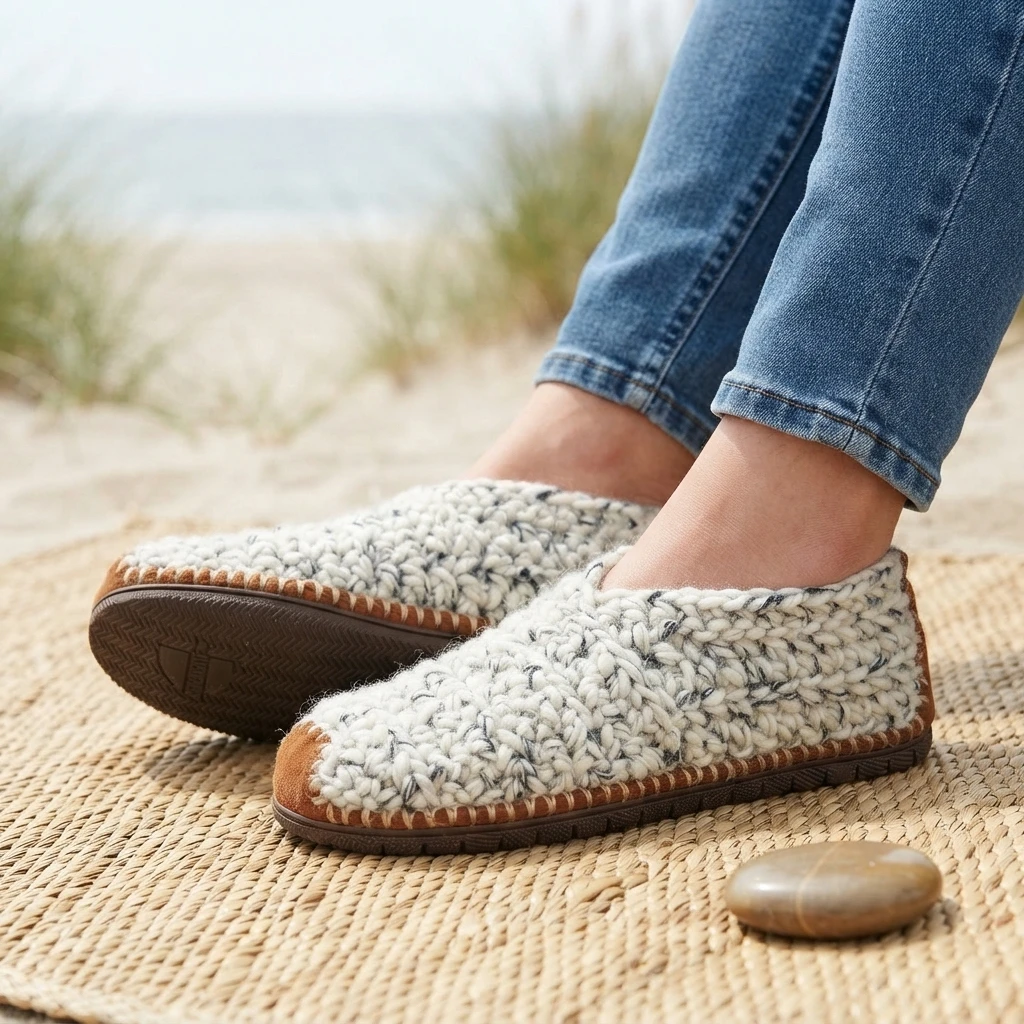
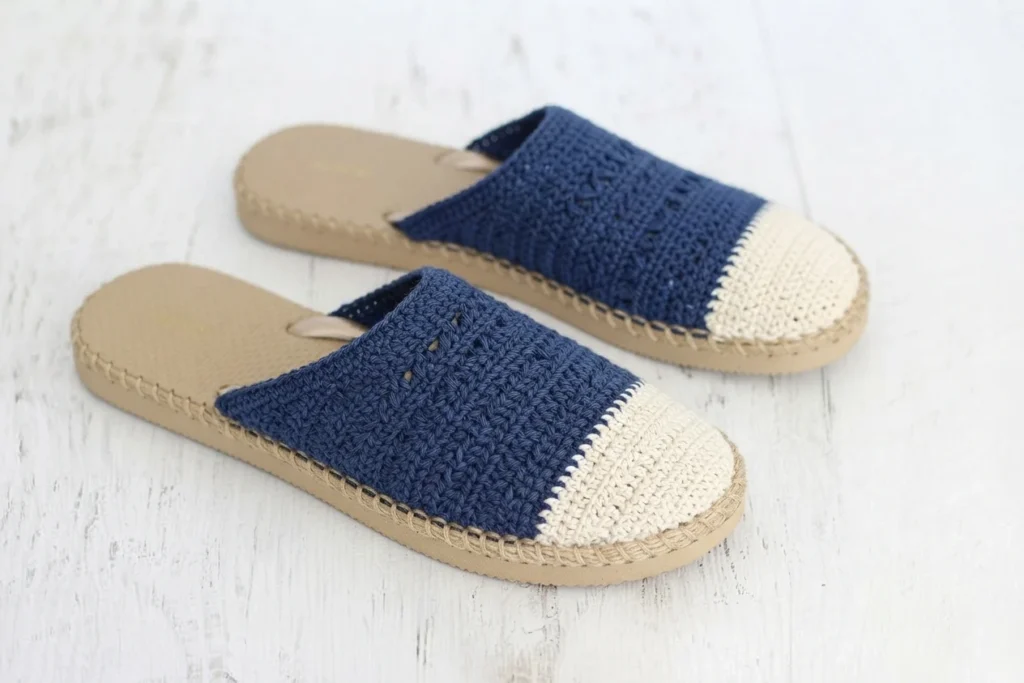
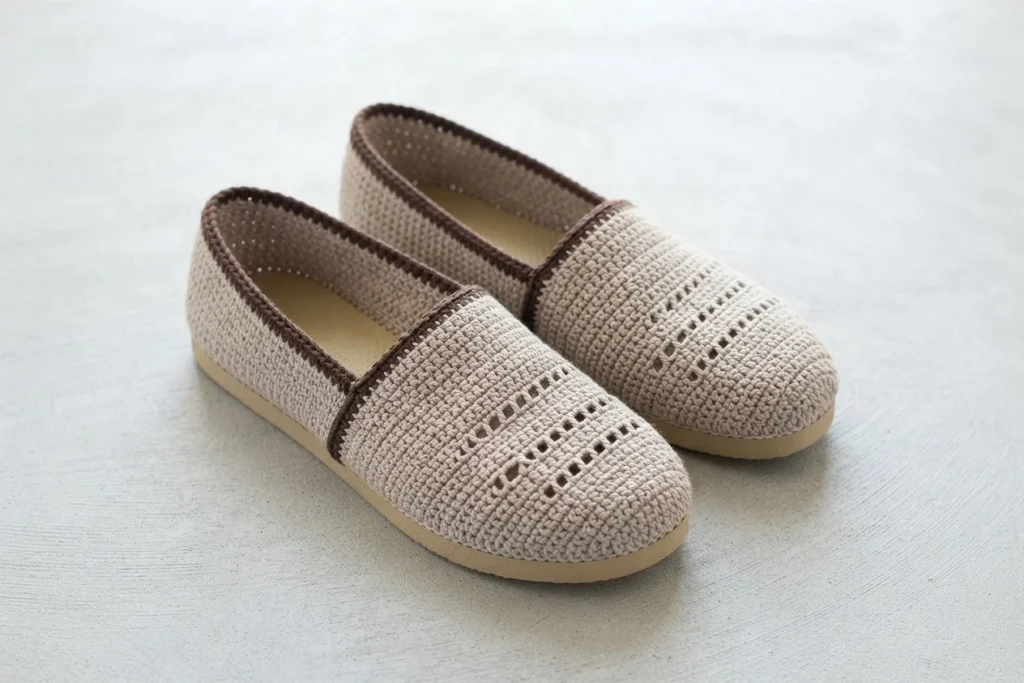
Crocheting onto flip flops gives slippers a functional, non-slip sole shaped to the wearer’s foot. Because hole spacing in the rubber largely sets the gauge, the paid PDF includes a printable ruler that guides hole placement and removes much of the guesswork.
New to rubber-sole shoes? The designer’s Crocheting With Flip Flops FAQs page answers common questions. Do not publish or share the pattern as your own; finished items may be sold with a link back to the post.
Seaside Slip-Ons Pattern Overview Women’s Crochet Shoes with Rubber Bottoms
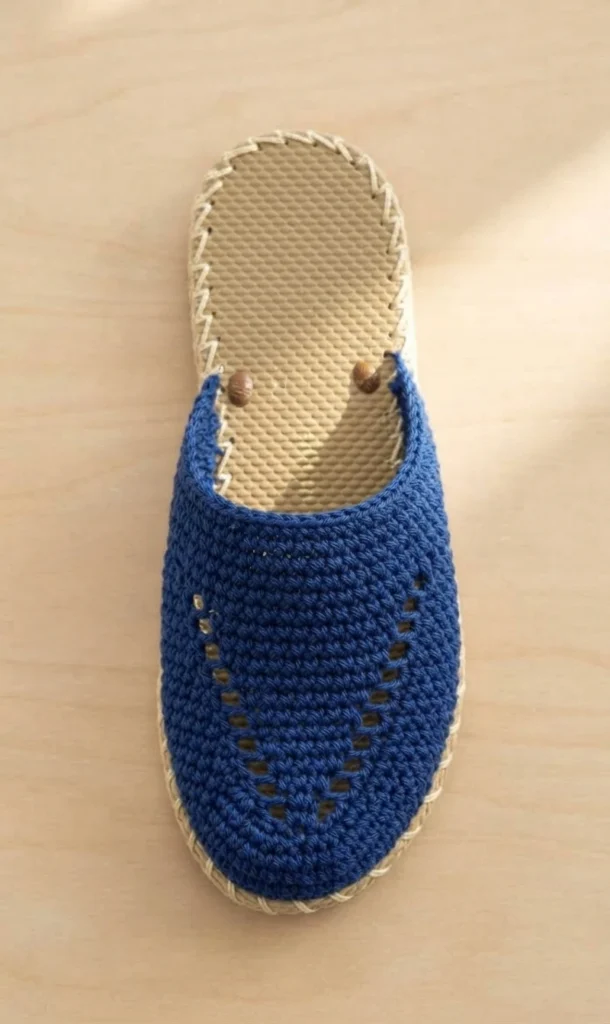
The pattern fits women’s sizes 5 and up; left and right shoes are identical. Sizes 5 and 6 can keep the toe’s three window rows or drop rows 12 through 14, placing side markers with 24 stitches between them. Sizes 11 and 12 can add another repeat, which may need a second ball of main color.
Gauge is 7 single crochet to 2 inches, with 10.5 rows to 2 inches. Work tightly, like amigurumi; the shoes feel snug at first, then relax slightly with wear.
Read the sole like a clock face: toe at 12:00, heel at 6:00. Size down in flip flops so about a quarter inch of sole shows around the foot, and poke the same hole count in both soles.
Source-listed supplies, in one checklist:
- Cotton yarn in main and accent colors; two strands of main color for most of the shoe, one strand of accent for the foundation
- A pair of flip flops for the rubber soles
- A size B hook for the foundation round
- A larger hook for the heel, sides, and toe
- Stitch markers
- A tapestry needle
- A sharp instrument for poking holes
- The printable hole-poking ruler from the PDF
- The rubber toe plug saved from the straps
- Optional glue, such as E6000, for outdoor wear
Abbreviations (US terms):
- ch: chain
- sc: single crochet
- sc2tog: single crochet two together
- dc: double crochet
- sk: skip
- sl st: slip stitch
- st(s): stitch(es)
- MC: main color
- AC: accent color
Poking the Holes
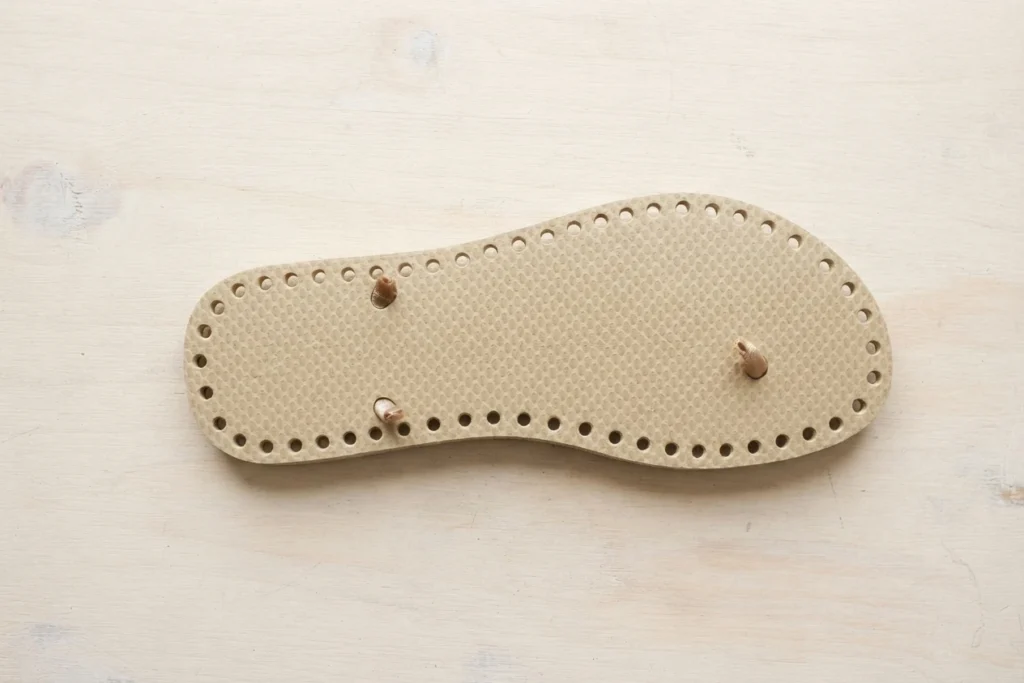
Trim the mid-foot straps at an extreme angle while tugging them, cutting close to the sole, and save the rubber toe plug. Poke holes around the sole on each dot of the printable ruler or, without it, just under half an inch apart, about 7/16th of an inch.
Pierce each hole at an angle from about the middle of the sole to roughly a quarter inch into the top, keeping holes far enough from the edge that yarn cannot rip through the rubber.
Wanna save this pattern?
Want this pattern within reach? The designer’s site will email it to you so you can return later.
Find Your Next Crochet Slippers Pattern Overview
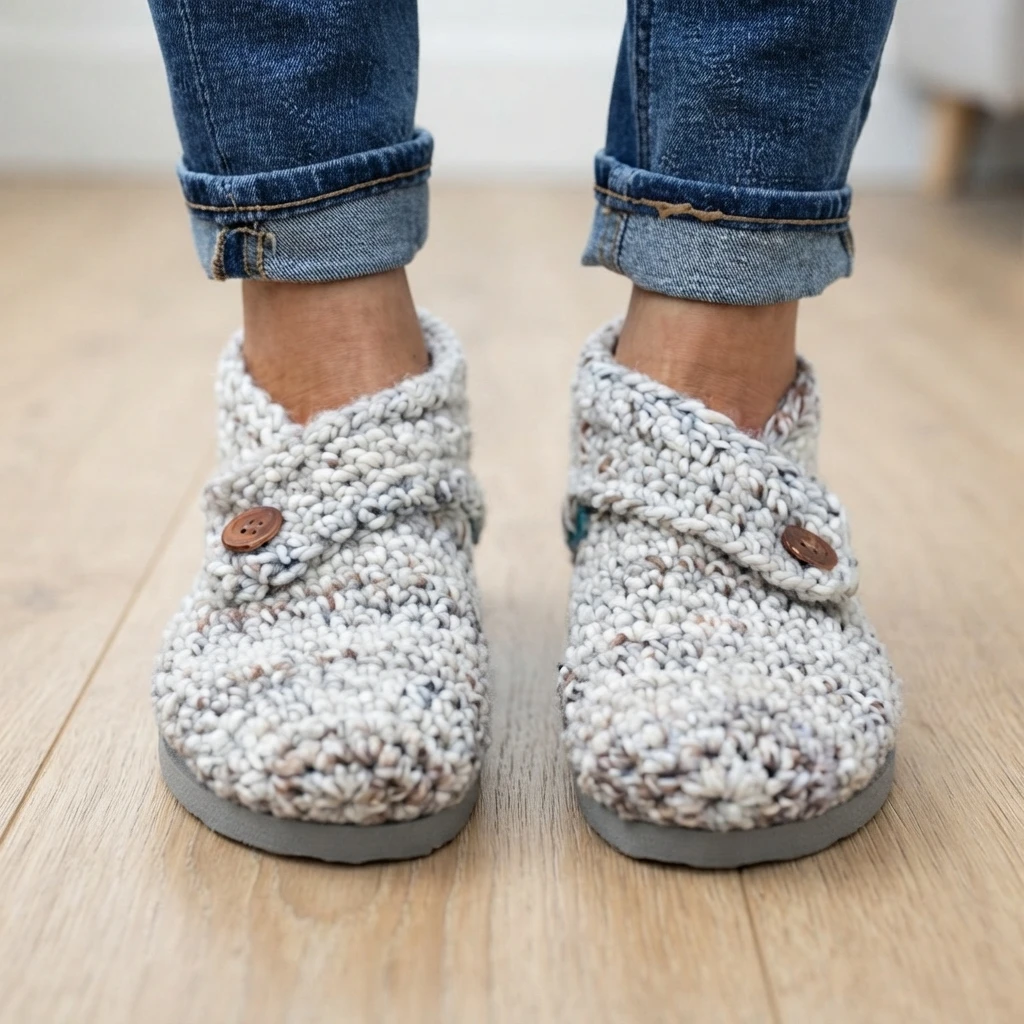
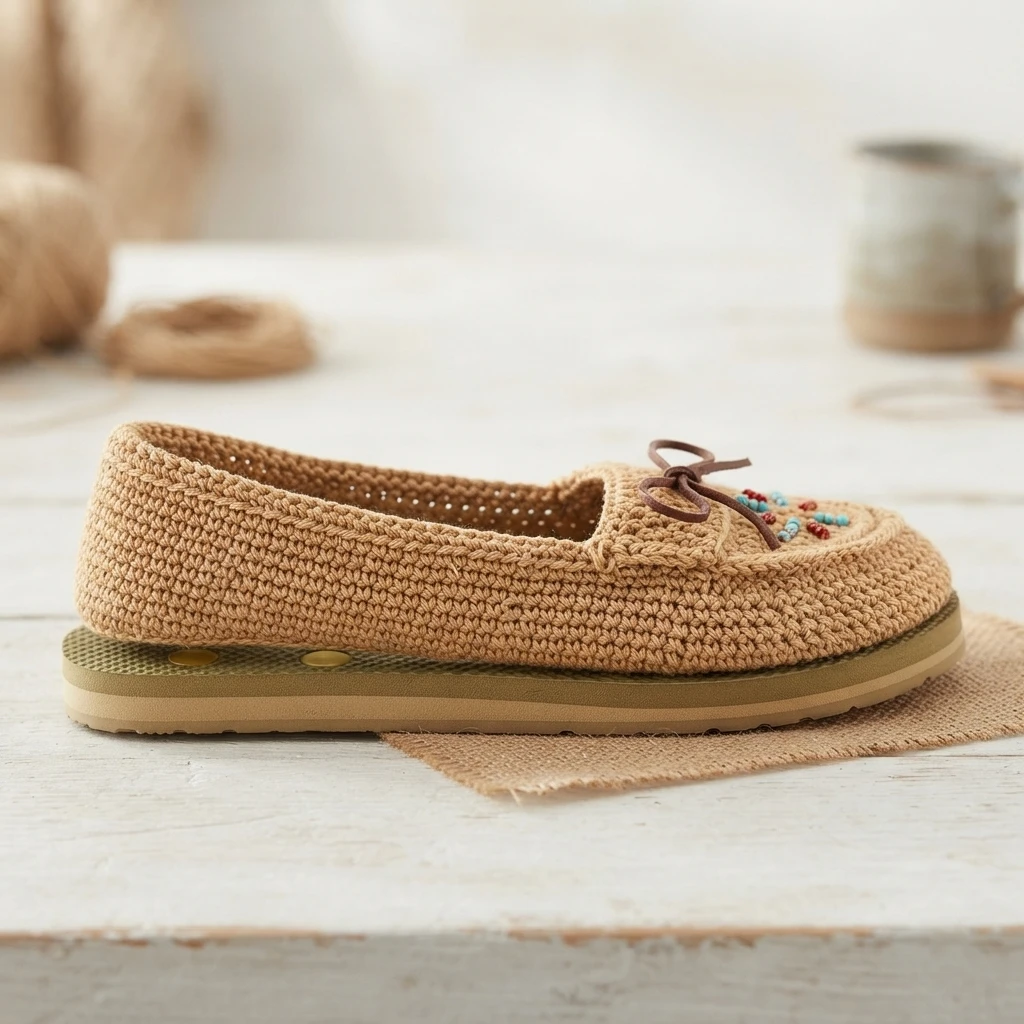
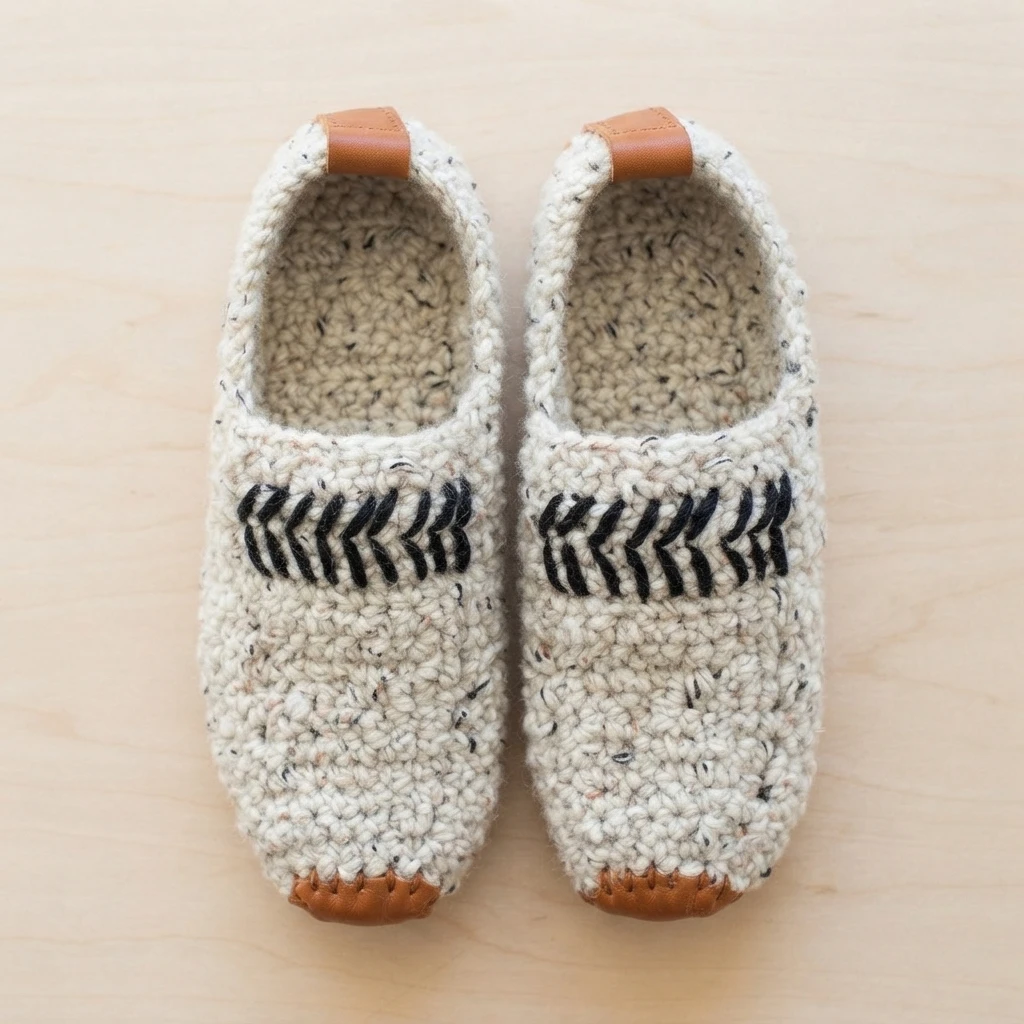
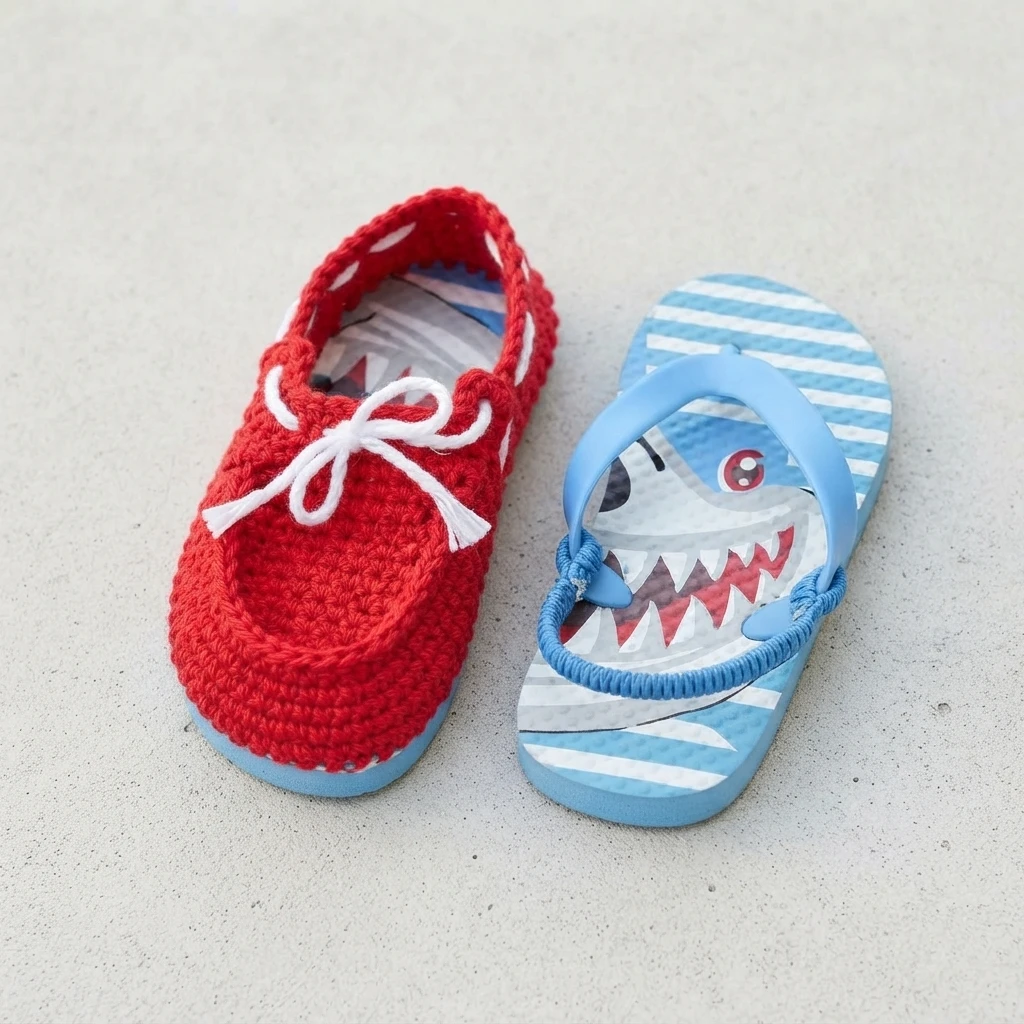
The same collection holds more free footwear patterns: women’s moccasin-style slippers on flip flop soles, modern slippers for women or men, and toddler boat shoe slippers with flip flop soles, along with more slipper and sock patterns to explore.
Accent Color Foundation
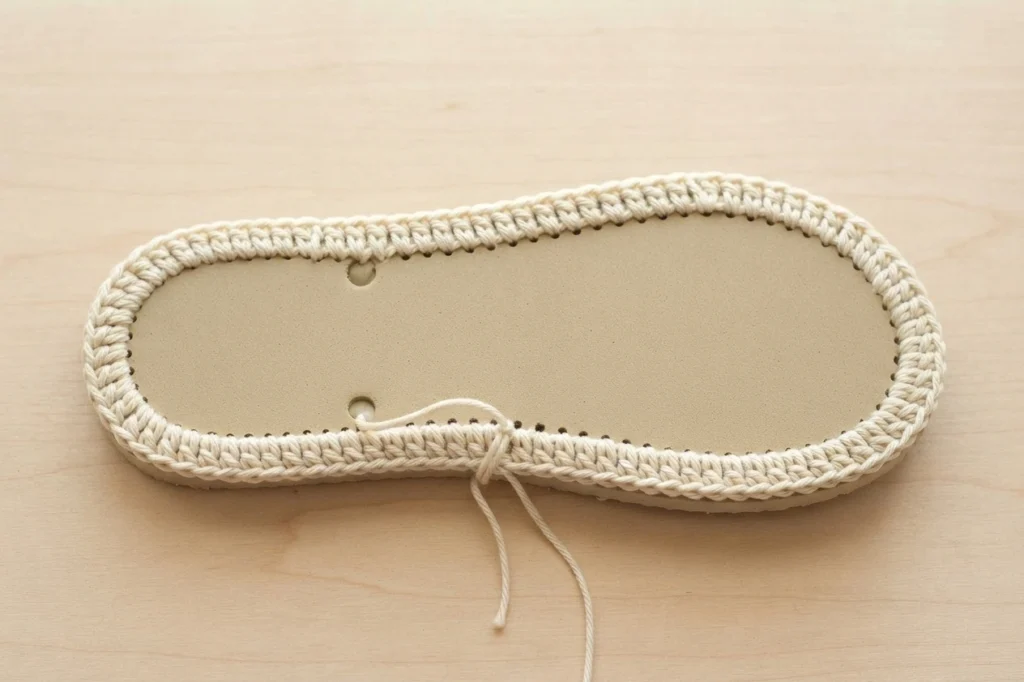
With one strand of accent yarn on the size B hook, attach at the back of the heel at the 6:00 position, pulling the yarn from the top toward the bottom. Chain 1, single crochet in each hole around the sole, join with a slip stitch, and fasten off; the tails are worked over in the heel section.
Heel Crescent
Place markers at 4:00 and 8:00, then work with the larger hook and two strands of main color, attaching at the 4:00 marked stitch (8:00 for left-handed crocheters). The heel crescent grows in turned rows of single crochet between the markers, with slip stitches shaping the edges.
✨Unlock this free subscriber-exclusive pattern ✨
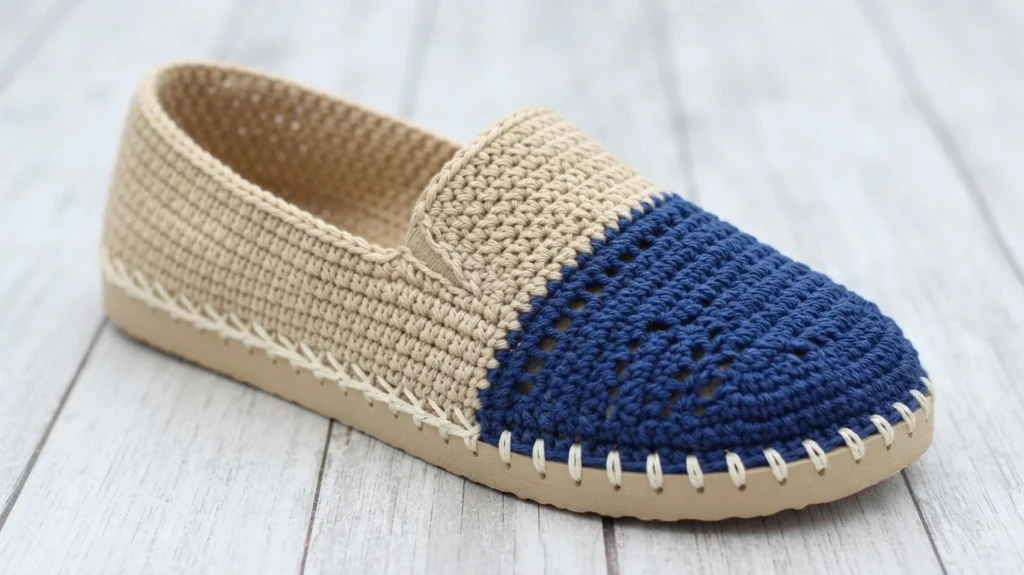
The full pattern is free but subscriber-exclusive: readers create a free account with an email and password, with a forgot-password link on the login screen. To finish the heel, work Row 4 as a repeat of Row 2, then fasten off.
Shoe Sides and Remainder of Heel
Move the markers near 2:30 and 9:30 so 28 foundation stitches sit between them around the toe. With the larger hook and two strands of main color, make a slip knot leaving a 12 inch tail that is not crocheted over, and attach at the marked stitch at the 2:30 position; left-handed crocheters attach at the 9:30 position and reverse right and left.
These rows finish the back half of the shoe in single crochet, spacing stitches evenly where none show, with paired increases near the markers shaping the sides; fasten off with a 12 inch tail.
Toe
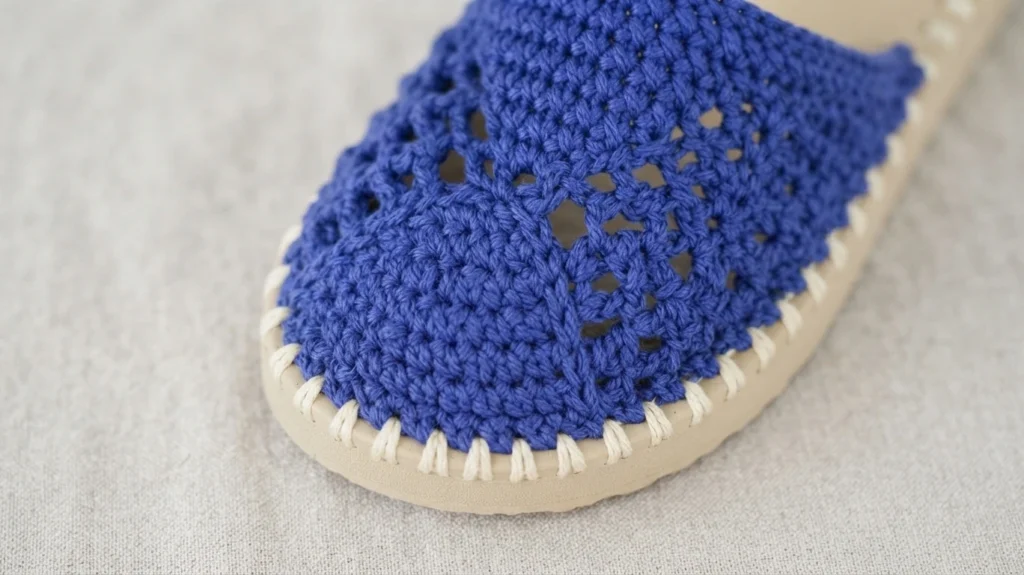
Place markers at 11:00 and 1:00 with 8 stitches between them and 9 unworked stitches on either side. With the larger hook and two strands of main color, join at the marked foundation stitch and work the first row between the markers, then remove them. New stitches go on the outside of the heel and sides stitches as the toe grows.
The toe grows in rows that join to the sole as they progress. Openwork window rows of chain spaces and double crochets form the panels across the top of the foot; fasten off with a 12 inch tail.
Crochet Sun Hat Patterns for Kids + Adults
Prefer warm-weather accessories? The same designer also publishes free sun hat patterns, including a fedora-style hat, a rancher hat, a roundup of summer hats, and a guide to stiffening a hat brim without starch.
Finishing
With a tapestry needle, sew the toe section onto the shoe sides using the remaining tails; a basting stitch works well. Pull the toe over the sides so it overlaps slightly, tucking curved stitches underneath so the sides look straight. For outdoor wear, glue the saved plug back into the toe.
That was so fun! Now what?
Pin the post to a crochet board to find it again, share finished shoes by tagging @MakeAndDoCrew and using #MakeAndDoCrew, or leave a comment to say hello.
Invitation to our Facebook group